How to Draw Red from Angry Birds: Easy 10-Step Guide
Ready to bring Red to life? This screen-free activity is perfect for young artists ages 5 and up. All you need is a pencil, an eraser, and some markers to capture his iconic grumpy expression and feathery details.
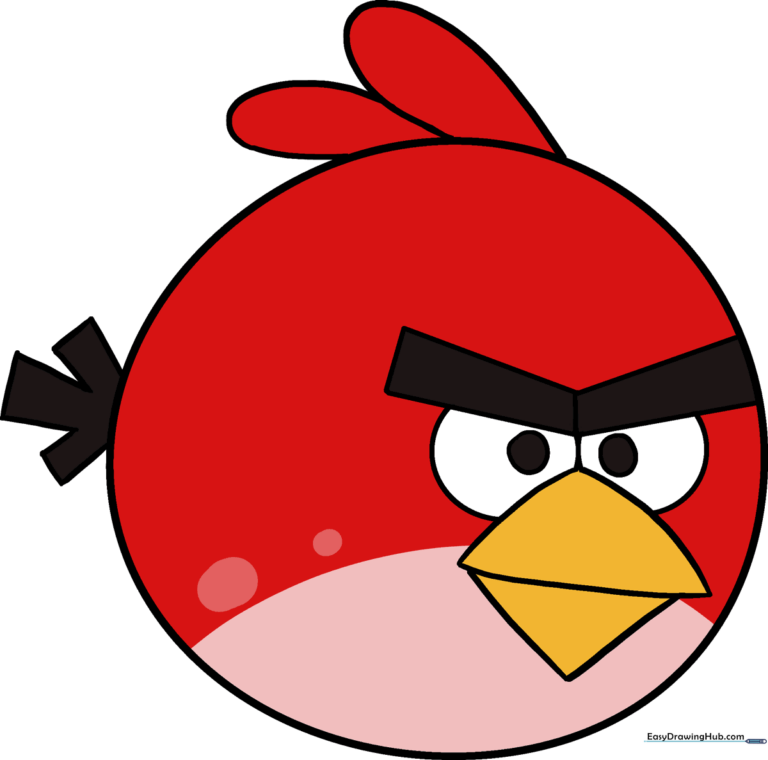
🎯 Final Result
Step-by-Step Instructions
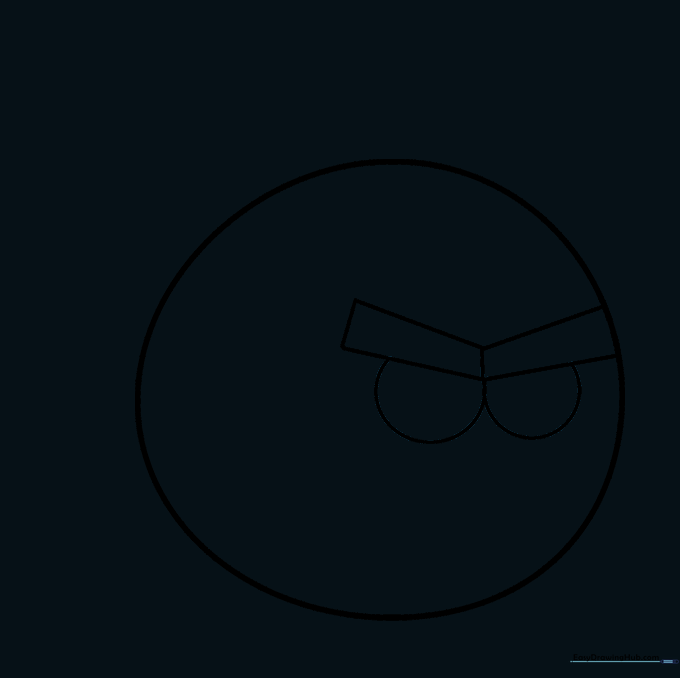
Step 1: Sketching the Base Shape

Draw a large, slightly oval circle to form the bird's head and body. Teacher's Tip: Keep your pencil strokes very light so you can easily erase the construction lines later.
Step 2: Placing the First Eyebrow
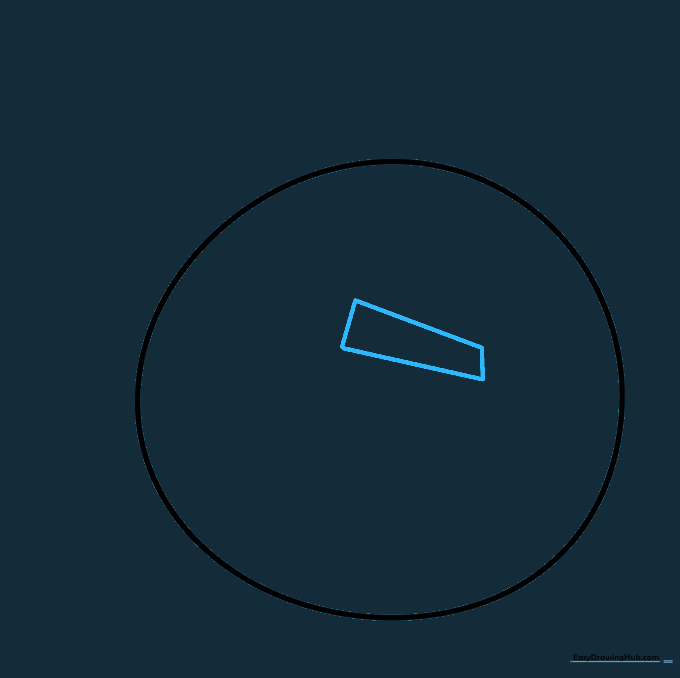
Draw an irregular, slanted rectangle in the upper middle of the circle. This creates the base for his signature angry look. Tip: Tilt the rectangle downward toward the center to make him look extra determined.
Step 3: Adding the Second Eyebrow
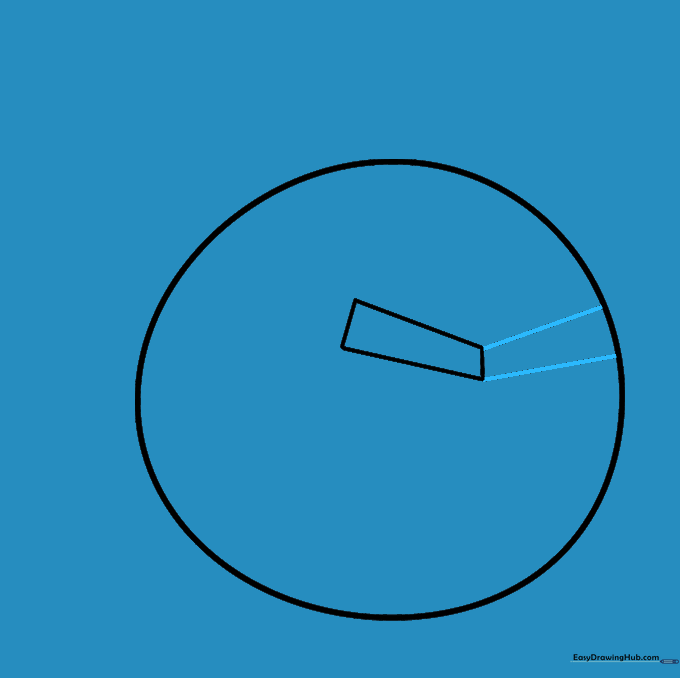
Mirror the first shape on the opposite side to create the second eyebrow. Tip: Ensure the two rectangles meet or come very close in the middle to give him that classic 'frowning' intensity.
Step 4: Sketching the Eyes
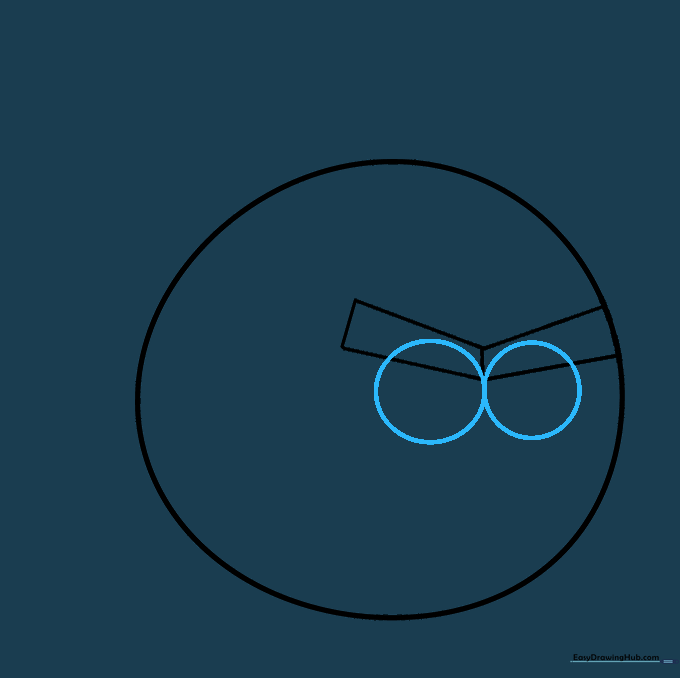
Draw two circles overlapping the bottom of your eyebrow rectangles. Tip: Don't worry if they overlap the eyebrows; we will clean that up in the next step!
Step 5: Cleaning the Lines
Carefully erase the overlapping guide lines inside the eyebrows. Tip: Use a soft eraser and gentle pressure to keep your paper clean and ready for the final ink outline.
Step 6: Drawing the Beak
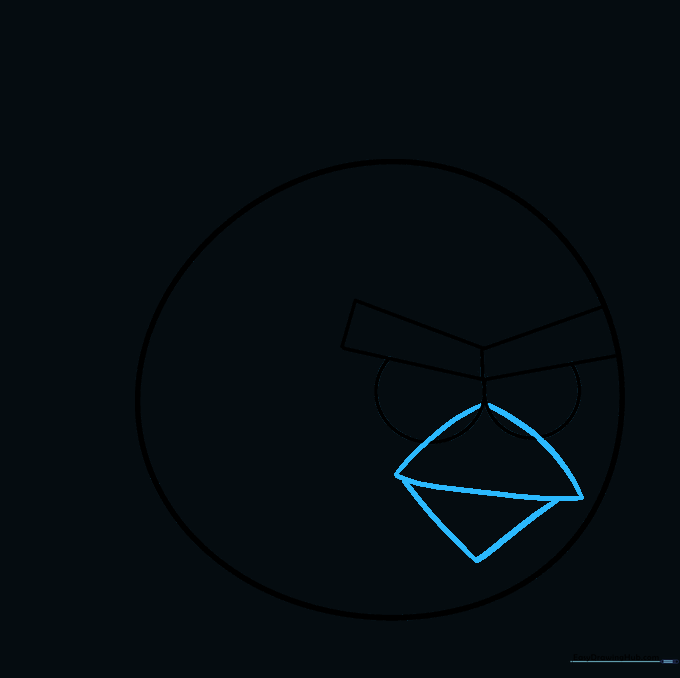
Use curved lines to form a rounded triangle for the top beak, and an inverted triangle for the bottom. Tip: The beak should sit right between the eyes for a balanced look.
Step 7: Refining the Beak
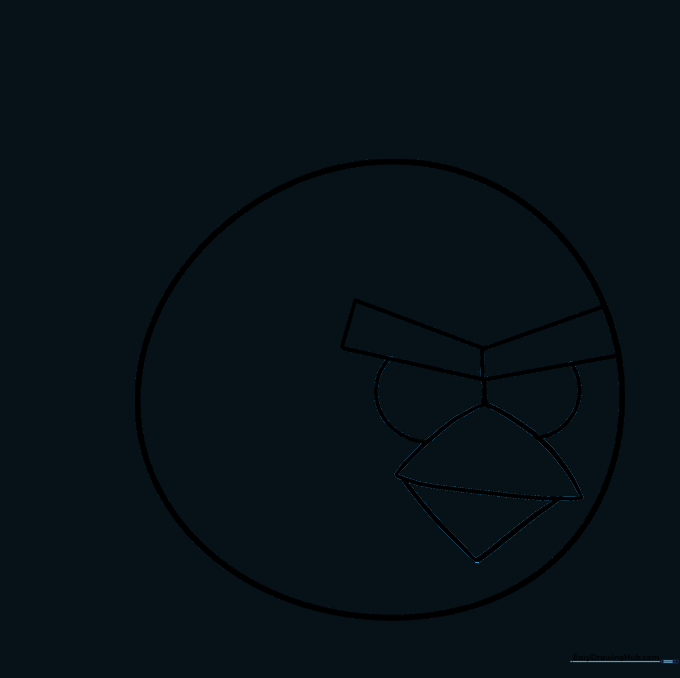
Erase any extra lines inside the beak area to make it look solid. Tip: Check that your beak lines are smooth and connected.
Step 8: Adding Feathers and Pupils
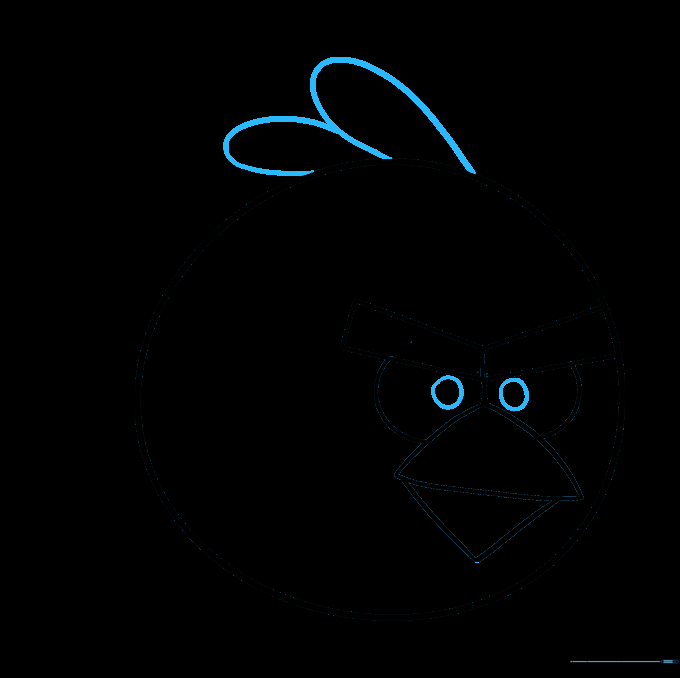
Draw two 'U' shapes on top of the head for his tuft, and add small circles inside the eyes for pupils. Tip: Placing the pupils slightly toward the center makes him look focused.
Step 9: Drawing the Tail
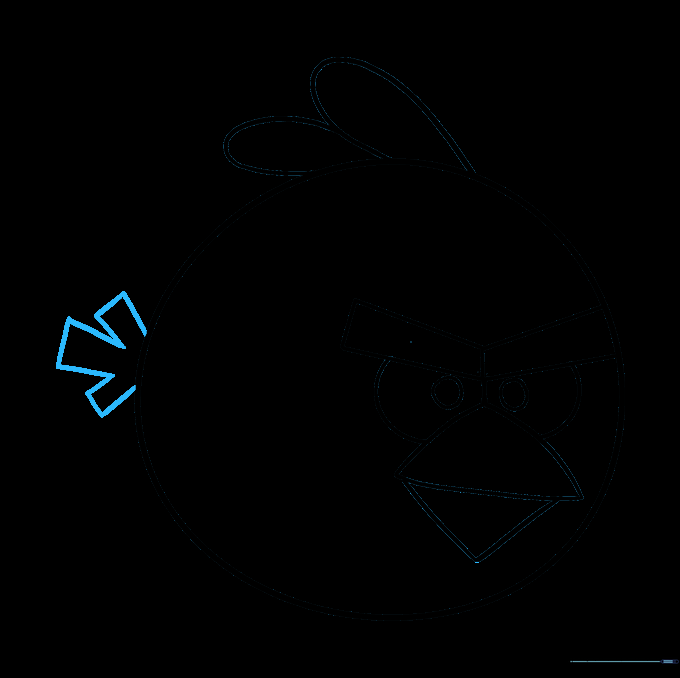
Extend two lines from the back to create a tail that looks like an arrow. Tip: Use quick, confident strokes to keep the tail looking sharp.
Step 10: Bringing Red to Life with Color
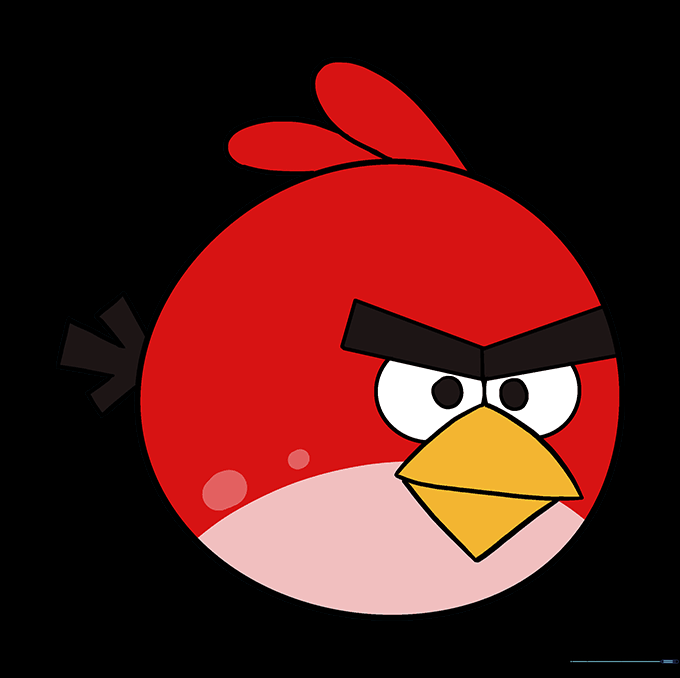
Color your bird! Use a bright red for his body, orange for the beak, and a soft pink for his belly. Tip: Use light pressure with your crayons to create a smooth, even texture.
More Tutorials


