How to Draw an Xbox Controller: Easy 10-Step Guide
Ready to level up your art skills? This tutorial is perfect for young gamers and budding artists ages 6+ who want to sketch their favorite gaming gear. You'll only need a pencil, an eraser, and a piece of paper to get started. Follow along to master the shapes that make up a classic controller.
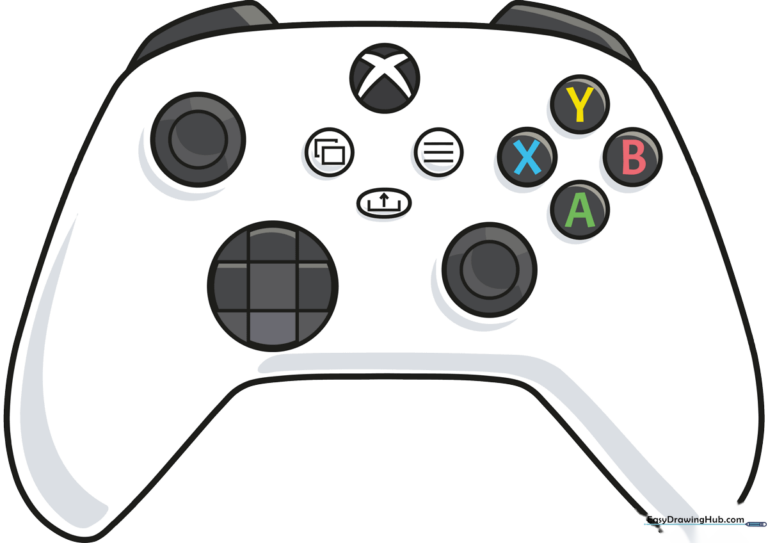
🎯 Final Result
Step-by-Step Instructions
Step 1: Sketching the Main Body
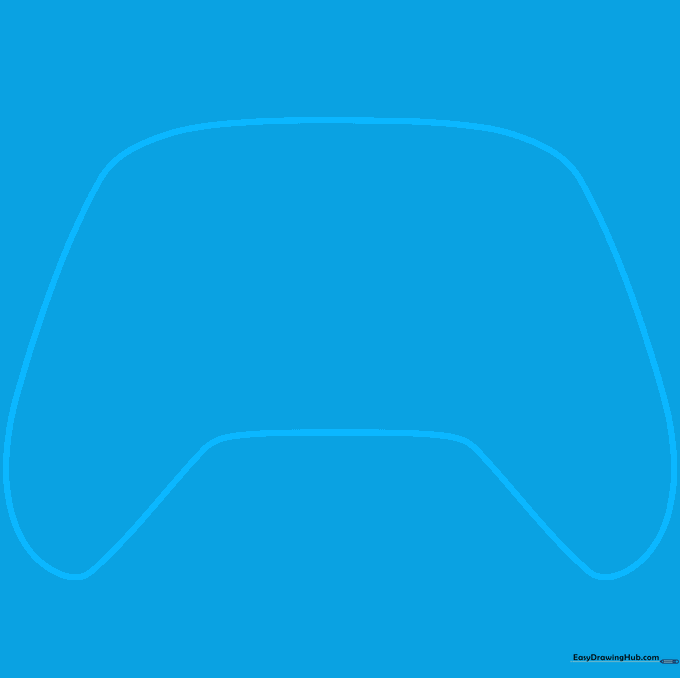
Draw a long, curved shape that resembles a wide, rounded letter 'C' on its side. Teacher's Tip: Keep your pencil grip loose to ensure the curves look smooth rather than jagged.
Step 2: Adding the Shoulder Triggers

Add small, curved shapes at the top corners for the LT and RT triggers. Tip: Think of these as little 'caps' sitting on the shoulders of your controller.
Step 3: Starting the D-Pad
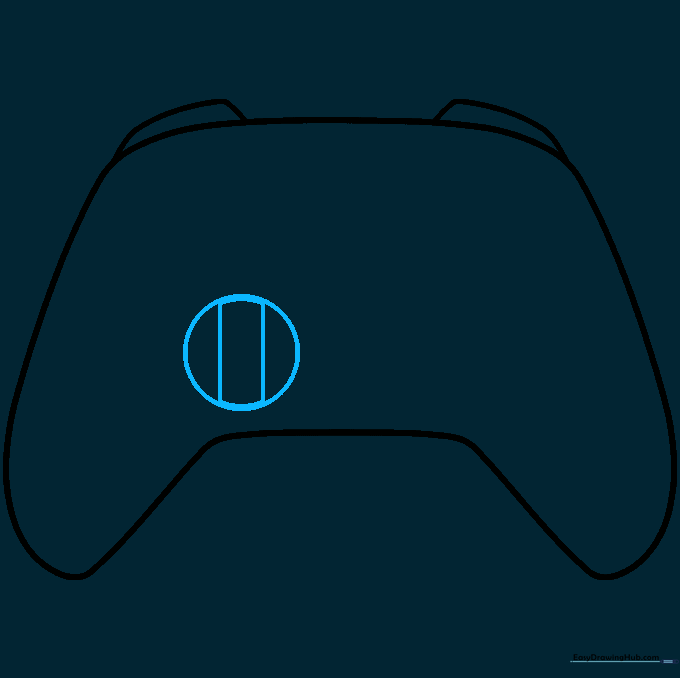
Draw a circle in the lower-left area, then add two crossing lines inside it. Tip: Use a light touch; these lines act as a guide for the directional pad's cross shape.
Step 4: Defining the D-Pad and Left Stick
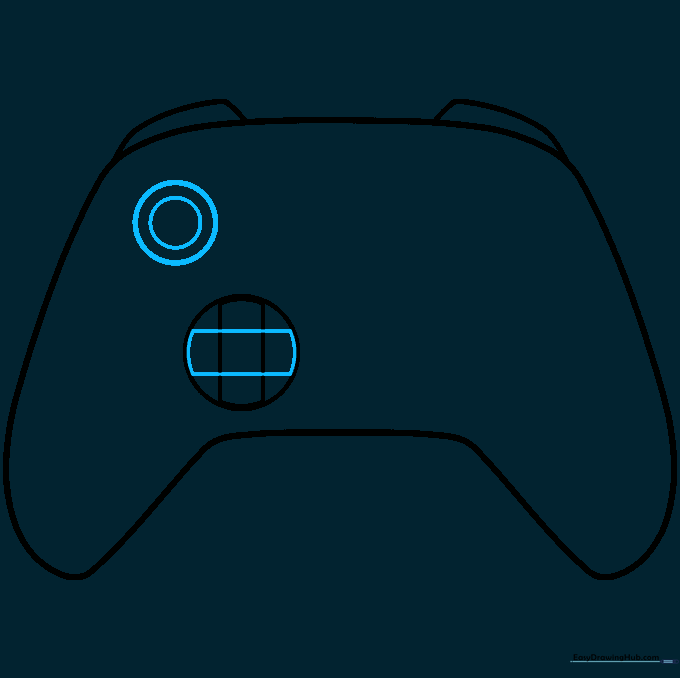
Turn your crossing lines into a solid 'X' shape for the D-Pad. Above it, draw a circle within a circle to create the base of the left joystick. Tip: Keep your circles centered to make the controller look symmetrical.
Step 5: Adding Joysticks and Menu Buttons
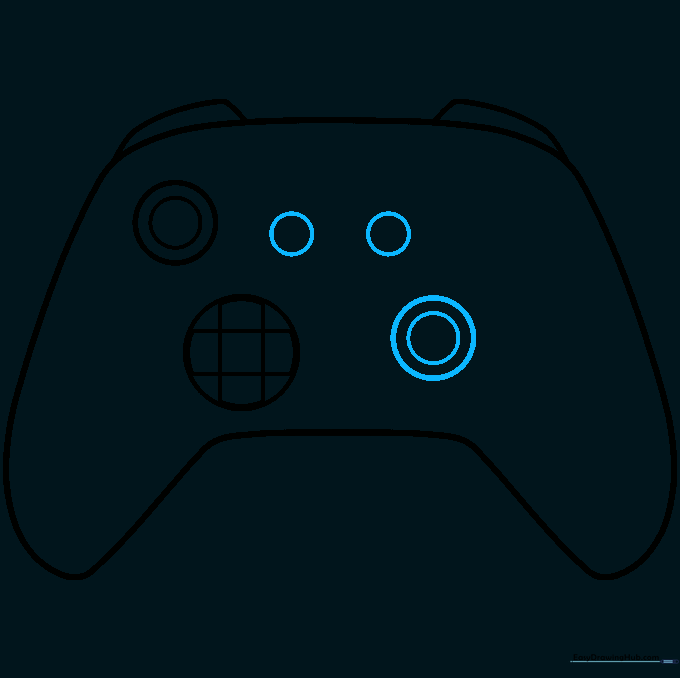
Draw two small circles for the Start and Back buttons, then add another circle-within-a-circle below them for the right joystick. Tip: Imagine these as eyes on a face to help with spacing.
Step 6: Detailing the Center Buttons
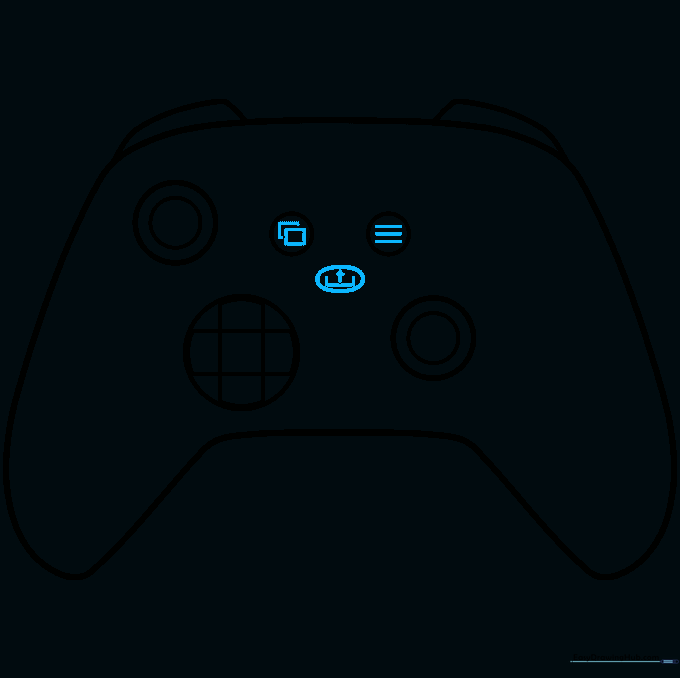
Add the menu icons (rectangles and lines) and the central Guide button with its iconic arrow shape. Tip: Use a sharp pencil point for these tiny details to keep them clean.
Step 7: Placing the Action Buttons
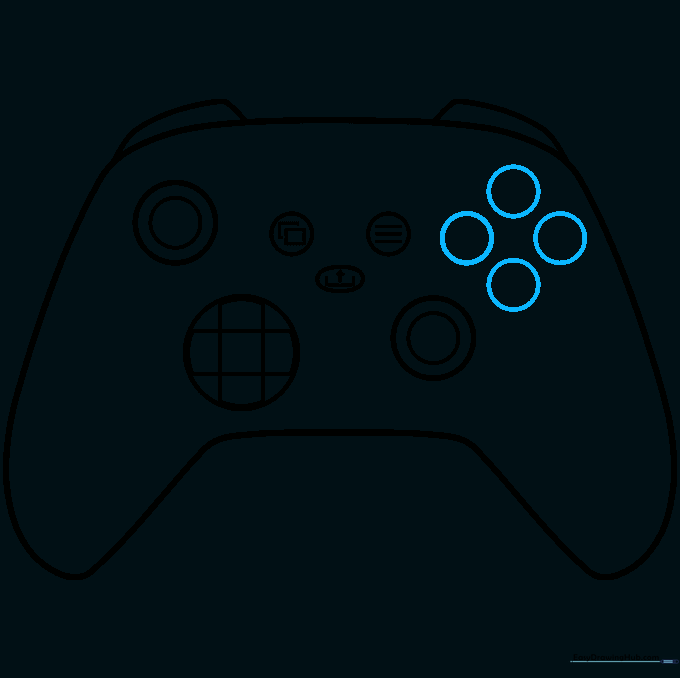
Draw four small circles in a diamond pattern on the right side. These are your A, B, X, and Y buttons. Tip: Try to keep the circles the same size for a professional look.
Step 8: Labeling the Buttons
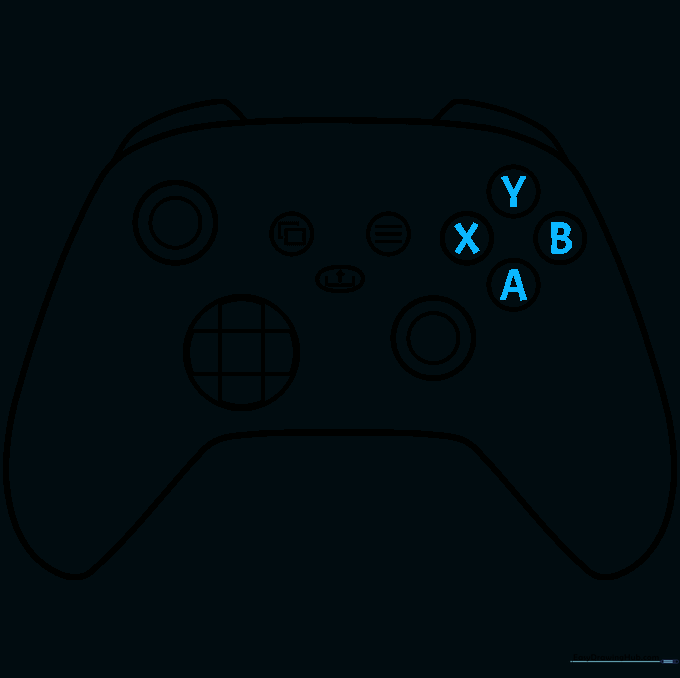
Carefully write the letters A, B, X, and Y inside your circles. Tip: If you find writing letters hard, use a very thin marker or just focus on the circle shapes first.
Step 9: The Final Logo
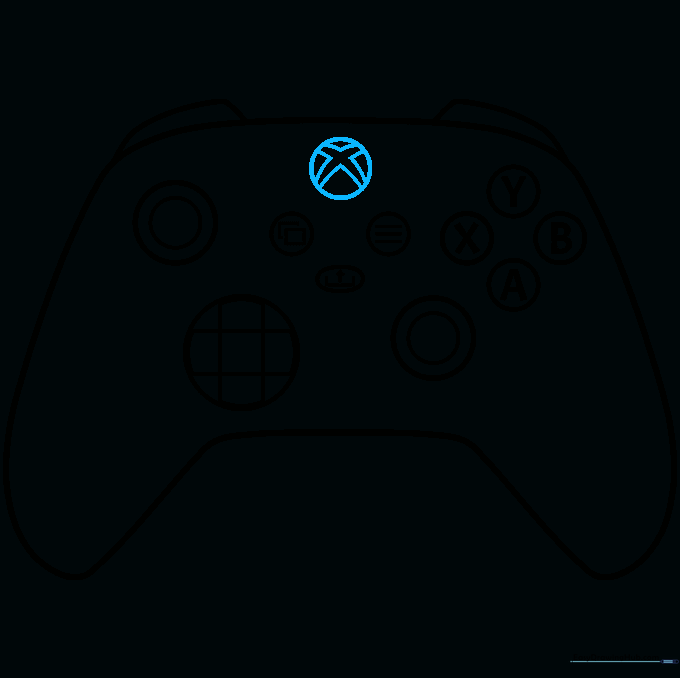
Draw the Xbox logo at the top center. Use a circle as a frame and sketch the stylized 'X' inside. Tip: Take your time with the 'X'—it's the most recognizable part of the controller!
Step 10: Bringing it to Life with Color
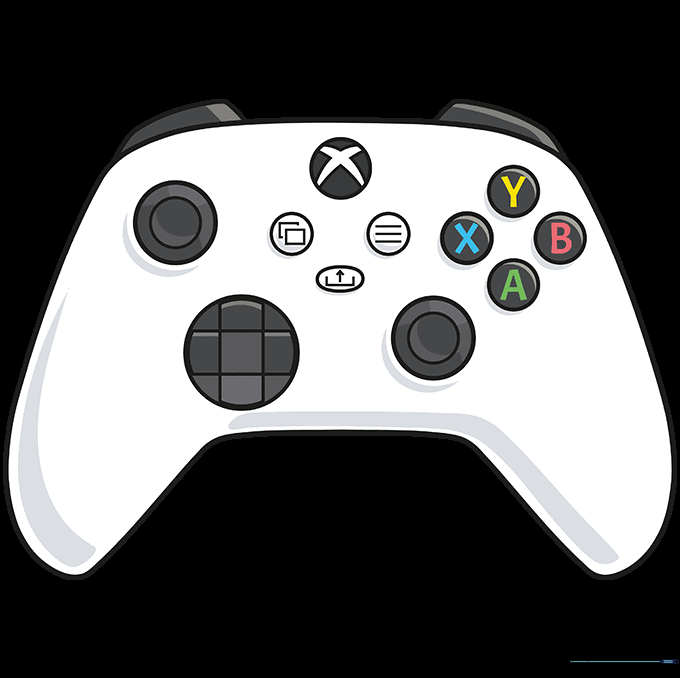
Time to color! Use black or white for a classic look, or get creative with neon colors. Tip: Use light pressure with your colored pencils to create smooth, even shading.
More Tutorials


