How to Draw an Underwater Scene: Easy 10-Step Guide
Bring the ocean to life with this fun, screen-free drawing activity perfect for artists ages 5 and up. You only need a pencil, an eraser, and some paper to build a complete marine habitat. Follow along to master basic shapes and layering techniques that make your underwater world pop.
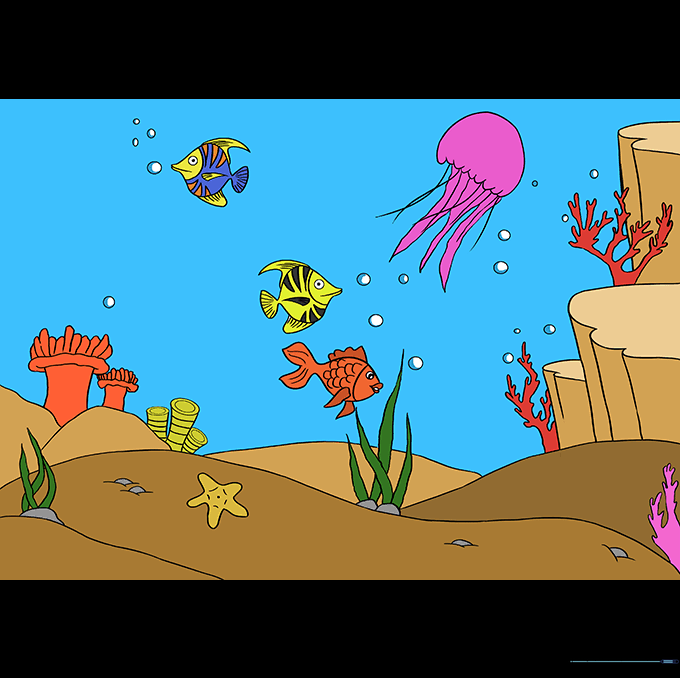
🎯 Final Result

Step-by-Step Instructions
Step 1: Sketching the Seafloor
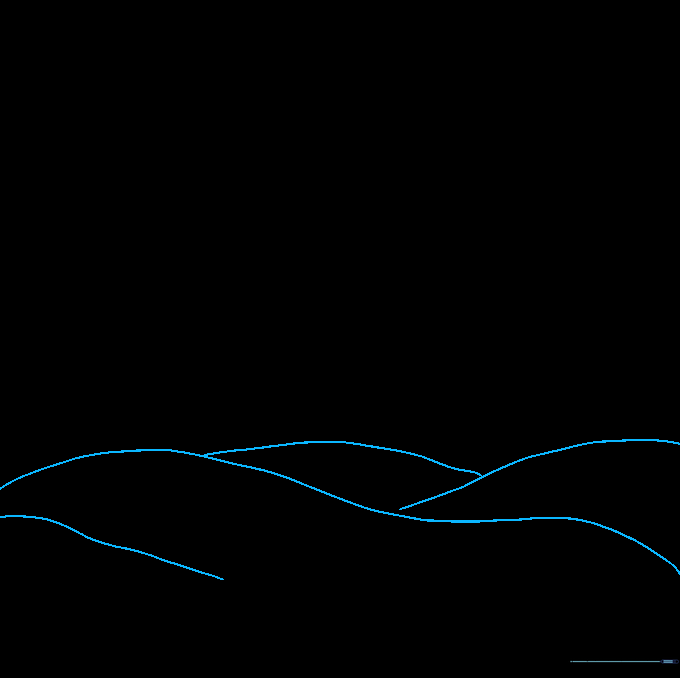
Start by drawing a series of overlapping horizontal curved lines across the bottom of your page. Tip: These lines represent the sandy ocean floor; keep them loose and wavy to mimic natural sand dunes.
Step 2: Creating Underwater Plateaus

Draw cloud-like shapes using connected 'U' lines, then pull a line straight down to the seafloor from each bulge. Tip: This creates depth and height, making your drawing look like a 3D rocky reef.
Step 3: Adding Staghorn Coral
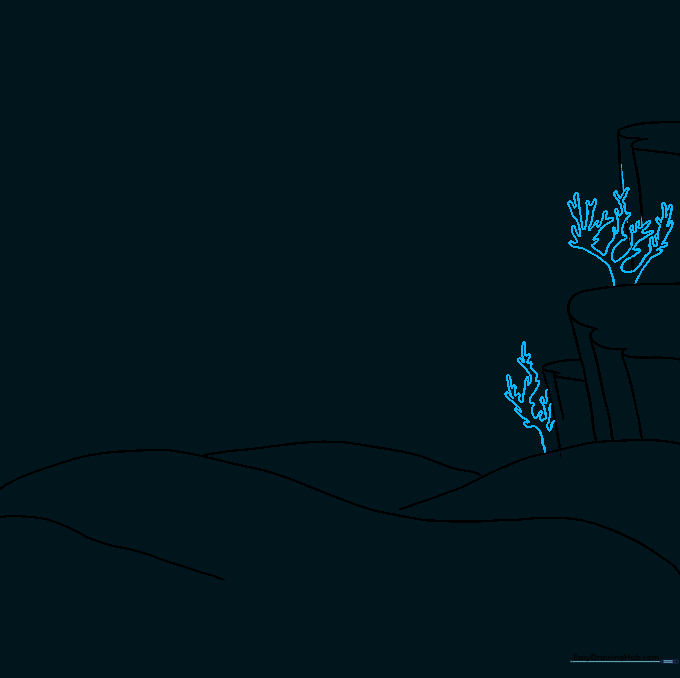
Draw branching coral by using curved lines that double back on themselves. Tip: Don't worry about making them perfect; coral grows in irregular, organic patterns, so let your hand be relaxed.
Step 4: Drawing Sea Anemones
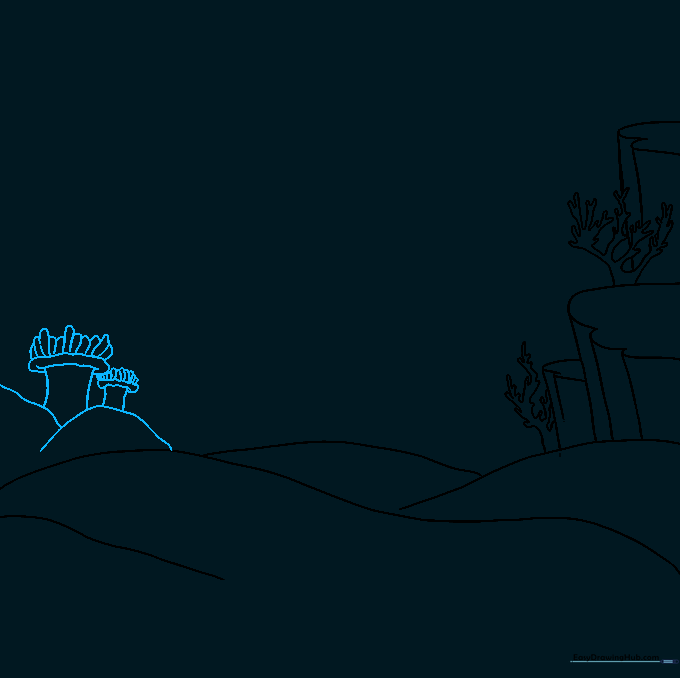
Create an anemone by drawing pairs of curved lines topped with stacked, inverted 'U' shapes. Tip: These represent the stinging tentacles—draw them close together to make the anemone look full and fluffy.
Step 5: Adding Seagrass and Sponges
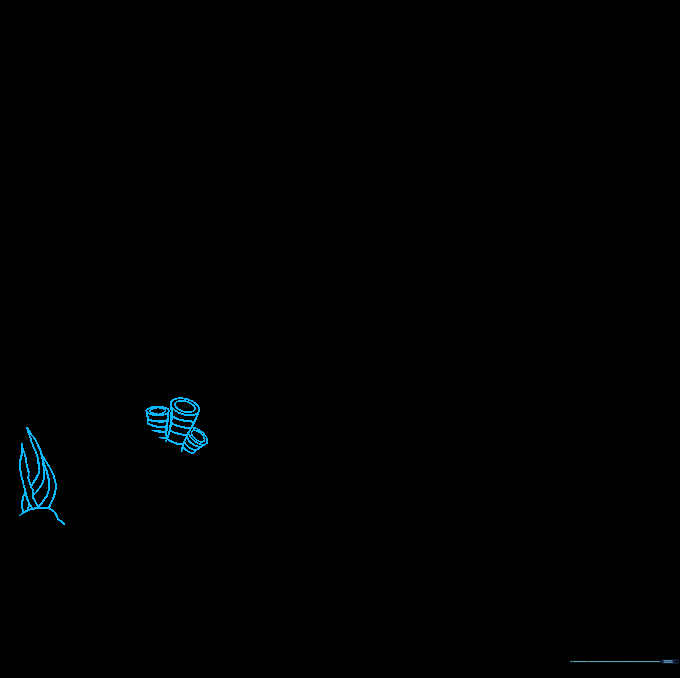
Draw tall, pointed blades of seagrass and cylindrical sponges in the background. Tip: Vary the height of your seagrass blades to create a more natural, wild look in your ocean garden.
Step 6: Adding Stones and a Starfish
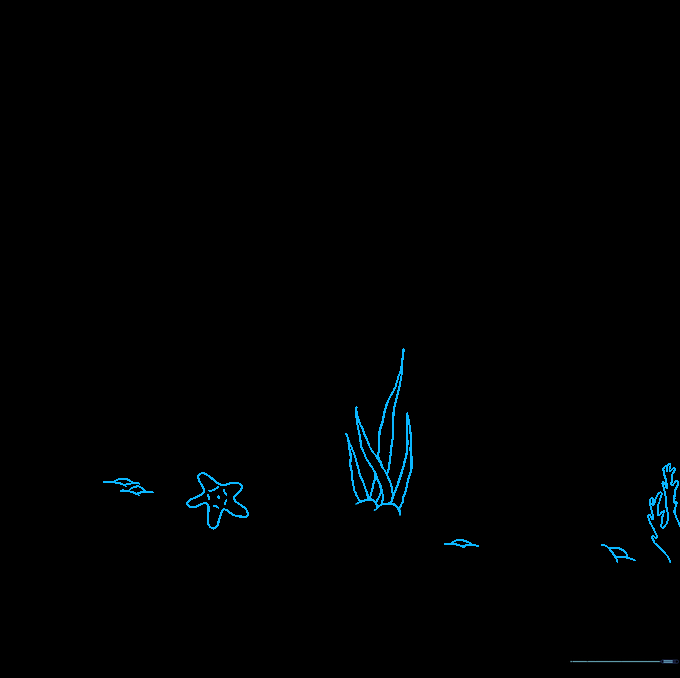
Add small stones using 'Y' shapes and a five-pointed starfish with rounded tips. Tip: Add small dots to the starfish to give it a realistic, bumpy texture.
Step 7: Drawing Tropical Fish
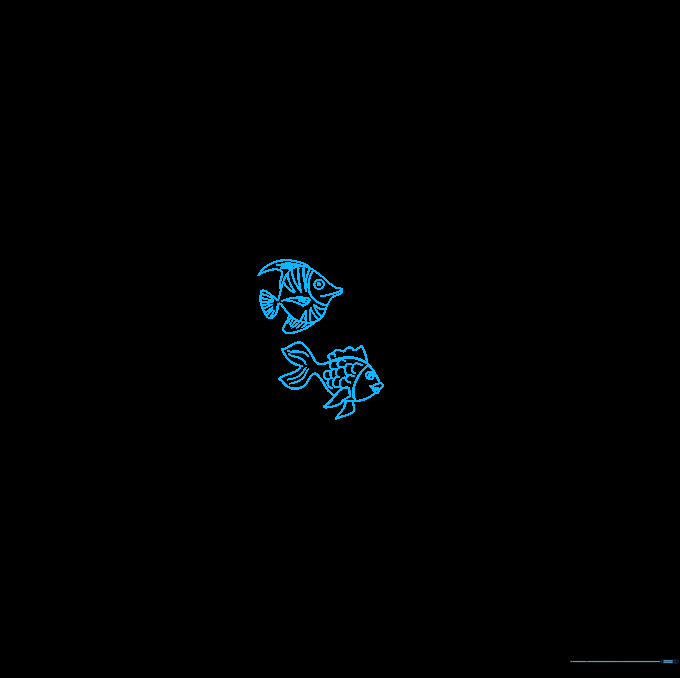
Outline fish bodies with curved lines, adding pointed or rounded fins. Tip: Give your fish personality by drawing different eye shapes and adding stripes or scale patterns.
Step 8: Adding a Jellyfish
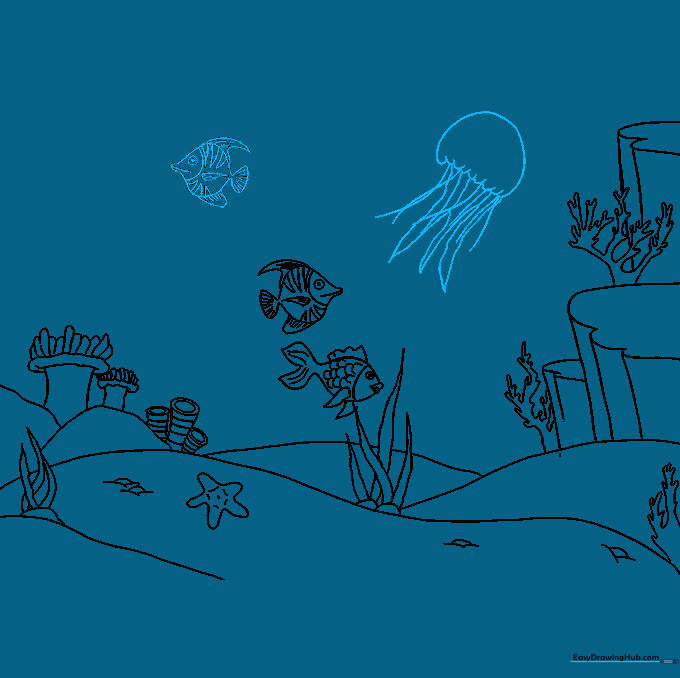
Draw a large 'C' shape for the jellyfish bell, then add flowing tentacles beneath it. Tip: Make the tentacles wavy to show movement, as if they are drifting in the ocean current.
Step 9: Adding Bubbles
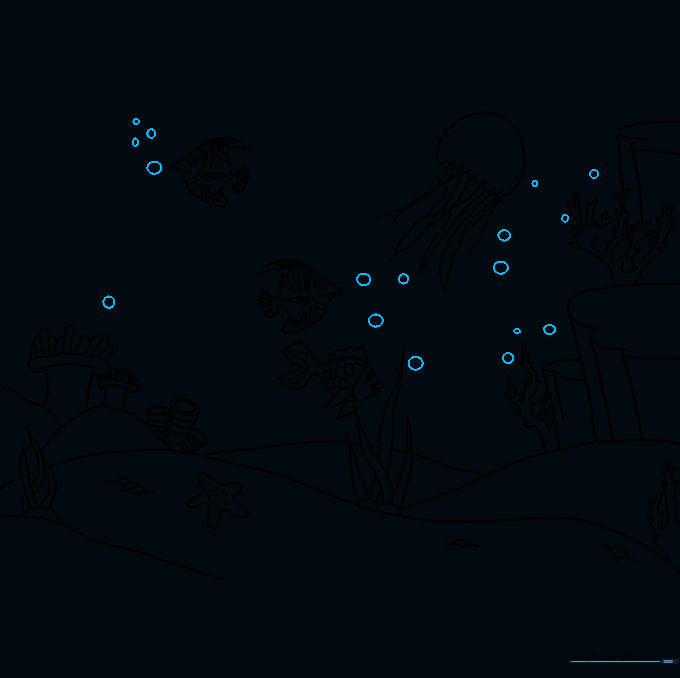
Fill empty spaces with small circles of varying sizes. Tip: Don't overdo it! A few bubbles here and there create a sense of life without cluttering your drawing.
Step 10: Bringing Your Scene to Life with Color
Add color to your masterpiece! Use vibrant oranges for the fish and coral, and soft blues for the water. Tip: Use light pressure with your colored pencils to create gradients, making the water look deeper at the bottom.
More Tutorials


