How to Draw an Oyster with a Pearl: Easy 10-Step Guide
Perfect for young ocean explorers, this tutorial breaks down the anatomy of an oyster into simple, manageable shapes. You only need a pencil, an eraser, and a piece of paper to bring this marine treasure to life. Follow along to master the art of drawing organic, scalloped textures.
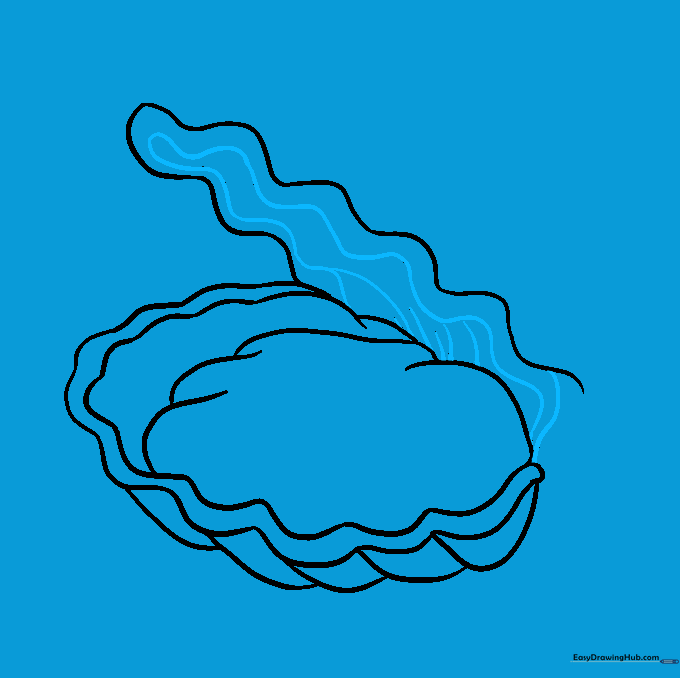
🎯 Final Result

Step-by-Step Instructions
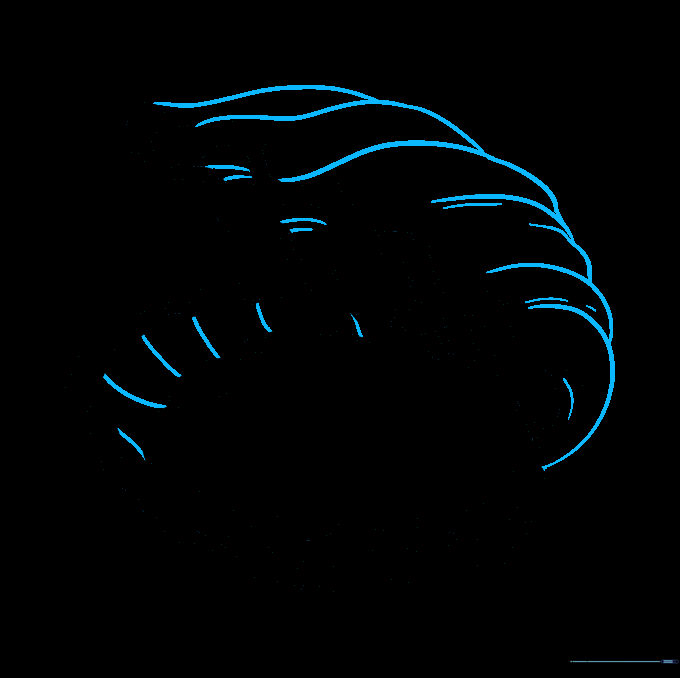
Step 1: Sketching the Base

Begin by drawing a series of overlapping curved lines to form the main body of the oyster. Teacher's Tip: Keep your pencil pressure light so you can easily adjust the shape if your first lines feel a bit wobbly.
Step 2: Defining the Shell Edge
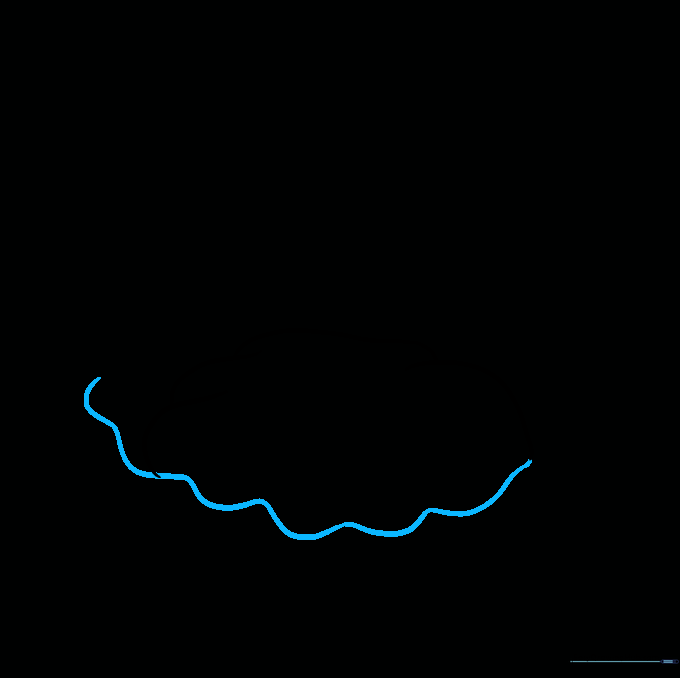
Draw a long, wavy line across the front and bottom to enclose the shell. This creates the signature scalloped edge of the oyster. Tip: Try to make your waves rhythmic and consistent to give the shell a natural look.
Step 3: Creating the Upper Shell
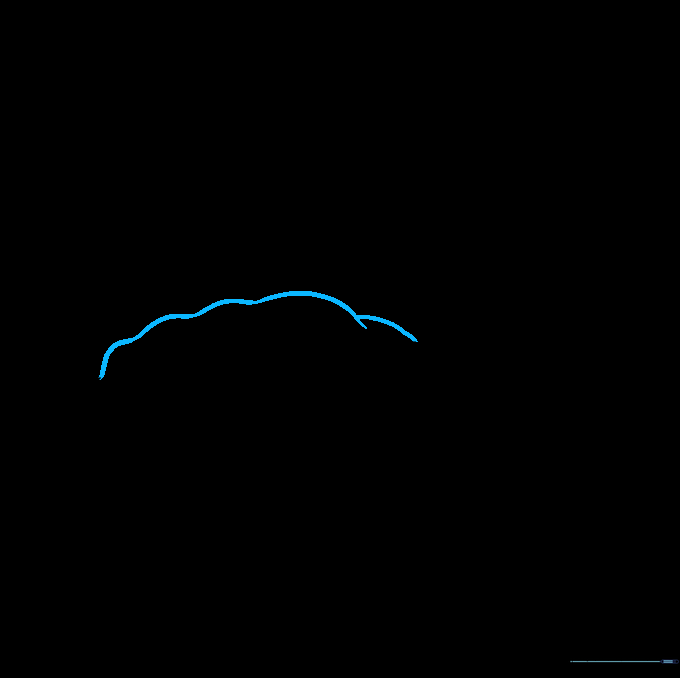
Extend a wavy line around the top of the body, connecting it back to the rear. This forms the upper half of the shell. Tip: Imagine the shell is like a mouth opening up; keep the top curve slightly larger than the bottom.
Step 4: Adding Shell Depth

Draw a second scalloped line parallel to the first one, connecting it at both ends. This adds thickness and realism to the shell's edge. Tip: Focus on keeping the gap between the two lines even.
Step 5: Detailing the Base

Add a U-shaped line at the bottom and connect it to the scalloped edges with smaller curves. This builds the structure of the bottom shell. Tip: Use short, confident strokes to connect the curves.
Step 6: Shaping the Top
Draw a long, wavy line at the top, doubling it back toward the center. This creates the folded look of the upper shell. Tip: Don't worry if it's not perfect; nature is rarely perfectly symmetrical!
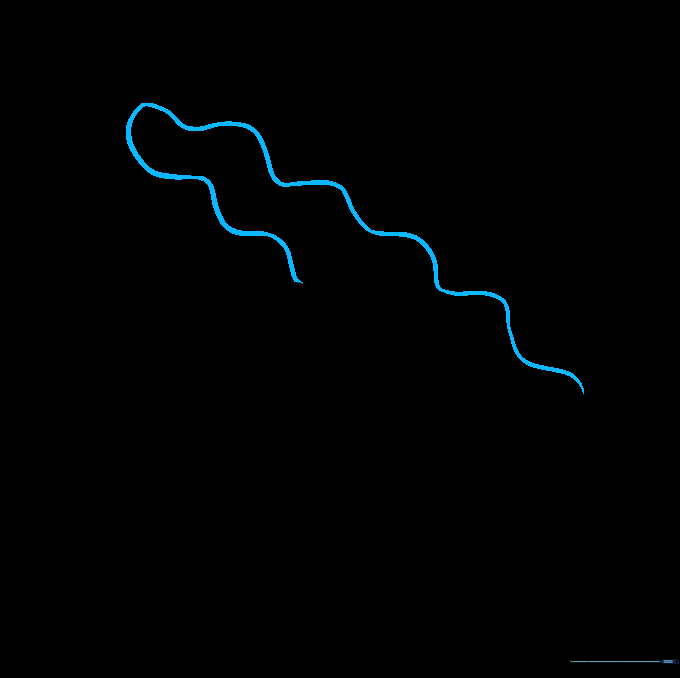
Step 7: Adding Texture
Add a parallel wavy line inside the upper shell and draw curved lines extending upward from the body. Tip: These lines act as 'ridges' that give the shell a 3D, textured feel.
Step 8: Refining Details
Add short curved lines to the scalloped valleys and horizontal lines inside the upper shell. This builds the intricate surface of the shell. Tip: Vary the length of your lines to make the shell look more realistic.
Step 9: The Precious Pearl
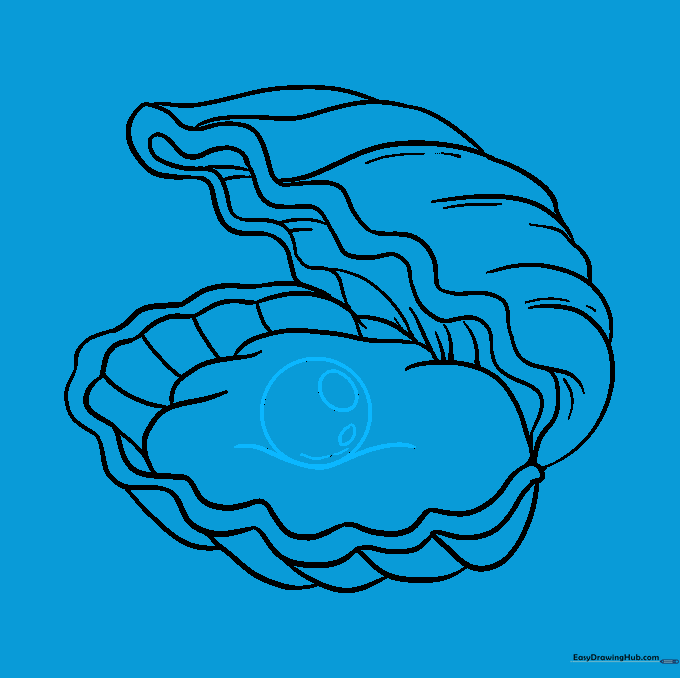
Draw a circle resting in the center of the oyster. Add two smaller circles inside to represent highlights. Tip: Leave the small circles white when coloring to make the pearl look shiny and reflective.
Step 10: Bring it to Life with Color
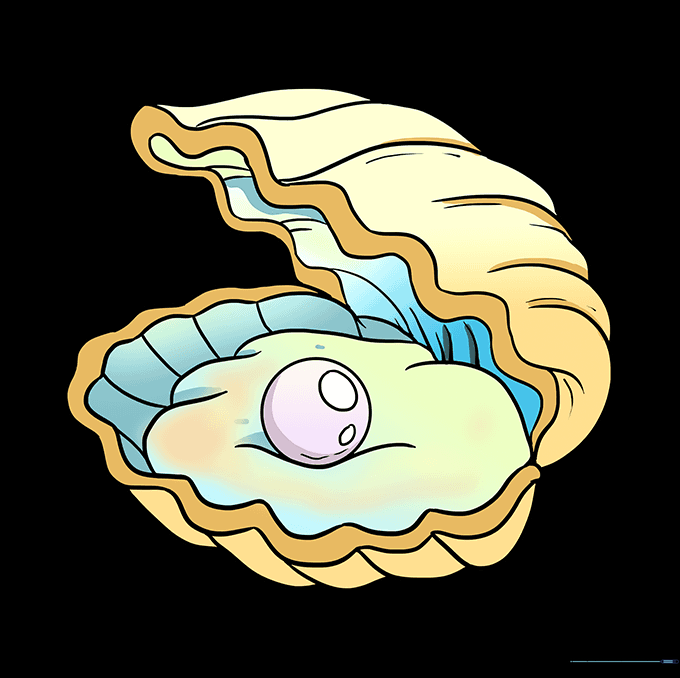
Color your oyster! Use greys or browns for the outside, and try iridescent, rainbow-like colors for the inside to mimic 'mother of pearl.' Tip: Use light pressure with your colored pencils to blend colors smoothly.
More Tutorials


