How to Draw an Owl Face: Easy 9-Step Guide for Kids
This owl face tutorial is perfect for young artists ages 5 and up. You only need a pencil, an eraser, and a piece of paper to bring this wise bird to life. Follow along to practice basic geometric shapes and symmetry while creating a charming woodland character.
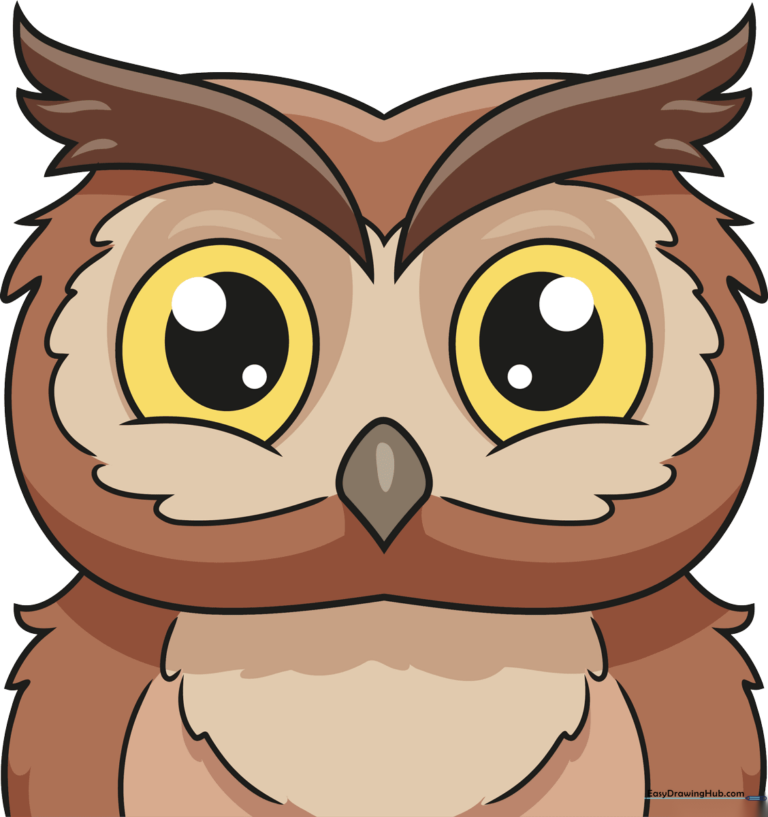
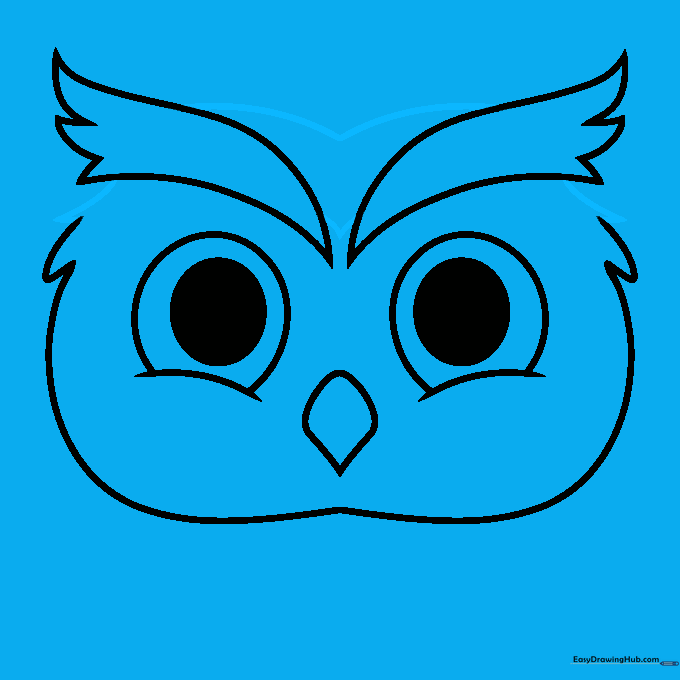
🎯 Final Result
Step-by-Step Instructions
Step 1: Sketching the Eye Bases

Draw two light, egg-shaped ovals side-by-side. Inside each, add a smaller circle for the pupils. Teacher's Tip: Keep these shapes light and airy; they are just the foundation for your owl's expressive eyes.
Step 2: Adding the Beak
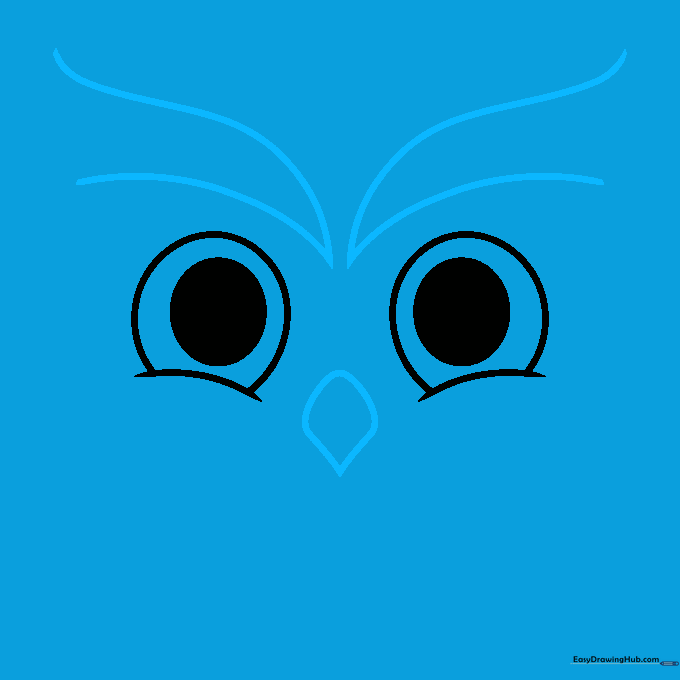
Draw a rounded diamond shape between the eyes for the beak. Use gentle curves to create the points. Teacher's Tip: Think of this as a small, sideways kite shape.
Step 3: Creating the Face Mask
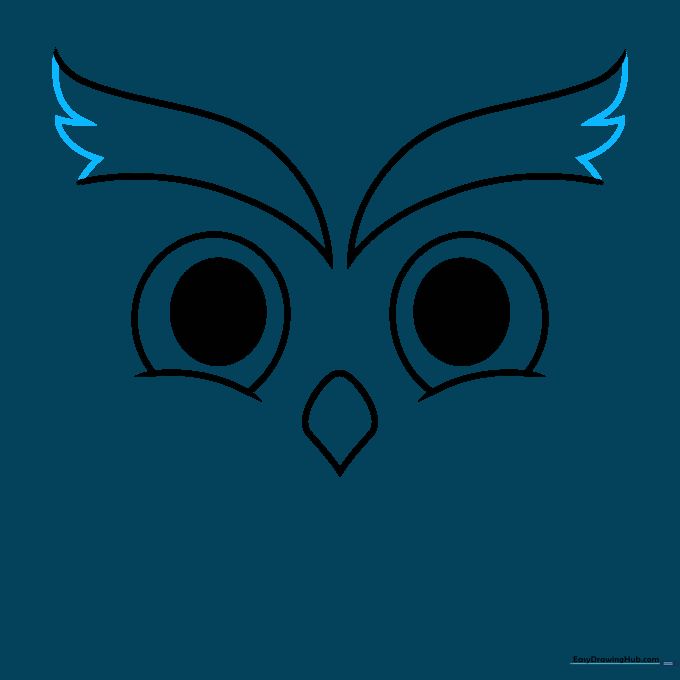
Connect the eyes and beak using small, triangular 'flame' shapes. This creates the owl's signature facial disk. Teacher's Tip: Use short, quick strokes to make the edges look like soft feathers.
Step 4: Shaping the Head
Draw a curved line over each eye, ending in a point to form the eyebrow ridge. Teacher's Tip: These curves give your owl a thoughtful, wise expression.
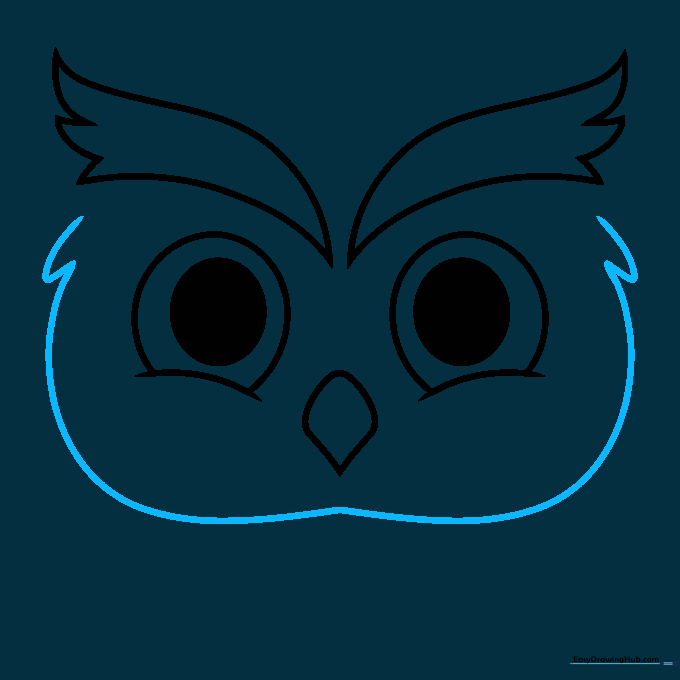
Step 5: Defining the Head Feathers
Add more triangular shapes along the top and sides of the head to create the ear tufts. Teacher's Tip: Owls use these tufts to communicate, so make them look perky!
Step 6: Adding Fluffy Texture

Use loose, rounded lines on the sides of the head to represent fluffy feathers. Teacher's Tip: Don't worry about making these lines perfectly smooth; feathers are naturally messy and soft.
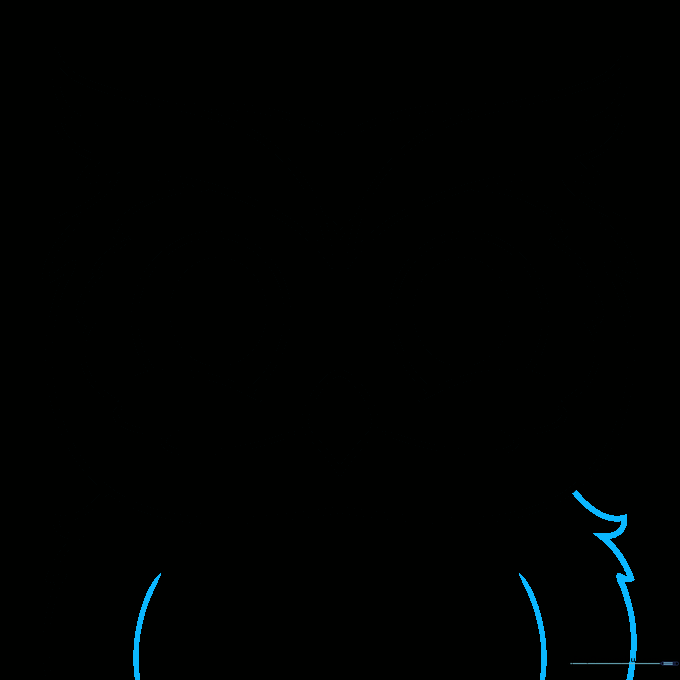
Step 7: Drawing the Body
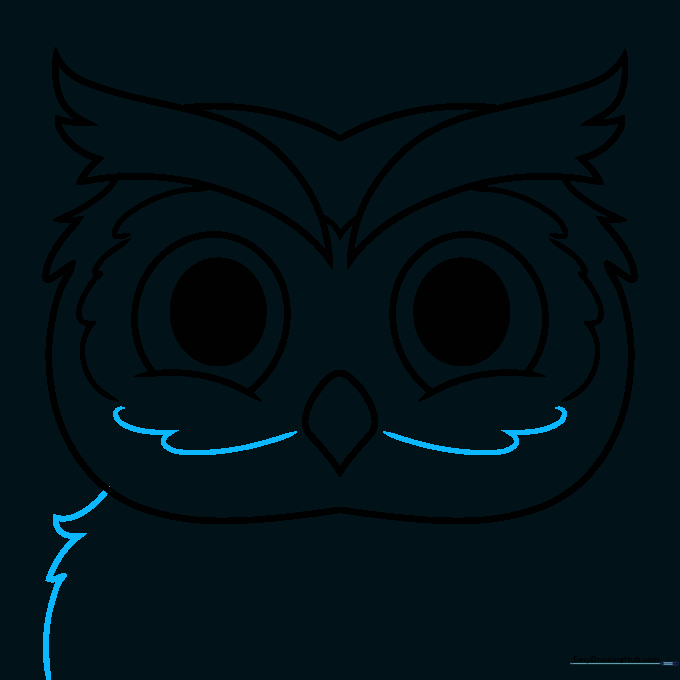
Extend two vertical lines downward and add curved triangles to outline the chest. Teacher's Tip: Imagine you are drawing a soft, cozy sweater for your owl.
Step 8: Adding Chest Details
Add small dashes on the body to suggest feather patterns. Teacher's Tip: Keep these marks short and spaced out to avoid overcrowding the drawing.
Step 9: Final Touches
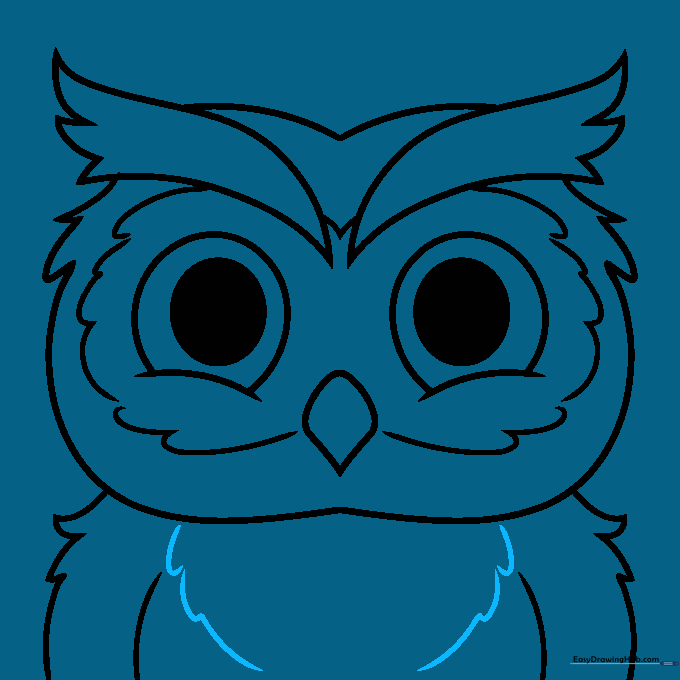
Refine your lines and add any final fluff details. You can even draw a branch or a nest in the background! Teacher's Tip: Use your eraser to clean up any overlapping lines from your initial sketch.
Step 10: Bringing Your Owl to Life with Color
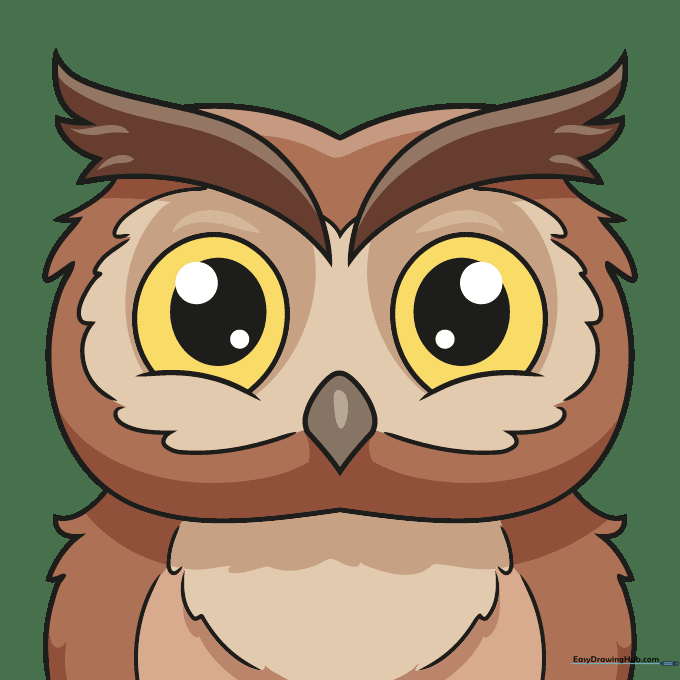
Trace your lines with a black marker. Use warm reddish-browns for the feathers, a soft gray for the beak, and bright yellow for the eyes. Teacher's Tip: Leave a tiny white dot in the pupils to make the eyes look shiny and alive!
More Tutorials


