How to Draw an Ostrich: Easy 10-Step Guide for Kids
Ready to draw the world's largest bird? This tutorial is perfect for artists ages 5 and up. All you need is a pencil, an eraser, and a piece of paper to bring this funny, long-necked creature to life.
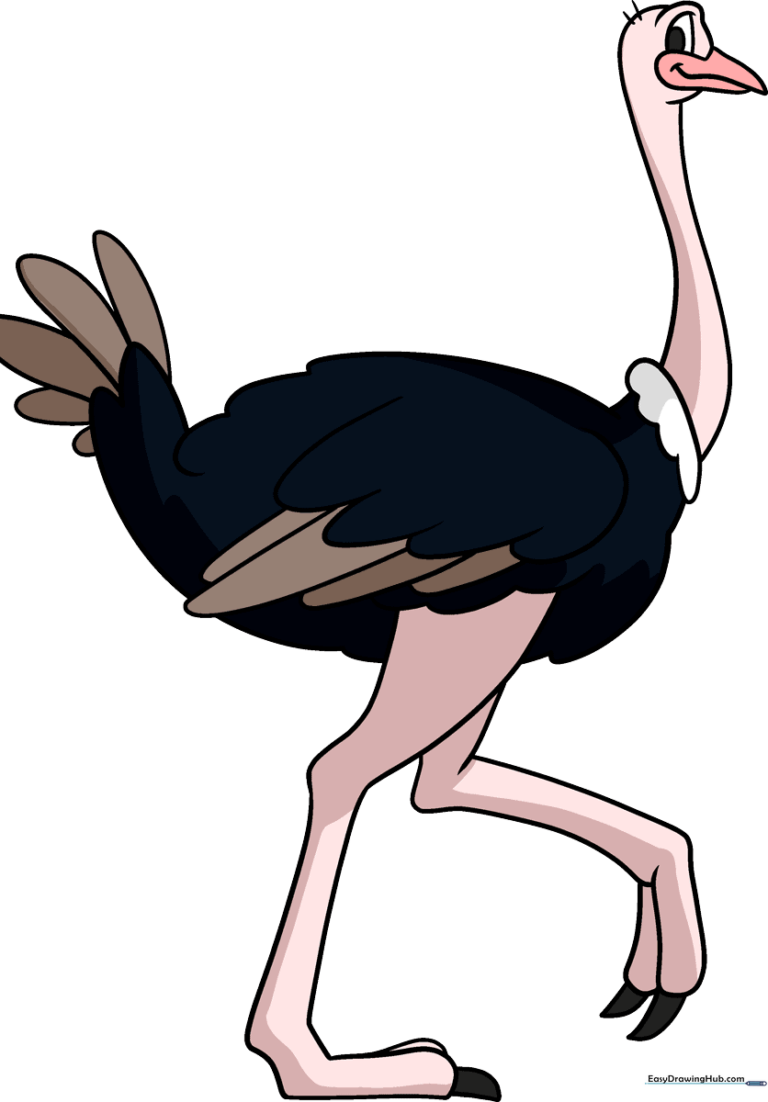
🎯 Final Result
Step-by-Step Instructions
Step 1: Sketching the Head

Start by drawing the ostrich's head using smooth, curved lines for the beak, eye, and brow. Teacher's Tip: Keep your pencil pressure light so you can easily adjust the beak shape if it looks a bit lopsided.
Step 2: Adding the Long Neck
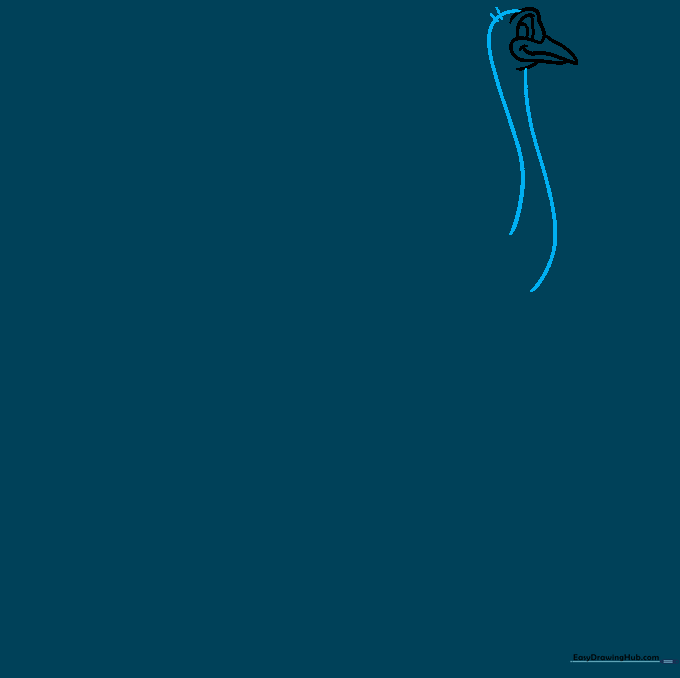
Extend two long, graceful curved lines downward from the head to create the neck. Add two small lines at the top of the head for a few messy feathers. Tip: The longer you make these neck lines, the more 'ostrich-like' your bird will look!
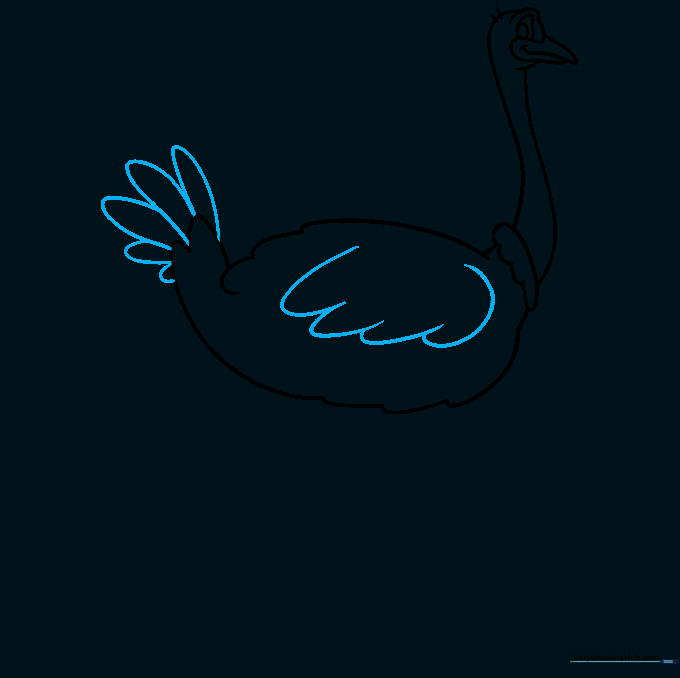
Step 3: Creating the Feather Frill
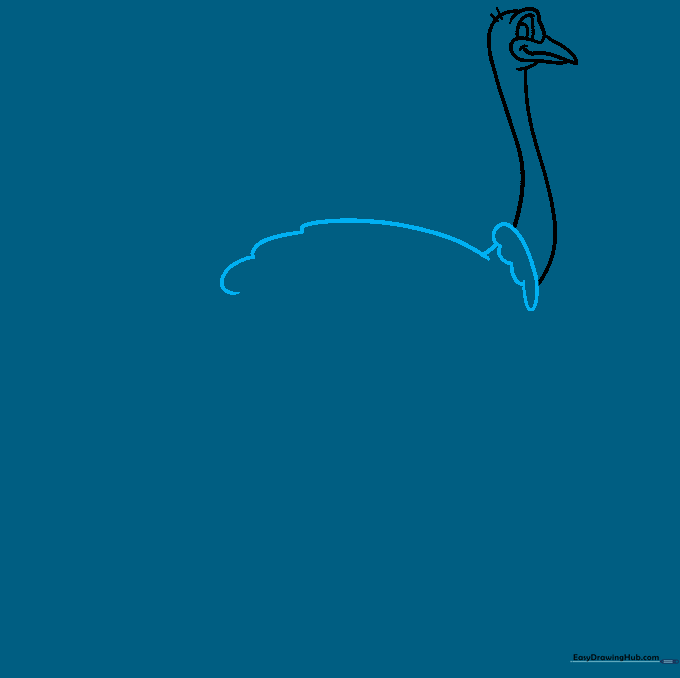
Draw a series of connected, wavy lines around the base of the neck to show fluffy feathers. Start sketching the wing shape nearby. Tip: Use a 'bumpy' motion with your wrist to make the feathers look soft and textured.
Step 4: Defining the Body
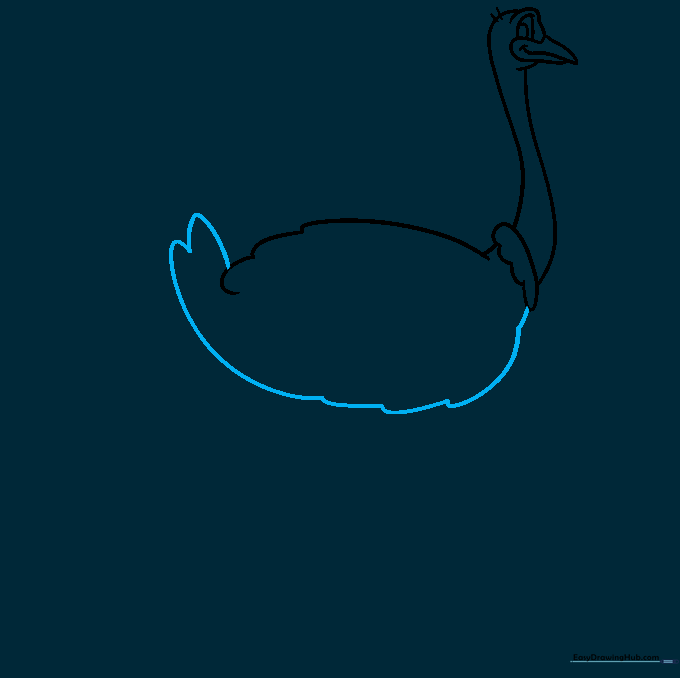
Use one long, continuous curved line to outline the chest, belly, and tail area. Keep the line wavy to suggest the texture of feathers. Tip: Imagine you are drawing a large, rounded bean shape for the body.
Step 5: Adding Tail and Wing Details
Draw long 'U' shaped lines to create the tail feathers and the wing. Tip: Vary the size of your 'U' shapes to make the feathers look natural and layered.
Step 6: Refining the Wing
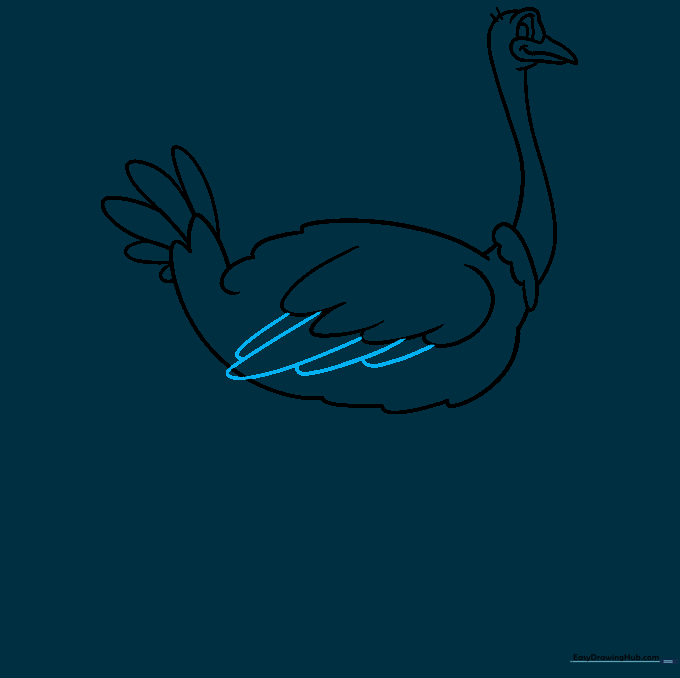
Add more 'U' shaped lines to the outer edge of the wing to give it volume. If you make a mistake, just erase it gently and try again! Tip: Don't worry about perfection; ostriches have messy, fluffy feathers.
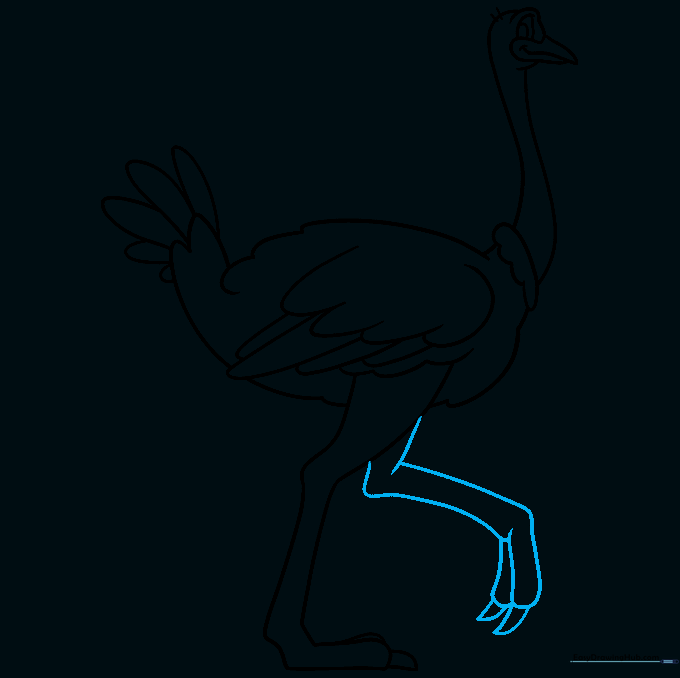
Step 7: Sketching the Thigh
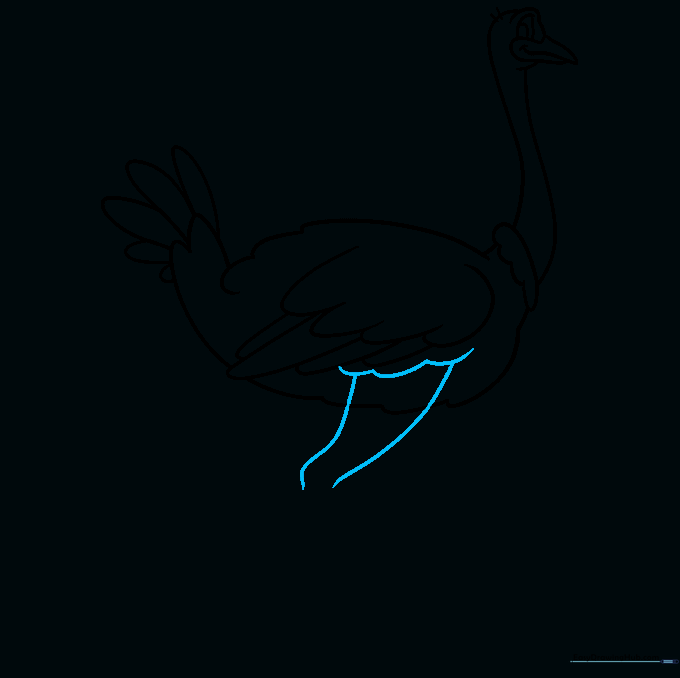
Draw a wavy line where the leg meets the body, then extend two curved lines downward to form the strong thigh. Tip: Ostriches are fast runners, so draw the thigh thick and sturdy.
Step 8: Drawing the Foot
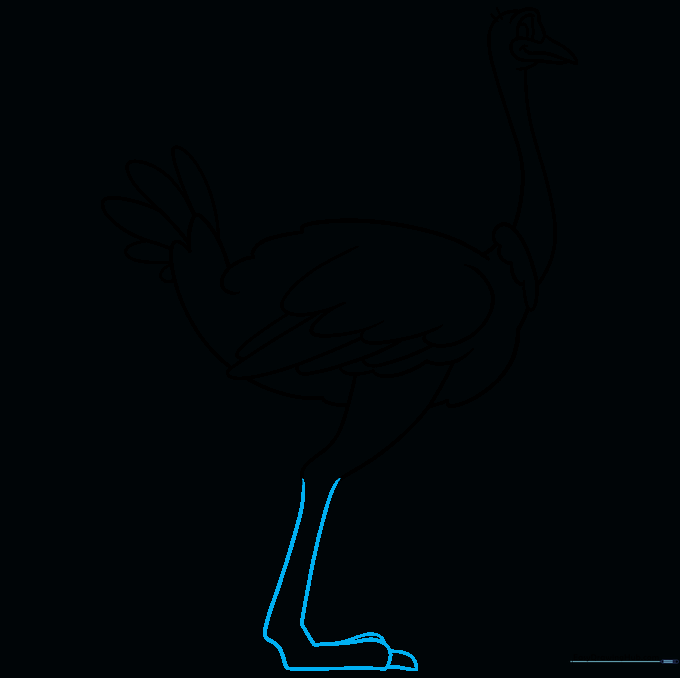
Extend a curved line from the leg to form the lower leg and the first toe. Add more curved lines for the other toes and the sharp claw. Tip: Look closely at the claw shape—it's like a small, pointed triangle.
Step 9: Adding the Second Leg
Draw the second leg behind the first one, using overlapping lines to show depth. Don't forget the sharp claws! Tip: Overlapping lines are a great way to make your drawing look 3D.
Step 10: Bringing it to Life with Color
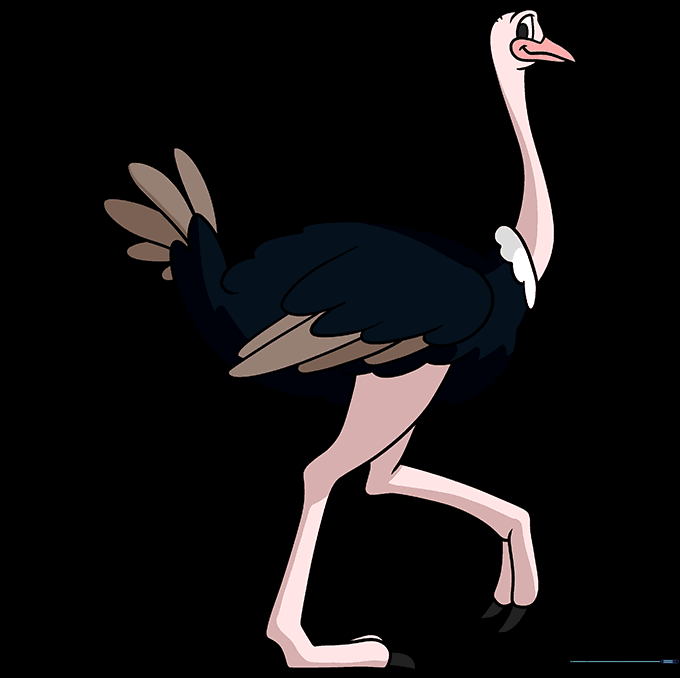
Time to color! We used black and white for a classic male ostrich look. If you want to draw a female, try using shades of brown for a natural camouflage effect. Tip: Use light pressure with your crayons to blend colors smoothly.
More Tutorials


