How to Draw an Orangutan: Easy 9-Step Guide for Kids
Bring the rainforest to your sketchbook with this fun, beginner-friendly orangutan tutorial. Designed for ages 5 and up, this activity requires only a pencil, paper, and eraser to build confidence in character sketching. Follow along to create a charming, furry primate friend in just a few simple steps.
🎯 Final Result

Step-by-Step Instructions
Step 1: Sketching the Face

Start by drawing the orangutan's face. Use curved lines for the mouth, eye ridges, and nostrils. Teacher's Tip: Keep the eyes small and centered; drawing them as half-circles makes the expression look much friendlier.
Step 2: Defining the Facial Features
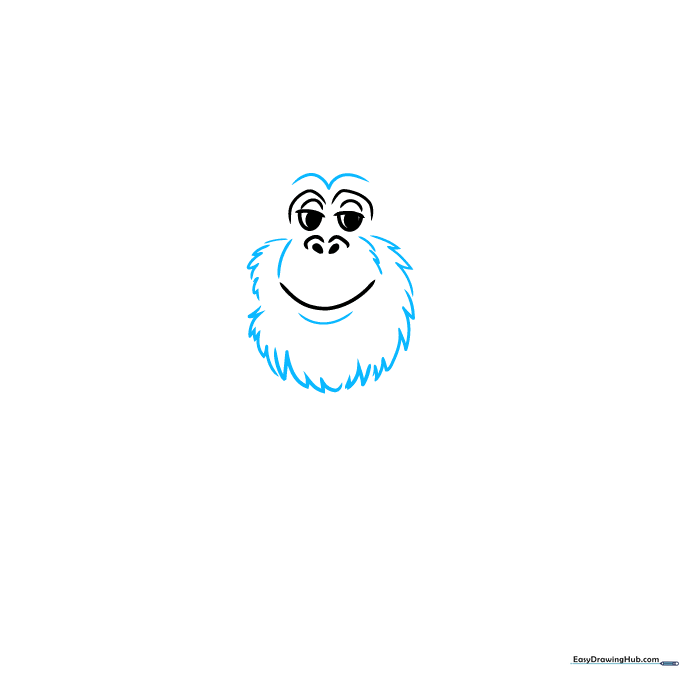
Draw a curved 'M' shape above the eyes and add lines around the mouth. Tip: Use short, quick strokes to create the texture around the mouth—this makes the fur look soft and realistic.
Step 3: Adding the Mustache and Beard

Enclose a mustache shape above the mouth and connect it to the beard area using jagged lines. Tip: Don't worry about making these lines perfectly smooth; jagged edges are perfect for representing shaggy animal hair.
Step 4: Sketching the Shoulders

Use jagged, overlapping lines to draw the furry shoulders. Tip: Imagine the fur is hanging down; draw your lines in a downward motion to capture the weight of the hair.
Step 5: Drawing the Forearm and Hand
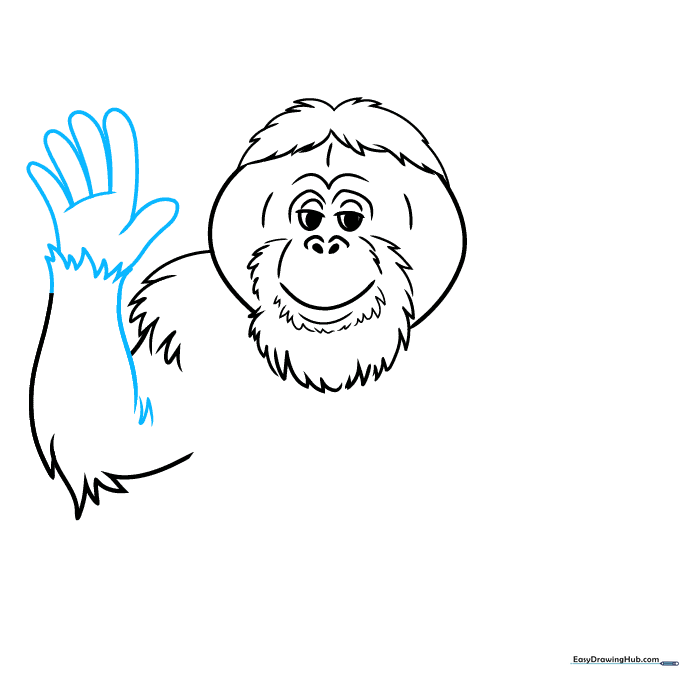
Complete the forearm and sketch the hand using overlapping curved lines for the fingers. Tip: Keep the fingers slightly curved to make the hand look like it's gripping a branch.
Step 6: Adding Arm Detail
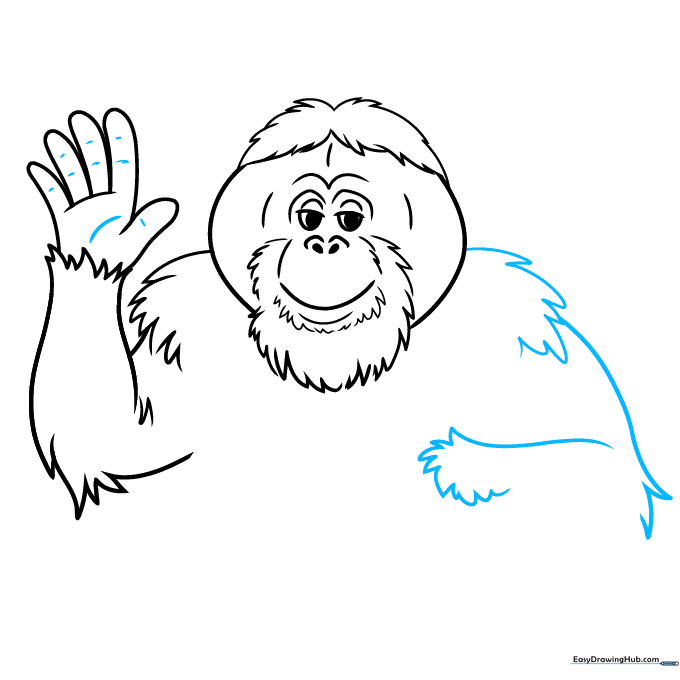
Contour the hand and continue the furry arm lines. Tip: Use varying lengths for your jagged lines to make the fur look natural and layered.
Step 7: Drawing the Legs
Use 'U' shaped lines for the fingers and begin the leg structure. Tip: Orangutans have long limbs; make sure your leg lines are nice and long to keep the proportions correct.
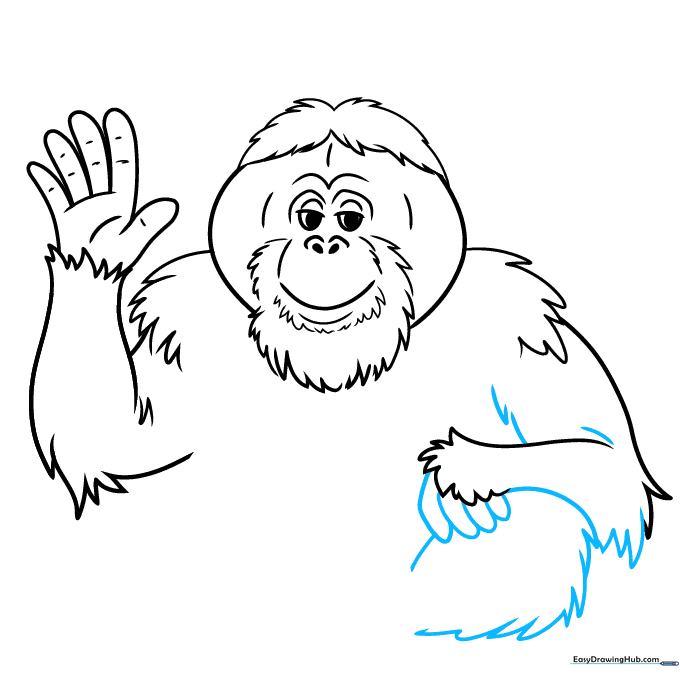
Step 8: Completing the Lower Body
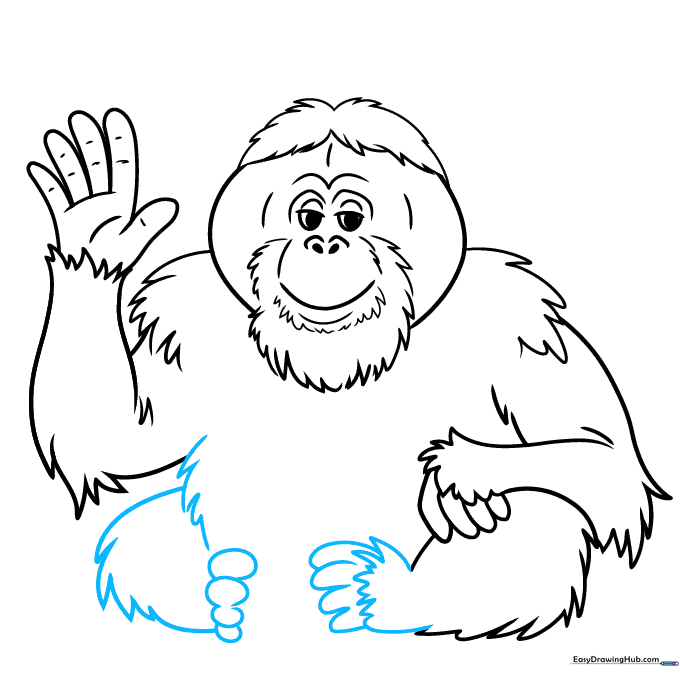
Finish the legs and draw the toes using overlapping curves. Tip: If the toes look too small, don't worry—just erase and make them slightly wider to give the feet a sturdy look.
Step 9: Final Touches
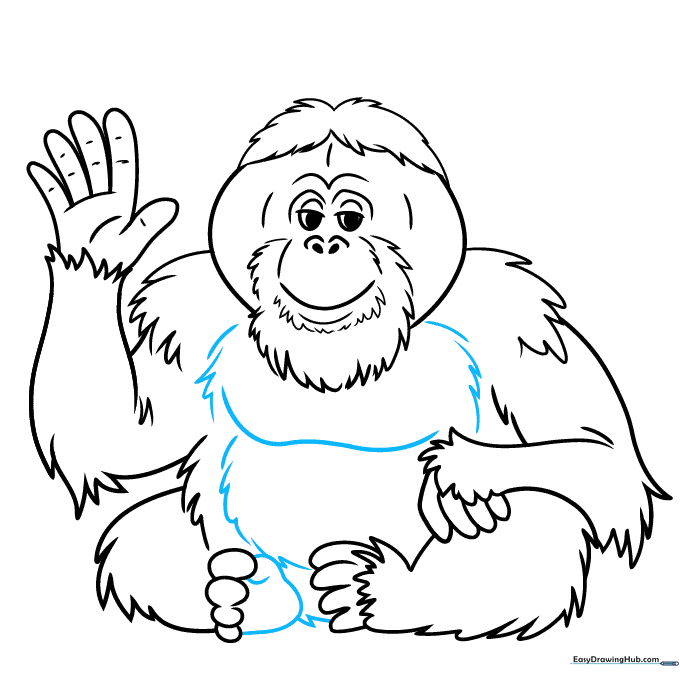
Enclose the feet and define the chest and belly with more jagged fur lines. Tip: Use a long, sweeping curved line across the chest to separate the belly from the upper body.
Step 10: Coloring Your Masterpiece

Time to add color! Use vibrant reddish-orange for the fur and a deep brown for the face, hands, and feet. Tip: Use light pressure with your brown pencil to create shadows on the face for a 3D effect.
More Tutorials


