How to Draw an Orange Tree: Easy 10-Step Guide
Bring a sunny orchard to your sketchbook with this fun, beginner-friendly orange tree tutorial. Designed for ages 5 and up, this screen-free activity helps children practice controlled line work and shape recognition. All you need is a pencil, an eraser, and your favorite coloring markers to get started.
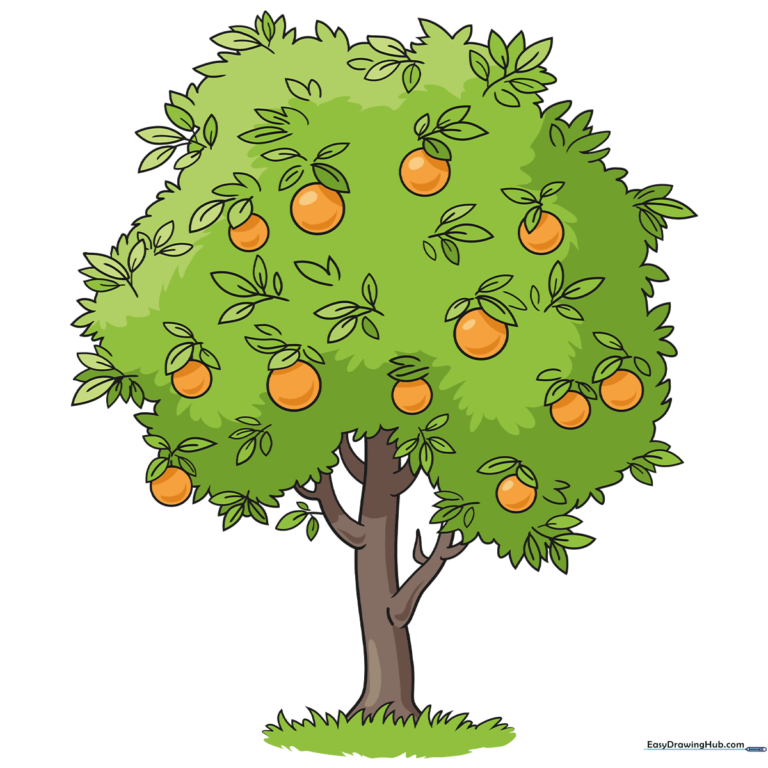
🎯 Final Result
Step-by-Step Instructions
Step 1: Sketching the Ground and Trunk
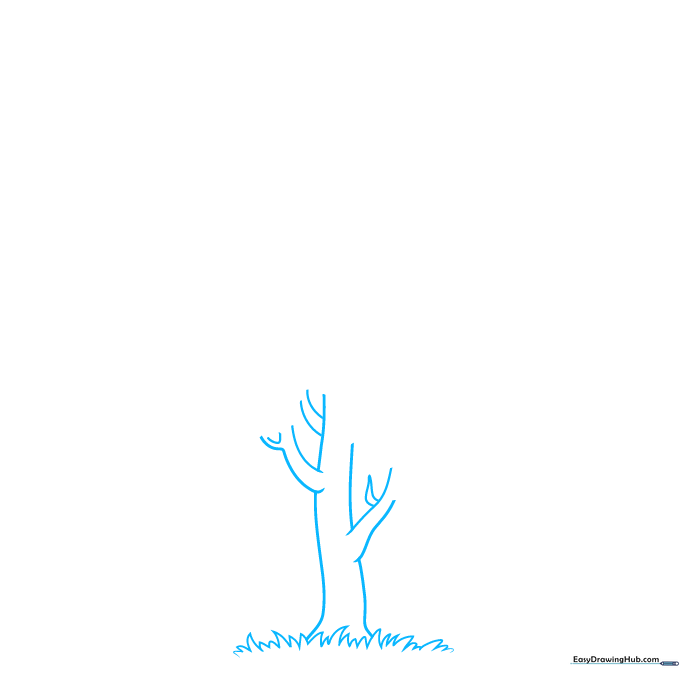
Start by drawing the grassy patch at the base using short, zigzagging lines. From the center, draw two slightly curved lines moving upward to form the trunk. Tip: Keep the trunk wider at the bottom to give your tree a sturdy, realistic look.
Step 2: Shaping the Canopy and Leaves
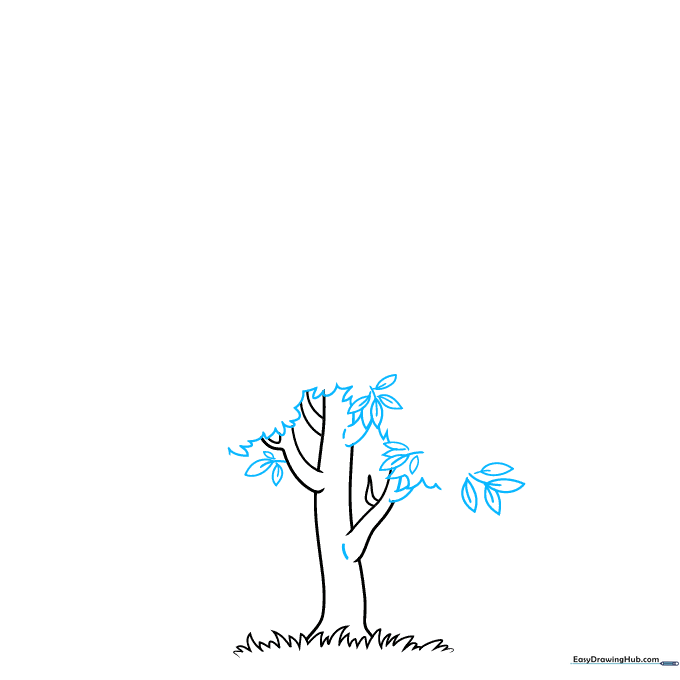
Begin the leafy canopy by drawing large, fluffy, cloud-like curves around the top of the trunk. Add a few individual leaves by drawing two curved lines meeting at a point. Tip: Add a small line down the center of each leaf to represent the vein.
Step 3: Adding Your First Orange
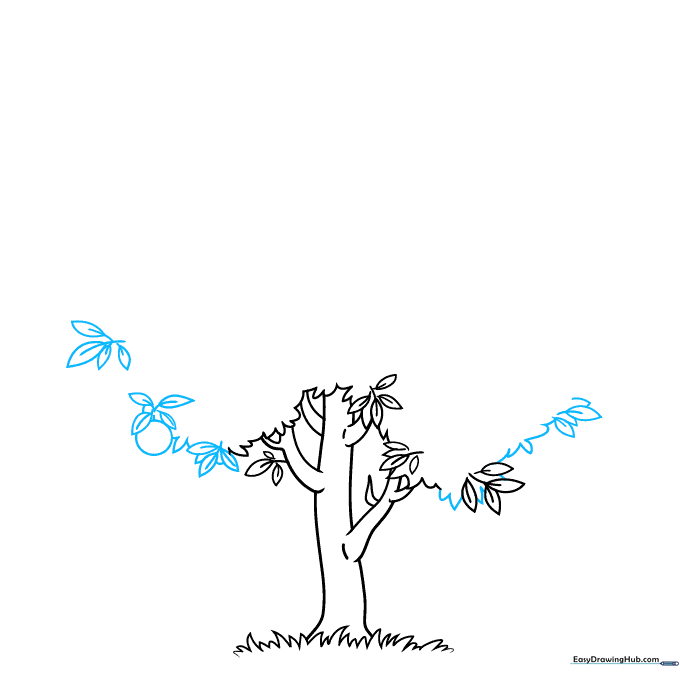
Continue building the canopy with more jagged, leafy shapes. Now, draw a perfect circle hanging from a branch to represent your first orange. Tip: Make sure the circle is tucked slightly behind a leaf to make it look like it's growing on the tree.
Step 4: Expanding the Canopy
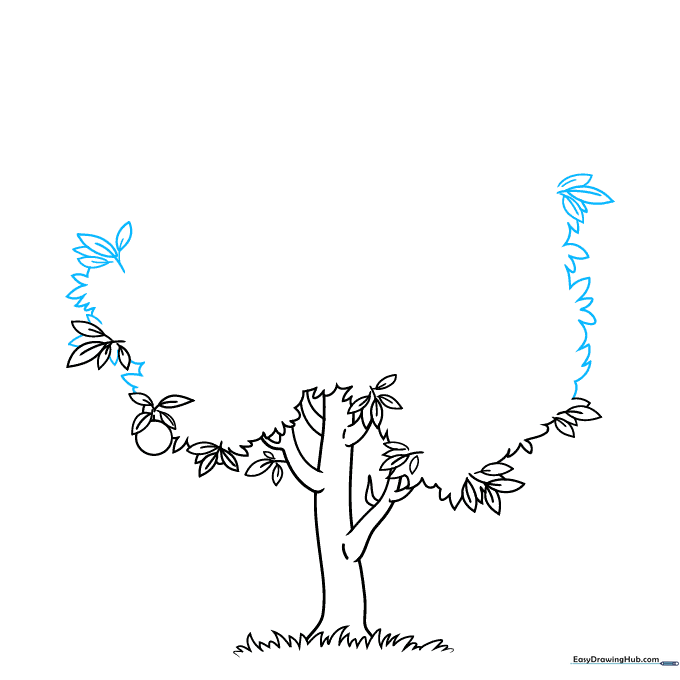
Keep adding more leafy clusters to the upper-left side of the tree. Use short, overlapping curved lines to create a sense of volume. Tip: Don't worry about making the leaves perfect; nature is full of unique shapes!
Step 5: Filling the Right Side
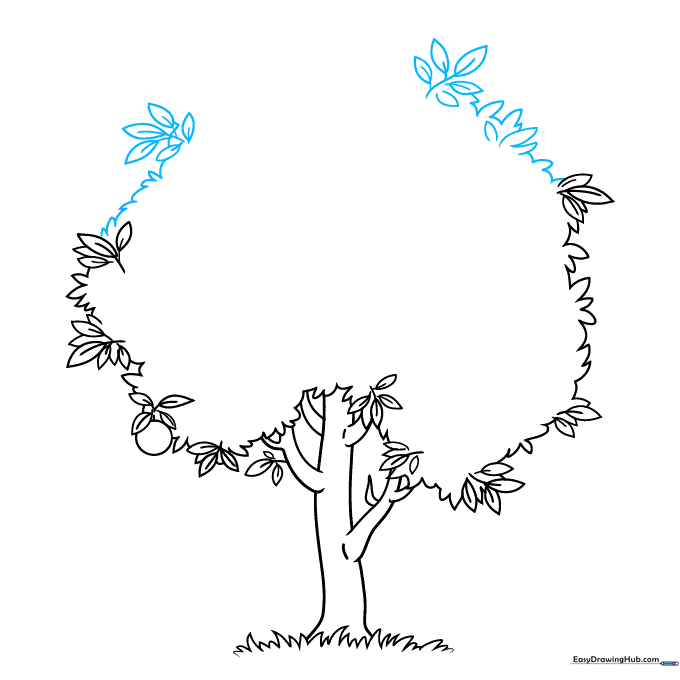
Mirror your progress by adding more leafy bunches to the right side of the canopy. Keep your lines loose and energetic. Tip: If your lines get too messy, use your eraser to clean up the overlapping areas.
Step 6: Closing the Canopy Top
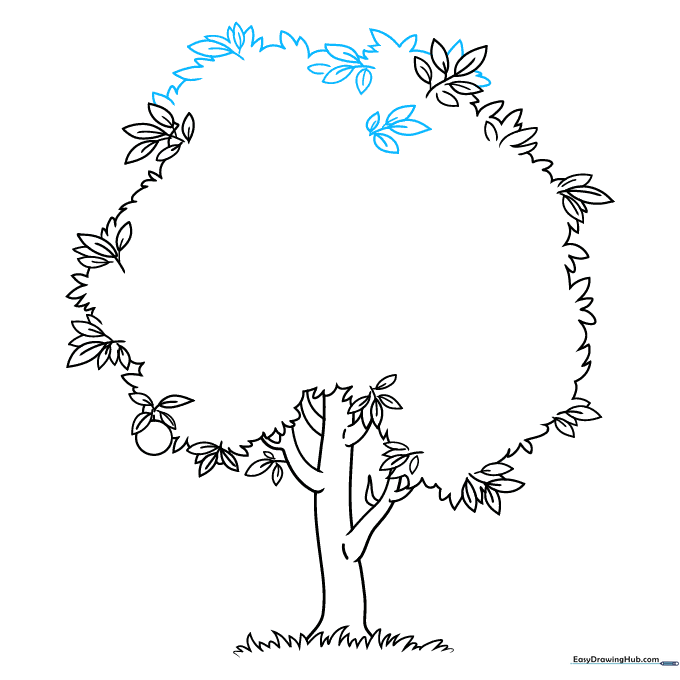
Draw the very top of the tree, connecting your previous lines into a rounded, bushy shape. Add a few more leaf details near the crown. Tip: Vary the size of your leaves to make the tree look more natural.
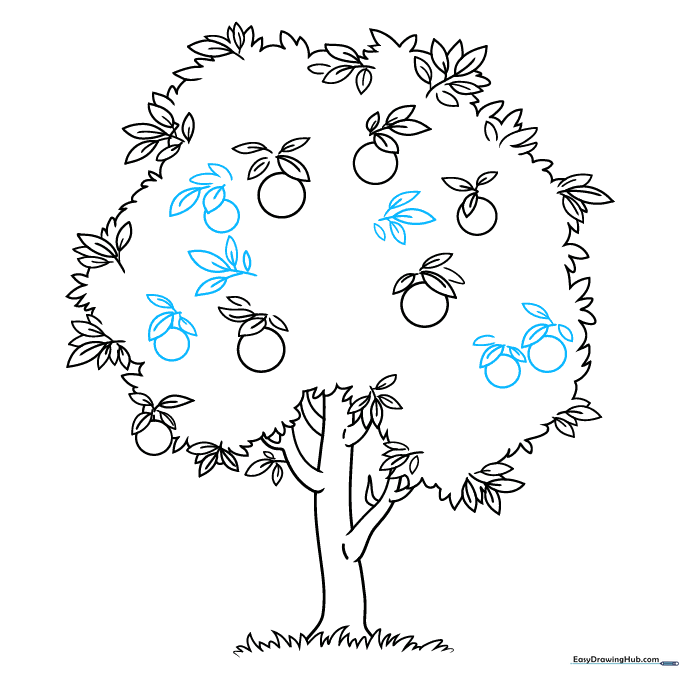
Step 7: Adding More Fruit
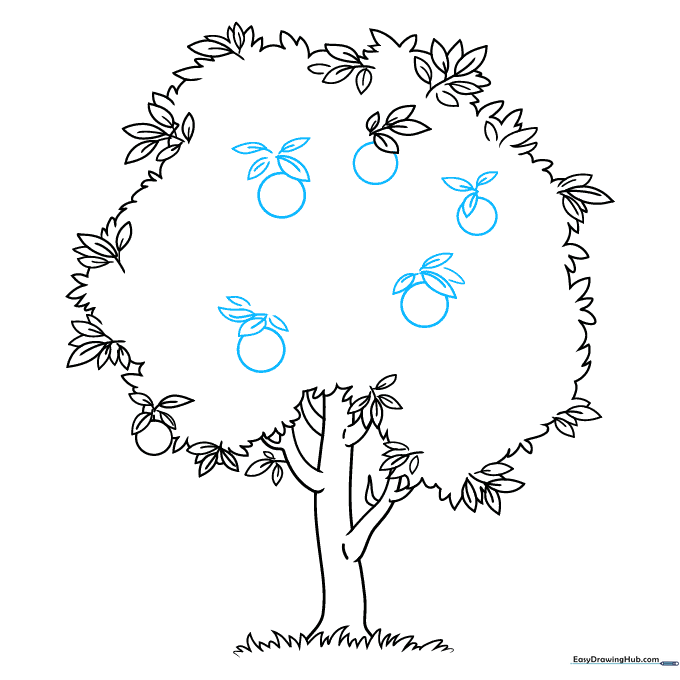
Now, let's add more oranges! Draw a few more circles nestled within the leaves. Tip: Place them at different heights to show that the tree is full and healthy.
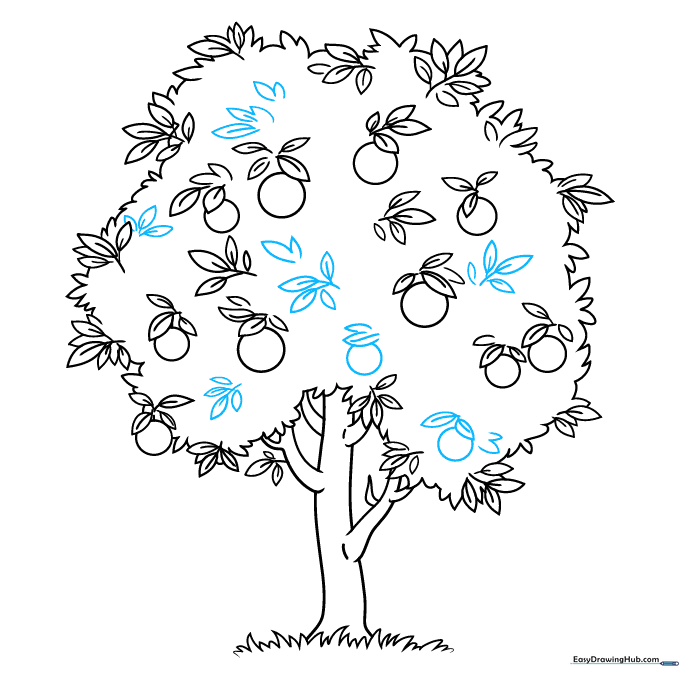
Step 8: Adding Texture and Detail
Fill in any empty gaps in the canopy with extra leaves. This makes the tree look lush. Tip: Use small, quick strokes to create the texture of a dense tree.
Step 9: Final Touches
Review your drawing and add any final oranges or leaves you think the tree needs. Ensure all your lines are clear. Tip: Darken your final outline with a pen before you start coloring.
Step 10: Bringing it to Life with Color
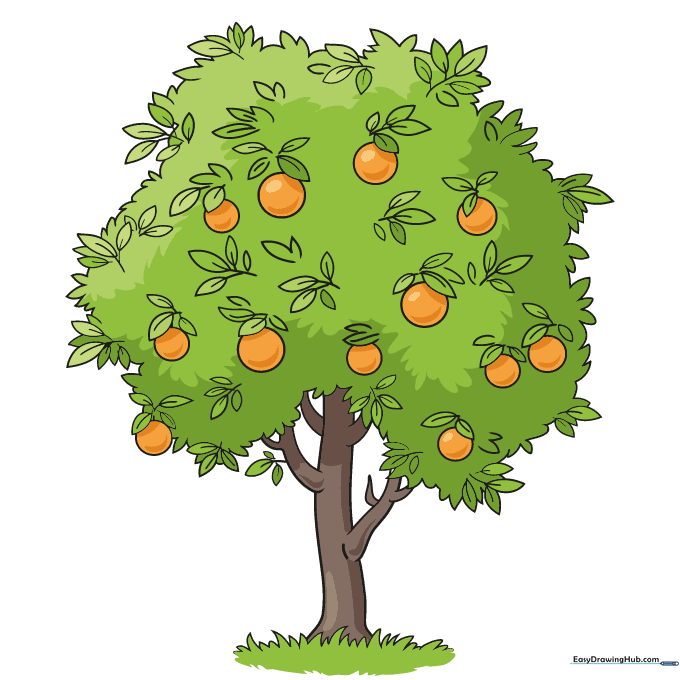
Time to color! Use bright orange for the fruit and a vibrant green for the leaves. Tip: Try using two shades of green—a light one for the highlights and a darker one for the shadows—to give your tree a 3D effect.
More Tutorials


