How to Draw an Orange Tabby Cat: Easy 10-Step Guide
Ready to bring a friendly tabby to life? This tutorial is perfect for young artists ages 5 and up. All you need is a pencil, an eraser, and some paper to practice these simple shapes. By the end, you will have a charming, striped feline friend ready for your sketchbook.
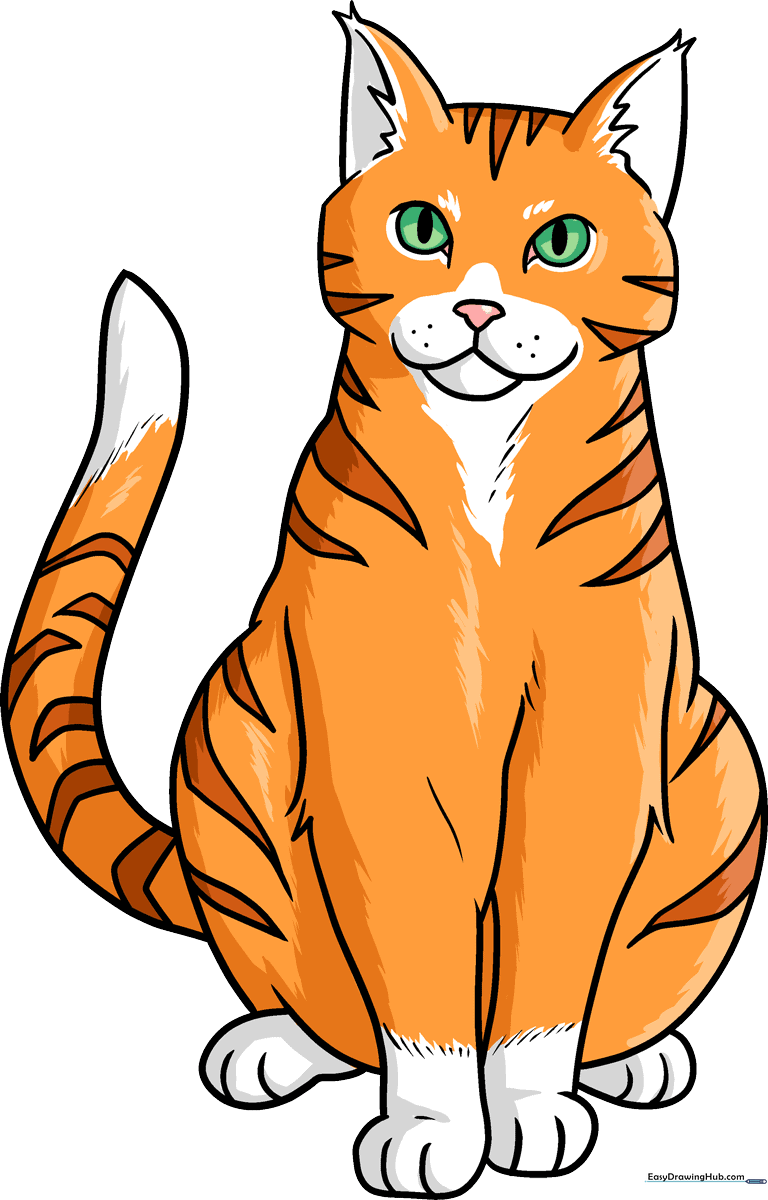
🎯 Final Result
Step-by-Step Instructions
Step 1: Sketching the Expressive Eyes

Start by drawing the cat’s eyes using curved lines for the lids and large circles for the pupils. Teacher's Tip: Keep your pencil pressure light here; if the eyes are too dark, they are harder to fix later if you want to adjust the expression.
Step 2: Defining the Face and Whiskers

Outline the cheeks and ears using jagged, short lines to mimic soft fur. Add three small dots on either side of the nose for whisker spots. Teacher's Tip: Use quick, flicking motions with your pencil to make the fur look fluffy rather than stiff.
Step 3: Forming the Neck and Body
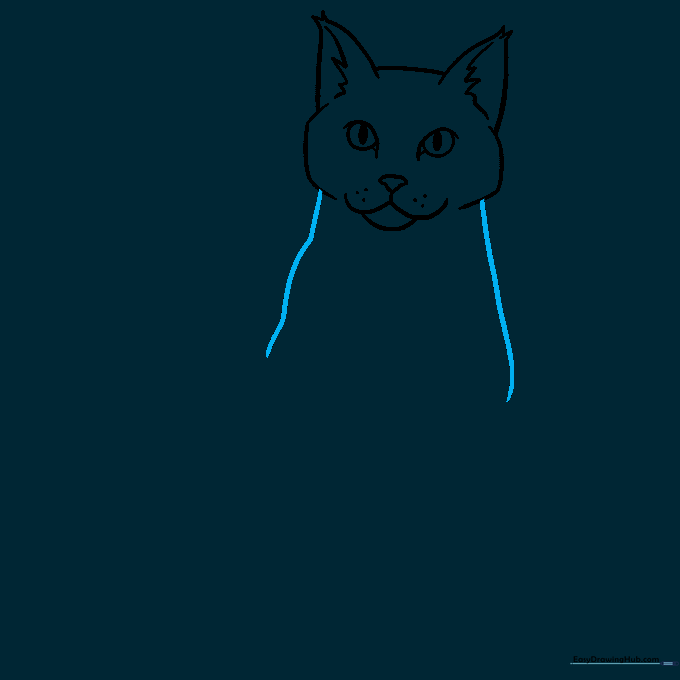
Extend two curved lines downward from the head to create the neck and upper body. Teacher's Tip: Think of the cat's neck as a gentle 'V' shape to give it a natural, graceful posture.
Step 4: Sketching the First Front Leg
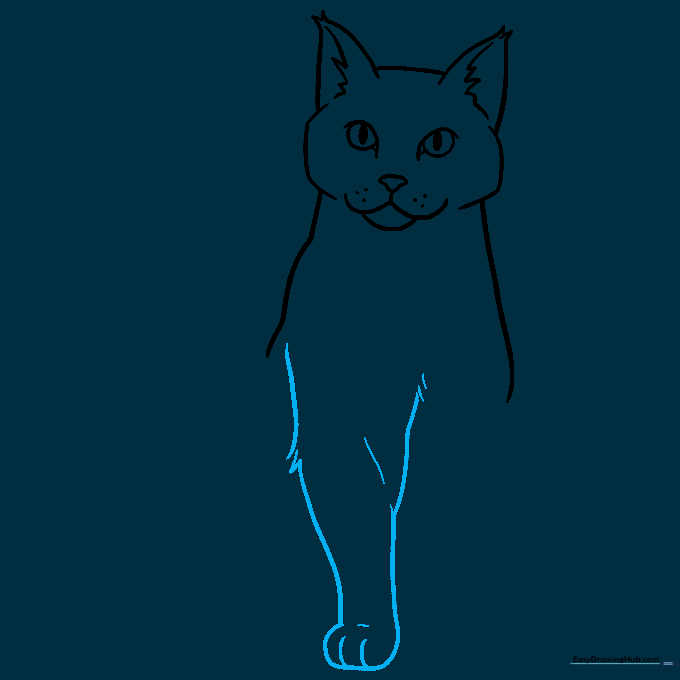
Draw the front leg using overlapping lines to show the knee joint. Add small 'U' shapes at the bottom for the toes. Teacher's Tip: Keep the paw slightly rounded to make it look soft and realistic.
Step 5: Adding the Second Leg
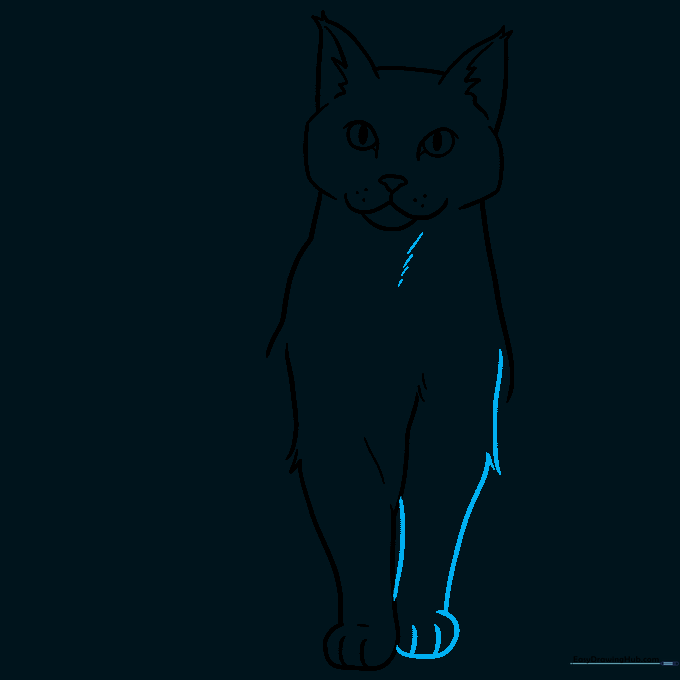
Draw the second front leg tucked slightly behind the first. Use jagged lines at the joints to suggest fur texture. Teacher's Tip: Overlapping the legs slightly creates a sense of depth in your drawing.
Step 6: Drawing the Rear Leg
Sketch the haunch and back leg using a large, smooth curved line. Add the paw at the bottom. Teacher's Tip: The back leg should look a bit thicker than the front legs to represent the cat's powerful muscles.
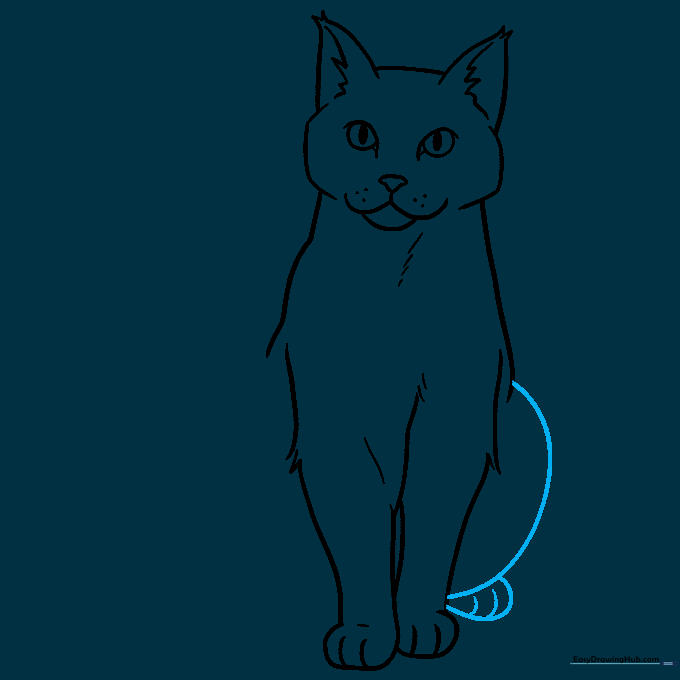
Step 7: Completing the Body and Tail

Add the final rear leg and draw a long, sweeping tail extending from the hip. Teacher's Tip: Make the tail slightly thicker at the base and taper it toward the end for a natural look.
Step 8: Adding Iconic Tabby Stripes
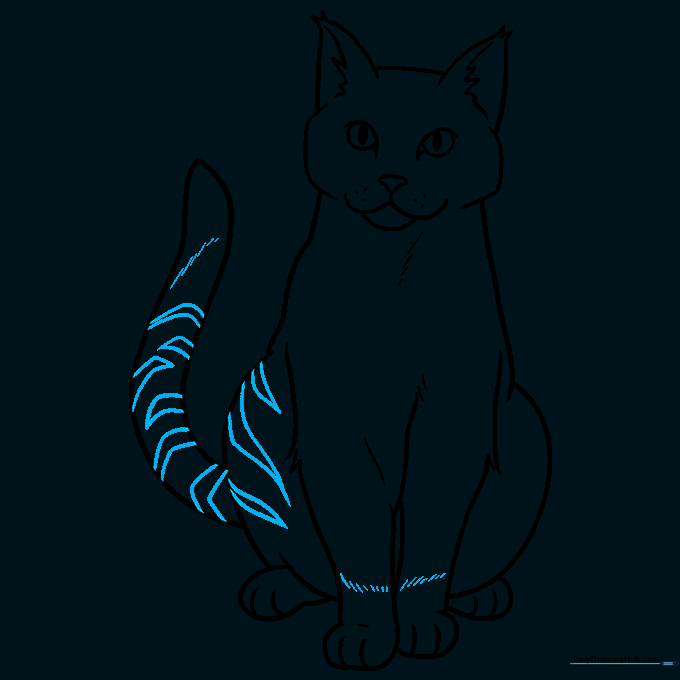
Draw stripes along the tail and legs using jagged 'V' shapes. Teacher's Tip: Don't make the stripes perfectly symmetrical; real tabby cats have unique, irregular patterns!
Step 9: Final Details

Add stripes to the face and body to complete the tabby look. Teacher's Tip: Focus on the forehead stripes—they often form an 'M' shape on real tabby cats!
Step 10: Bringing Your Cat to Life with Color

Time to color! Use bright orange for the coat and a darker shade for the stripes. Teacher's Tip: Leave the nose and paws a lighter shade or white to add contrast and make your drawing pop.
More Tutorials


