How to Draw an Orange Blossom: Easy 10-Step Guide
Capture the delicate beauty of nature with this beginner-friendly orange blossom tutorial. Designed for young artists and classroom settings, this guide requires only a pencil, paper, and an eraser. Follow these steps to master organic shapes and botanical details while building your confidence as an illustrator.
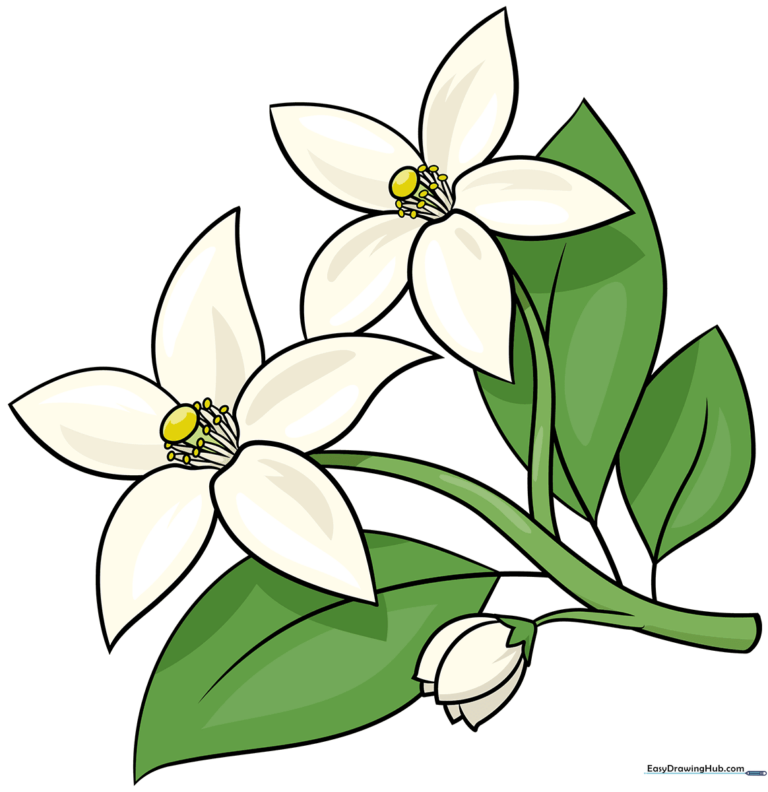
🎯 Final Result
Step-by-Step Instructions
Step 1: Sketching the Petal Base
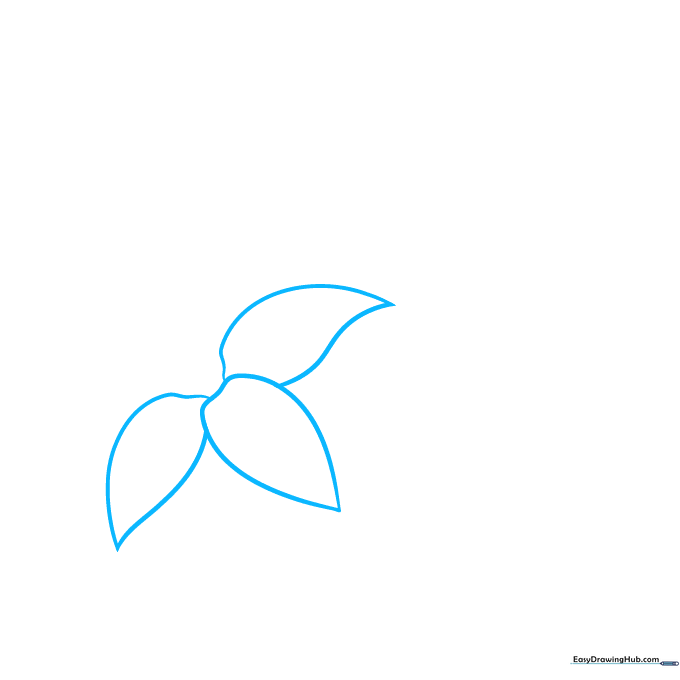
Start by drawing three teardrop shapes with flattened bottoms to form the base of your flower. Teacher's Tip: Keep your pencil pressure light so you can easily adjust the petal placement if needed.
Step 2: Adding the Stamens
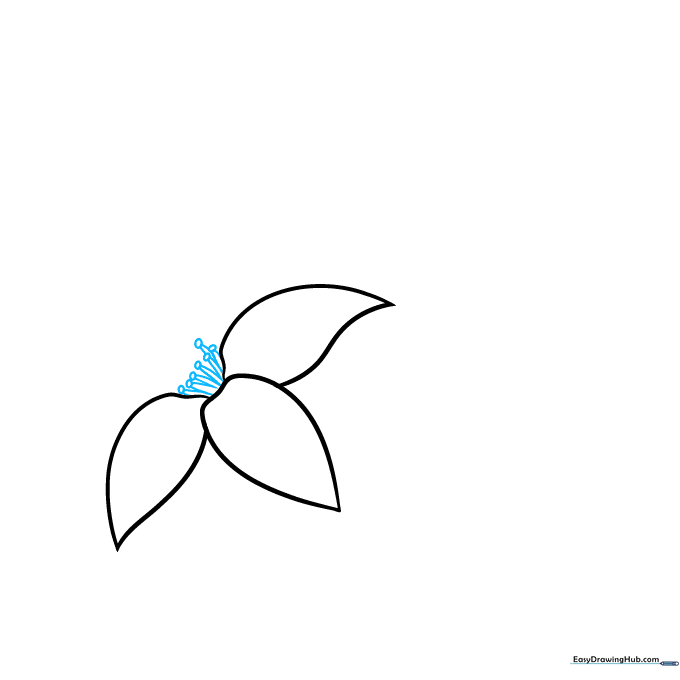
Draw the stamens by creating small circles for the pollen-bearing anthers, connected to the center by thin, curved filament lines. Tip: Use short, quick strokes to keep the lines looking natural and organic.
Step 3: Defining the Stigma and Petals
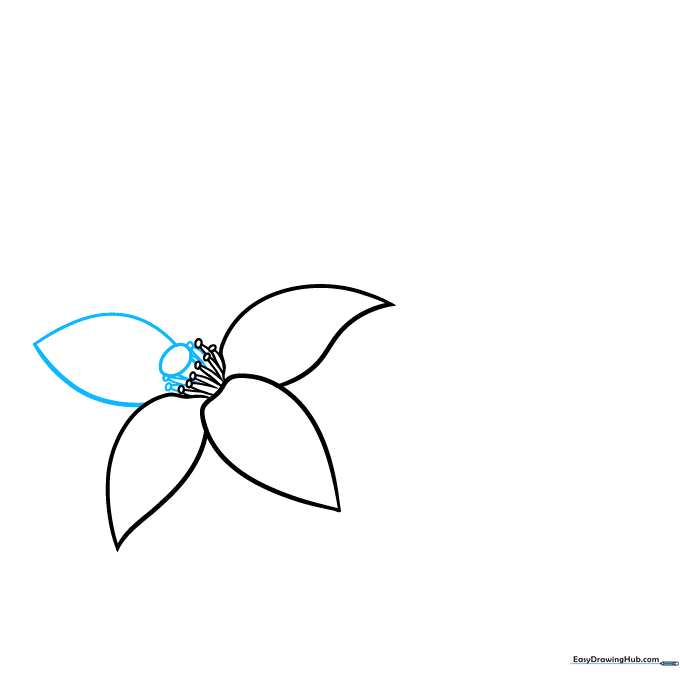
Place a central oval for the stigma and add more stamens around it. Then, sketch another teardrop petal by joining two lines at a sharp point. Tip: Vary the size of your petals slightly to give the flower a realistic, non-symmetrical look.
Step 4: Expanding the Cluster

Draw the fifth petal to complete the first flower. Then, begin a second blossom nearby by sketching two petals and the start of its stamen filaments. Tip: Think of these as a cluster, so keep the two flowers close together.
Step 5: Detailing the Second Flower
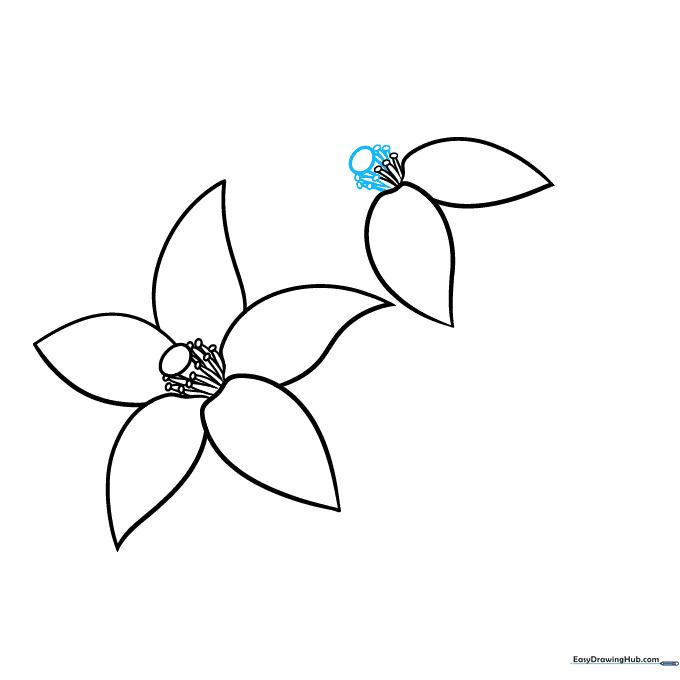
Add a central oval and additional stamens to the second flower. Tip: Ensure the stamens radiate outward from the center to create depth.
Step 6: Adding the Twig
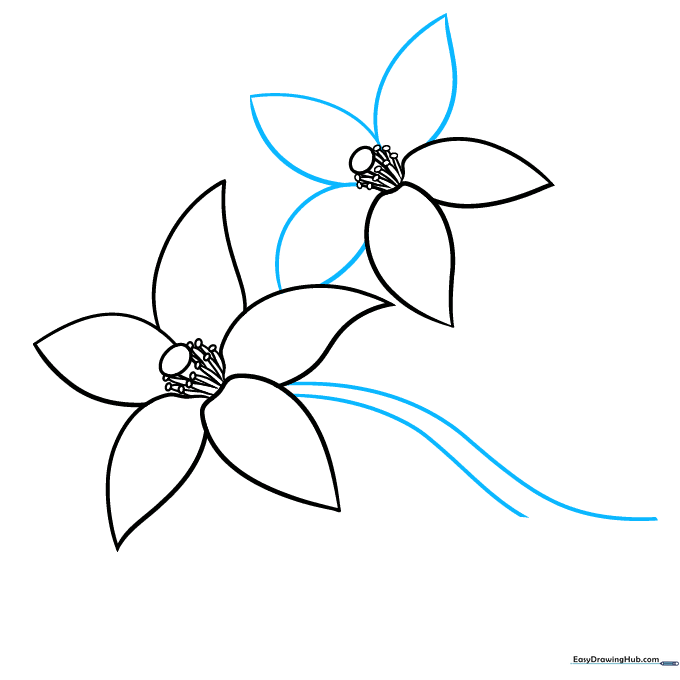
Draw three more petals for the second flower. Connect the flowers using wavy, parallel lines to represent the woody twig they grow on. Tip: Wavy lines make the twig look more natural and less like a stiff ruler line.
Step 7: Branching Out
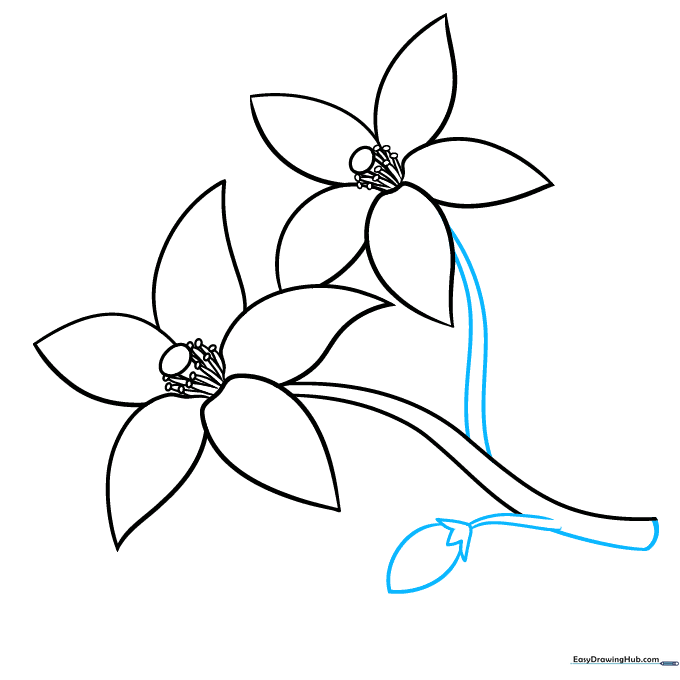
Extend the twig to create a branch. Add an unopened blossom at the tip by drawing a small triangle shape with three points, then adding petals around it. Tip: Unopened buds are usually smaller and tighter than the fully bloomed flowers.
Step 8: Adding Leaves
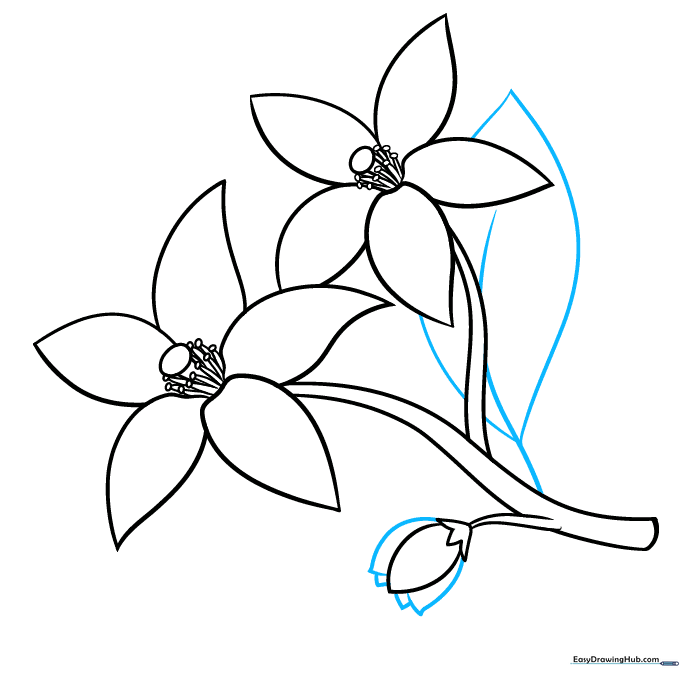
Detail the bud with four small petals. Then, sketch a leaf behind the flowers using a long, curved central vein and two outer edges that meet at a point. Tip: Leaves provide a great contrast to the rounded flower petals.
Step 9: Final Foliage
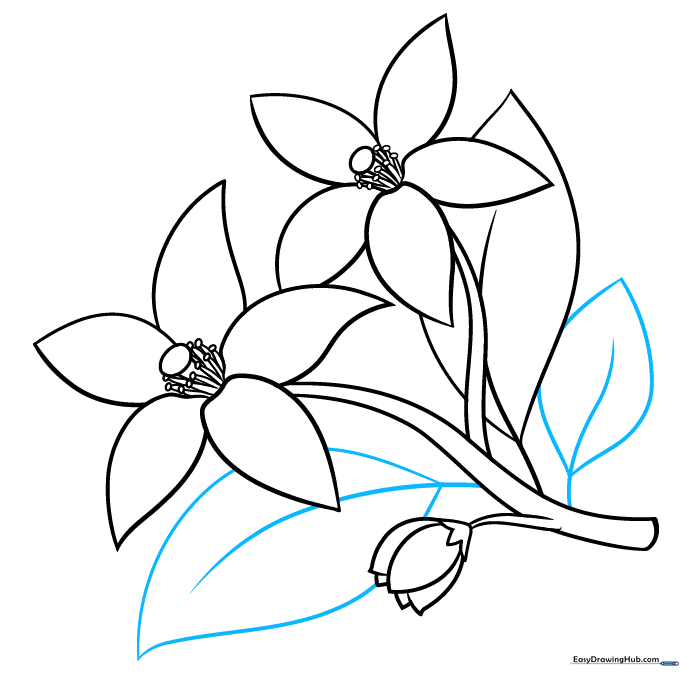
Draw two more leaves to balance your composition. Use the same technique: a central vein line followed by the outer leaf shape. Tip: Overlapping leaves slightly can make your drawing look more professional and layered.
Step 10: Bringing it to Life with Color
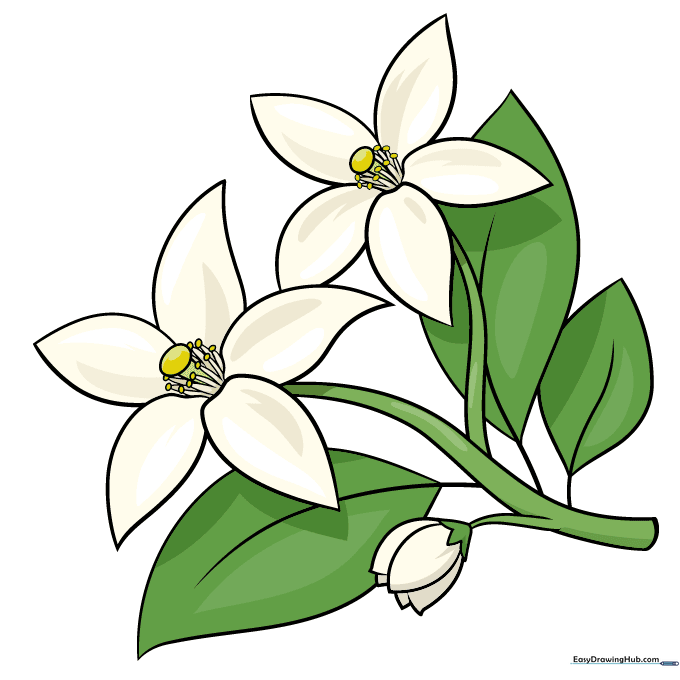
Your outline is complete! Now, add color. Remember that orange blossoms are typically white with yellow-tipped stamens and deep green leaves. Tip: Use a light grey or blue to shade the white petals so they don't look flat.
More Tutorials


