How to Draw an Onion: Easy 10-Step Guide for Kids
Ready to bring a garden vegetable to life? This tutorial is perfect for young artists ages 5 and up. All you need is a pencil, an eraser, and a piece of paper to practice these organic shapes and textures.
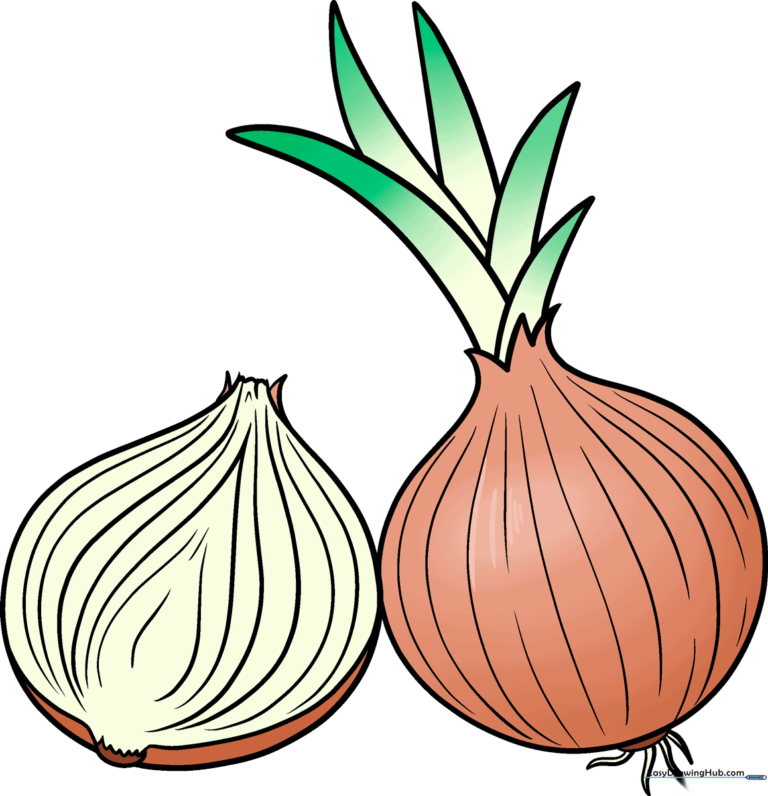
🎯 Final Result
Step-by-Step Instructions
Step 1: Sketching the Main Bulb

Draw a large teardrop shape, but leave the top open. Connect the top with a small zigzag line to suggest the stem area. Tip: Keep your pencil pressure light so you can easily adjust the shape if needed.
Step 2: Adding Inner Layers
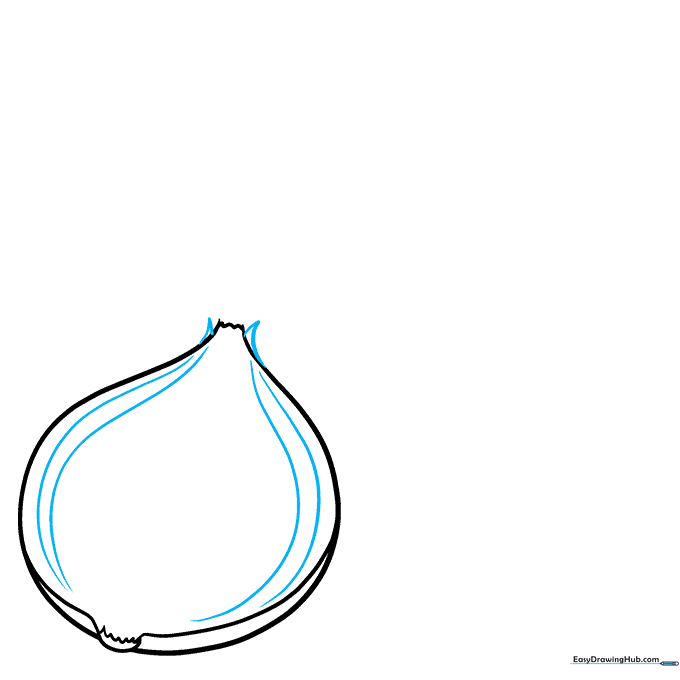
Add small curved triangles at the top opening. Then, draw long, sweeping lines down the sides of the bulb. Tip: These lines represent the onion's layers, so try to keep them smooth and flowing.
Step 3: Defining the Apex
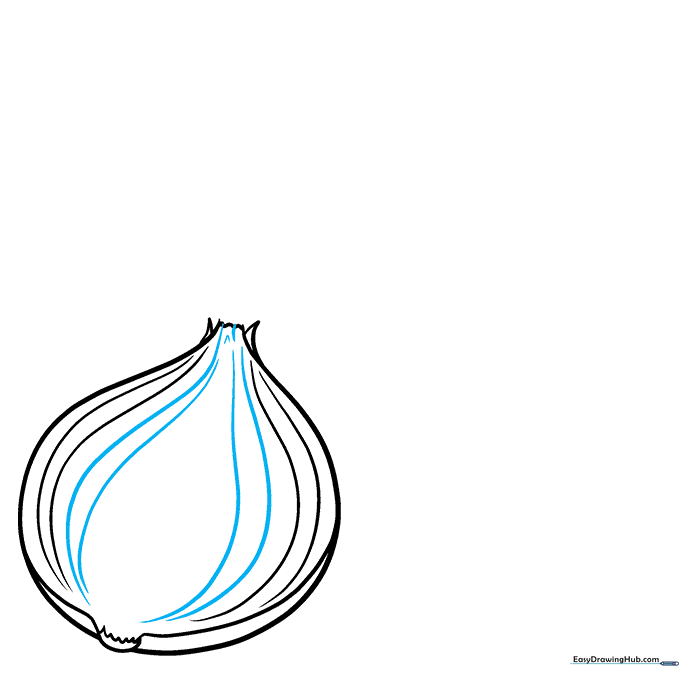
Continue adding curved lines to define the internal scales. Add a small 'V' shape near the top to show where the stem begins to sprout. Tip: Use short, quick strokes for the 'V' to keep it looking sharp.
Step 4: Refining the Shoot

Draw smaller teardrop shapes within the top section to represent the apical shoot. Tip: Vary the thickness of your lines to make the onion look more three-dimensional.
Step 5: Sketching the Second Onion
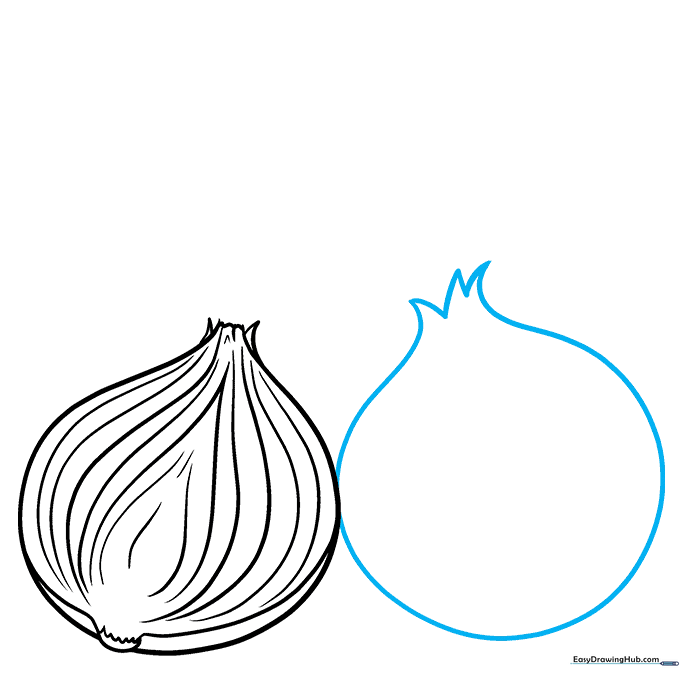
Repeat the process to draw a second onion overlapping the first. Use a long curved line and connect the ends with 'V' shapes. Tip: Overlapping objects is a great way to create depth in a drawing.
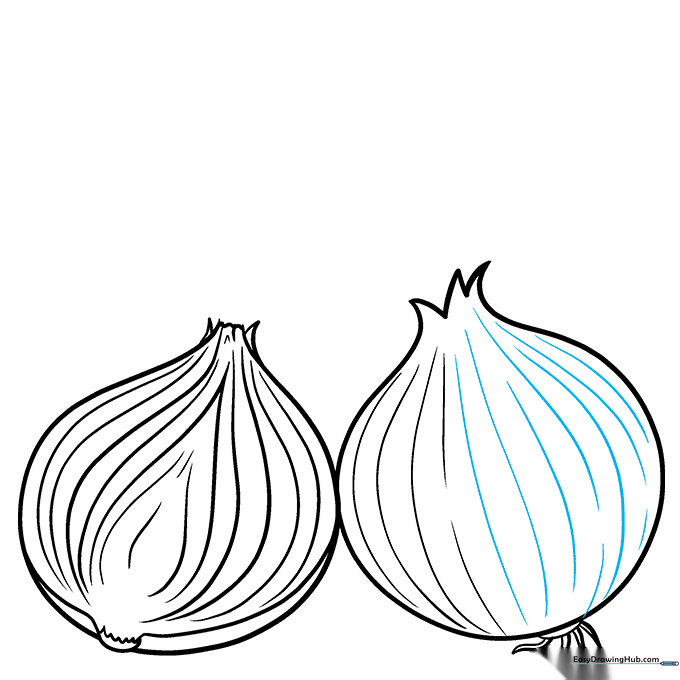
Step 6: Adding Roots
Draw a partial circle at the bottom of the onion, then extend pairs of lines that meet at sharp points to create the roots. Tip: Make the roots look slightly messy—nature is rarely perfectly symmetrical!
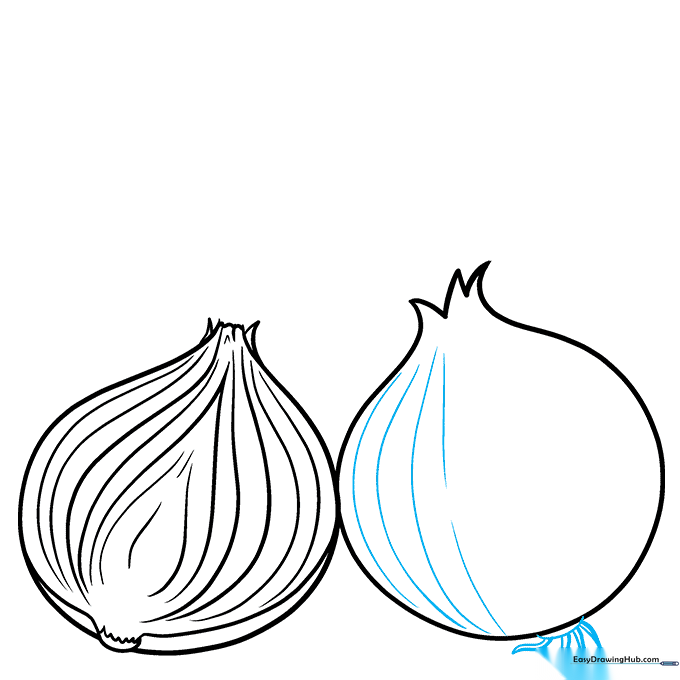
Step 7: Adding Skin Texture
Add long, vertical curved lines along the surface of the onion to represent the papery skin. Tip: Use very light pressure for these lines so they look like subtle texture rather than heavy outlines.
Step 8: Drawing the Shoots
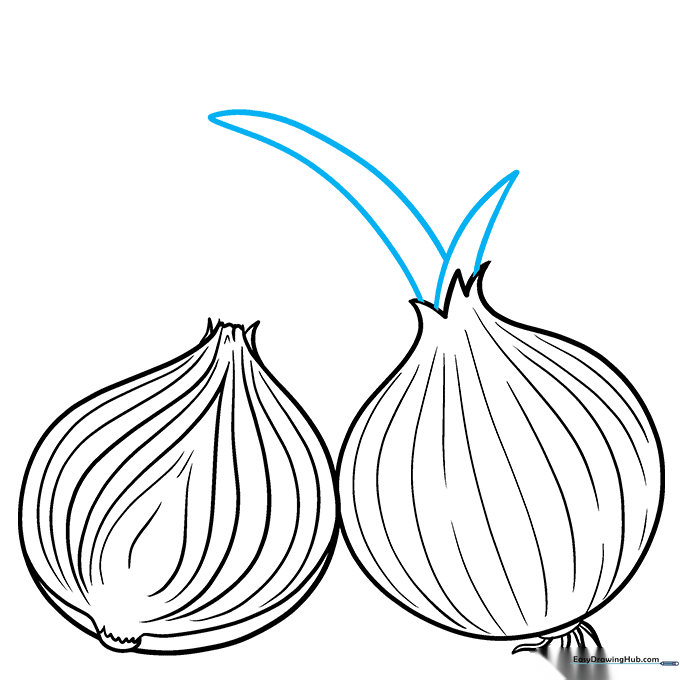
Draw the green shoots extending from the top. Use pairs of lines that meet at points to create a grass-like appearance. Tip: Vary the height of the shoots to make the drawing look more natural.
Step 9: Final Touches
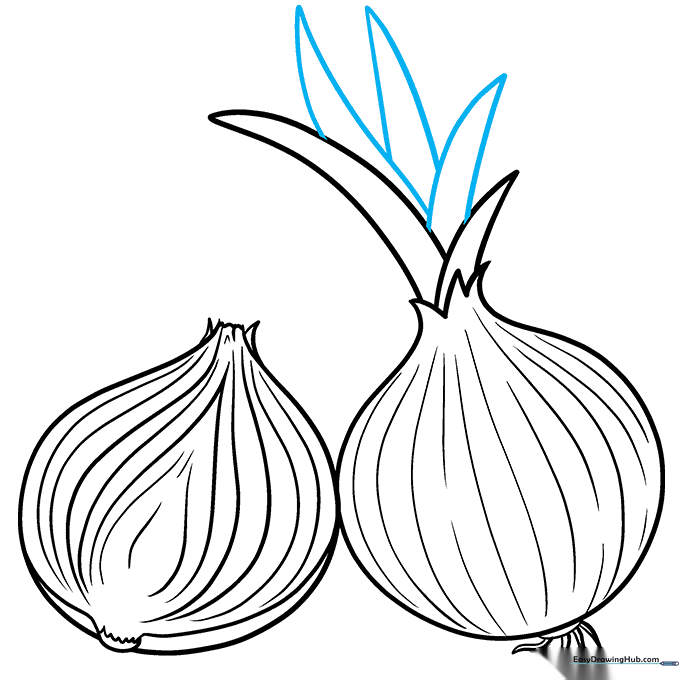
Add a few more scapes (shoots) to fill out the top of your drawing. Once you're happy with the lines, erase any stray marks. Tip: Take a step back and look at your drawing from a distance to see if it needs balance.
Step 10: Bringing it to Life with Color
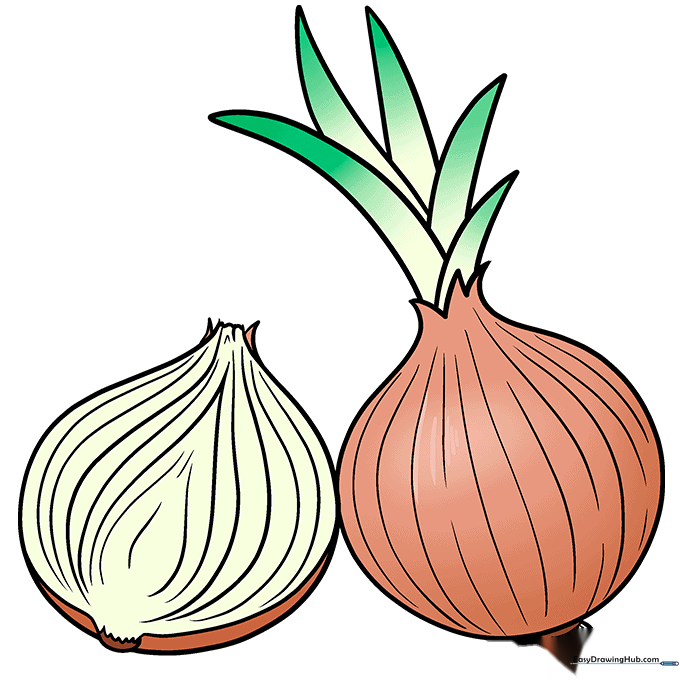
Time to color! Use warm oranges and yellows for the skin, and vibrant greens for the shoots. Tip: Try layering your colors—use a light yellow base and add orange on top for a realistic, papery look.
More Tutorials


