How to Draw an Olive Branch: Easy 10-Step Guide
Looking for a peaceful drawing project? This olive branch tutorial is perfect for artists ages 5 and up. You only need a pencil, an eraser, and some colored pencils to bring this symbol of peace to life.
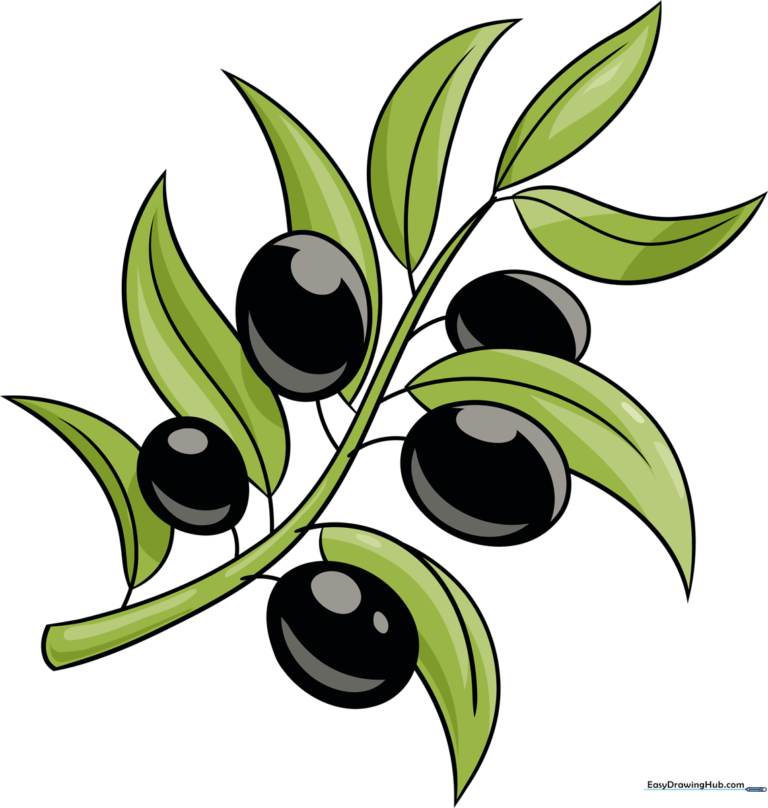
🎯 Final Result
Step-by-Step Instructions
Step 1: Sketching the Main Stem

Draw two long, slightly curved lines running parallel to form the stem. Bring them together at a sharp point at one end. Teacher's Tip: Keep your pencil pressure light so you can easily adjust the curve later if needed.
Step 2: Adding the First Olives

Extend short, small curved lines from the stem and draw an oval at the end of each. Tip: Try to vary the size of your ovals slightly to make the fruit look more natural and organic.
Step 3: Growing the Fruit Cluster

Add more olives by extending stems from different points along the branch. Tip: Don't worry about perfect symmetry; nature is rarely perfectly balanced!
Step 4: Drawing the First Leaves

Draw the leaf vein first with a curved line, then add two curved lines around it to form a narrow, pointed leaf shape. Tip: Keep the leaves slender to capture the distinct look of an olive tree.
Step 5: Layering Leaves and Depth

Add more leaves along the stem. If a leaf crosses an olive, erase the line inside the olive to show that the fruit is in front. This simple trick adds instant 3D depth to your drawing!
Step 6: Balancing the Foliage

Add leaves to the opposite side of the stem using the same vein-first technique. Tip: Try to alternate the direction of the leaves to make the branch look full and lush.
Step 7: Adding Final Fruit

Add one or two more olives to fill in any empty spaces. Tip: Placing an olive near a leaf makes the branch look more realistic.
Step 8: Refining the Details

Add one more leaf to create a sense of movement. Ensure the vein line is clear before drawing the outer edges. Tip: Use a sharp pencil to keep your lines crisp.
Step 9: Final Touches

Check your drawing for any stray lines and erase them. Make sure all your leaf tips are pointed and clear. You're now ready to add color!
Step 10: Bringing It to Life with Color

Color your leaves a silvery green and your olives a vibrant green. If you want them to look ripe, add a touch of purple or black. Tip: Use light pressure for the leaves and heavier pressure for the olives to create contrast.
More Tutorials


