How to Draw an Old Man Face: Easy 10-Step Guide
This tutorial is perfect for young artists and beginners looking to master character expressions. You only need a pencil, an eraser, and a sheet of paper to get started. By following these steps, you will learn how to use simple shapes to build a friendly, detailed face full of personality.
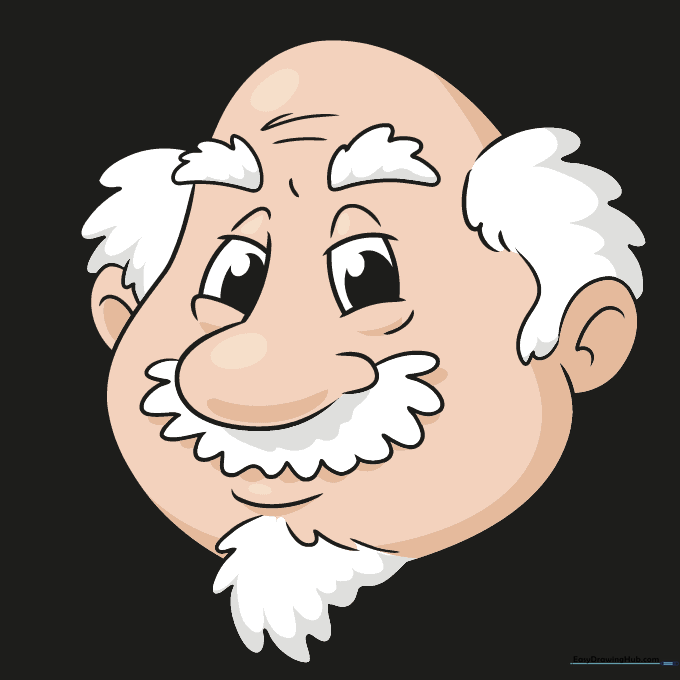
🎯 Final Result

Step-by-Step Instructions
Step 1: Establishing the Eyes

Draw two curved horizontal lines connected by short vertical lines, then place an oval in the center of each. Tip: Keep these shapes light; they act as the foundation for your character's expression.
Step 2: Shaping the Glasses

Draw a large loop on the left and a smaller one on the right, connecting them with diagonal lines to form the frame. Tip: Use a ruler if you struggle with straight lines, but freehand adds a nice, organic feel.
Step 3: Adding Depth to the Eyes

Add a smaller oval inside the left eye and sketch soft curves around both eyes. Tip: These curves represent the wrinkles around the eyes, which help define the character's age.
Step 4: Sketching the Eyebrows and Mustache

Draw bushy eyebrows and a wavy, cloud-like shape for the mustache. Tip: Don't worry about making the lines perfect; wobbly lines make the mustache look more natural and fluffy.
Step 5: Defining the Mouth Area
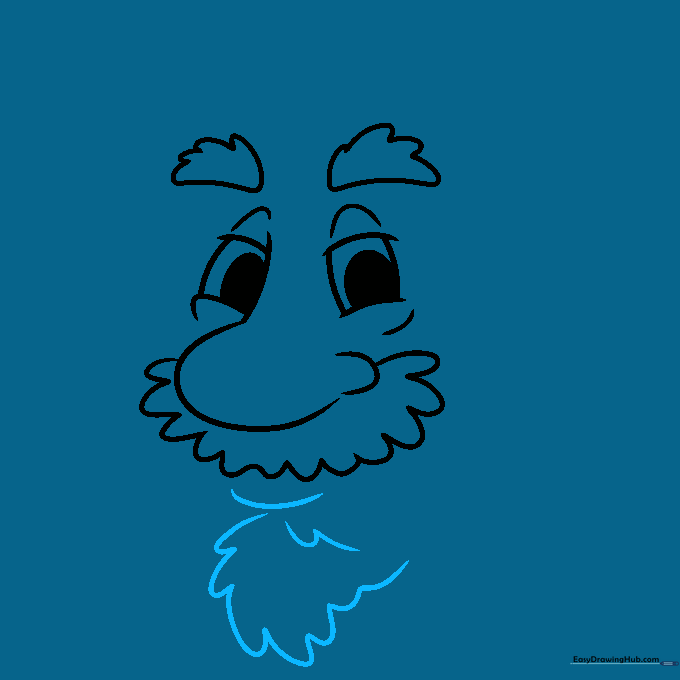
Add a curve beneath the mustache and layer more 'hill' shapes to create the mouth area. Tip: Think of these as dripping water shapes to give the facial hair a sense of volume.
Step 6: Outlining the Face and Ear
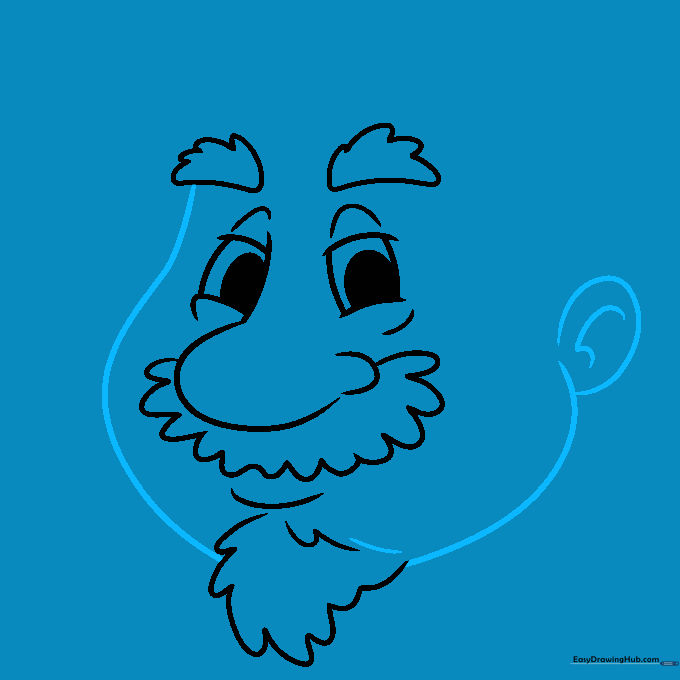
Draw a long hook shape for the jawline and a loop with internal curves for the ear. Tip: The ear should align roughly with the middle of the glasses frame.
Step 7: Adding the Hairline
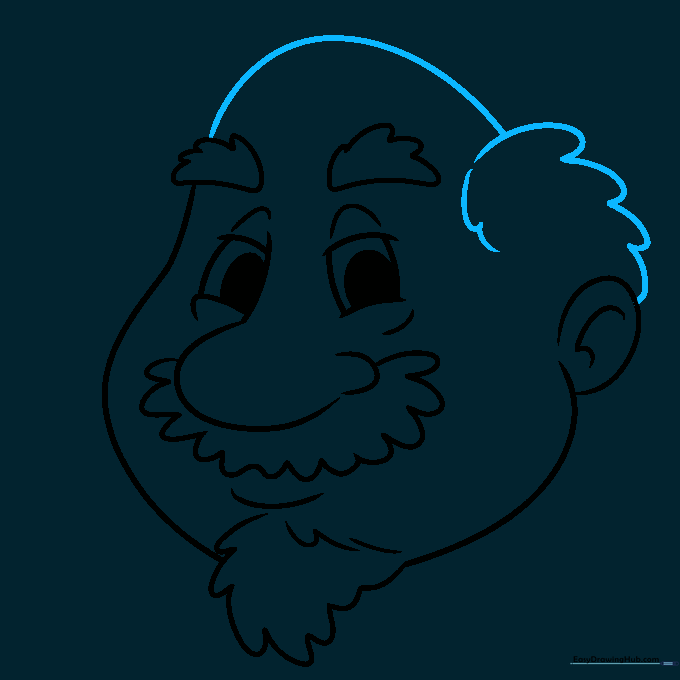
Sketch fluffy, cloud-like lines above the ear and complete the top of the head with a dome shape. Tip: Vary the size of your 'hills' to make the hair look realistic and textured.
Step 8: Completing the Hair
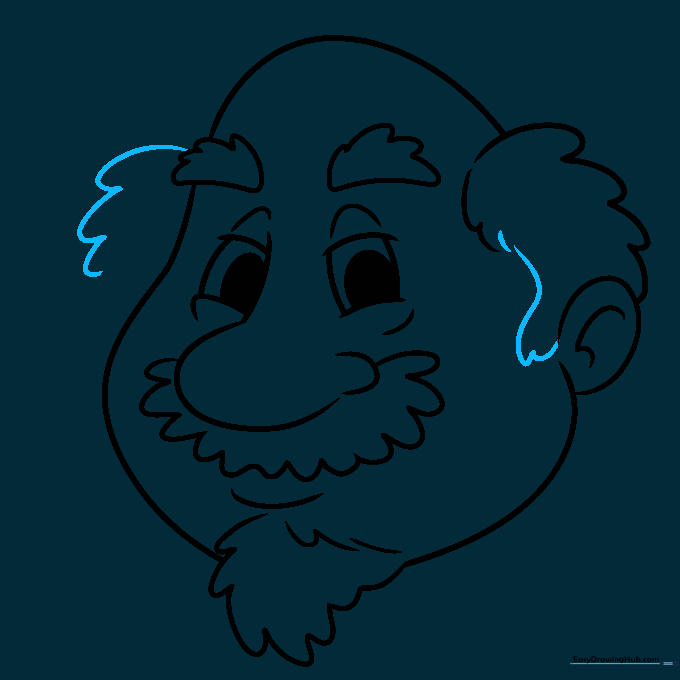
Add more sketchy, wavy lines on the opposite side to balance the hair. Tip: Keep your pencil strokes loose to maintain the 'fluffy' look of the hair.
Step 9: Final Details and Cleanup

Add forehead wrinkles with small dashes and finalize the ear details. Go over your lines with a dark pen and erase your pencil guidelines. Tip: Darkening the pupils makes the character look more alert.
Step 10: Adding Color
Fill in the skin with your chosen tone. Keep the hair white or light gray for a classic look. Tip: Use a slightly darker shade of your skin color to add shadows under the mustache and around the eyes for more depth.
More Tutorials


