How to Draw an Ocelot: Easy 9-Step Guide for Kids
Ready to bring a wild cat to life? This tutorial is perfect for young artists ages 5 and up. All you need is a pencil, an eraser, and some paper to start building your own ocelot character while practicing essential shape-based drawing techniques.
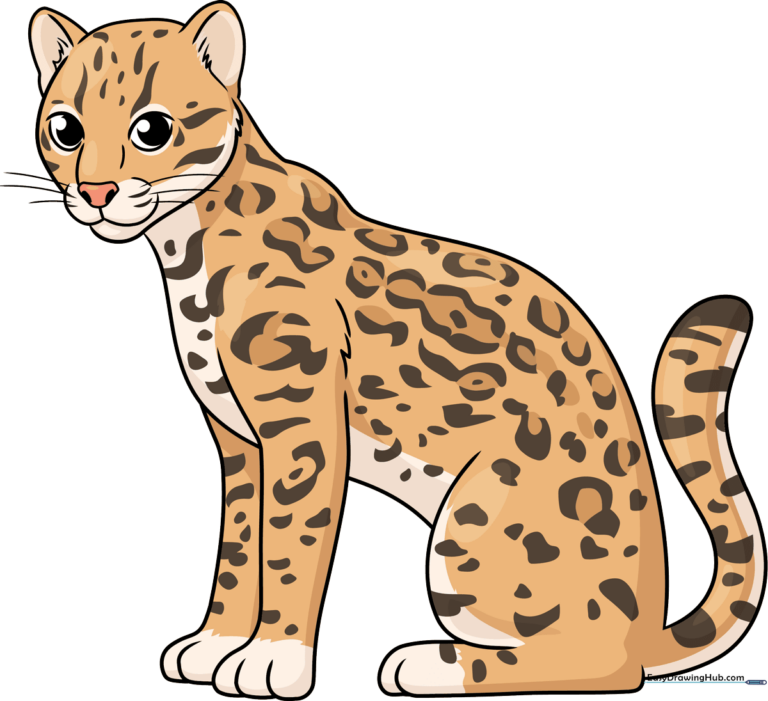
🎯 Final Result
Step-by-Step Instructions
Step 1: Sketching the Expressive Eyes

Start by drawing two almond-shaped outlines for the eyes. Leave a small gap at the corners to give them a friendly look. Tip: Draw a large, dark circle inside each for the pupil, and add two tiny lines below for the nose bridge.
Step 2: Defining the Snout
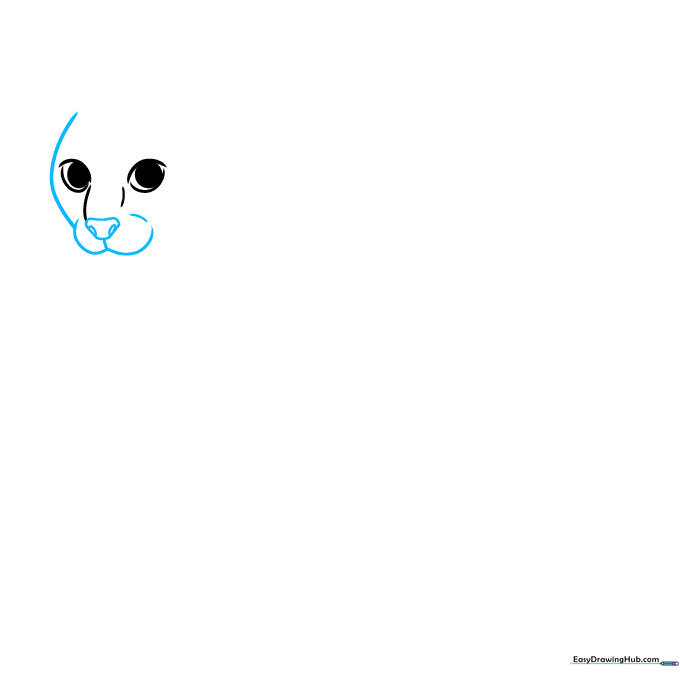
Draw an inverted triangle with soft, rounded corners for the nose. Add two tiny rectangles inside for nostrils. Use a gentle 'W' shape to outline the top of the snout. Tip: Keep these lines soft to maintain the 'cute' cartoon aesthetic.
Step 3: Shaping the Furry Head
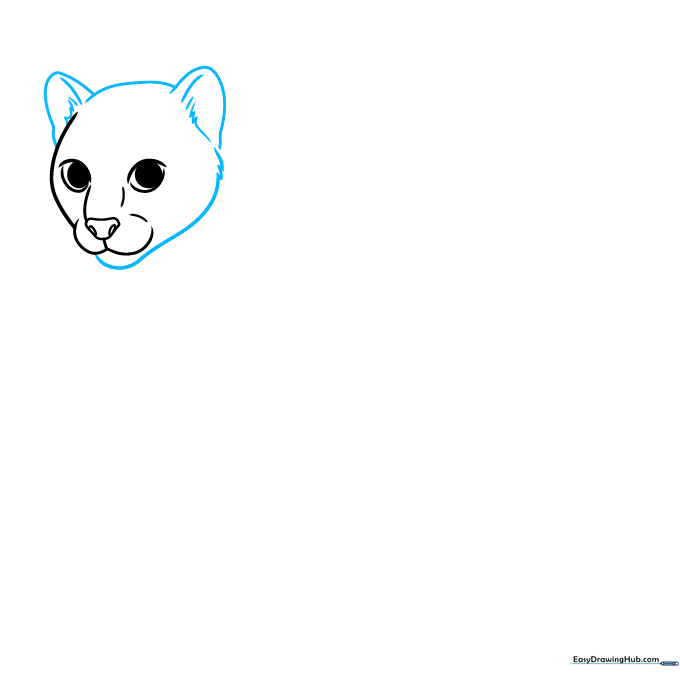
Use short, quick strokes to outline the head and ears. The jagged lines help create a 'furry' texture. Tip: Imagine you are drawing tiny blades of grass to get that perfect fuzzy edge.
Step 4: Sketching the Chest and Front Leg
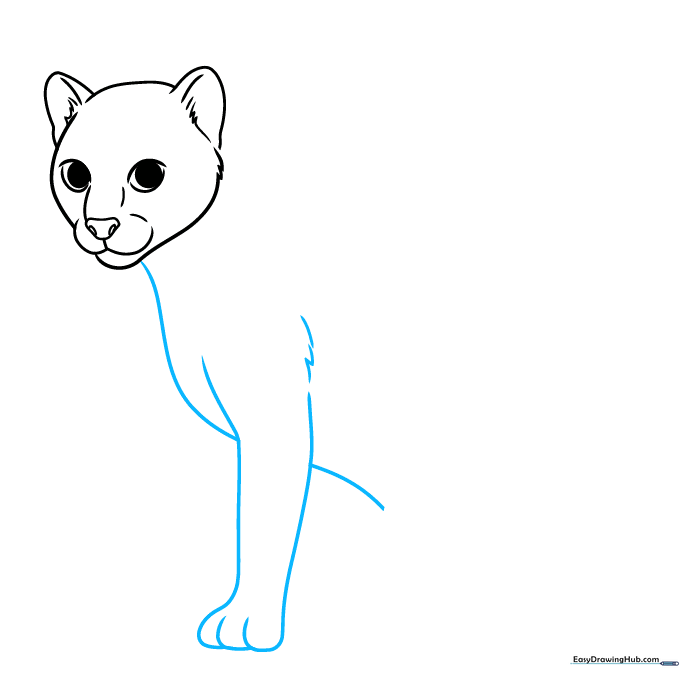
Draw long, sweeping curves for the neck and chest. Connect the leg lines at the bottom with small, overlapping 'U' shapes to form the toes. Tip: Use a few jagged lines at the shoulder to keep the fur texture consistent.
Step 5: Adding the Back and Rear Legs
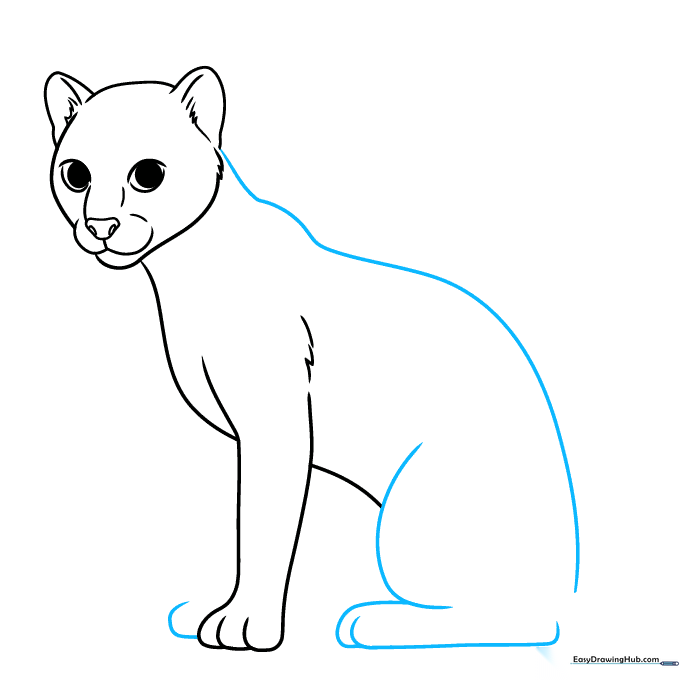
Sketch a long, graceful curve for the back. Add the rear leg and the second foreleg, ensuring they overlap slightly to show depth. Tip: Keep your lines fluid to make the ocelot look like it's ready to pounce!
Step 6: The Tail and Whiskers
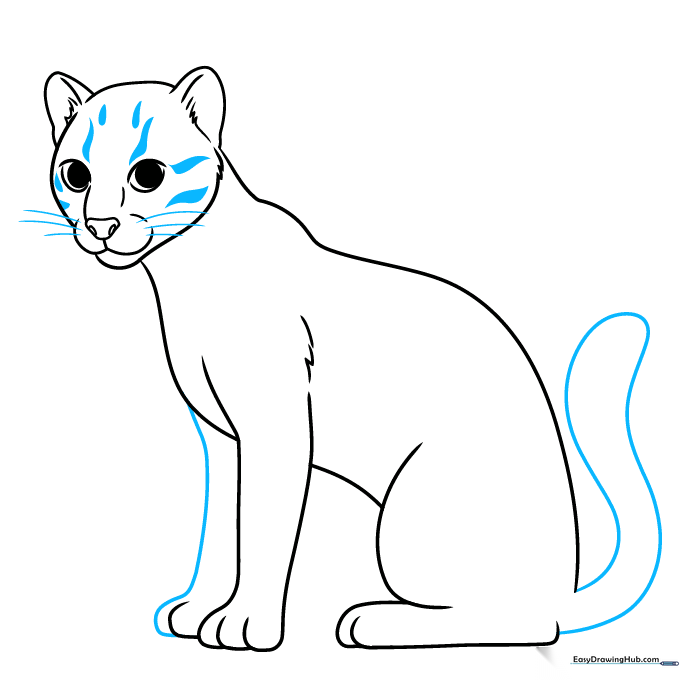
Extend a long, curved line from the rear to form the tail, doubling it back to create thickness. Add long, straight lines for whiskers. Tip: Add a few small, pointed shapes on the face to hint at the ocelot's unique markings.
Step 7: Starting the Rosettes
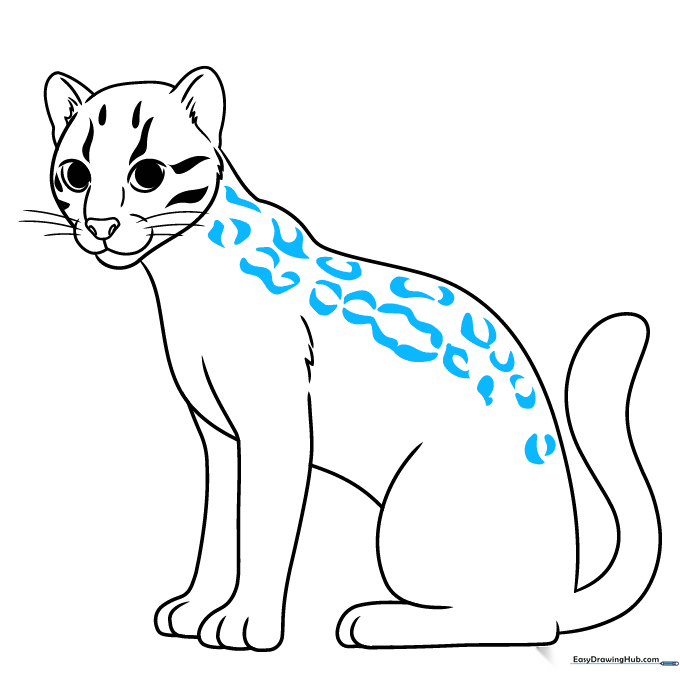
Ocelots are famous for their spots! Draw incomplete circles along the back to create the 'rosette' pattern. Tip: Don't make them perfect circles; organic, slightly wobbly shapes look much more realistic.
Step 8: Filling in the Spots
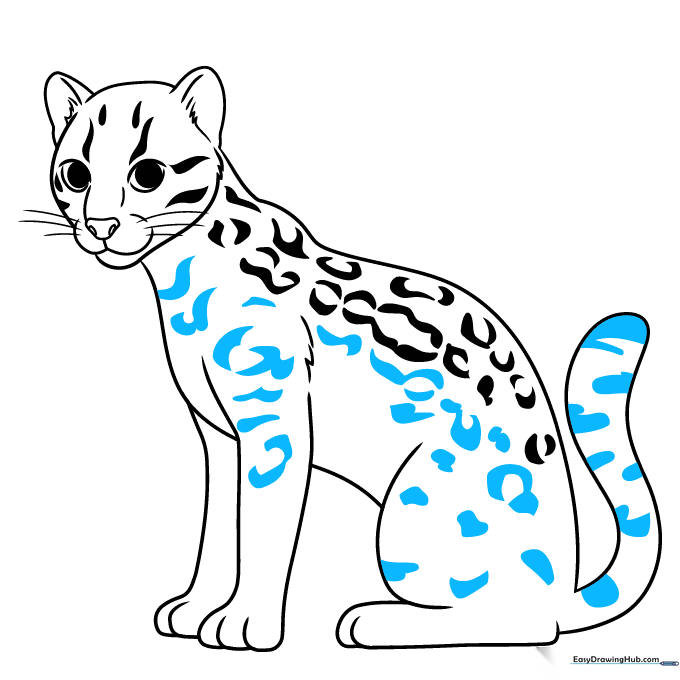
Continue adding spots to the legs, sides, and tail. Make sure to add bands near the tip of the tail. Tip: Varying the size of the spots creates a more dynamic and professional-looking drawing.
Step 9: Final Details

Add smaller, scattered dots across the head and body to fill in the gaps. Tip: Use a lighter touch for these smaller spots to create a nice contrast with the larger rosettes.
Step 10: Bring Your Ocelot to Life with Color
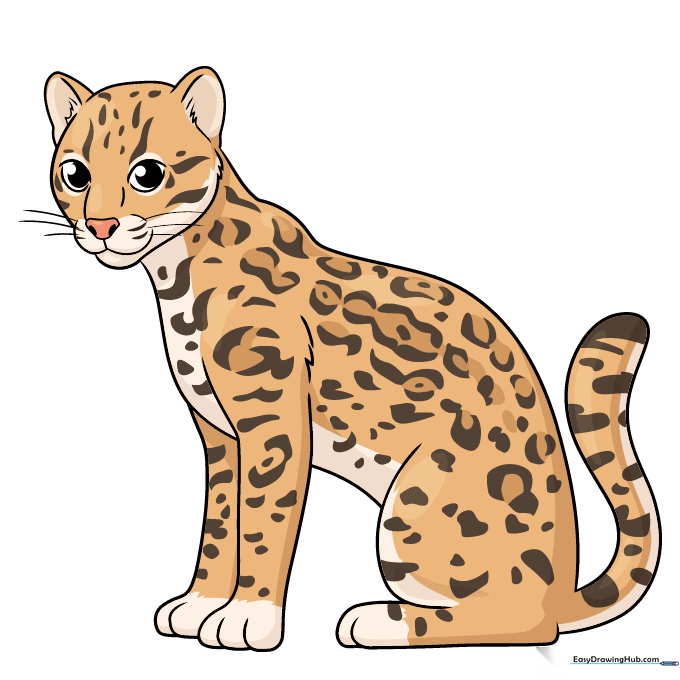
Time to color! Use warm tones like cream, tan, and orange for the fur, and darker browns for the spots. Tip: Use a light beige for the belly to give your ocelot a realistic, multi-tonal look.
More Tutorials


