How to Draw an Ocean: Easy Step-by-Step Landscape Guide
Bring the beach to your sketchbook with this relaxing ocean drawing tutorial. Designed for young artists and beginners, this project uses basic shapes to build a tropical scene. Grab your favorite pencils and paper to practice spatial awareness and landscape composition.
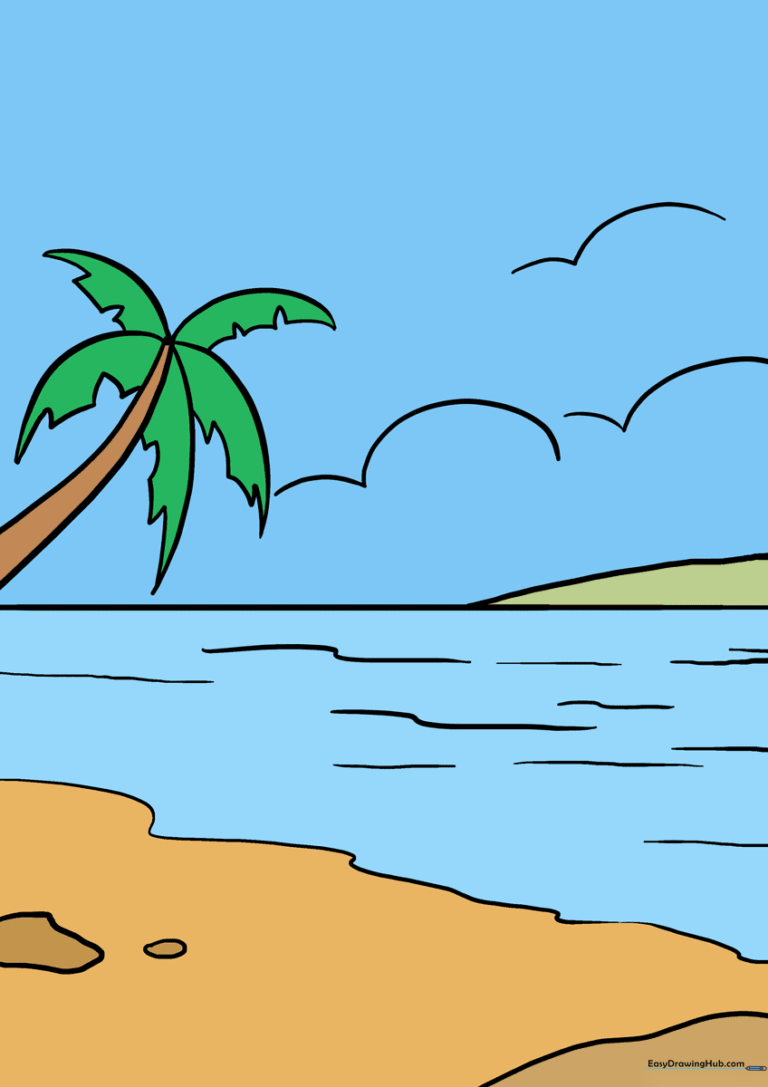
🎯 Final Result
Step-by-Step Instructions
Step 1: Setting the Horizon

Draw a straight horizontal line across your page. This is your horizon line, where the sky meets the sea. Teacher's Tip: Use a ruler if you want it perfectly straight, or go freehand for a more organic, natural look.
Step 2: Adding Waves and Texture
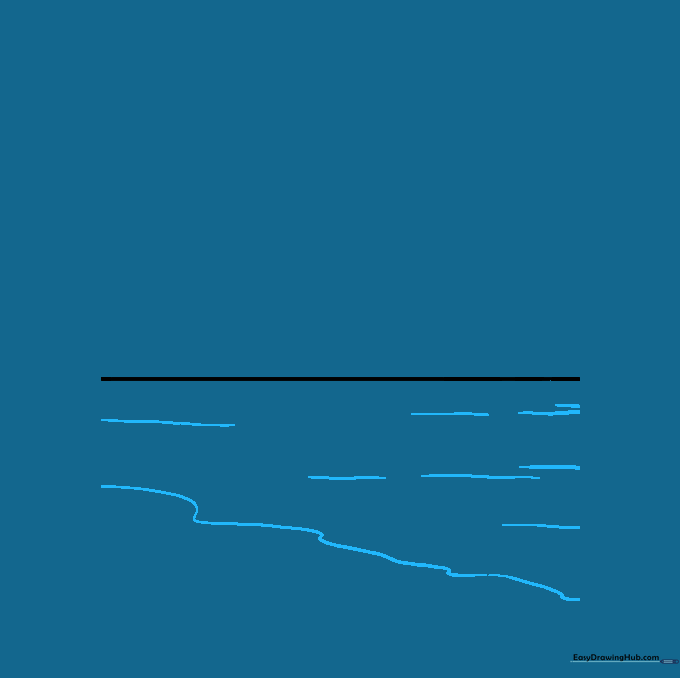
Draw a wavy diagonal line below the horizon to represent the tide line. Add smaller, curved horizontal dashes in the water area to suggest gentle ripples. Tip: Keep your pencil pressure light so the water looks soft and calm.
Step 3: Sketching Beach Rocks
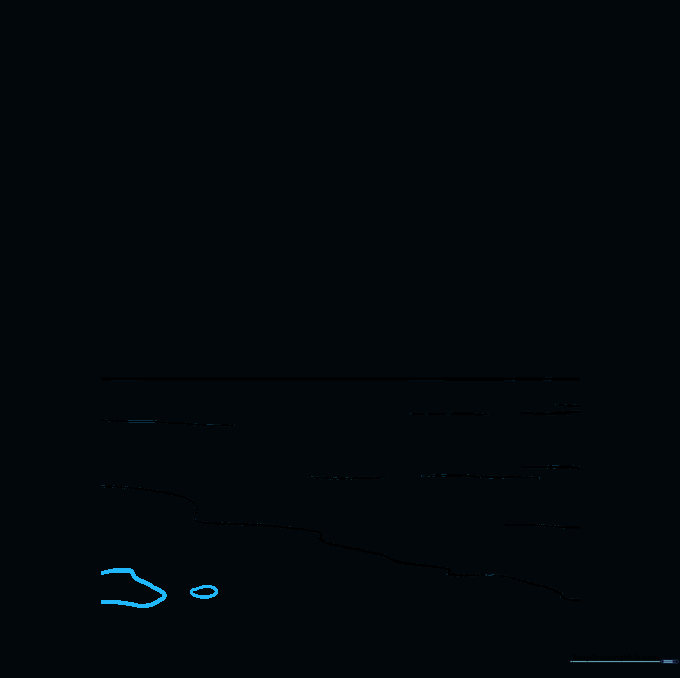
Draw a few irregular, rounded shapes along the bottom edge of your paper. These are your beach rocks. Tip: Vary the sizes—some large, some small—to make your beach look realistic.
Step 4: Drawing a Distant Island
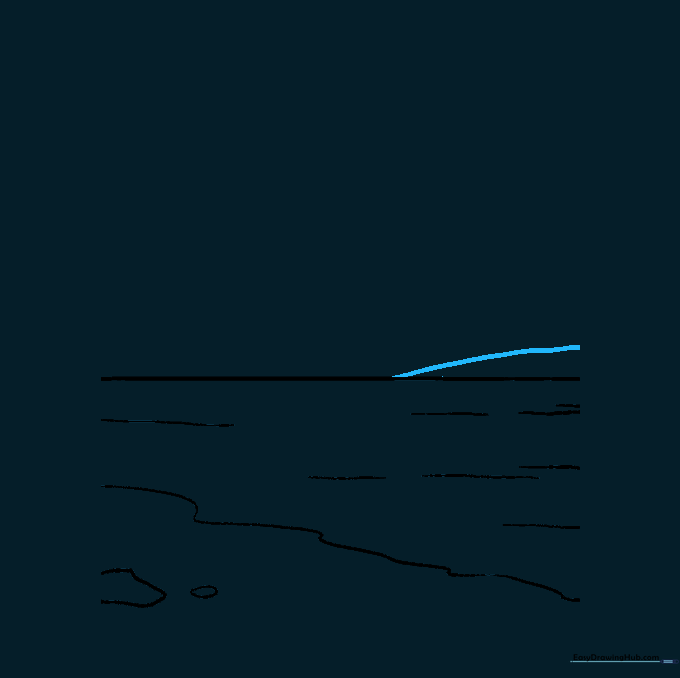
Draw a soft, curved hill shape sitting right on your horizon line. This creates a distant island. Tip: Keep this shape simple and low to the horizon so it doesn't distract from the ocean view.
Step 5: Starting the Palm Tree
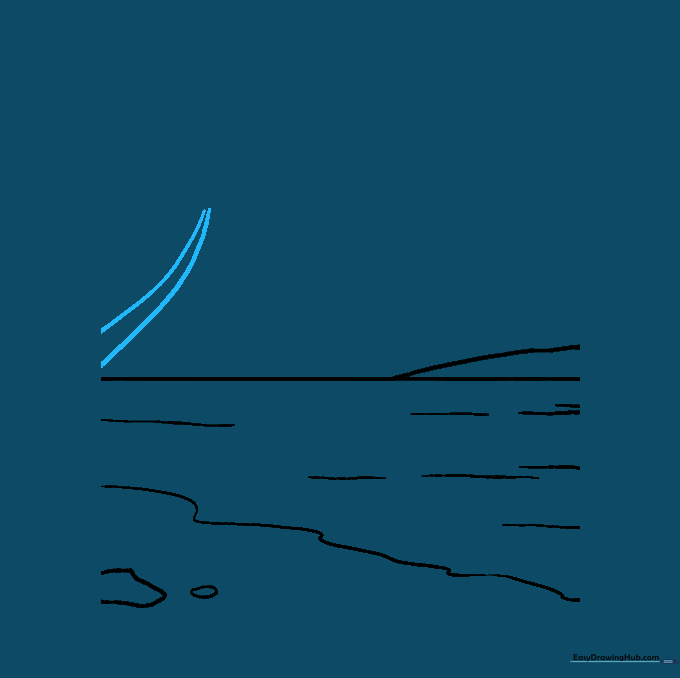
Draw two slightly curved, diagonal lines that get closer together as they go up. This forms the trunk of your palm tree. Tip: Palm trees aren't perfectly straight, so don't worry if your lines have a slight bend!
Step 6: Palm Frond Guidelines
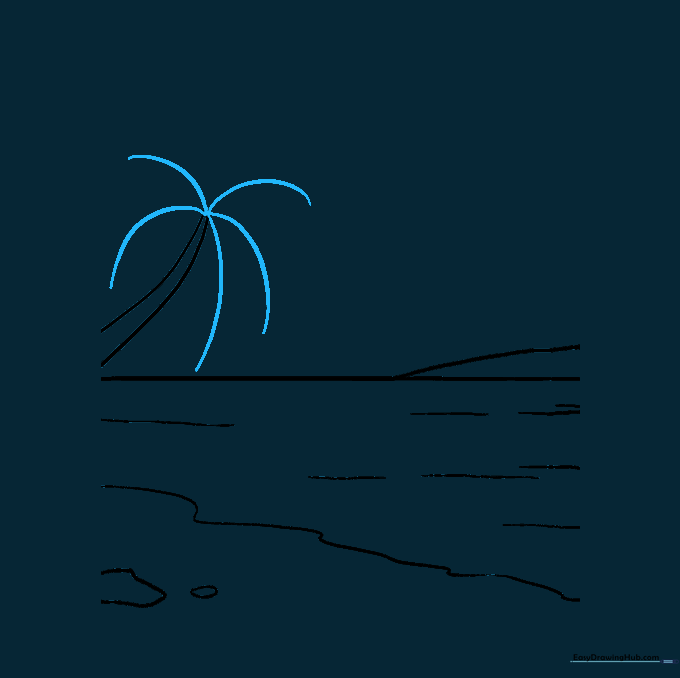
Draw five or more curved lines radiating outward from the top of the trunk like a star. These are the center veins for your palm leaves. Tip: Make these lines long and sweeping to give the tree a tropical feel.
Step 7: Shaping the Leaves
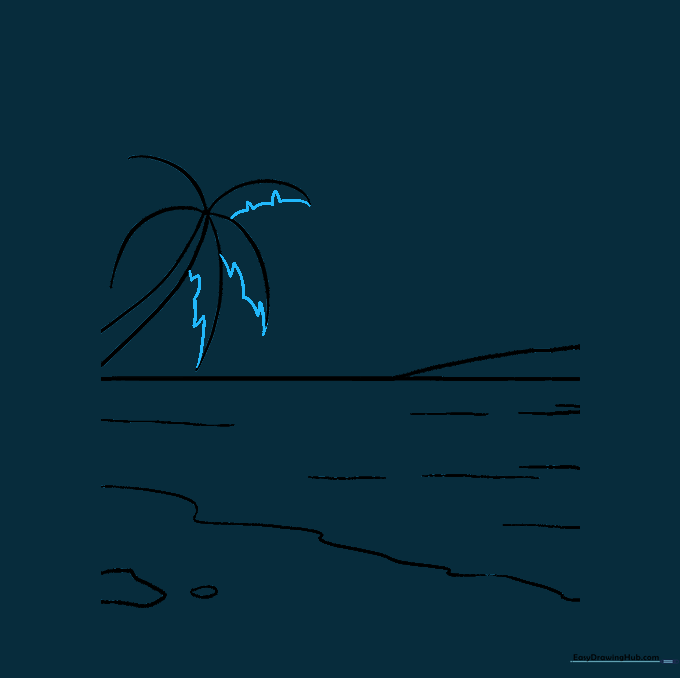
Using a jagged, zig-zag motion, connect the lines to create the fronds. Tip: Don't make the zig-zags too uniform; a little variation makes the leaves look more natural and wind-blown.
Step 8: Refining the Foliage
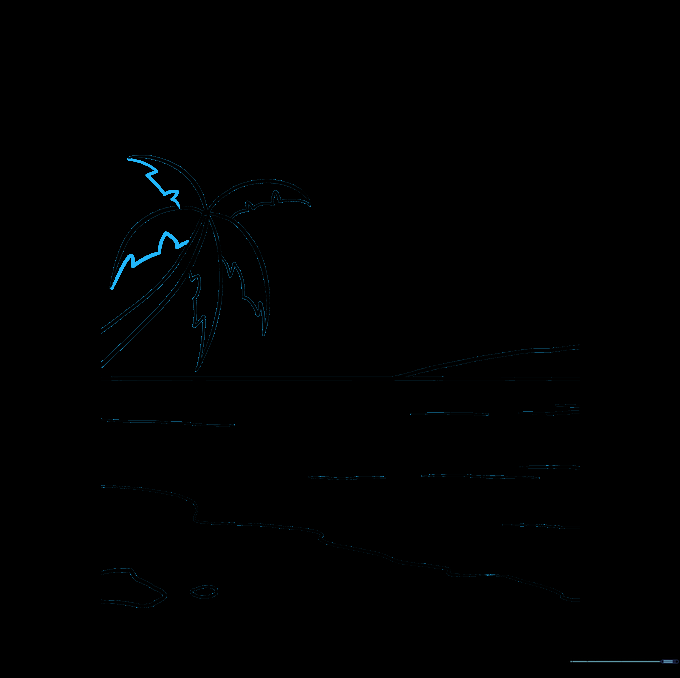
Continue adding jagged lines to fill out the palm leaves until they look full and lush. Tip: If you make a mistake, just turn it into a 'broken' leaf—nature is never perfect!
Step 9: Adding Final Details
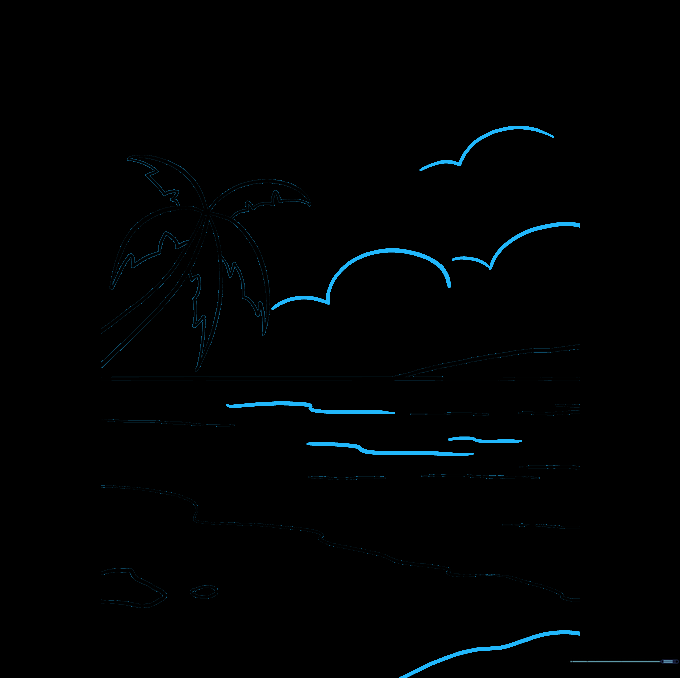
Add fluffy, cloud-like shapes in the sky and a few more wavy lines in the water to create depth. Tip: Use lighter pressure for the clouds so they look soft and airy compared to the darker ocean lines.
Step 10: Bringing It to Life with Color
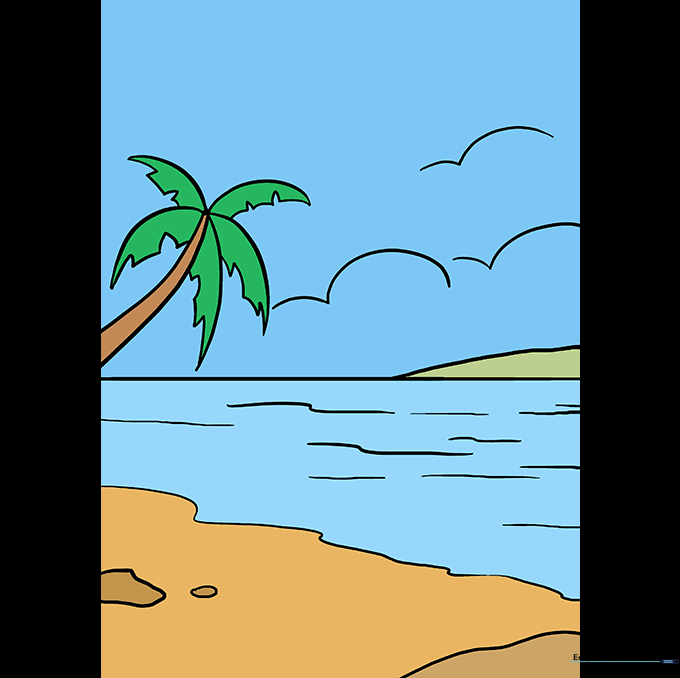
Time to color! Use blues for the water, greens for the palm leaves, and warm yellows or tans for the sand. Tip: Try blending two shades of blue in the water to show where the ocean gets deeper.
More Tutorials


