How to Draw an Island: Easy 10-Step Landscape Guide
Bring a tropical paradise to life with this step-by-step island drawing tutorial, perfect for artists ages 5 and up. You will only need a pencil, an eraser, and your favorite coloring supplies to build this sunny landscape. Follow along to master basic shapes and improve your spatial drawing skills.
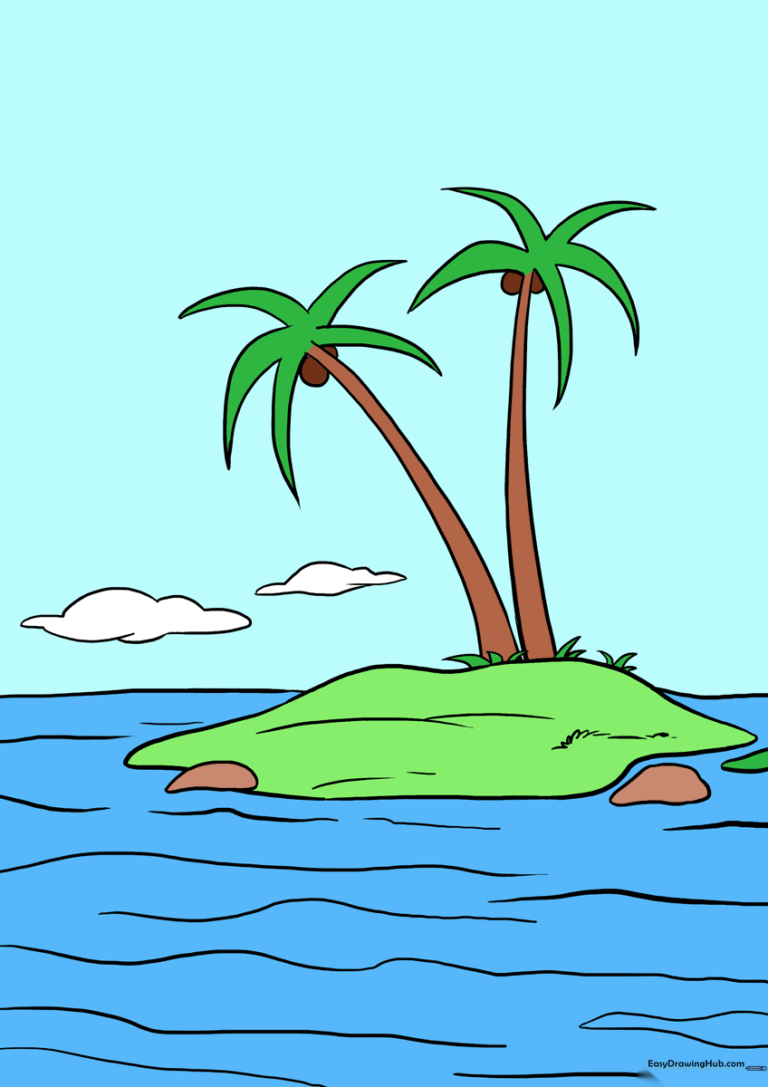
🎯 Final Result
Step-by-Step Instructions
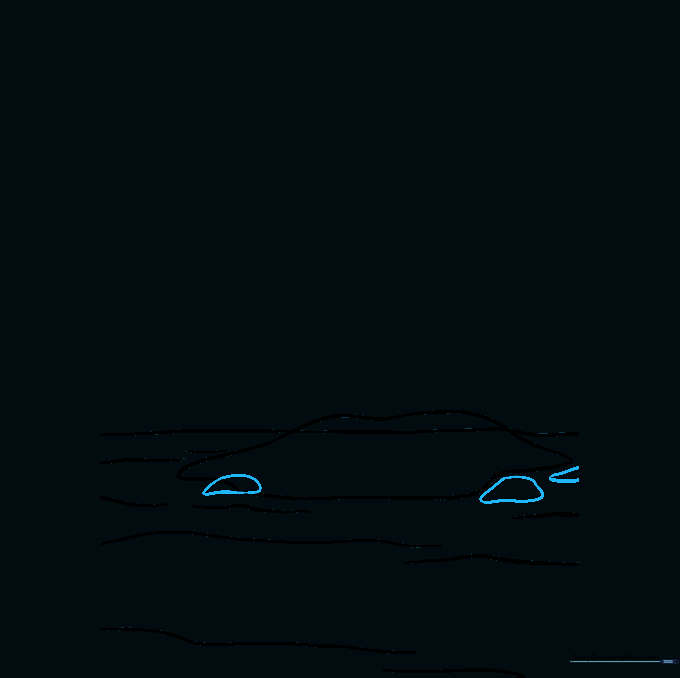
Step 1: Setting the Horizon

Draw a wavy horizontal line across your page to represent the ocean surface. Add a few smaller, wavy lines in the foreground to create the look of gentle waves. Teacher's Tip: Keep the waves irregular to make the water look natural and flowing.
Step 2: Shaping the Island

Use a long, curved line to draw the outline of your island. Make sure it sits partially above your horizon line. Teacher's Tip: Don't worry about making it a perfect circle; islands in nature are bumpy and irregular!
Step 3: Adding Coastal Rocks
Sketch a few small, bumpy shapes around the base of your island to represent rocks in the water. Teacher's Tip: Vary the size of these rocks to add depth to your drawing.
Step 4: Cleaning the Shoreline

Carefully erase the lines of the island that are hidden behind your rocks. This creates a clean, professional look. Teacher's Tip: Use a soft eraser to avoid smudging your work.
Step 5: Adding Texture
Add sand texture with small curved lines and draw patches of grass using zig-zag lines. Teacher's Tip: Use short, quick strokes for the grass to make it look realistic.
Step 6: Sketching Palm Trunks
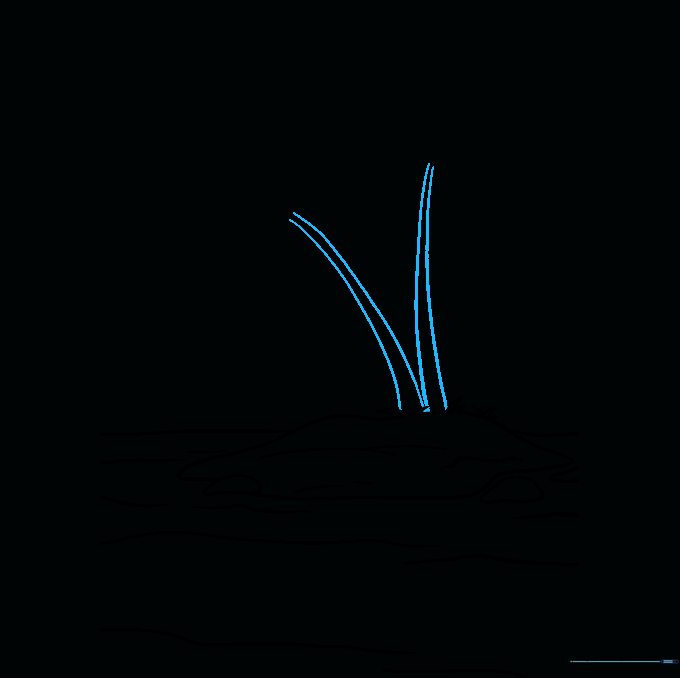
Draw two curved lines for each palm tree trunk, tapering them slightly as they go up. Teacher's Tip: Make the trunks lean in different directions for a natural, windy look.
Step 7: First Palm Fronds
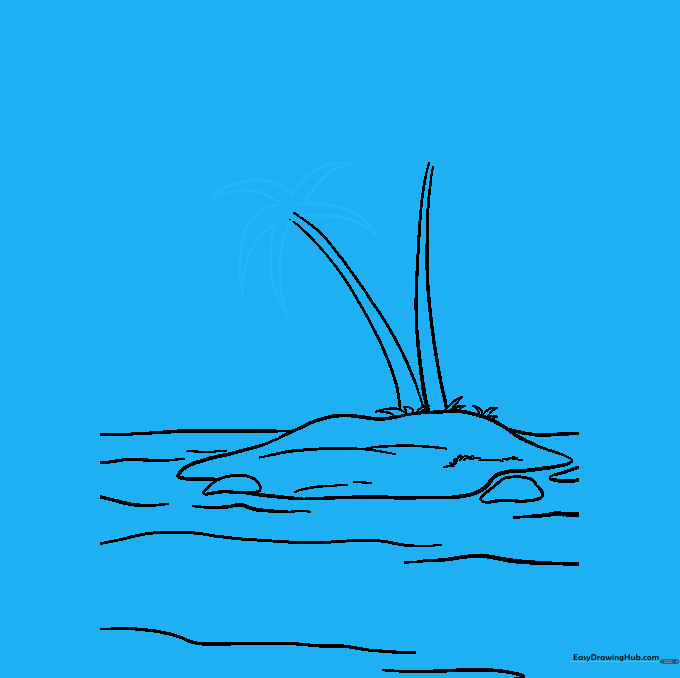
Add the palm leaves by drawing pairs of lines that meet at a point. Arrange them in a star shape at the top of the trunk. Teacher's Tip: Keep the leaves long and thin for a classic tropical feel.
Step 8: Second Palm Tree
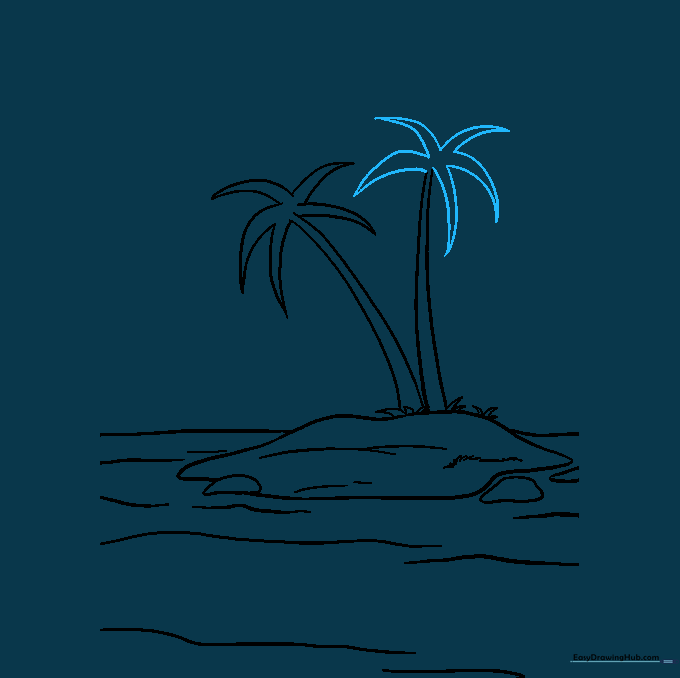
Repeat the process to add a second palm tree. Overlap the fronds slightly to create a full, lush crown. Teacher's Tip: Try making this tree slightly shorter than the first one for variety.
Step 9: Final Details

Add clouds in the sky and small circles under the trees to represent coconuts. Add more wavy lines to the water for extra detail. Teacher's Tip: Use light pressure for the clouds so they look soft and fluffy.
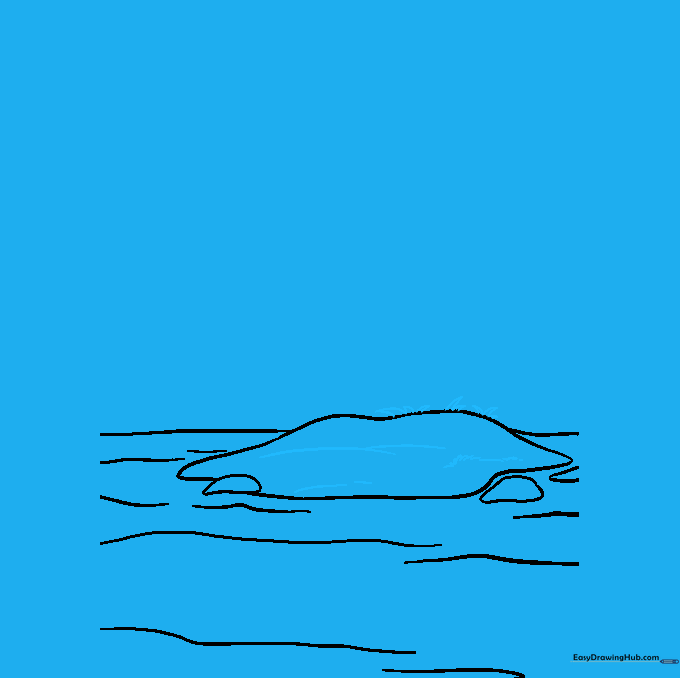
Step 10: Bring It to Life with Color
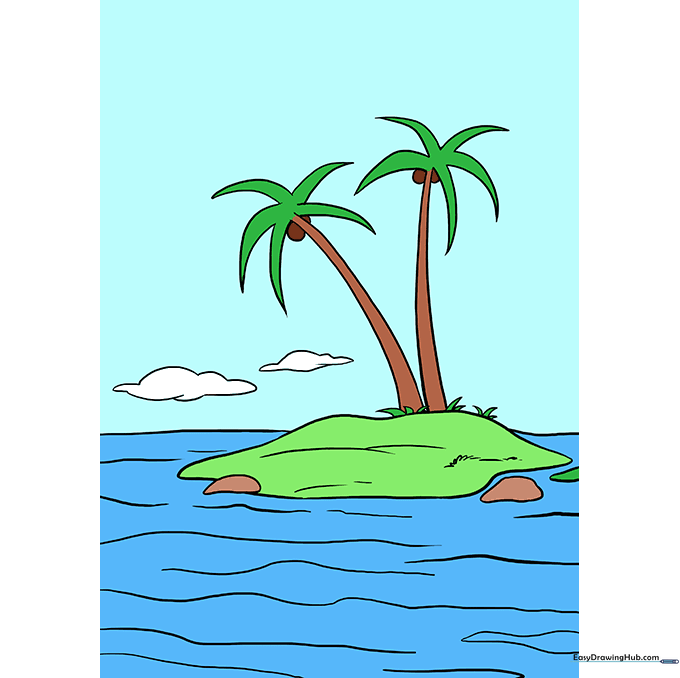
Color your island! Use bright greens for the palms, sandy yellows for the beach, and deep blues for the ocean. Teacher's Tip: Use a darker blue near the shore and a lighter blue near the horizon to show depth.
More Tutorials


