How to Draw an iPhone: Easy 10-Step Guide for Kids
Ready to draw your own smartphone? This project is perfect for young artists ages 5 and up who want to practice drawing clean, geometric shapes. All you need is a pencil, an eraser, and a piece of paper to get started on this fun tech-inspired illustration.
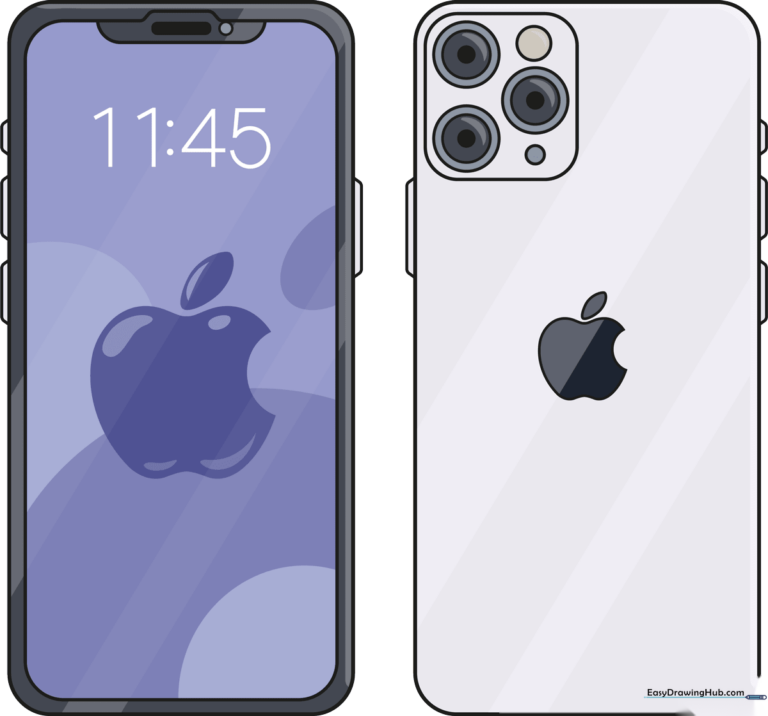
🎯 Final Result
Step-by-Step Instructions
Step 1: Sketching the Main Body

Draw a large rectangle with rounded corners to form the phone's frame. Inside, draw a slightly smaller rectangle for the screen, adding a small, rounded trapezoid at the top for the camera notch. Tip: Use a light touch so you can easily adjust the proportions if needed.
Step 2: Adding Buttons and Speaker
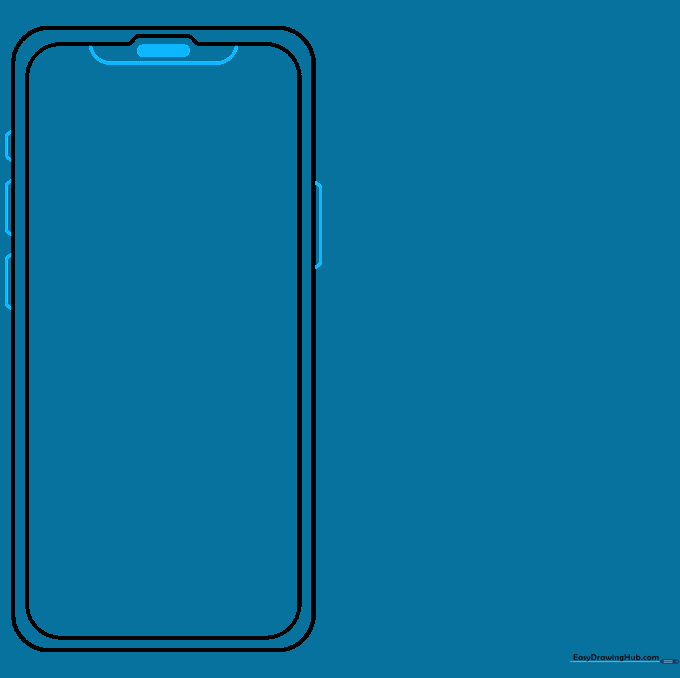
Add a small, shaded rectangle near the top notch for the speaker. On the sides of the phone, draw narrow, rounded trapezoids to represent the volume and power buttons. Tip: Keep these shapes small to maintain the sleek look of the device.
Step 3: Creating the Camera Housing
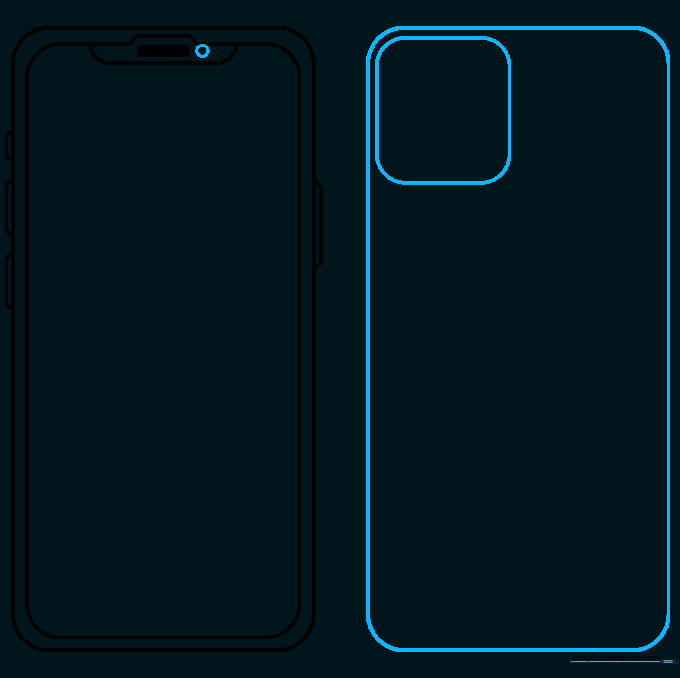
Draw a small circle next to the speaker for the front-facing camera. Then, sketch a larger rectangle with rounded corners to represent the back of the phone, and add a small square in the corner for the rear camera module. Tip: Use a ruler if you struggle with straight lines, but freehand is great for practice!
Step 4: Detailing the Lenses
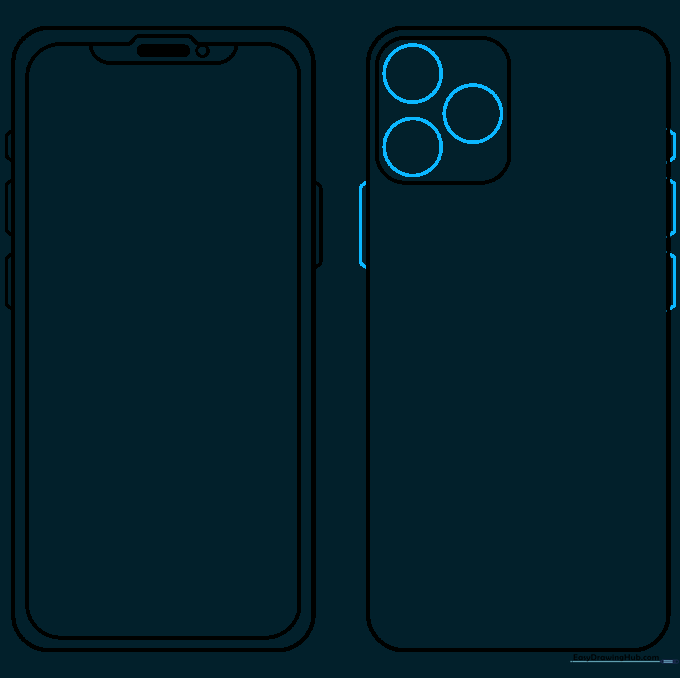
Inside the camera square, draw three circles for the lenses. Add matching side buttons on the back view to maintain consistency. Tip: Make sure your circles are evenly spaced to give the camera a professional look.
Step 5: Refining the Camera
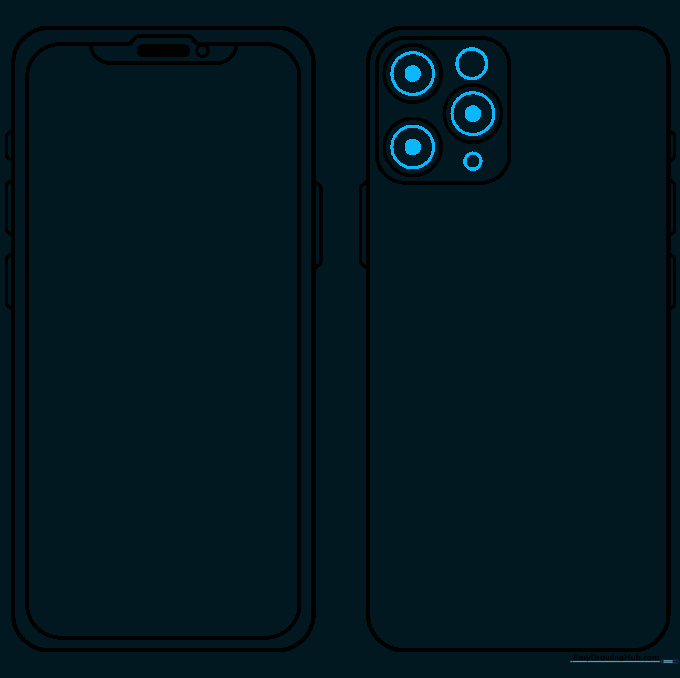
Add smaller circles inside the lenses and shade the centers to create depth. This makes the lenses look like glass. Tip: Use a sharp pencil point for these small details to keep them clean.
Step 6: Drawing the Apple Logo
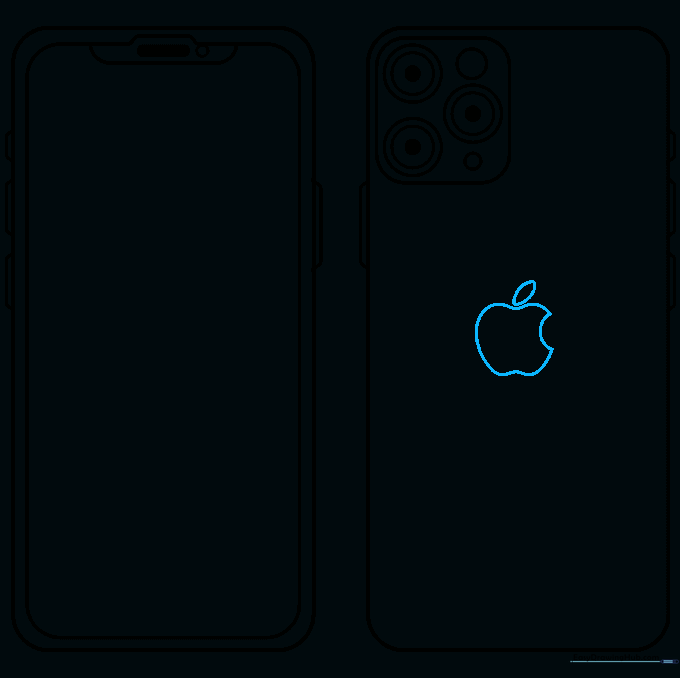
Draw the iconic apple logo on the back of the phone. Use a curved 'C' shape for the bite and a small leaf at the top. Tip: Draw the logo lightly first, as it can be tricky to get the proportions right on the first try.
Step 7: Adding the Clock
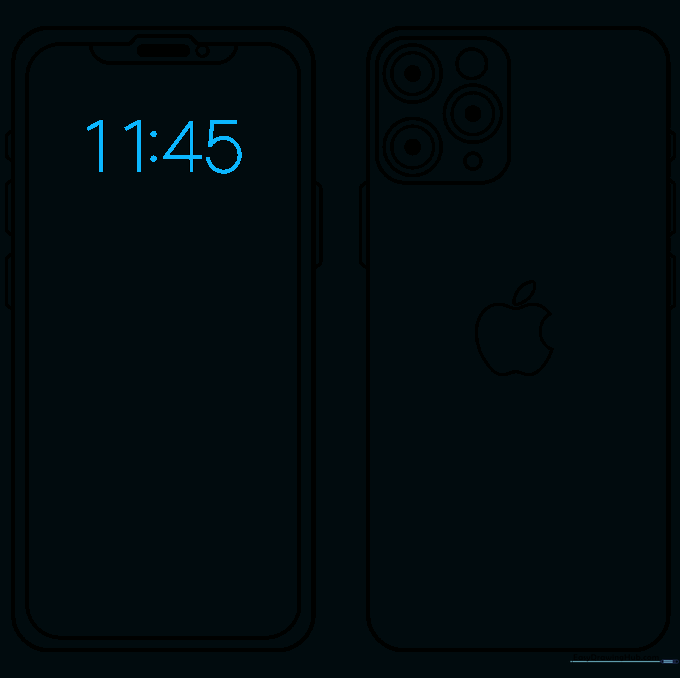
Write the time at the top of your screen. We used '11:45', but you can choose any time you like! Tip: Use a steady hand to keep the numbers centered.
Step 8: Personalizing the Screen
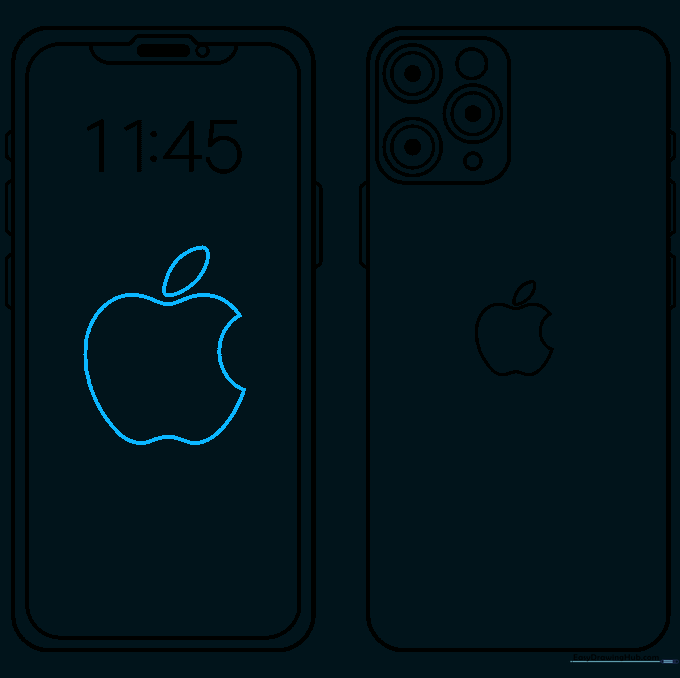
Add a decorative logo or icon to the center of your screen. You can draw a simple apple or any shape you enjoy. Tip: Keep the design simple so it doesn't clutter the screen.
Step 9: Final Touches
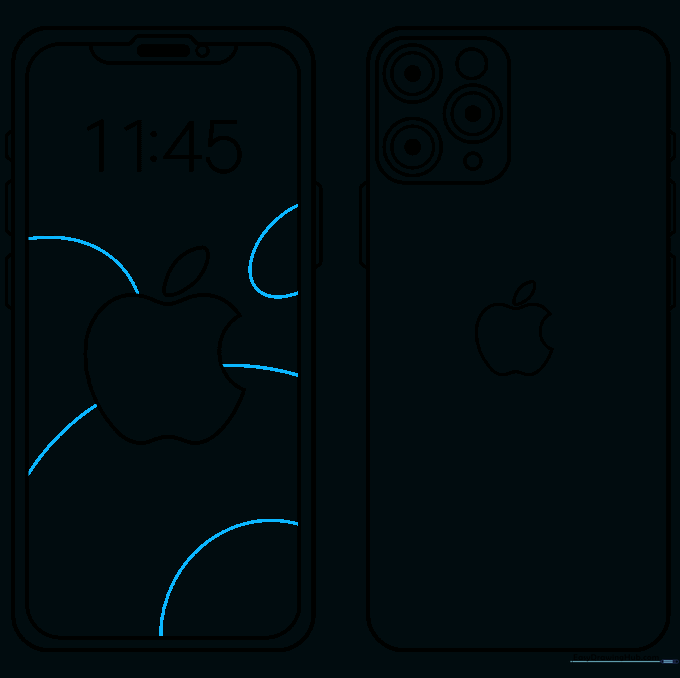
Add small circles or lines to the background of your screen to represent app icons. Tip: Don't worry about making them perfect; small dots work just as well as detailed squares.
Step 10: Color Your Masterpiece
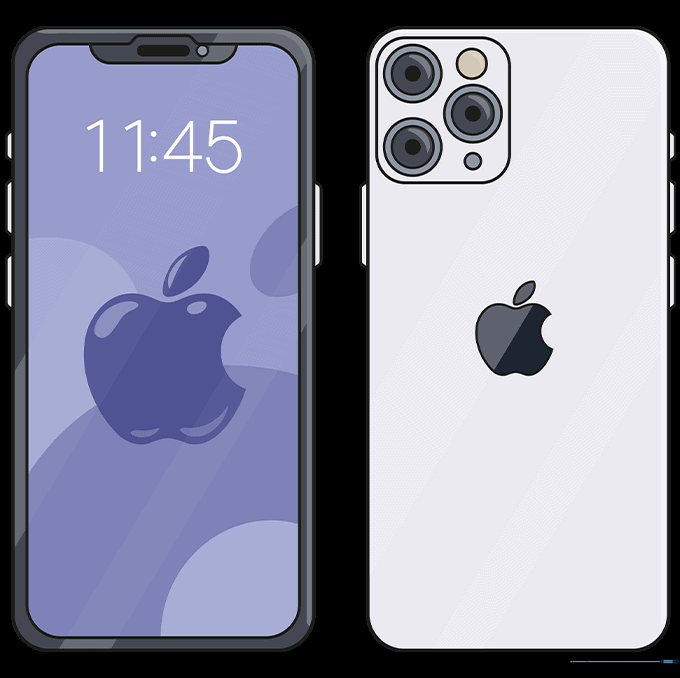
Bring your drawing to life with color! Use metallic grays for the frame and bright colors for your screen wallpaper. Tip: Use light pressure with your colored pencils to create a smooth, even finish.
More Tutorials


