How to Draw an Impossible Star: Easy Optical Illusion Guide
Ready to trick the eye? This tutorial is perfect for artists ages 8+ who want to explore the world of optical illusions. You will only need a pencil, an eraser, and a ruler to create this mind-bending geometric shape that builds focus and spatial awareness.
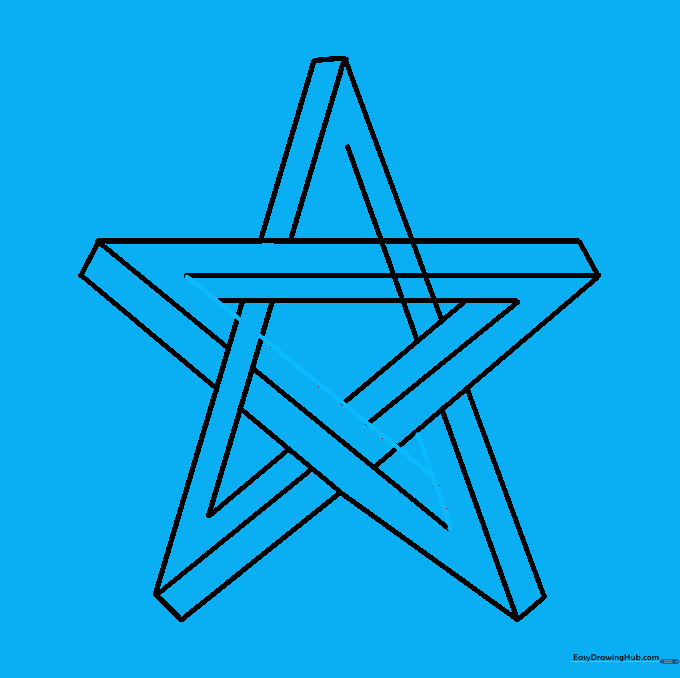
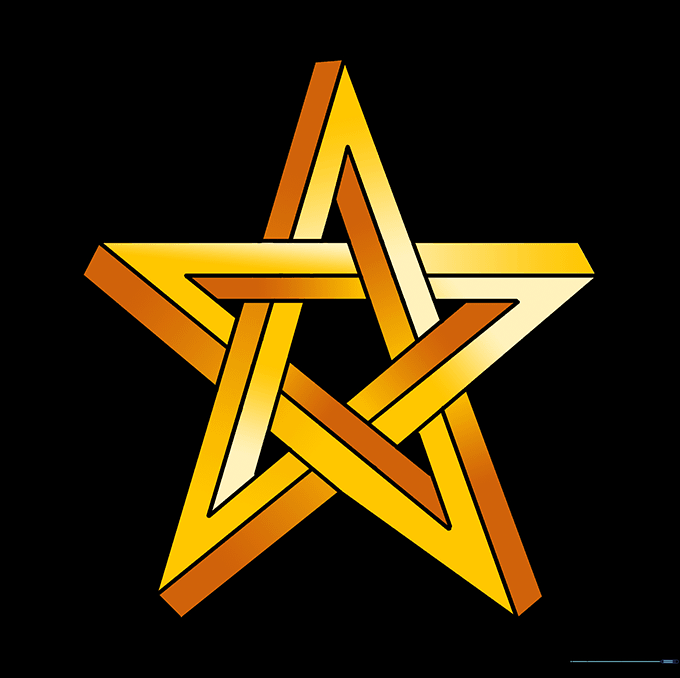
🎯 Final Result

Step-by-Step Instructions
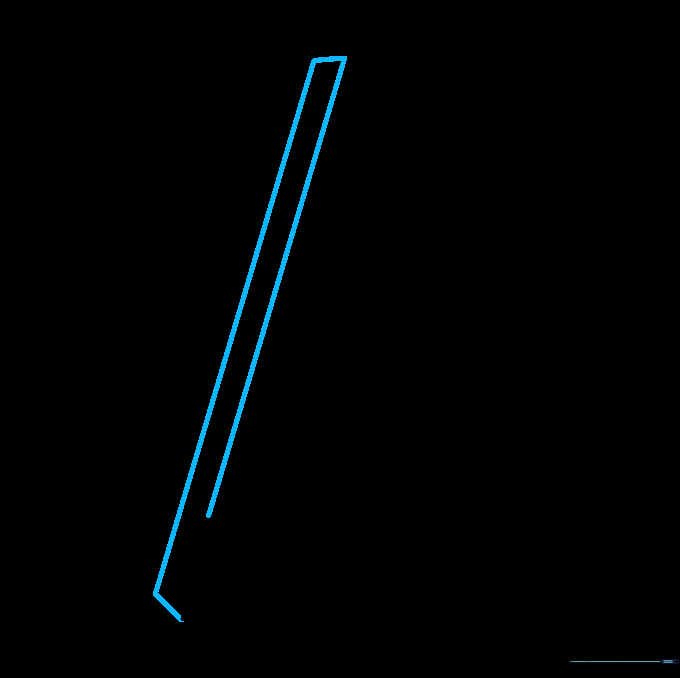
Step 1: Establishing the First Bar
Draw a long, straight diagonal line. From the bottom, add a shorter line upward, and another downward at the opposite angle. Teacher's Tip: Use a ruler to ensure your lines are perfectly straight; precision is the secret to a convincing illusion.
Step 2: Building the Second Bar
Extend a short line from your previous work, then draw a long line upward. Add a short horizontal line and a long parallel line downward. Teacher's Tip: Keep your lines parallel to maintain the 3D perspective.
Step 3: Connecting the Legs

Extend a diagonal line from the bottom left, then a parallel line to match. From the top, draw a long line downward and connect it to the leg tip. Teacher's Tip: Check that your corners meet sharply; don't let them overlap.
Step 4: Adding Horizontal Depth
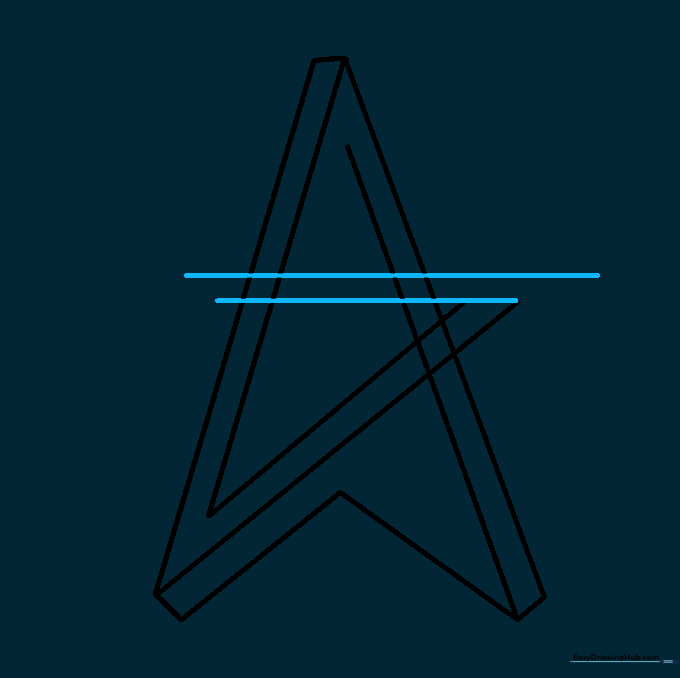
Draw two horizontal lines across the middle. The top line should be slightly longer than the bottom one. Teacher's Tip: These lines create the 'overlap' effect that makes the star look impossible.
Step 5: Extending the Arms
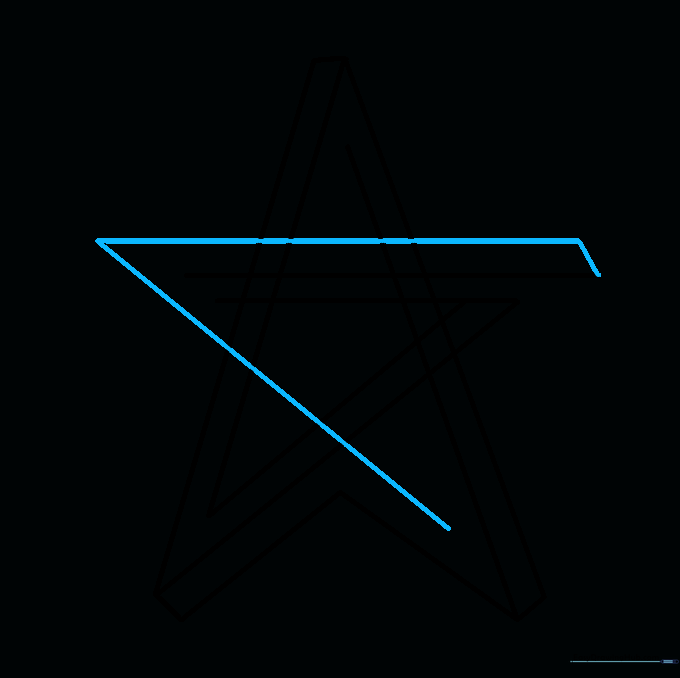
Draw a long line above your previous work, connecting the ends. Extend a long diagonal line downward on the opposite side. Teacher's Tip: If your lines look a bit messy, use your eraser now to clean up any stray marks.
Step 6: Defining the Left Arm
Extend a short line from the left arm, followed by a long parallel line. Connect the tip of the opposite arm with a long straight line. Teacher's Tip: Ensure the spacing between your parallel lines is consistent for a professional look.
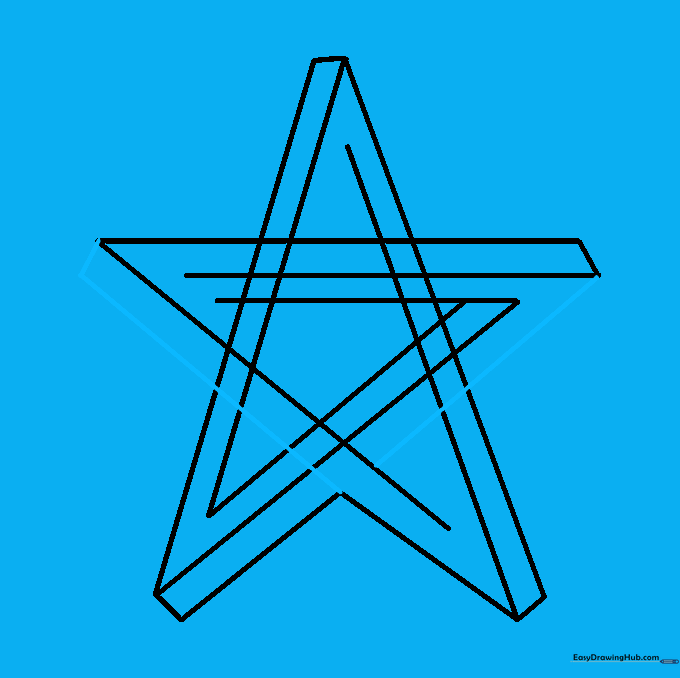
Step 7: Connecting the Points
Use your ruler to connect the remaining points as shown. Erase any overlapping guide lines that shouldn't be visible. Teacher's Tip: This is where the 'impossible' shape really starts to come together!
Step 8: Refining the Top Point
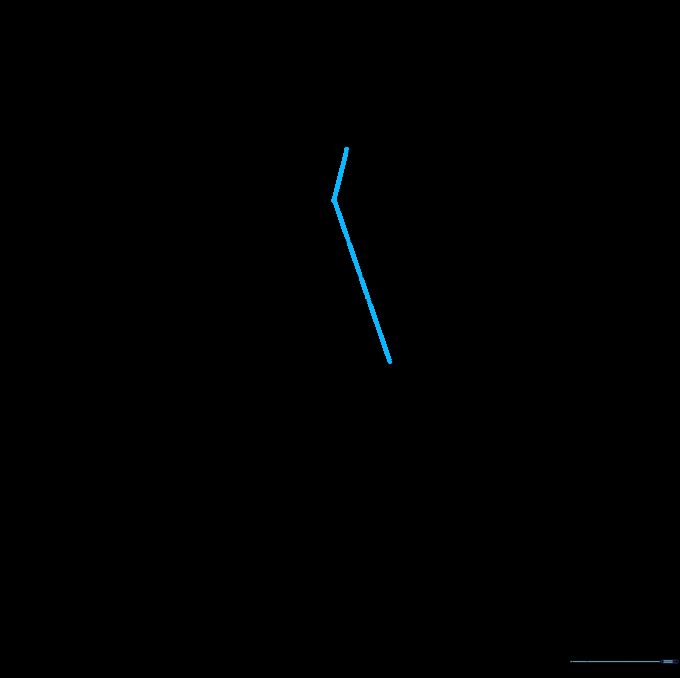
Extend a short line from the uppermost point, then draw a line downward to meet the adjacent bar. Teacher's Tip: Take your time here; this small detail closes the loop of the illusion.
Step 9: Finalizing the Outline
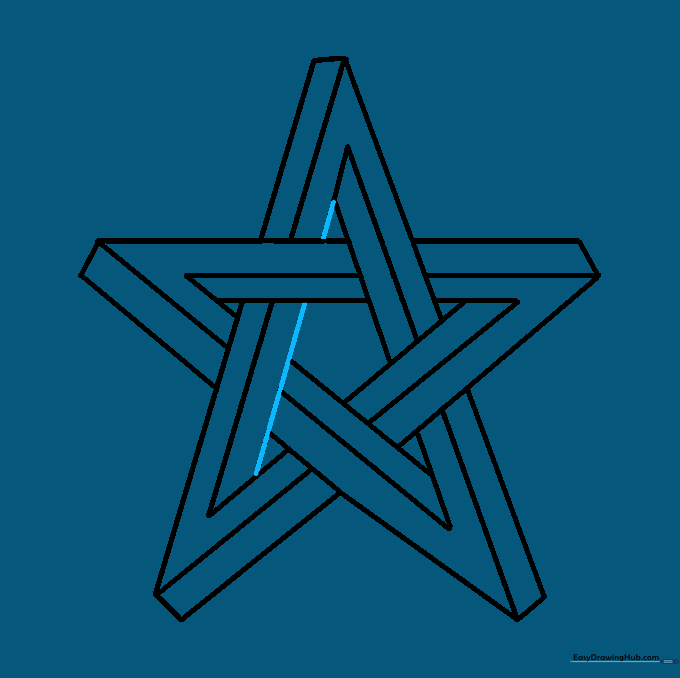
Draw a final straight line from the upper tip to the left leg to complete the figure. Teacher's Tip: Go over your final lines with a darker pencil or pen to make the shape pop.
Step 10: Adding Color and Shading
Color your star! Use shading on the inner sides to create a sense of depth. Teacher's Tip: Darker colors in the 'shadow' areas will make your star look like a real 3D object.
More Tutorials


