How to Draw an Iguana: Easy 10-Step Guide for Kids
Bring a scaly friend to life with this beginner-friendly iguana drawing tutorial, perfect for young artists ages 6 and up. All you need is a pencil, an eraser, and a piece of paper to master these reptilian features. Follow along to develop your sketching confidence and create a vibrant, textured character.
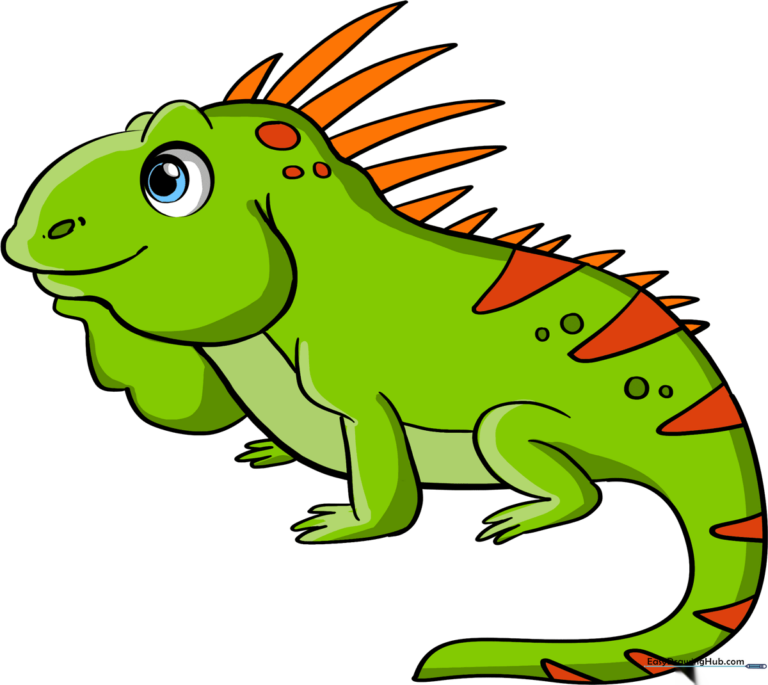
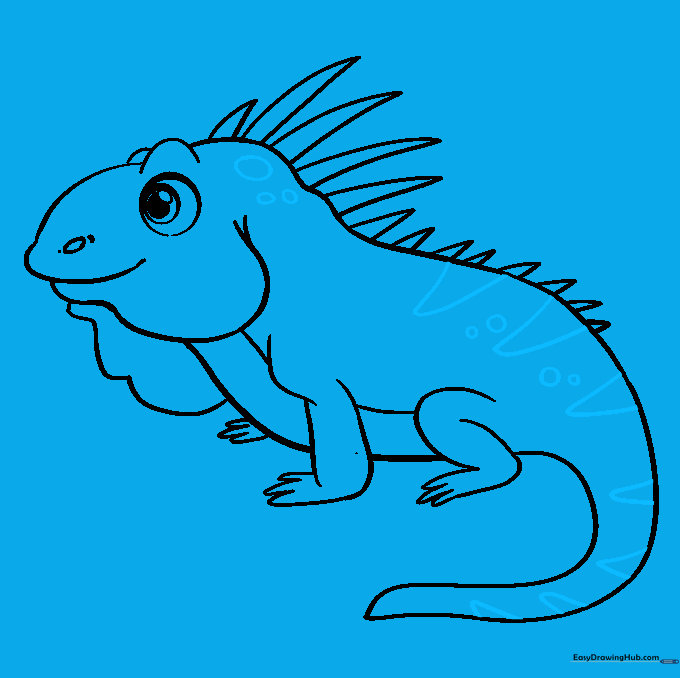
🎯 Final Result
Step-by-Step Instructions
Step 1: Sketching the Head Base

Draw a light oval to serve as the foundation for the head. Teacher's Tip: Keep your pencil pressure very light here so you can easily erase these guide lines later once the facial features are set.
Step 2: Defining the Mouth and Jaw

Add three overlapping curved lines to define the snout and lower jaw. Teacher's Tip: Think of these as a 'W' shape on its side to help get the lizard's characteristic grumpy-looking mouth just right.
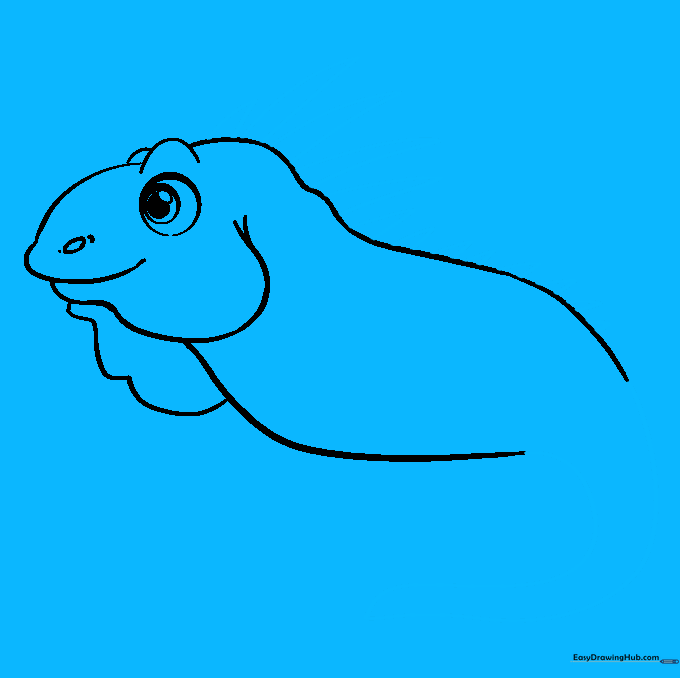
Step 3: Cleaning the Outline

Carefully erase the internal guide lines from your original oval and add a short line on the jaw. Teacher's Tip: Use a soft eraser and brush away the crumbs so your paper stays clean for the details.
Step 4: Adding Eyes and Nostrils

Draw the brow ridge and a series of nested circles for the eye. Shade the center for the pupil and add a small oval for the nostril. Teacher's Tip: Keep the pupil dark to make the eye look alert and alive.
Step 5: Sketching the Body

Use long, sweeping curved lines to outline the back and underbelly. Teacher's Tip: Don't worry about making these lines perfectly straight; iguanas have flexible, curvy bodies, so a natural flow is better.
Step 6: Adding the Throat Pouch
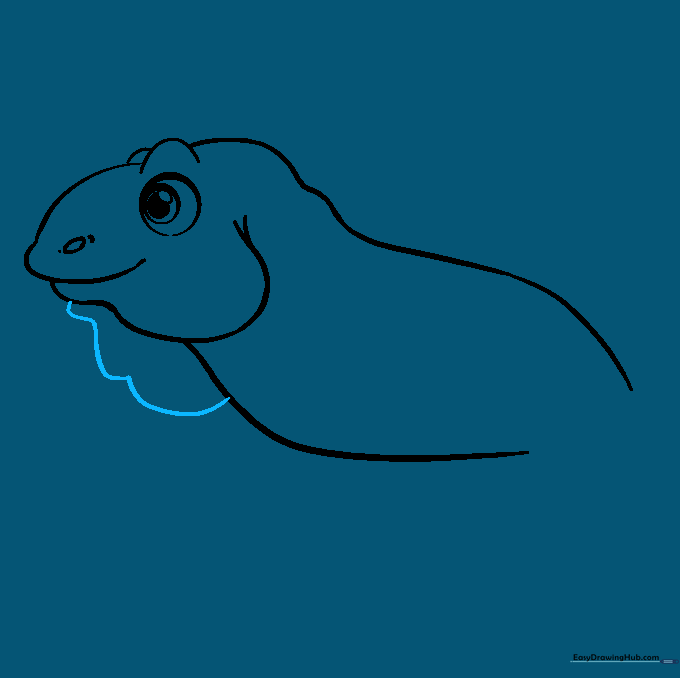
Draw a wavy line under the throat to create the dewlap, the loose skin iguanas are famous for. Teacher's Tip: Make the line slightly bumpy to show the texture of the skin.
Step 7: Tail and Spikes
Extend the body lines to a point for the tail and add triangular spikes along the back. Teacher's Tip: Vary the size of the spikes, making them largest near the head and smaller as they reach the tail.
Step 8: Drawing the Legs and Feet
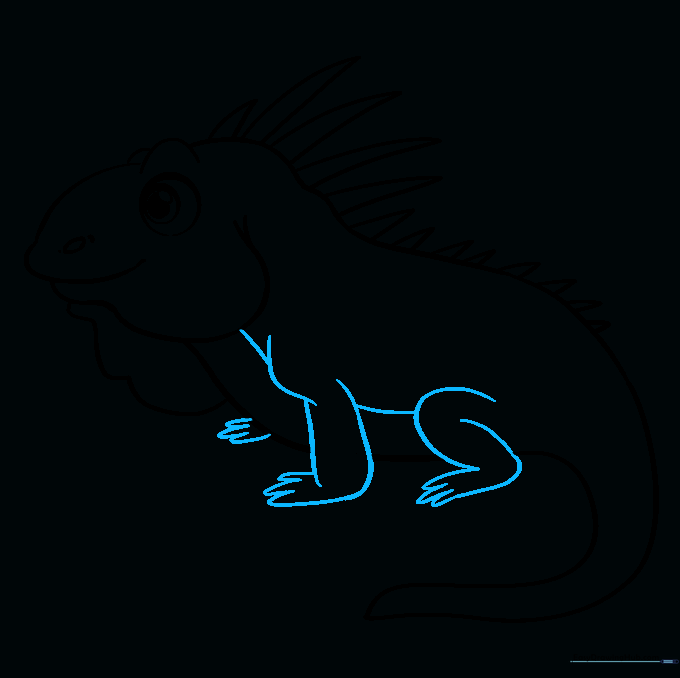
Add the legs with 'U' shaped toes. Teacher's Tip: Notice how the front leg overlaps the body—this creates a sense of depth in your drawing.
Step 9: Adding Scaly Texture
Add stripes, spots, and small circles across the body to mimic scales. Teacher's Tip: Don't overthink the pattern; random placement of circles makes the skin look more natural and organic.
Step 10: Coloring Your Iguana

Bring your iguana to life with color! While green is classic, try using browns, reds, or greys for a unique look. Teacher's Tip: Use a darker shade of green to add shadows under the belly for a 3D effect.
More Tutorials


