How to Draw an Igloo: Easy 10-Step Guide for Kids
This igloo drawing tutorial is perfect for young artists ages 5 and up. All you need is a pencil, an eraser, and a piece of paper to get started. Follow these simple steps to master basic shapes and create your own cozy winter shelter.
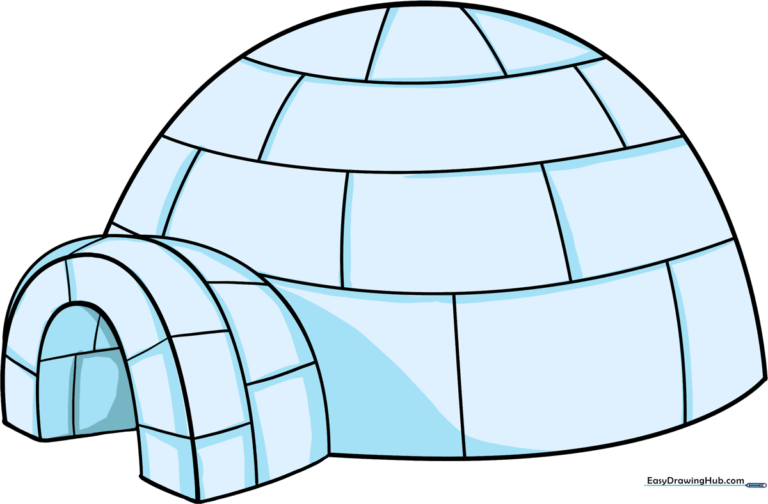
🎯 Final Result
Step-by-Step Instructions
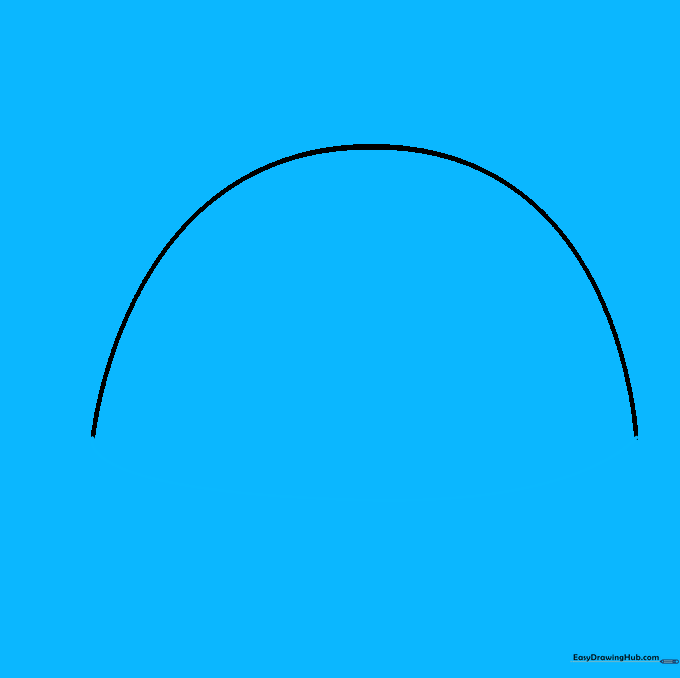
Step 1: Sketching the Main Dome

Draw a large, wide semicircle to form the main body of the igloo. Teacher's Tip: Keep your pencil lines light and loose so you can easily adjust the shape if it looks a bit lopsided.
Step 2: Closing the Base
Draw a straight horizontal line connecting the two ends of your semicircle. Teacher's Tip: Use a ruler if you want a perfectly flat floor, or keep it freehand for a more natural, snowy look.
Step 3: Outlining the Entrance
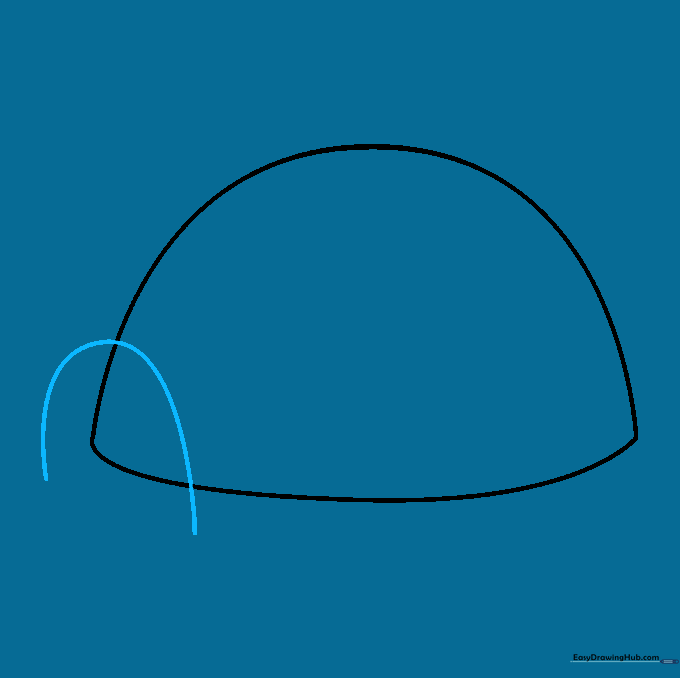
Draw an upside-down 'U' shape overlapping the bottom edge of your dome. Teacher's Tip: Make sure the 'U' is wide enough to look like a doorway that someone could crawl through!
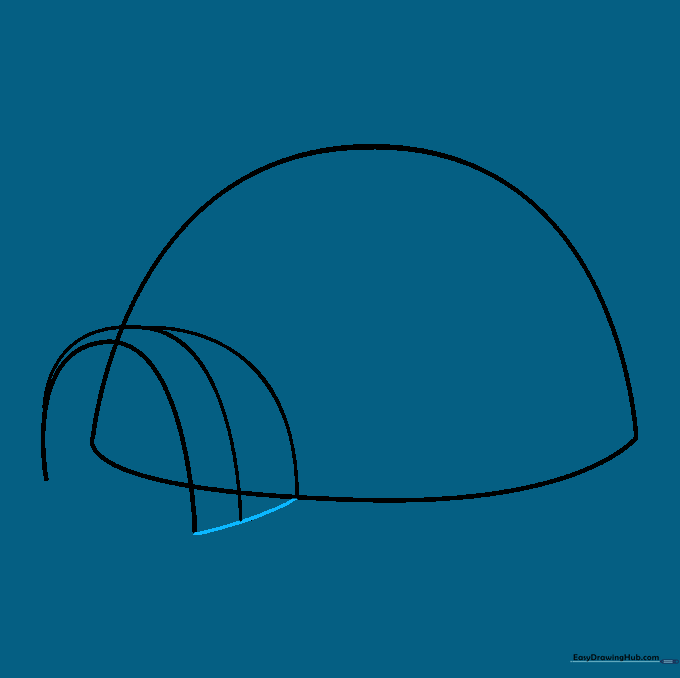
Step 4: Adding Depth to the Doorway
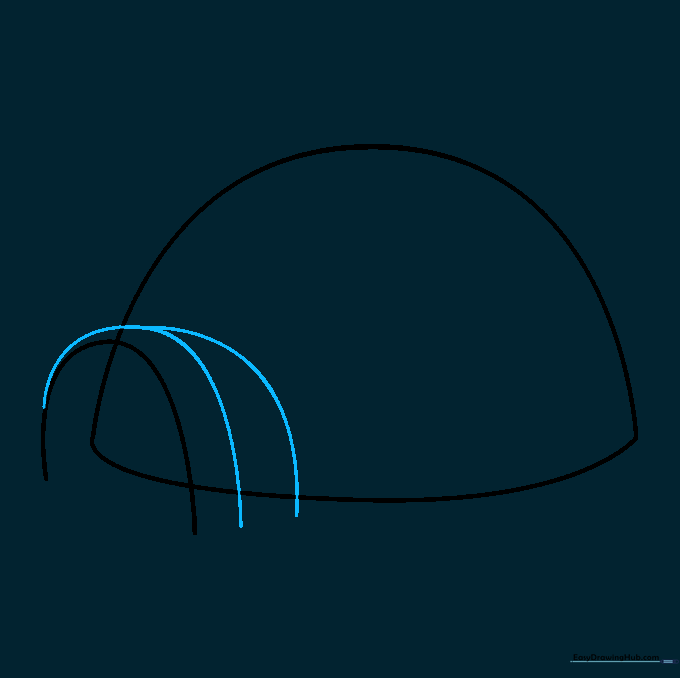
Draw a curved line parallel to the side of your 'U' shape, then extend it upward. Teacher's Tip: This creates the 'tunnel' effect of an igloo entrance, giving your drawing 3D perspective.
Step 5: Connecting the Tunnel
Connect the top of your tunnel lines with a smooth, curved line. Teacher's Tip: Keep this curve consistent with the dome shape to ensure the entrance looks like it belongs to the igloo.
Step 6: Defining the Door Opening
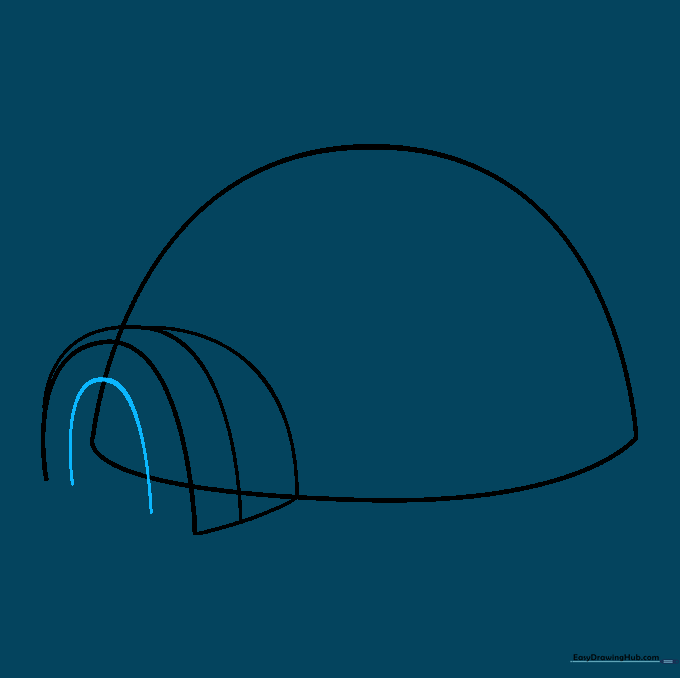
Draw a smaller 'U' shape inside the entrance tunnel. Teacher's Tip: This inner line represents the actual doorway opening, adding depth and realism to your sketch.
Step 7: Finishing the Entrance
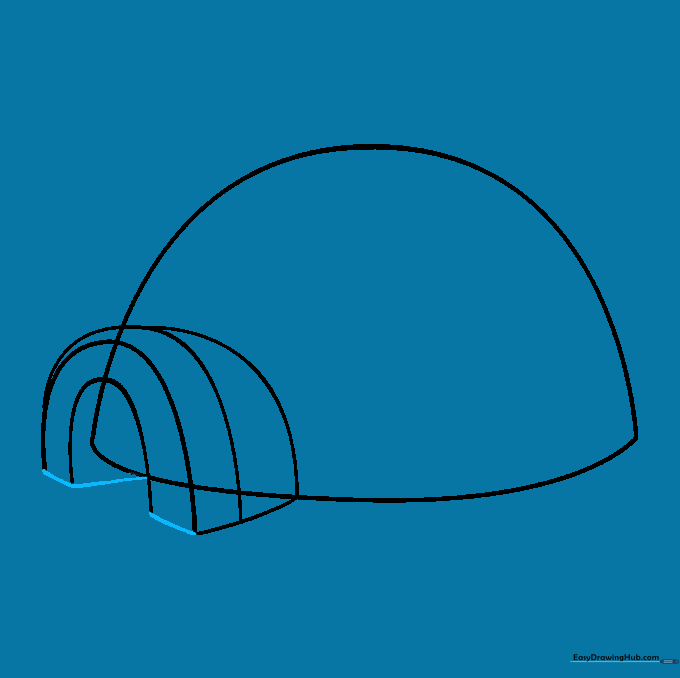
Use straight lines to connect the inner and outer 'U' shapes. Teacher's Tip: These lines represent the thickness of the ice blocks used to build the entrance.
Step 8: Cleaning Up

Carefully erase any overlapping guide lines inside the entrance. Teacher's Tip: Use a clean eraser and gentle pressure to avoid smudging your drawing.
Step 9: Adding Ice Block Details
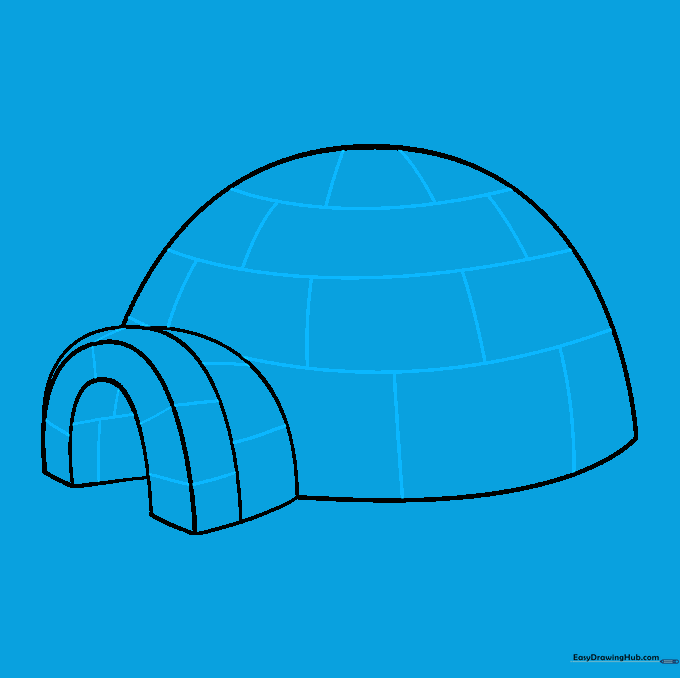
Draw curved horizontal bands across the igloo, then add short vertical lines between them to create the look of stacked ice blocks. Teacher's Tip: Stagger your vertical lines like a brick wall to make it look structurally sound!
Step 10: Adding Color and Shadows
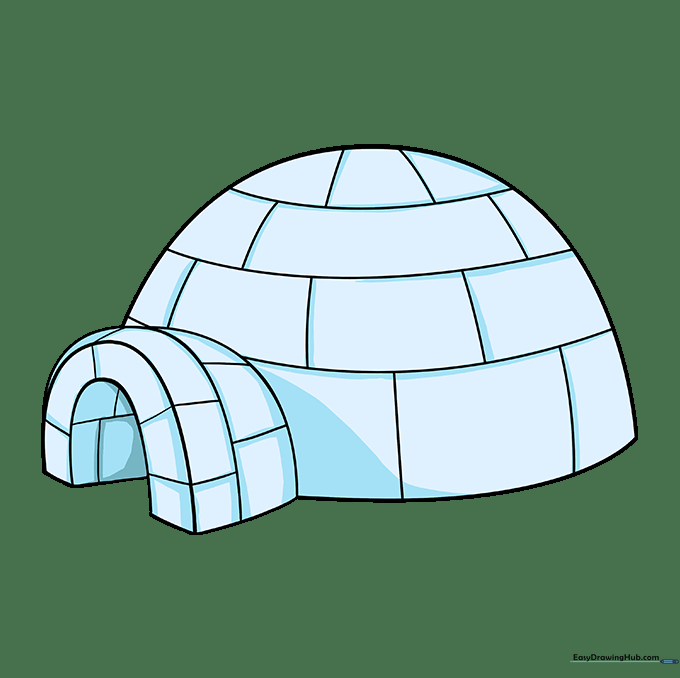
Color your igloo with light blue or gray shading to give it a realistic, icy look. Teacher's Tip: Leave some areas white to represent bright highlights from the sun reflecting off the snow.
More Tutorials


