How to Draw an Ice Dragon: Easy 10-Step Guide
Ready to bring a creature of frost and legend to life? This tutorial is perfect for young artists ages 8+ looking to master fantasy anatomy. Grab your pencil, eraser, and paper, and let’s build this dragon step-by-step using simple geometric shapes.
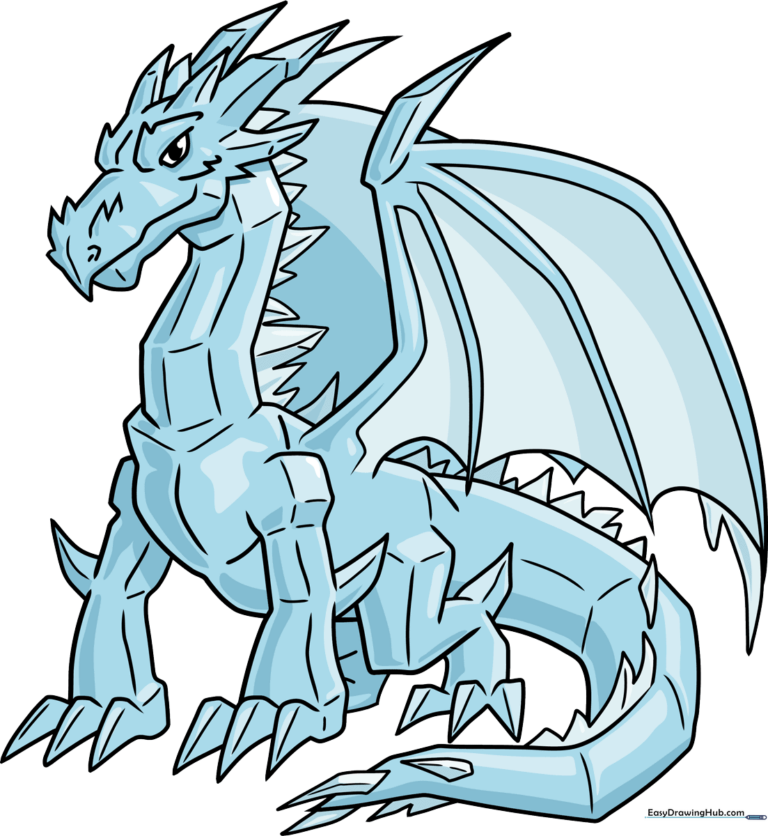
🎯 Final Result
Step-by-Step Instructions
Sketching the Snout and Brow

Start by sketching the dragon's face. Use curved lines to outline the snout and brows, adding jagged points that look like icicles. Teacher's Tip: Keep your pencil strokes light—this helps you adjust the shape of the eye before you commit to the final lines.
Defining the Head Shape
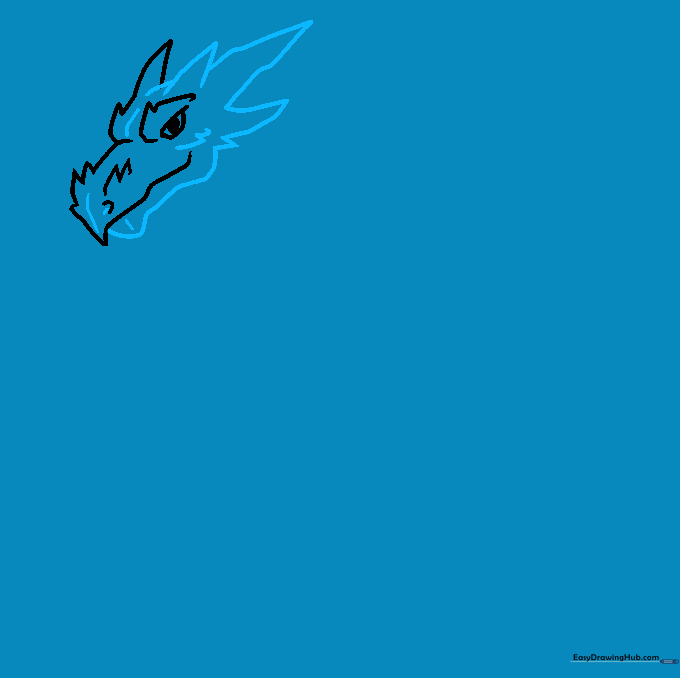
Complete the head outline using sharp, jagged lines to emphasize the 'icy' theme. Add nostrils and lip details. Teacher's Tip: Use short, quick strokes for the jagged edges to make them look more natural and less like perfect triangles.
Adding Horns and Neck
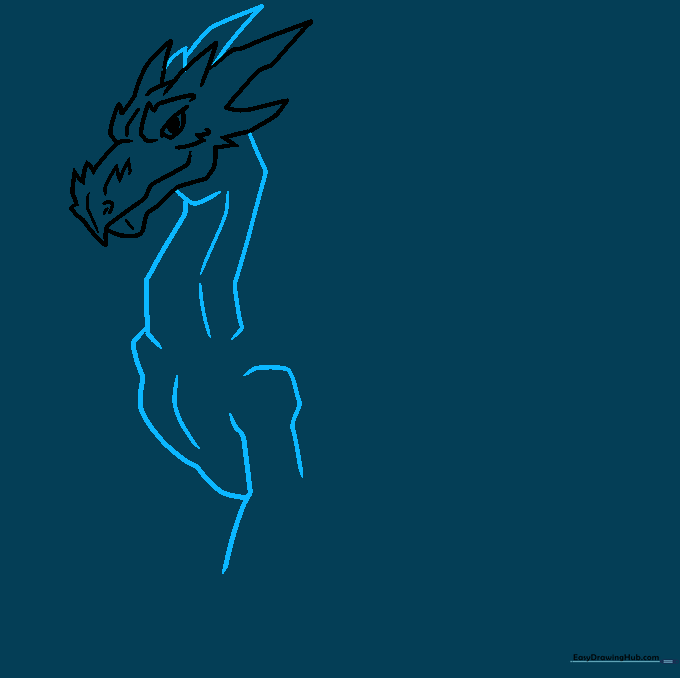
Draw sharp, icicle-like horns on top of the head. Then, sketch the neck and torso using curved lines to suggest strong muscles. Teacher's Tip: Think of the neck as a flexible tube; keep the lines flowing to show movement.
Constructing the Legs
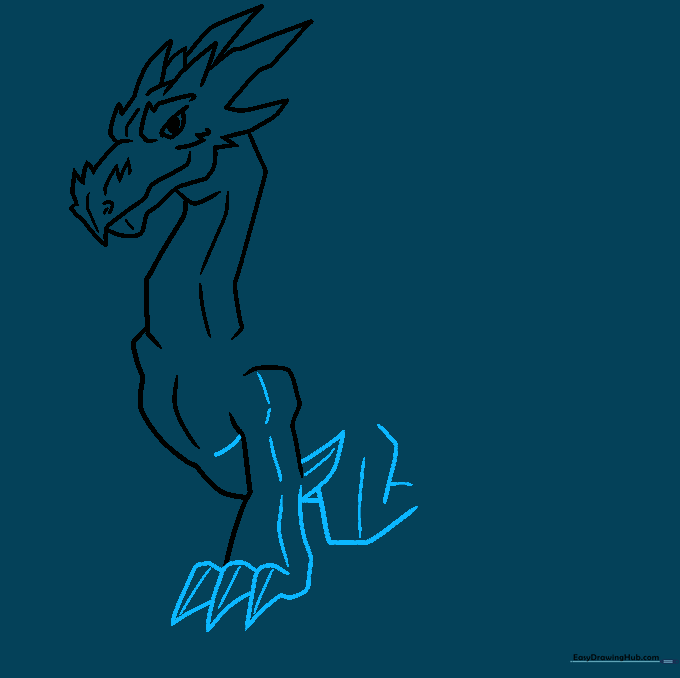
Draw the foreleg and rear leg using overlapping curved lines. Add parallel lines inside to create a 3D, blocky look. Teacher's Tip: Add a small triangle at the elbow to act as a 'joint'—it makes the dragon look much more realistic.
Refining the Limbs
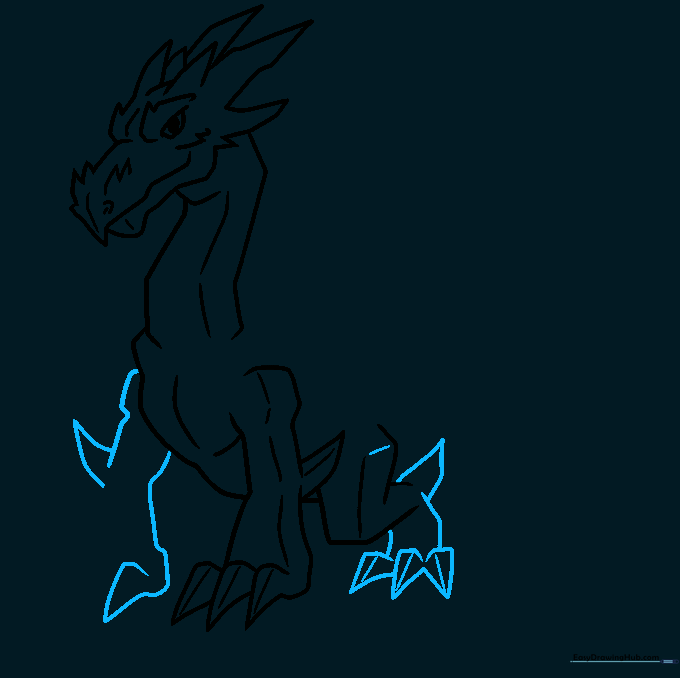
Complete the rear leg by adding the ankle spike and triangular toes. Start sketching the second foreleg. Teacher's Tip: Since the second leg is further away, draw it slightly smaller to create the illusion of depth.
Drawing the Wing Structure
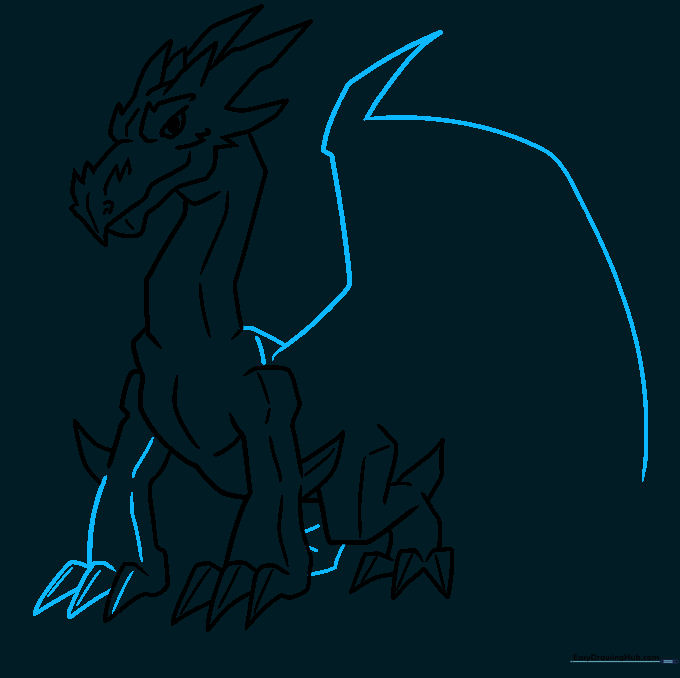
Finish the legs and begin the wing. Use curved lines to outline the shoulder and the sharp talon at the wing joint. Teacher's Tip: The wing joint is the 'elbow' of the wing; make it look sharp to keep with the ice theme.
Adding Wing Membranes and Tail
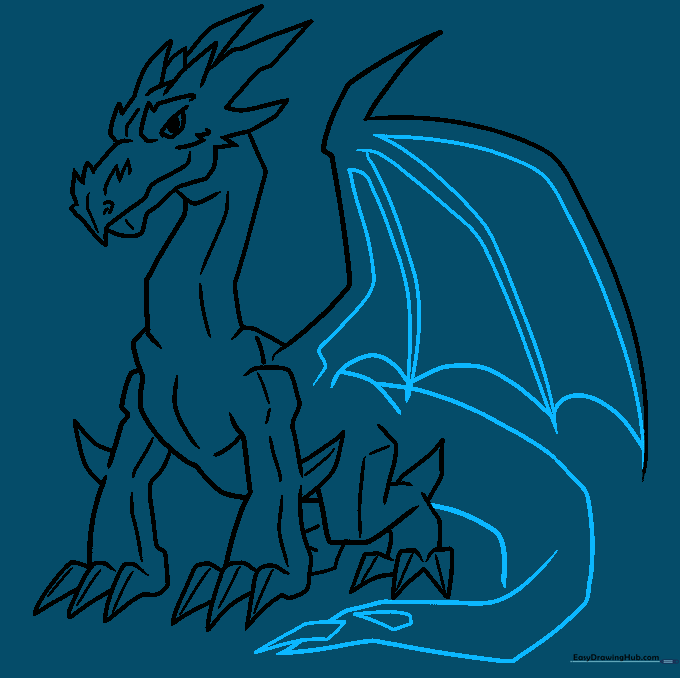
Extend lines from the wing joint to create the membrane, then sketch the hip and tail with spikes. Teacher's Tip: When drawing the wing membrane, use 'scalloped' lines to make it look like thin, leathery skin.
Adding Back Spikes
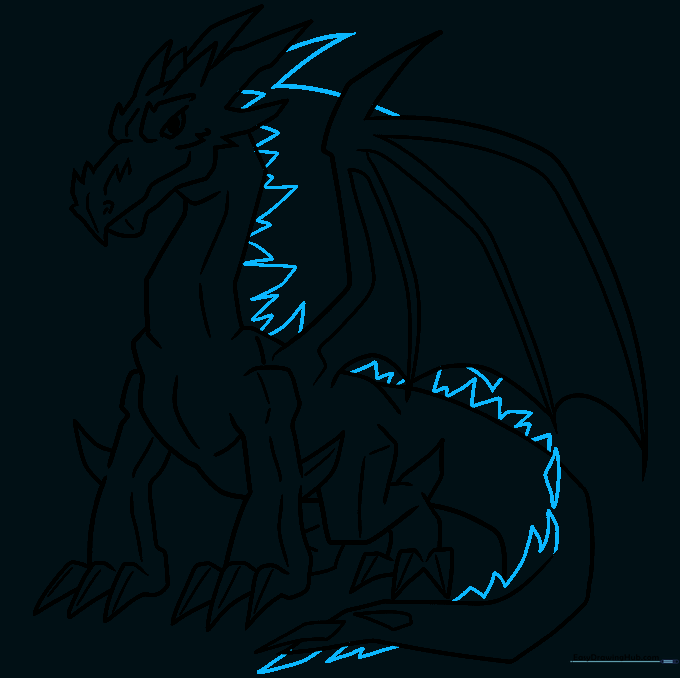
Draw jagged spikes down the dragon's back. Use pairs of curved lines that meet at sharp points. Teacher's Tip: Vary the size of the spikes—larger near the neck and smaller toward the tail—to create visual interest.
Finalizing the Outline
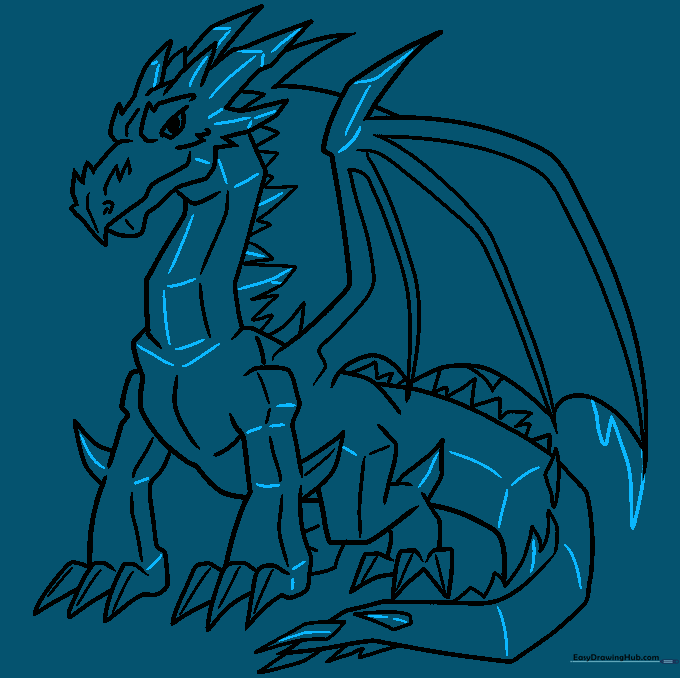
Complete your outline by contouring the limbs and tail with short, crisp lines. Add length to the wingtips. Teacher's Tip: Go over your final lines with a slightly firmer pressure to make the drawing pop before you start coloring.
Adding Color
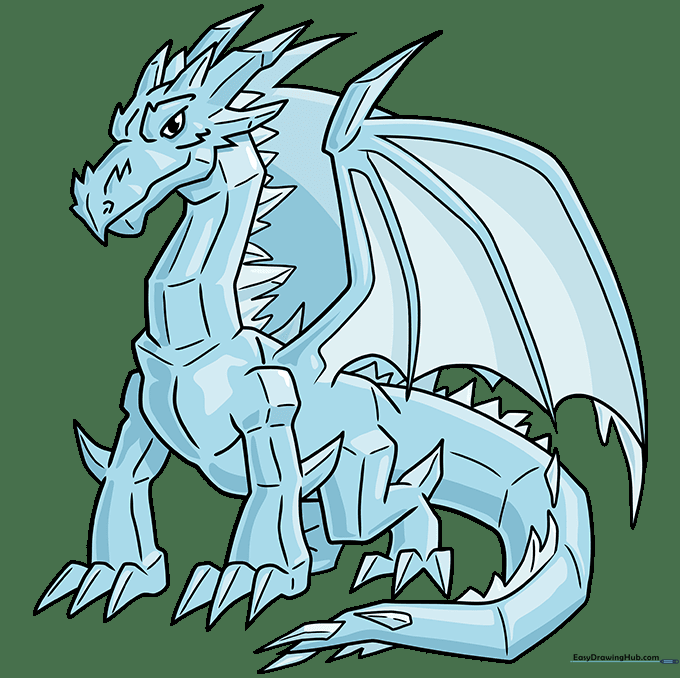
Bring your dragon to life with color! Use light blues and whites to mimic the look of ice. Teacher's Tip: Use a darker blue for the shadows under the wings and neck to give your drawing a professional, 3D appearance.
More Tutorials


