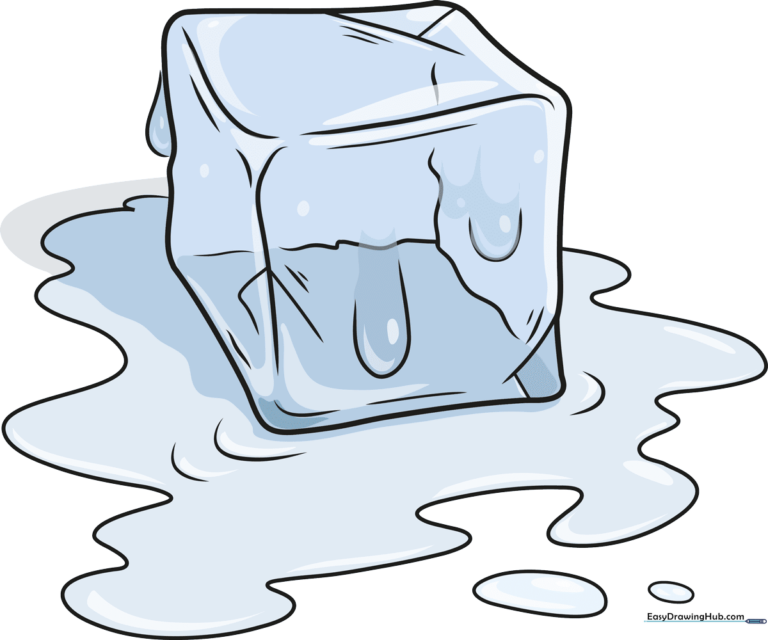
How to Draw an Ice Cube: Easy 9-Step Guide for Kids
This fun, screen-free drawing activity is perfect for young artists ages 5 and up. Using just a pencil, eraser, and paper, you will learn how to create a 3D ice cube complete with melting droplets. It is a fantastic way to practice basic geometric shapes and shading techniques.
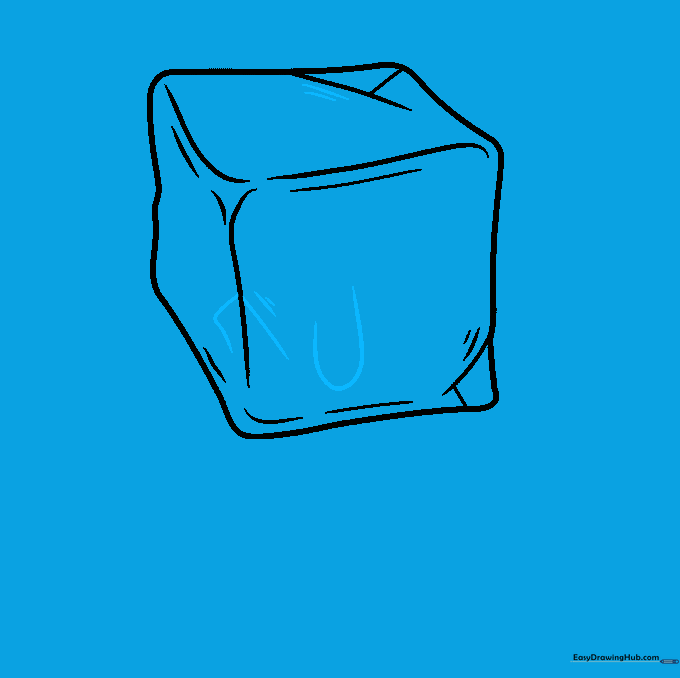
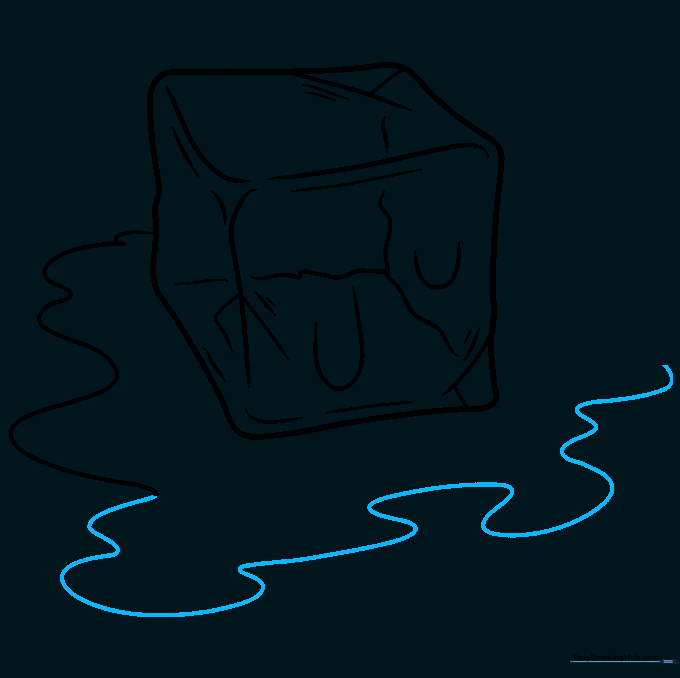
🎯 Final Result
Step-by-Step Instructions
Step 1: Sketching the Base
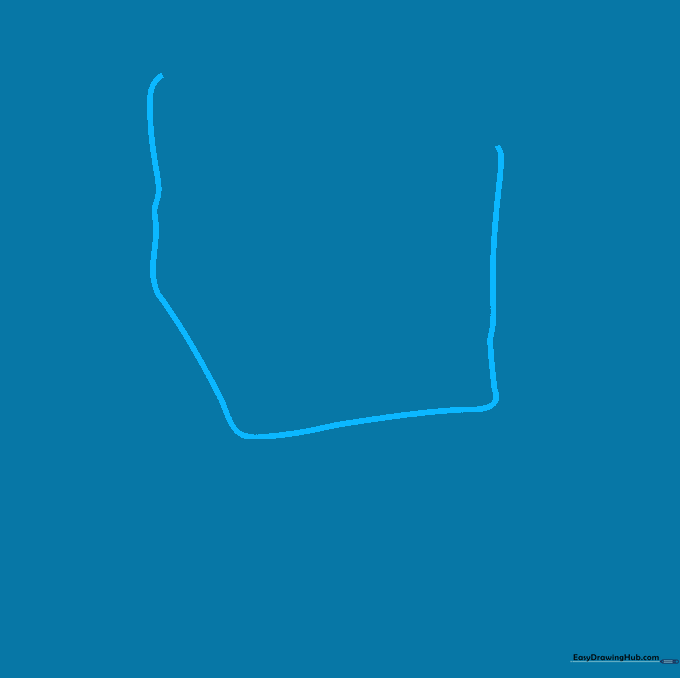
Start by outlining the main body of the cube. Use soft, curved lines for the sides and ensure the corners are rounded. Teacher's Tip: Think of this as a 'puffy' square rather than a sharp one.
Step 2: Defining the Top
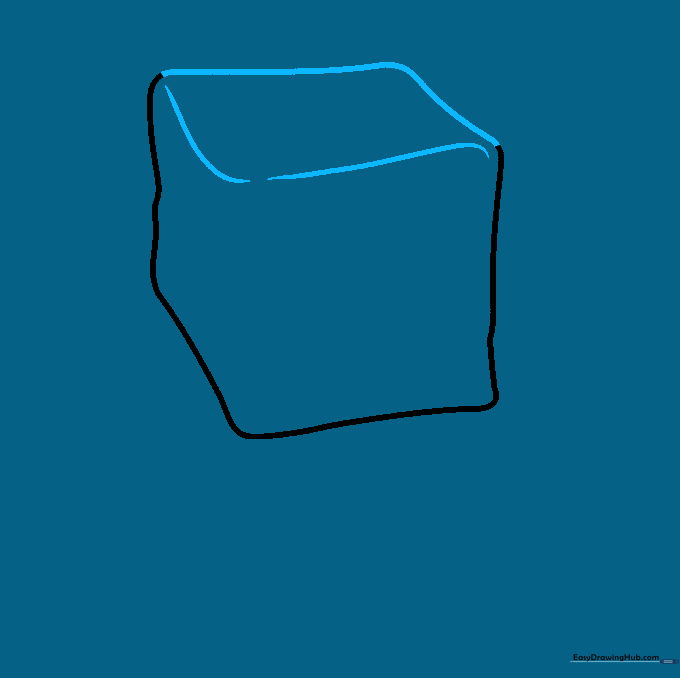
Add a parallelogram on top to create the cube's lid. Keep the lines slightly curved to maintain that melting, organic feel. Tip: Make sure the corners connect smoothly to the sides.
Step 3: Adding Internal Depth
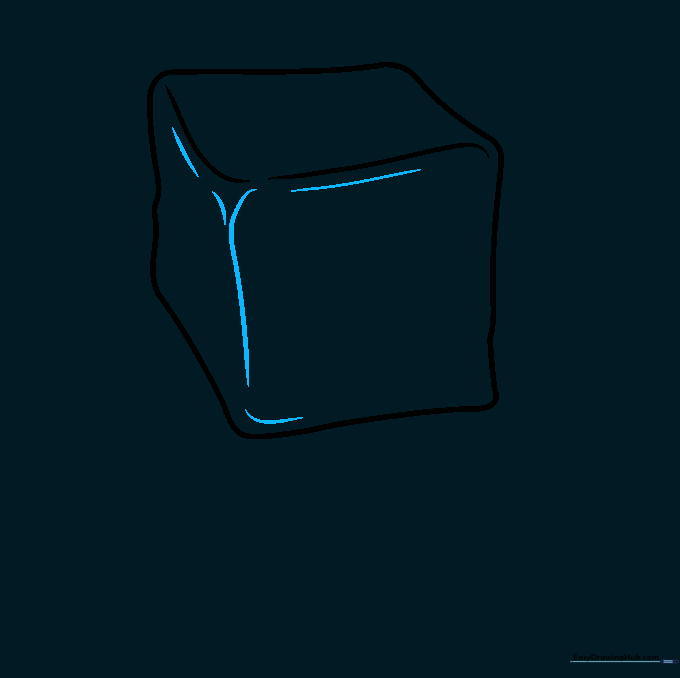
Draw a curved line to separate the front face from the side. Add smaller curves along the edges to suggest the thickness of the ice. Tip: Use a light touch here to keep the drawing looking transparent.
Step 4: Creating Ice Cracks
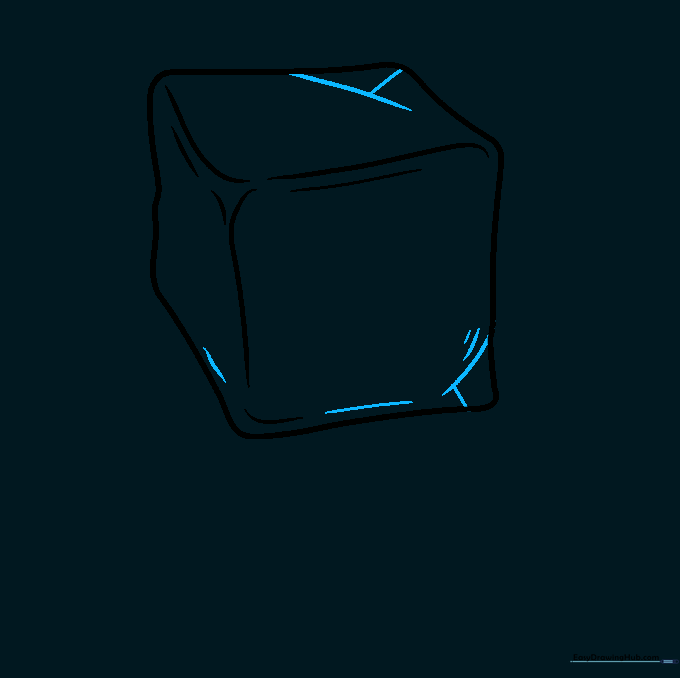
Add intersecting curved lines across the top and corners to represent cracks in the ice. Tip: Don't make them too straight—ice cracks are usually jagged and irregular.
Step 5: Adding Melting Droplets
Draw small 'U' shaped lines on the face of the cube to show melting water. Tip: Vary the size of the droplets to make them look more natural.
Step 6: Detailing the Translucency
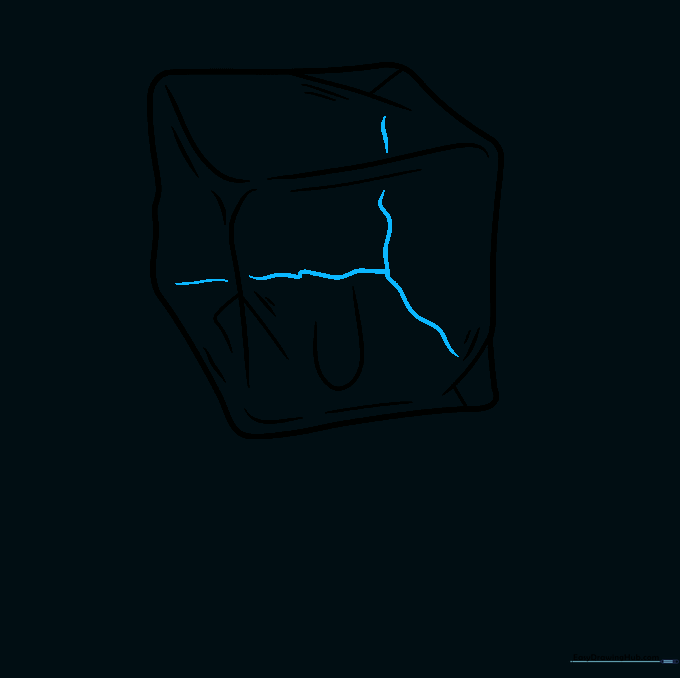
Draw wavy 'Y' shaped lines across the visible faces. This helps the viewer see through the ice to the back corners. Tip: Keep these lines faint so they don't overpower the main shape.
Step 7: Drawing the Puddle
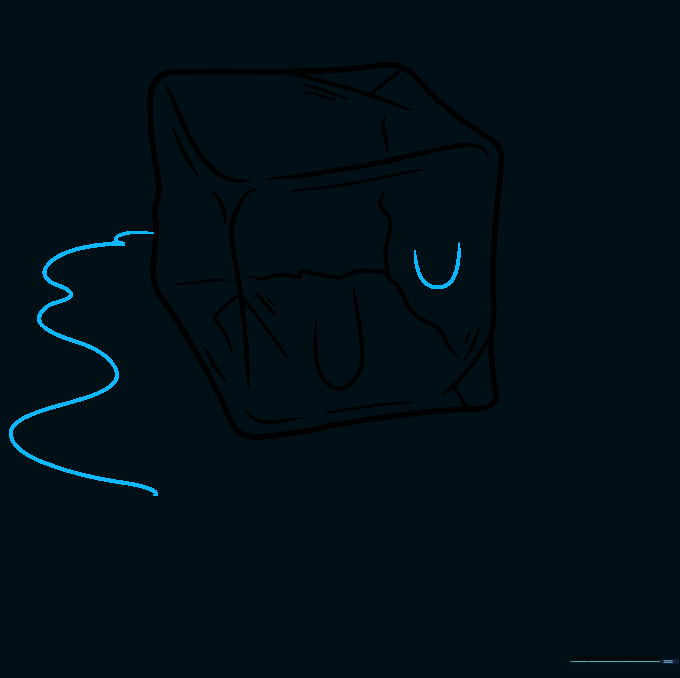
Draw a long, wavy line around the base of the cube to form a puddle. Tip: Make the puddle uneven to show that the ice is melting in different directions.
Step 8: Refining the Puddle
Continue the wavy line to complete the puddle's outline. Tip: Use a smooth, flowing motion with your wrist to get that liquid look.
Step 9: Final Touches

Add ripples around the corners and draw a few separate oval-shaped droplets near the puddle. This adds a sense of movement to your drawing. Tip: Less is more—don't crowd the page with too many droplets!
Step 10: Bringing it to Life with Color

Color your ice cube using light blues, whites, or leave it clear. Tip: Use a darker blue for the edges to make the ice look thick and cold.
More Tutorials


