How to Draw an Ice Cream Tower: Easy 10-Step Guide
Ready to create a towering treat? This tutorial is perfect for young artists ages 5 and up. All you need is a pencil, an eraser, and your favorite markers or crayons to bring this multi-scoop masterpiece to life.
🎯 Final Result

Step-by-Step Instructions
Step 1: Sketching the Top Scoop

Start by drawing a 'C' shaped curve for the top of the first scoop, then add a wavy line underneath to close it. Teacher's Tip: Keep this scoop small so you have plenty of room to stack more underneath!
Step 2: Adding the Second Scoop

Contour the bottom of your first scoop with a few soft curves, then draw a new, slightly wider wavy line below it to start the second scoop. Tip: Imagine the ice cream is soft and slightly melting.
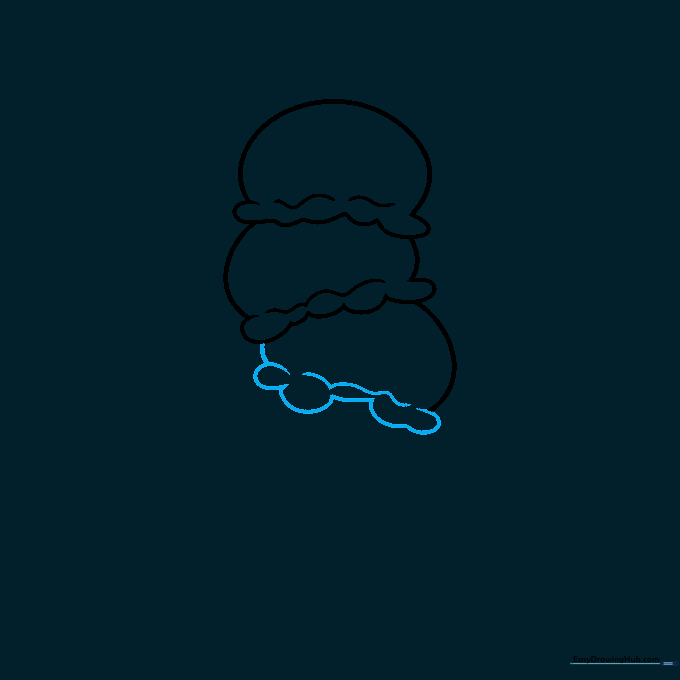
Step 3: Building the Third Scoop

Use wavy lines to finish the bottom of the second scoop, then extend a curved line downward to begin the third scoop. Tip: Vary the size of your waves to make the ice cream look more realistic.
Step 4: Defining the Third Scoop
Enclose the third scoop with wavy, flowing lines. Tip: Think of this as the 'middle' of your tower—make it the widest scoop for balance!
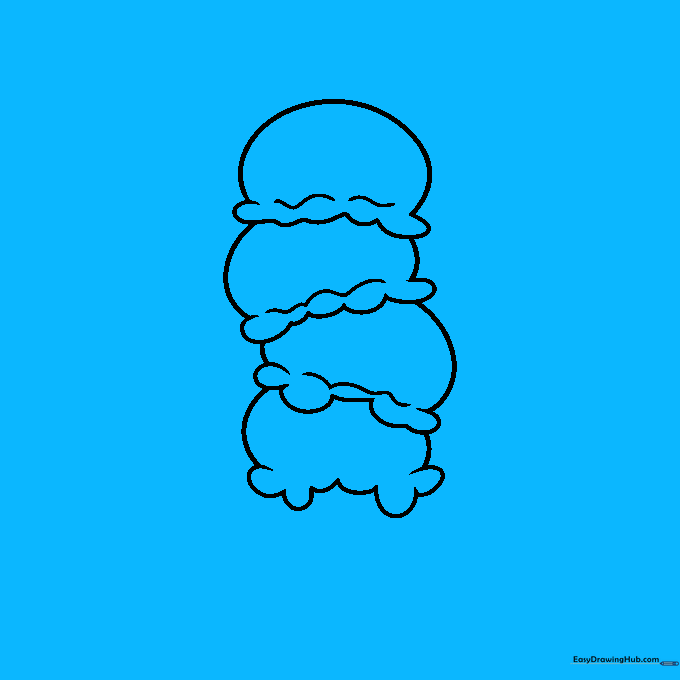
Step 5: Adding the Final Scoop

Draw the fourth and final scoop at the base of your tower using the same wavy technique. Tip: Keep the bottom of this scoop slightly flatter to prepare for the cone.
Step 6: Drawing the Cone
Draw a rounded trapezoid under the bottom scoop, then add a curved triangle beneath it for the point of the cone. Tip: Use a ruler if you want perfectly straight sides, or freehand it for a rustic look.
Step 7: Adding Toppings
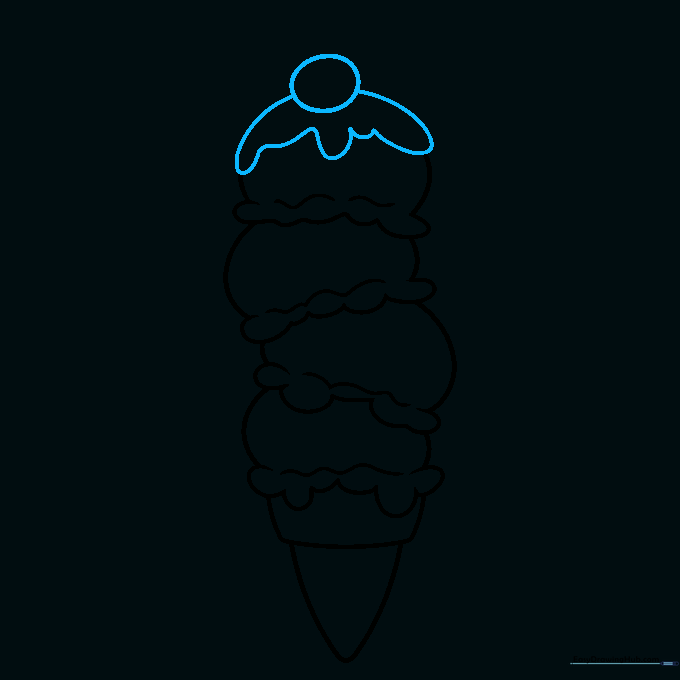
Draw a small circle on the very top for a cherry and add some wavy lines dripping down the side of the top scoop. Tip: Use your eraser to remove any overlapping lines inside the cherry.
Step 8: Details and Texture

Add a stem to your cherry and draw diagonal crosshatch lines on the cone to create the waffle texture. Tip: Keep your crosshatch lines evenly spaced for a professional look.
Step 9: Adding Sprinkles
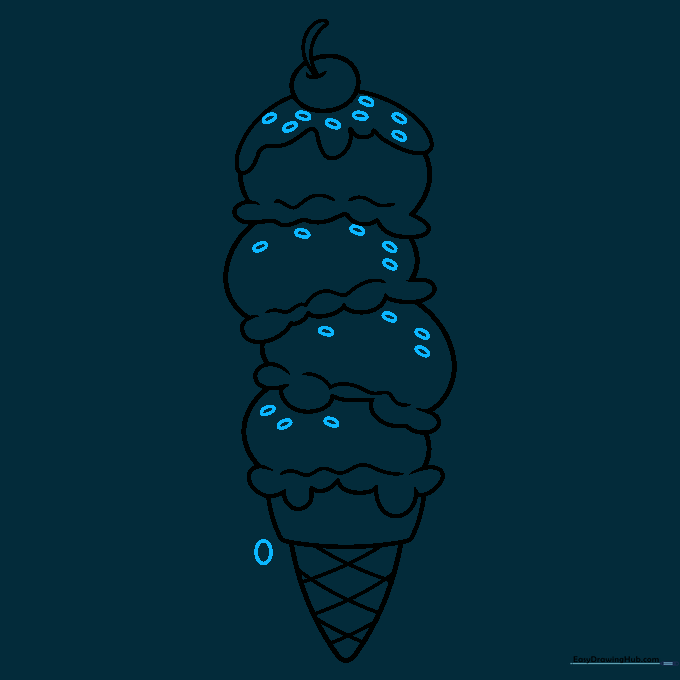
Draw small, oval-shaped sprinkles across your scoops and a small drip near the cone. Tip: Sprinkles look great when they are scattered in different directions!
Step 10: Bringing it to Life with Color

Time to color! Use bright colors for your favorite flavors and make those sprinkles pop. Tip: Try using light and dark shades of the same color to give your scoops a 3D, rounded look.
More Tutorials


