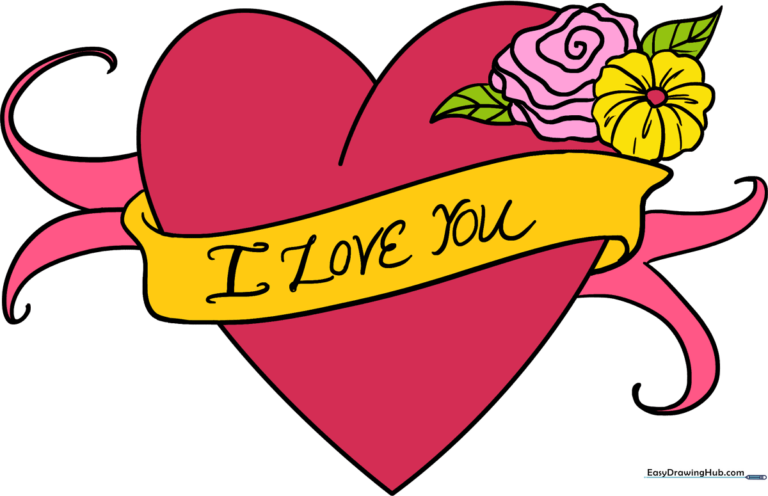
How to Draw an “I Love You” Heart: Easy Step-by-Step Guide
Looking for a screen-free activity that makes a perfect handmade gift? This tutorial is designed for ages 5 and up, requiring only a pencil, eraser, and paper. Follow these steps to build fine motor skills while creating a beautiful, personalized 'I Love You' heart banner.
🎯 Final Result
Step-by-Step Instructions
Step 1: Sketching the Heart Base

Draw a classic heart shape using two curved lines that meet at a point at the bottom. Teacher's Tip: Keep your pencil pressure light so you can easily adjust the shape if it looks a bit lopsided.
Step 2: Starting the Banner
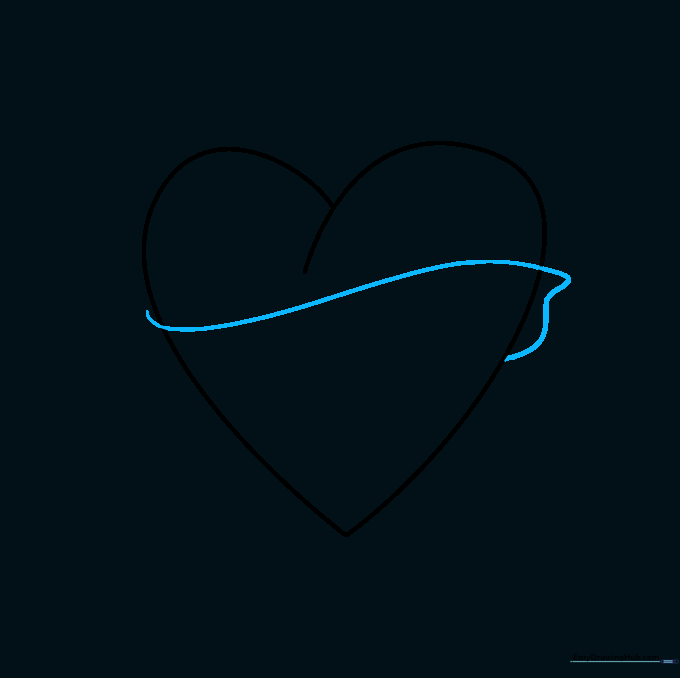
Draw a curved line across the top of the heart to begin your banner. Add a small wavy line on the side to give it a folded look. Tip: Imagine the banner is a piece of ribbon wrapping around the heart.
Step 3: Closing the Banner Shape
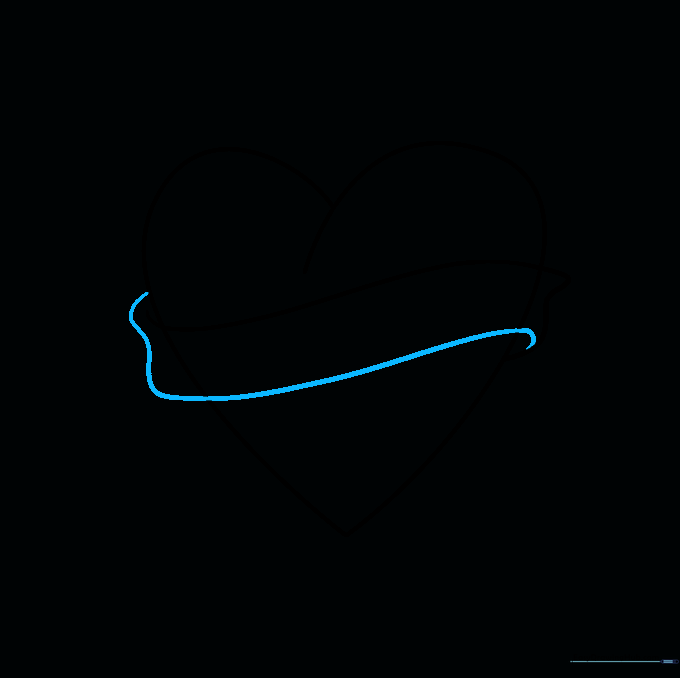
Extend a curved line from the side of the heart down to the bottom, connecting it to the banner. This creates the 'drape' effect. Tip: Make sure your lines are smooth to keep the ribbon looking soft and flowing.
Step 4: Cleaning Up Your Sketch

Carefully erase the guide lines inside the banner area. Tip: Use a kneaded eraser if you have one—it’s gentler on the paper and won't leave messy crumbs behind.
Step 5: Adding the First Flower

Draw a small circle for the center of your flower, then add petal shapes around it like spokes on a wheel. Tip: Don't worry about making the petals identical; flowers in nature are beautifully imperfect!
Step 6: Drawing the Second Flower
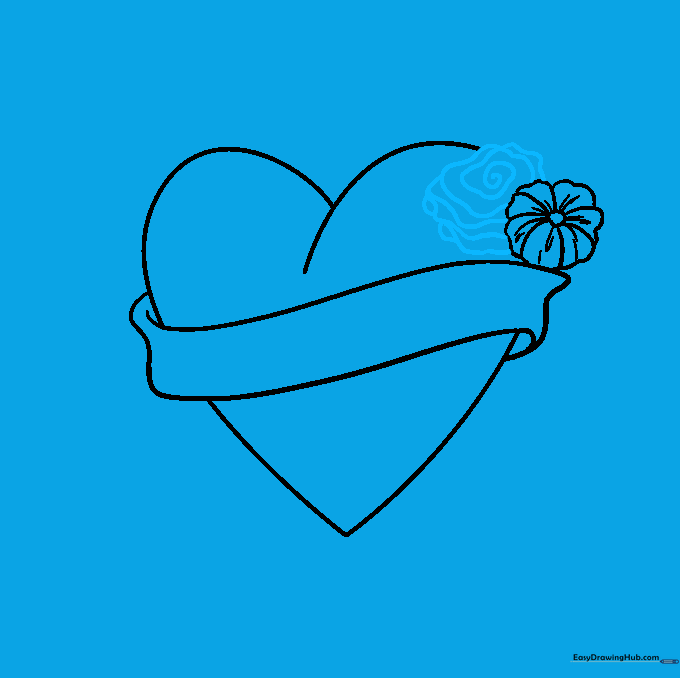
Add a second flower using a spiral center and wavy, layered petals. Tip: Overlapping the flowers slightly makes your drawing look more professional and dynamic.
Step 7: Adding Leaf Details
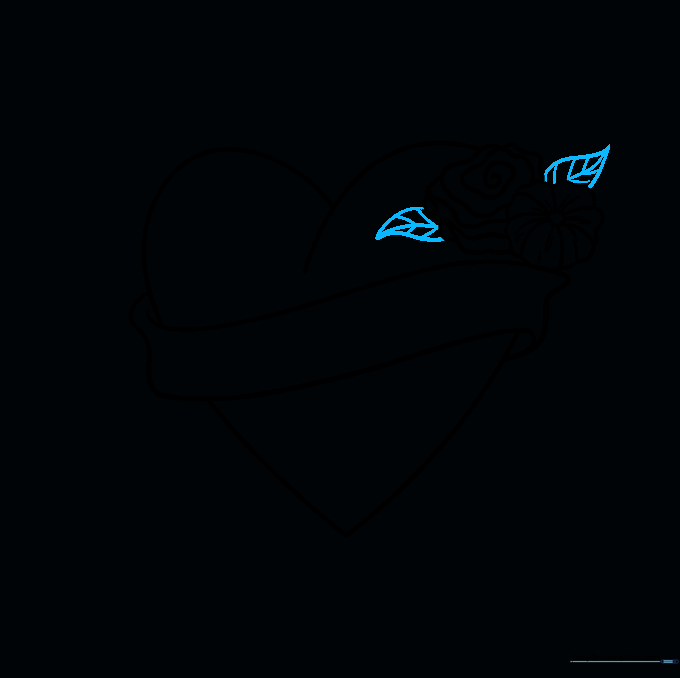
Draw pointed leaves on either side of the flowers, adding a central vein and smaller lines for detail. Tip: Press slightly harder on your pencil for the veins to make them stand out from the leaf edges.
Step 8: Adding Decorative Ribbons
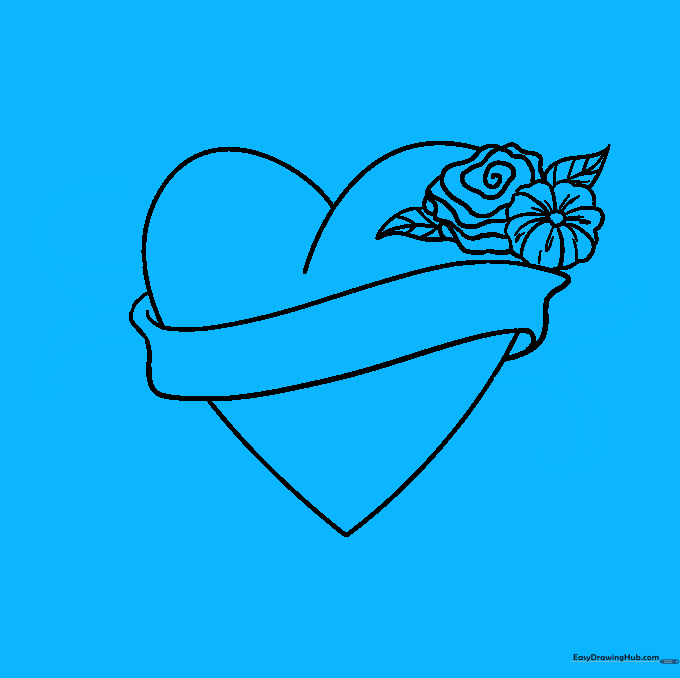
Draw swirling ribbons emerging from behind the heart. Tip: Use a continuous, fluid motion for the spirals to keep the lines looking graceful.
Step 9: Adding the Message
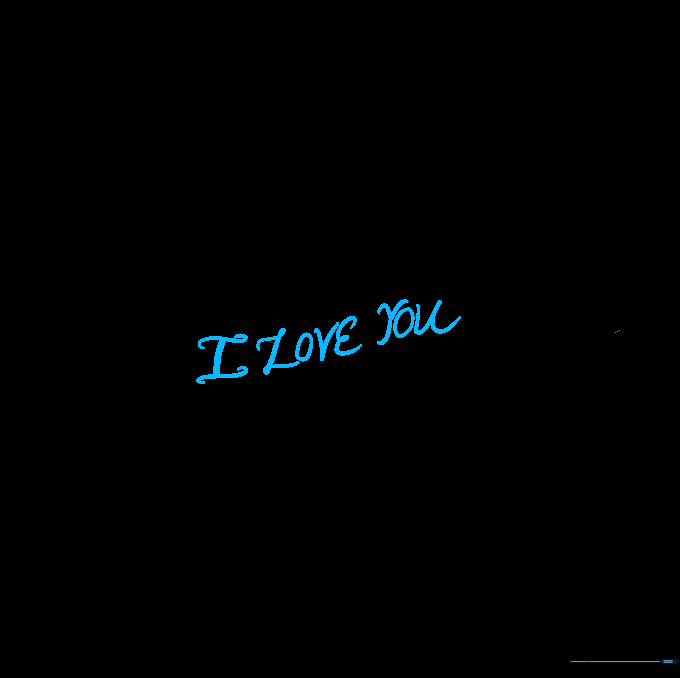
Carefully write 'I Love You' inside the banner. Tip: If you're worried about spacing, lightly pencil in the letters first before going over them with a darker pen or marker.
Step 10: Bringing It to Life with Color
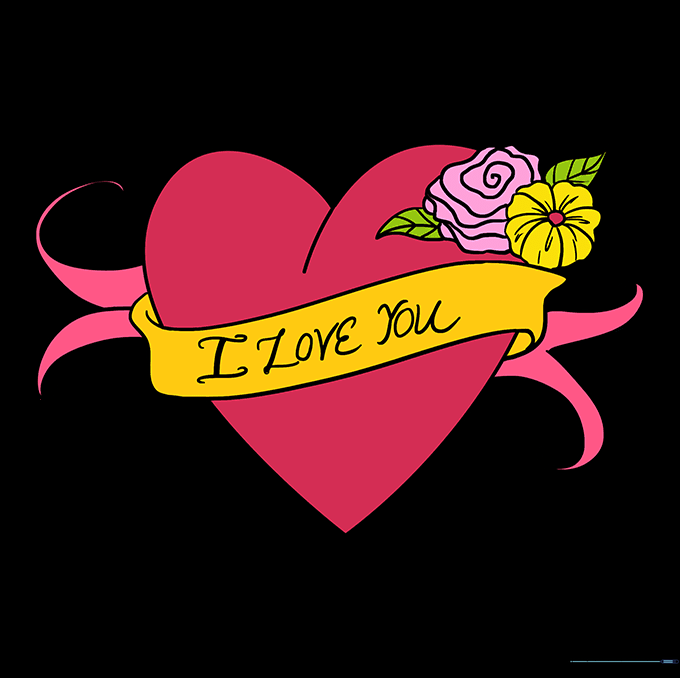
Color your heart with reds, pinks, or your favorite colors! Tip: Try using colored pencils to add light shading at the edges of the heart to give it a 3D, rounded look.
More Tutorials


