How to Draw an Hourglass: Easy 10-Step Guide for Kids
This step-by-step tutorial is perfect for young artists ages 6+ looking to master geometric shapes. All you need is a pencil, an eraser, and a piece of paper to bring this vintage timekeeper to life. Follow along to practice symmetry and shading while creating a beautiful piece of art.
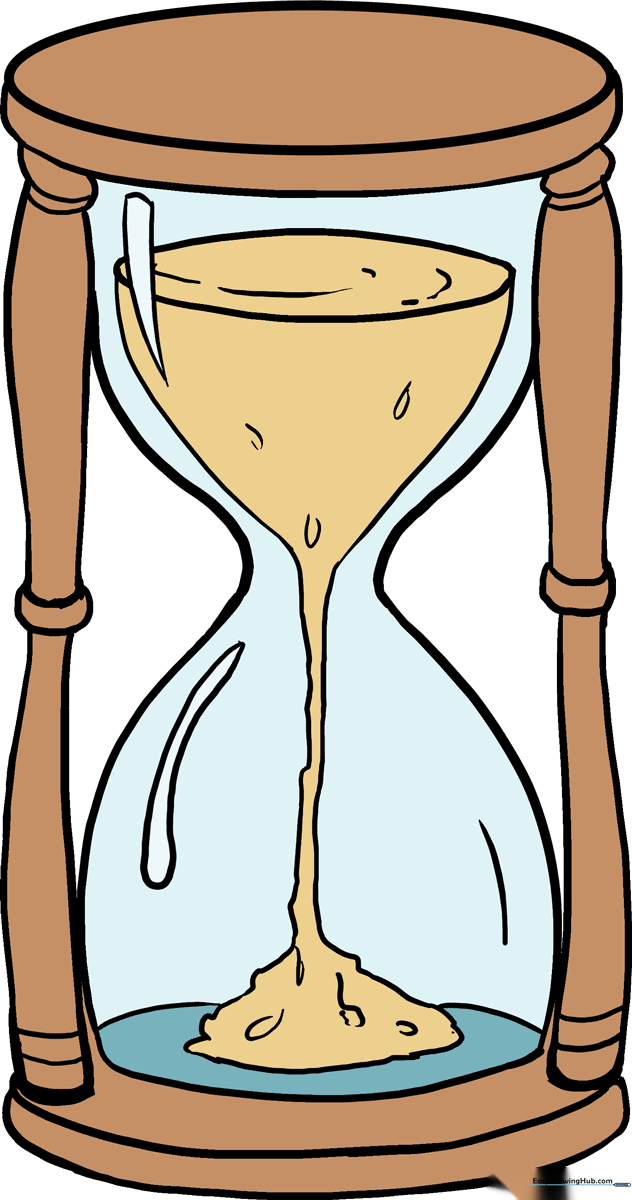
🎯 Final Result
Step-by-Step Instructions
Step 1: Sketching the Top Frame

Draw a flattened, horizontal oval to serve as the top of the frame. Tip: Make it about the size of a quarter, and use light pressure so it's easy to adjust later.
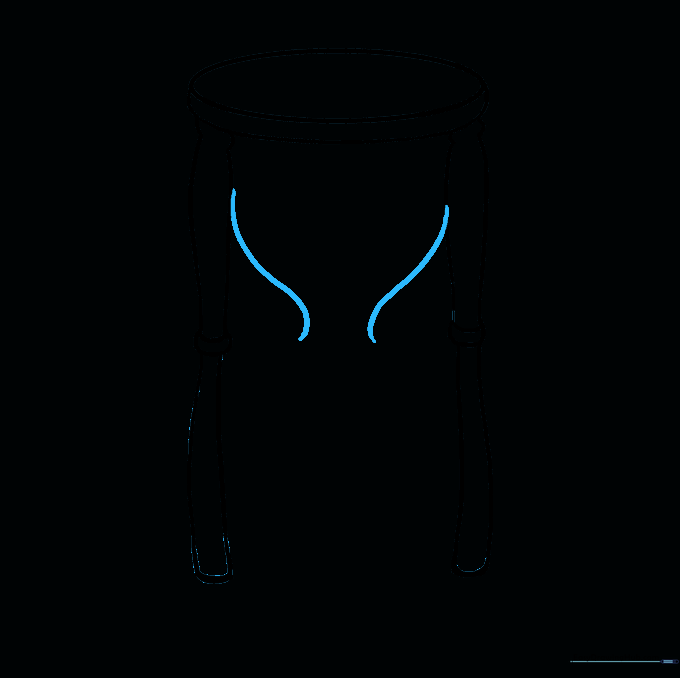
Step 2: Drawing the First Side Support
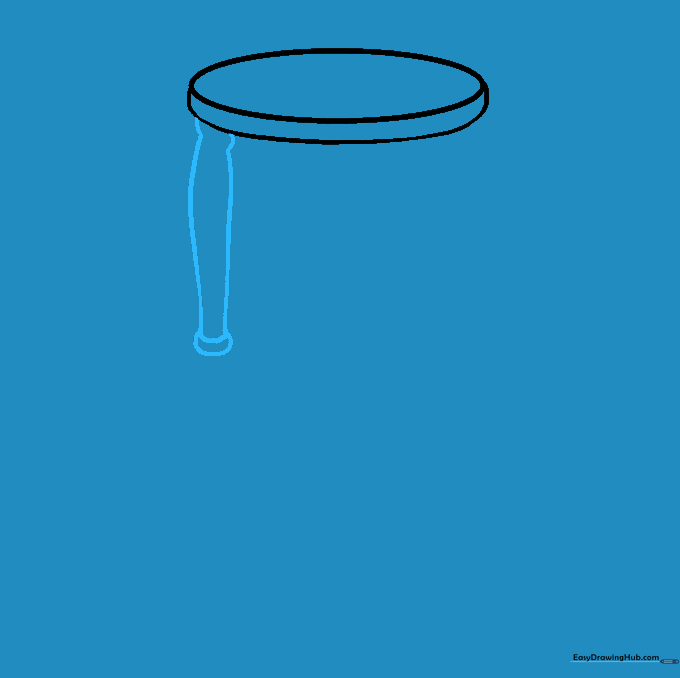
Extend two curved lines downward from the left side of the oval. Tip: Imagine you are drawing a gentle 'S' curve to give the support a natural, sturdy look.
Step 3: Mirroring the Second Support
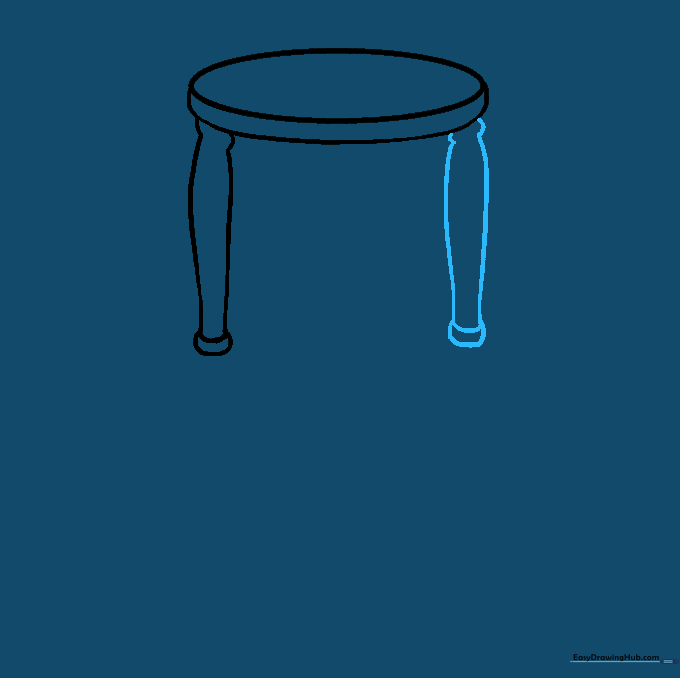
Repeat the process on the right side. Tip: Try to keep the curve identical to the first one to ensure your hourglass looks balanced and symmetrical.
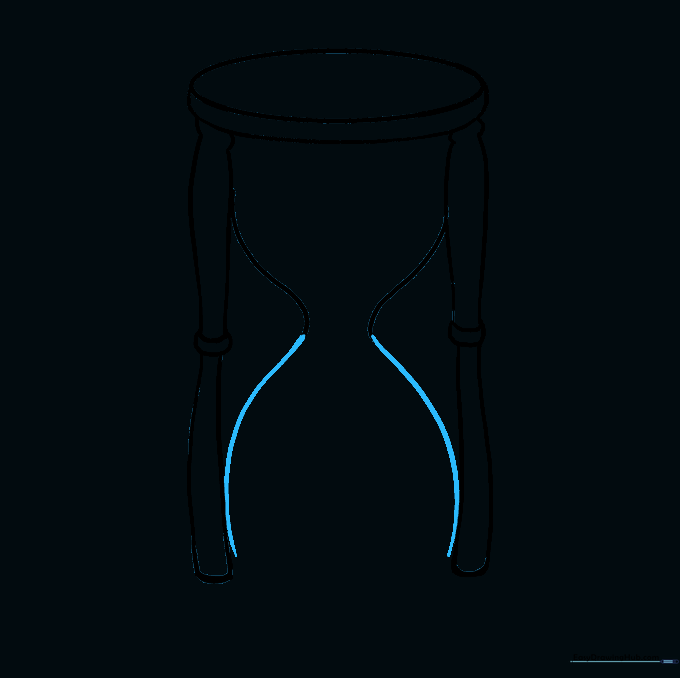
Step 4: Extending the Frame
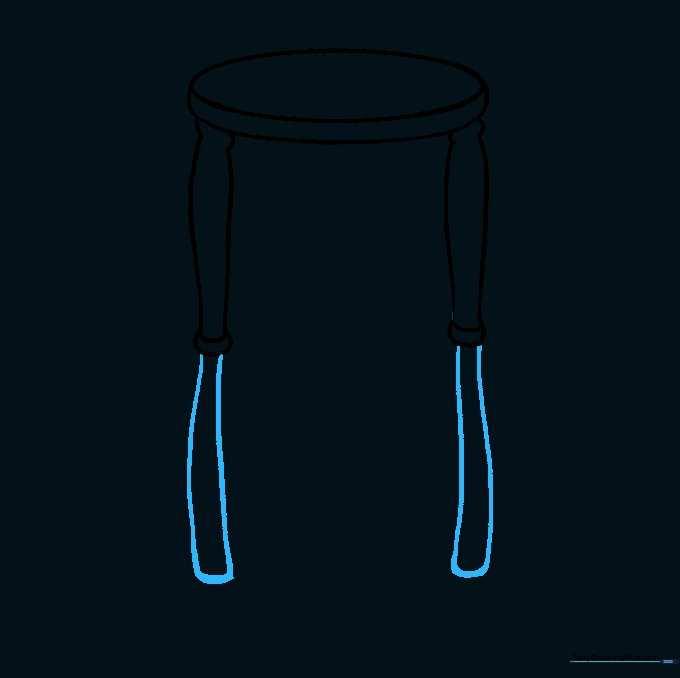
Continue the side supports downward with another pair of long, curved lines. Tip: Keep your pencil strokes fluid to make the frame look smooth.
Step 5: Shaping the Top Bulb
Draw the top glass bulb by connecting curved lines that narrow toward the center. Tip: The 'neck' of the hourglass is where the sand flows, so make it nice and narrow.
Step 6: Drawing the Bottom Bulb
Extend curved lines from the neck down to the frame to form the bottom bulb. Tip: Keep the curvature consistent with the top bulb for a professional look.
Step 7: Adding the Base
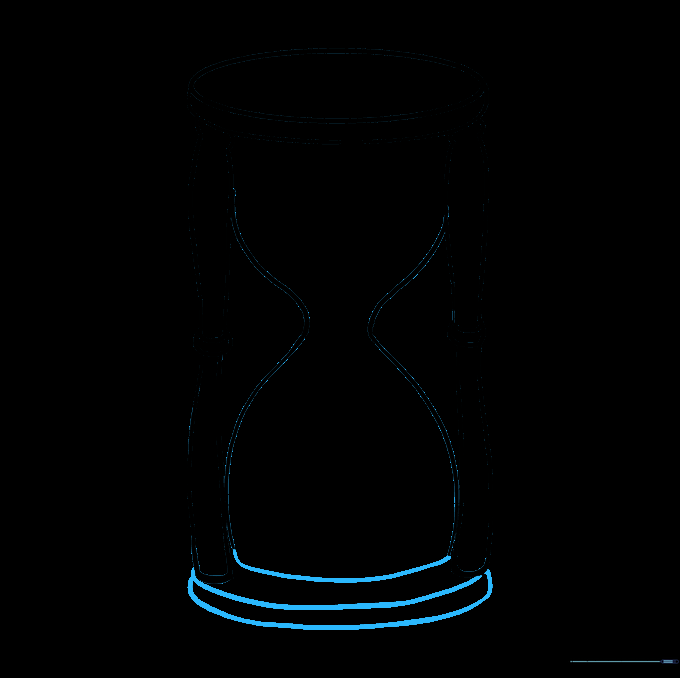
Close the bottom bulb and draw two parallel lines to create the wooden base. Tip: Ensure the base is wide enough to look like it can support the whole structure.
Step 8: Filling with Sand
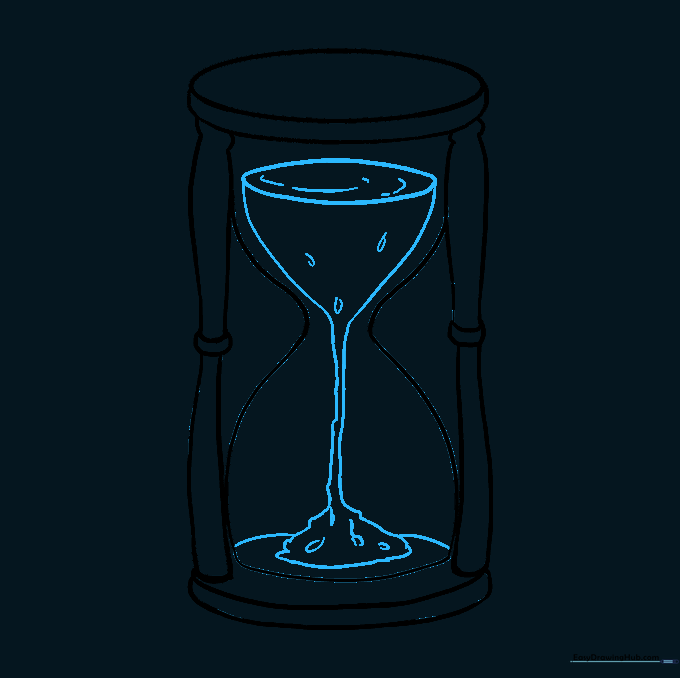
Draw the sand mound in the bottom bulb and a flat line for the sand level in the top. Tip: Use small, irregular dots to give the sand a grainy texture.
Step 9: Adding Final Details
Add decorative lines to the wooden frame to give it texture. Tip: Use short, straight lines to represent wood grain.
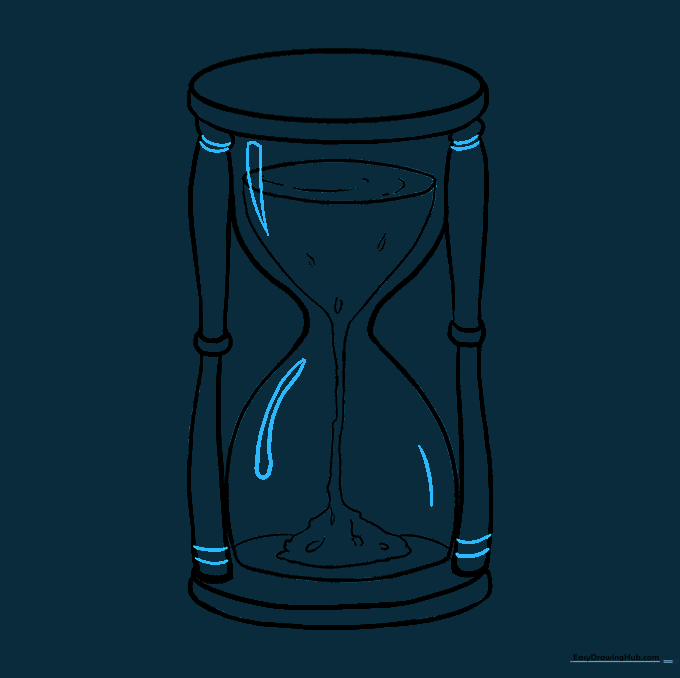
Step 10: Coloring Your Masterpiece
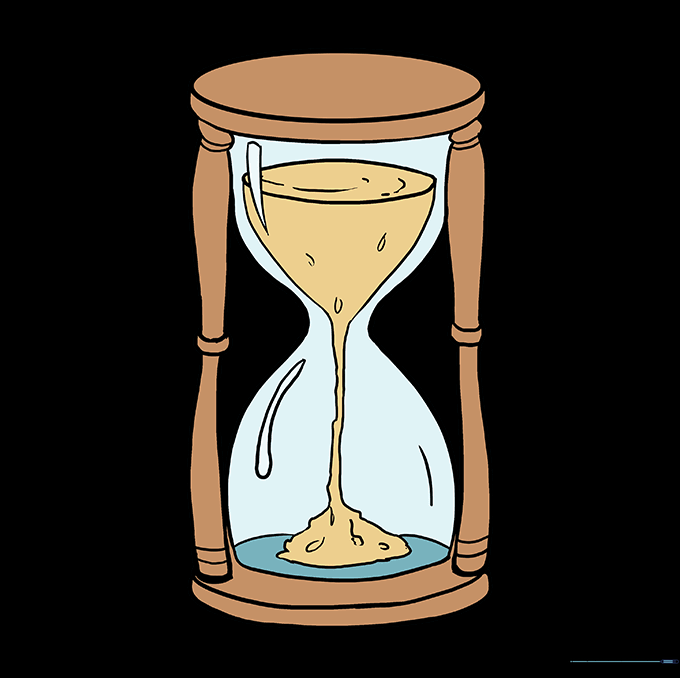
Color your hourglass! Tip: Use warm browns for the wood and a bright yellow or gold for the sand to make it pop.
More Tutorials


