How to Draw an Eyeball: Simple 10-Step Guide for Beginners
Ready to bring your portraits to life? This tutorial is perfect for young artists and beginners looking to master the anatomy of an eye. All you need is a pencil, an eraser, and a piece of paper to start building your drawing skills today.
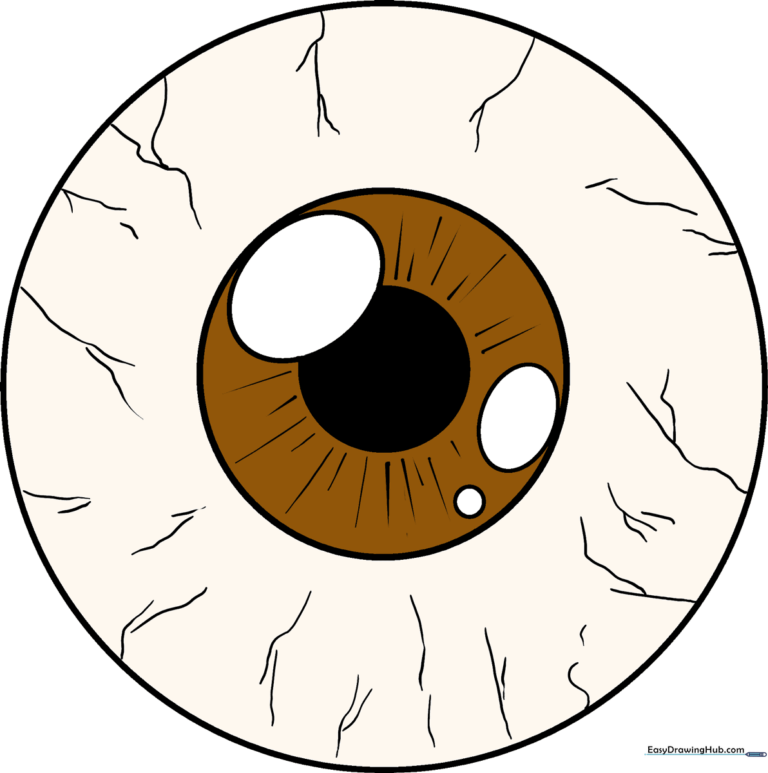
🎯 Final Result
Step-by-Step Instructions
Step 1: Sketching the Iris

Draw a clean circle to represent the iris. Teacher's Tip: Use a light touch; this circle acts as the foundation for all the detail work to come.
Step 2: Adding the Pupil

Draw a smaller circle right in the center of your iris. This is the pupil. Tip: Try to keep the spacing even all the way around for a symmetrical look.
Step 3: Creating the First Reflection

Draw a small oval that overlaps the edge of the pupil and the iris. This represents a light reflection. Tip: Don't worry if it looks odd now; it will make the eye look 'alive' later.
Step 4: Cleaning Up

Carefully erase any guide lines inside the oval reflection. Tip: Use a kneaded eraser if you have one to lift the graphite without smudging the surrounding area.
Step 5: Adding Secondary Reflections

Add a smaller oval on the opposite side of the pupil. This creates a more complex, realistic light source. Tip: Varying the sizes of your reflections makes the eye look more natural.
Step 6: Adding Tiny Highlights

Draw a tiny circle near the second oval. This adds a 'sparkle' to the eye. Tip: Keep this one very small so it doesn't distract from the main reflections.
Step 7: Shading the Pupil

Fill in the pupil with a dark, solid shade. Tip: Press firmly with your pencil, but leave the reflection ovals completely white for the best contrast.
Step 8: Outlining the Eyeball

Draw a large circle around the entire iris. This represents the outer edge of the eyeball. Tip: Keep this circle light; it shouldn't be as bold as the pupil.
Step 9: Adding Texture and Veins
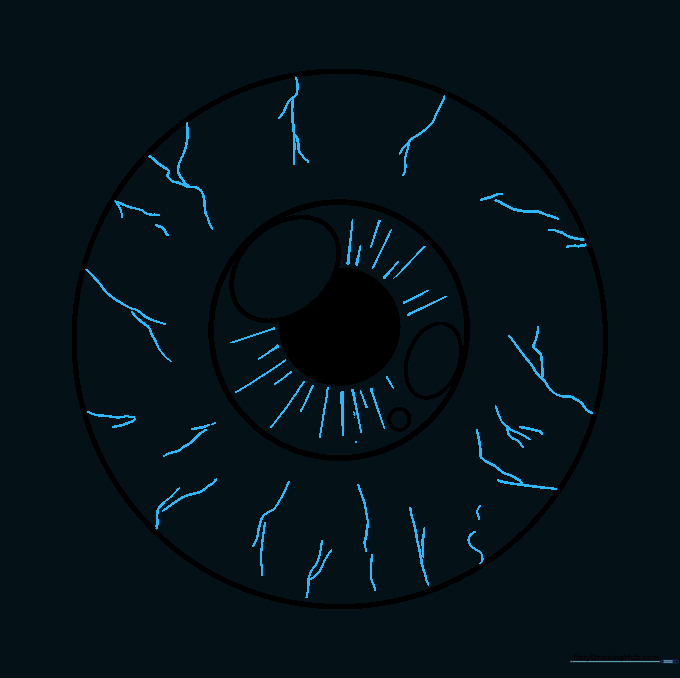
Add small, branching lines in the iris and around the white of the eye to simulate blood vessels. Tip: Keep these lines irregular and wavy—nature is rarely perfectly straight!
Step 10: Adding Color
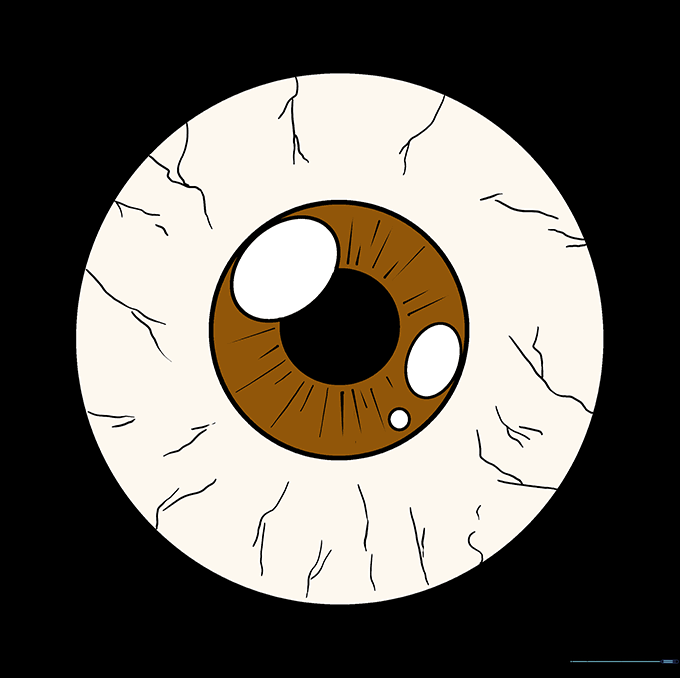
Bring your eye to life with color! Whether you choose blue, green, or brown, use light and dark shades to add depth. Tip: Layer your colors, starting light and adding darker tones toward the outer edge of the iris.
More Tutorials


