How to Draw an Emu: Easy 10-Step Guide for Kids
Ready to bring a flightless Australian bird to life? This tutorial is perfect for artists ages 5 and up. All you need is a pencil, an eraser, and some paper to start building your own unique emu character.
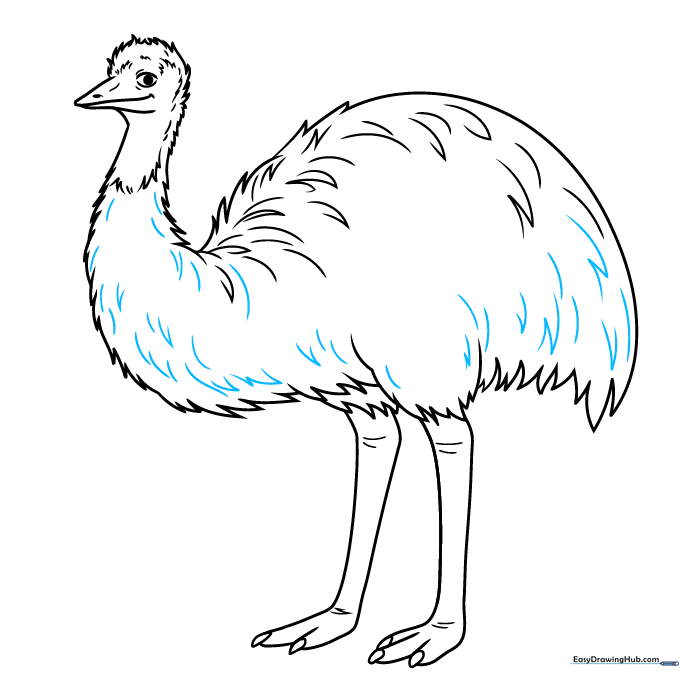
🎯 Final Result
Step-by-Step Instructions
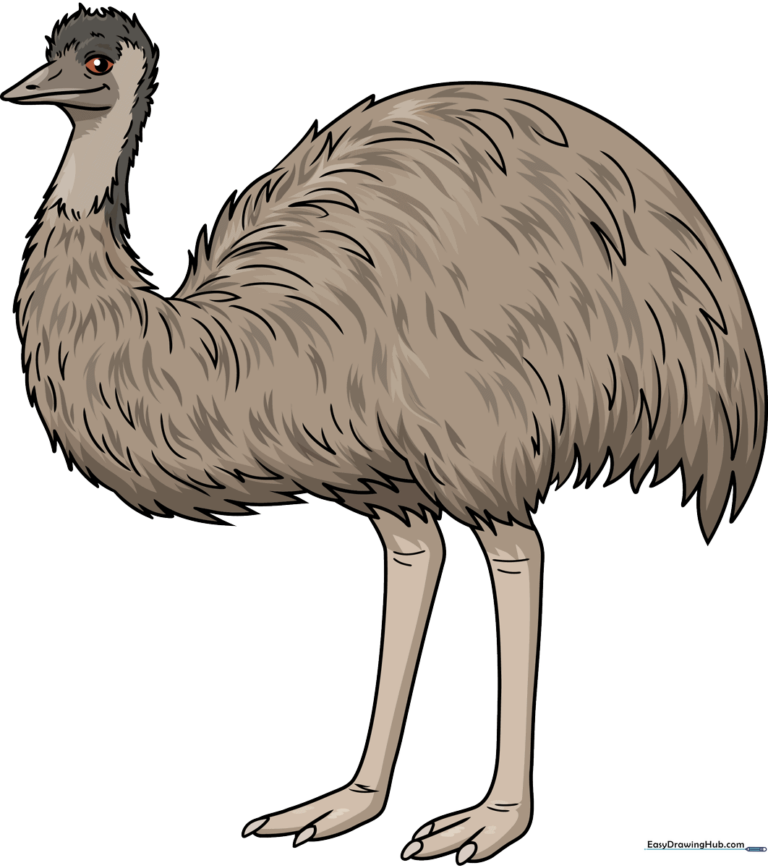
Step 1: Sketching the Beak and Eye
Start by drawing a wavy triangle shape for the beak. Add a line down the center for detail. Beside the beak, draw an almond-shaped eye with a small, dark pupil. Teacher's Tip: Keep the eye shape simple; it acts as the anchor for the rest of the face.
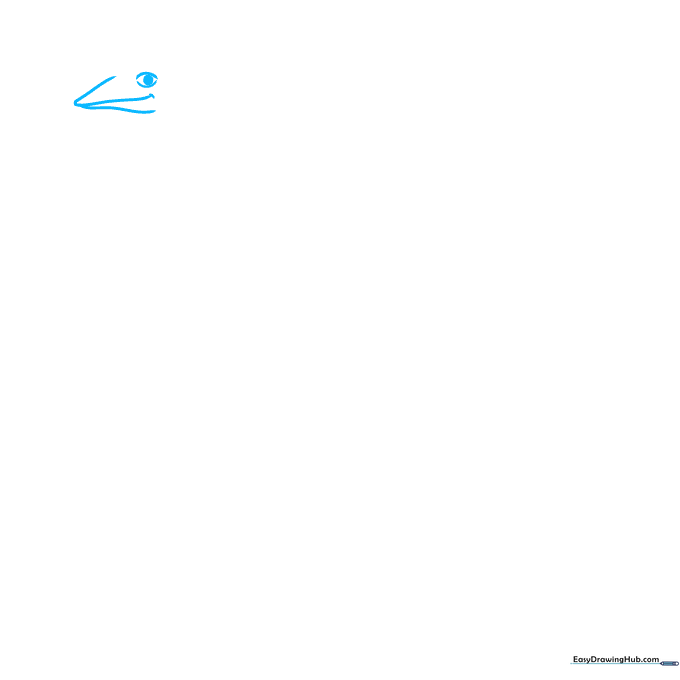
Step 2: Defining the Fuzzy Head
Outline the head using short, jagged, overlapping lines to mimic the look of coarse feathers. Tip: Don't worry about making these lines perfectly even; emu feathers are naturally messy and wild!
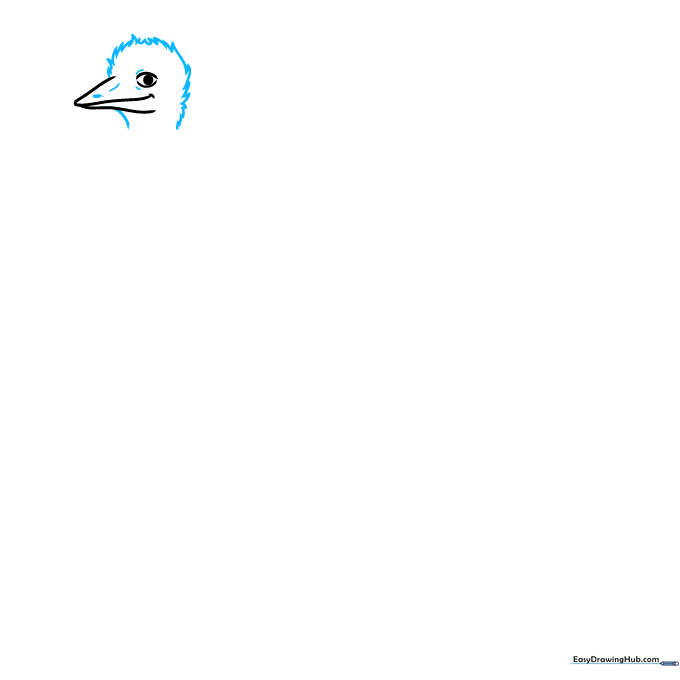
Step 3: Drawing the Long Neck
Extend the jagged lines downward to create a long, slender neck. The lines should get slightly wider as they move toward the body. Tip: Use a rhythmic 'zig-zag' motion with your pencil to keep the texture consistent.
Step 4: Shaping the Body
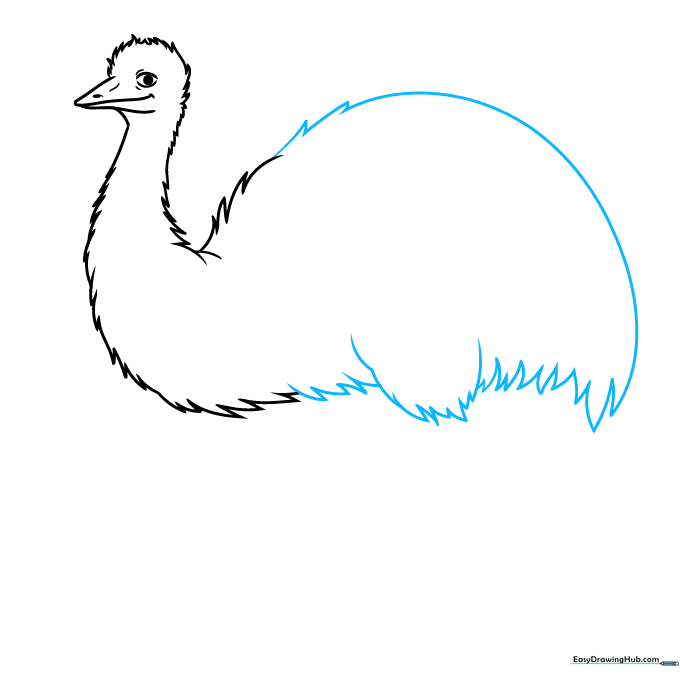
Connect the neck to a rounded body shape using more jagged lines. Sketch the upper leg as a sturdy, rounded attachment point. Tip: Imagine the body as a large, fluffy oval to help keep your proportions balanced.
Step 5: Adding the First Leg
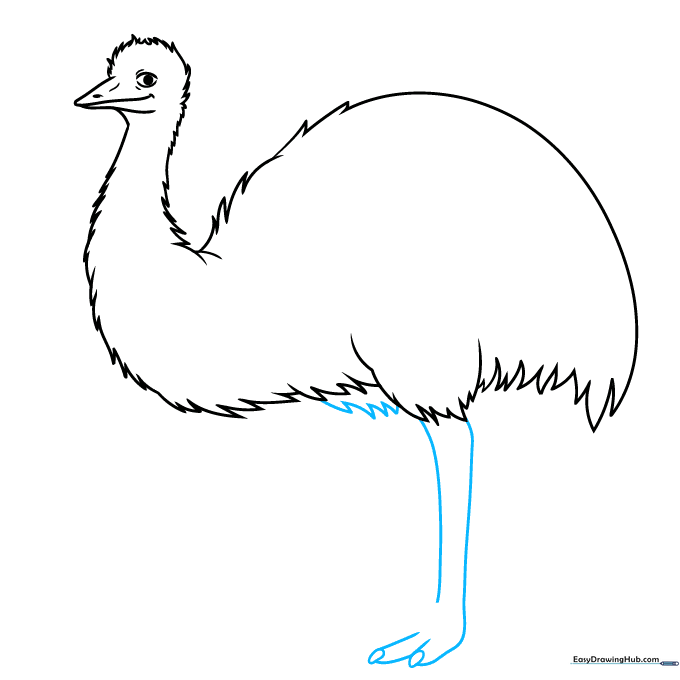
Draw two long, parallel lines for the lower leg, then add teardrop shapes at the bottom for the toes and claws. Tip: Emus have strong, thick legs, so don't make them too skinny!
Step 6: Drawing the Second Leg
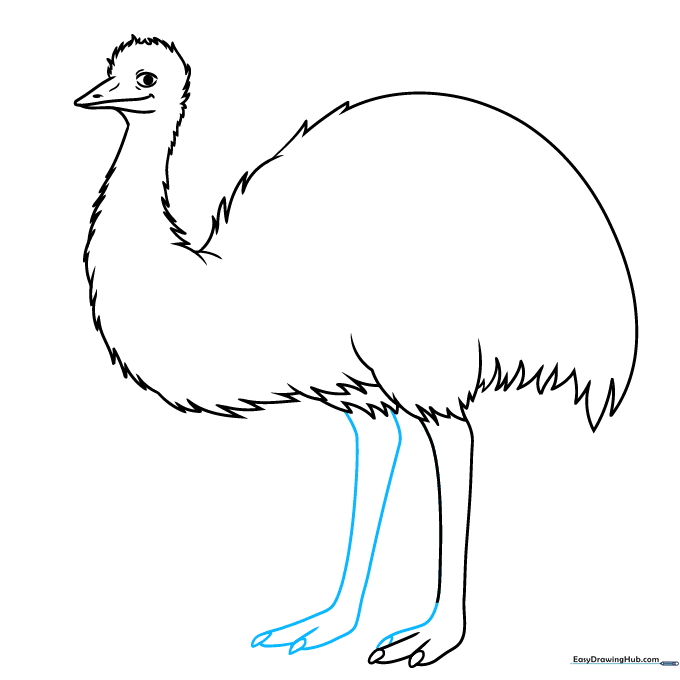
Repeat the process to draw the second leg slightly behind the first to create a sense of depth. Tip: Keep the second leg slightly higher on the page to make it look like the emu is walking.
Step 7: Adding Texture Details
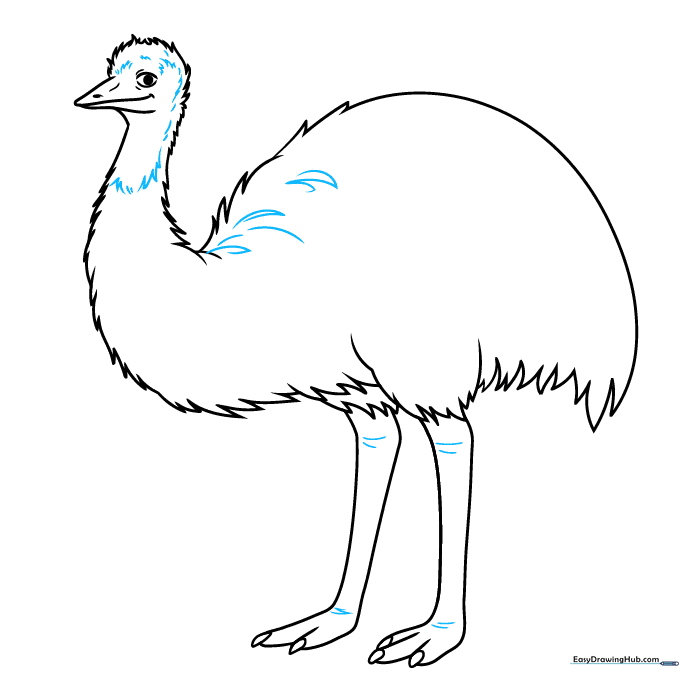
Use short, quick strokes to add 'fuzz' to the neck and skin creases to the legs. Tip: Less is more—a few well-placed lines suggest texture better than scribbling everywhere.
Step 8: Feathering the Back
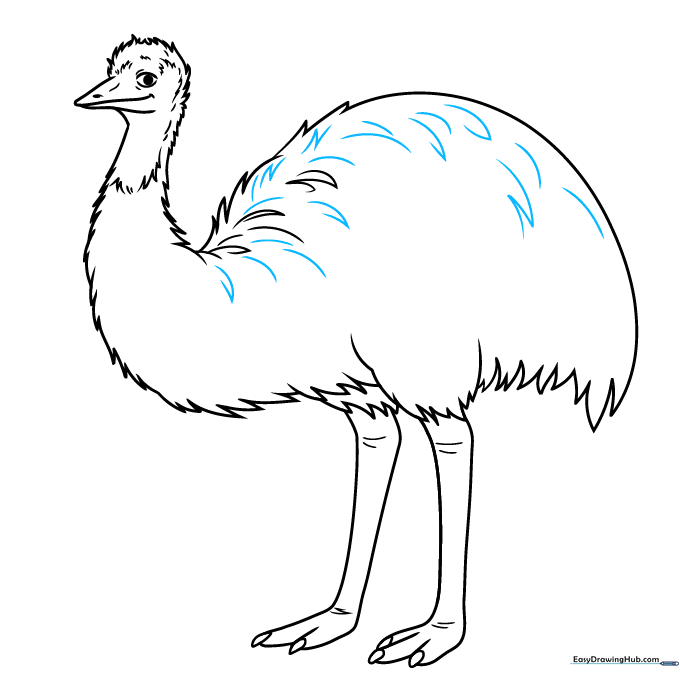
Add 'V' shaped lines along the back to represent larger feathers. Tip: Vary the size of your 'V' shapes to make the feathers look natural and layered.
Step 9: Finalizing the Body Feathers
Fill in the rest of the body with soft, jagged lines to complete the feathered look. Tip: Use a softer pencil pressure here to make the feathers look fluffy rather than sharp.
Step 10: Bringing Your Emu to Life with Color
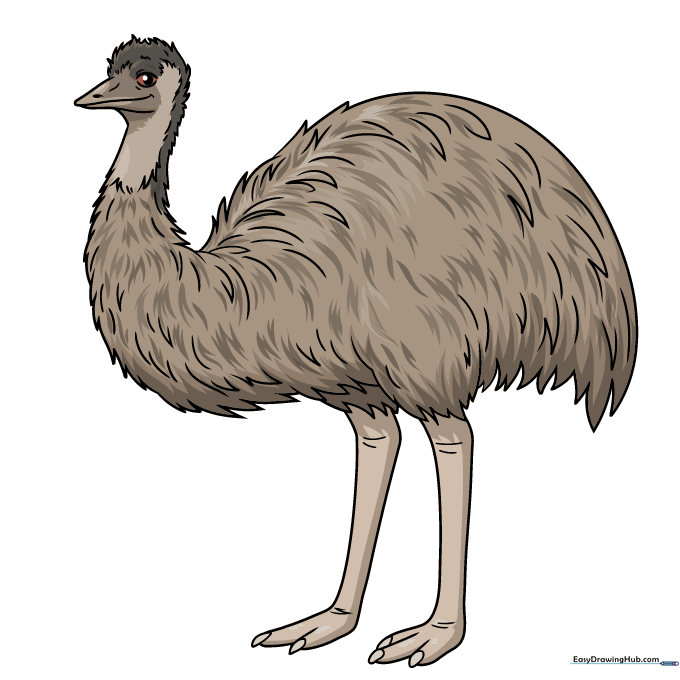
Time to color! Use earthy tones like browns, greys, and tans. Tip: Try using light brown for the body and a darker grey for the beak to add contrast and make your drawing pop.
More Tutorials


