How to Draw an Emperor Penguin: Easy 10-Step Guide
Bring the Antarctic to your sketchbook with this fun Emperor Penguin tutorial! Designed for young artists ages 5 and up, this activity requires only a pencil, paper, and an eraser. Follow along to master basic shapes and build confidence in your drawing skills.
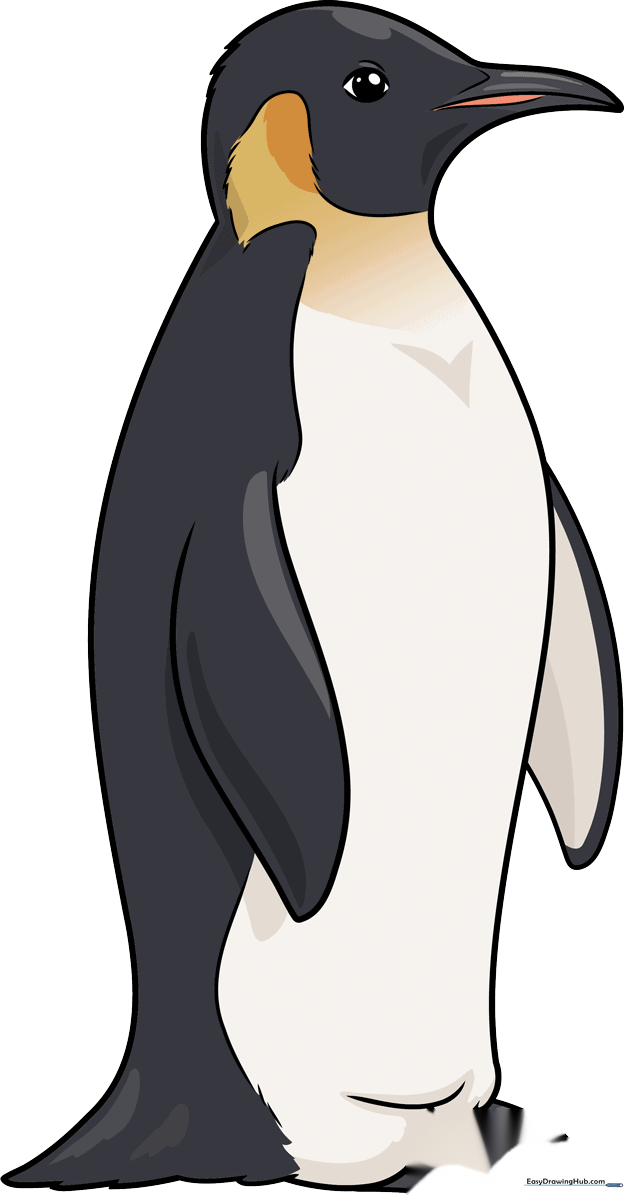
🎯 Final Result
Step-by-Step Instructions
Step 1: Sketching the Beak and Head
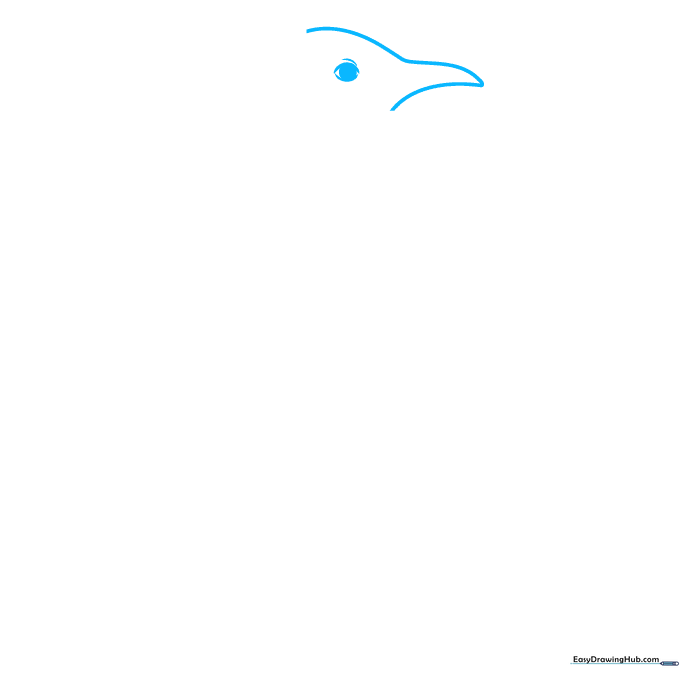
Draw two curved lines that meet at a point to form the beak, then continue the curve upward to define the top of the head. Add a small circle for the eye. Teacher's Tip: Keep the eye circle small and near the top of the head to give your penguin a cute, curious expression.
Step 2: Adding Feather Texture
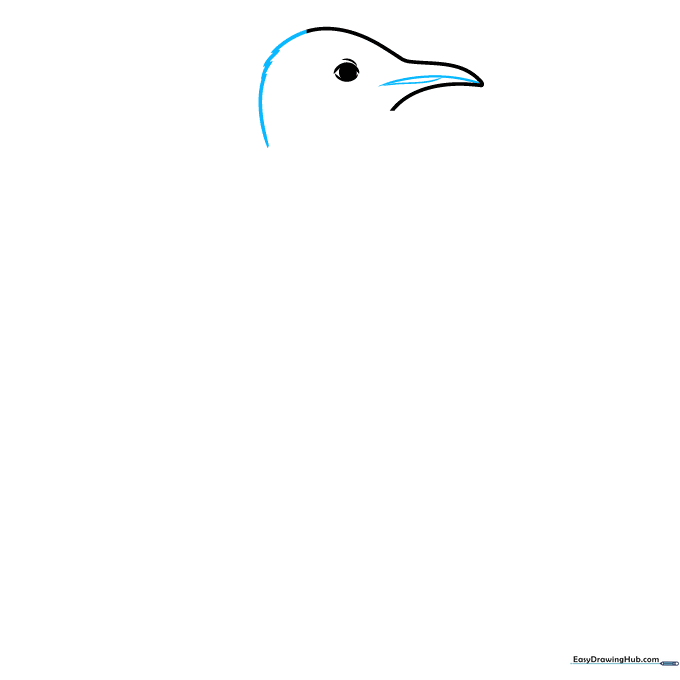
Use small, jagged curved lines along the back of the head to suggest fluffy feathers. Add a horizontal line to split the beak. Teacher's Tip: Use short, quick strokes for the feathers to make them look soft rather than sharp.
Step 3: Defining the Body
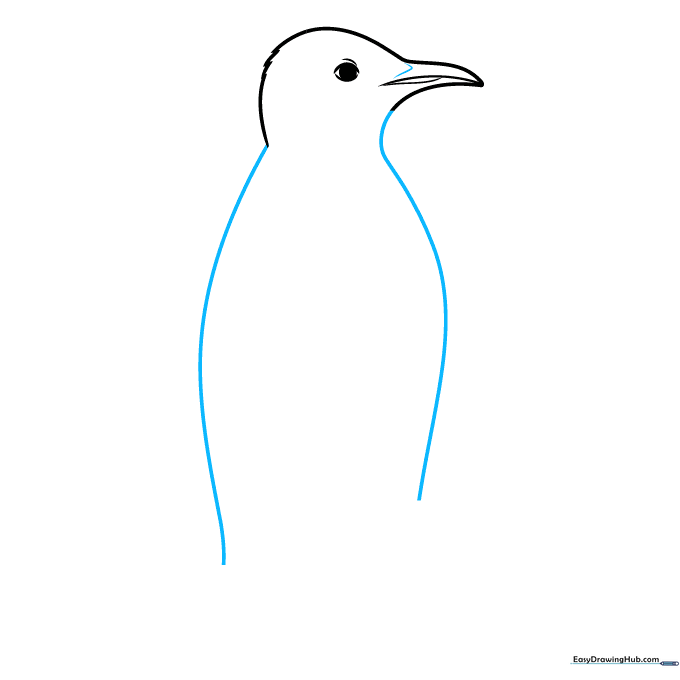
Draw two long, sweeping curved lines downward to create the penguin's torso. Add a small curve on top of the beak. Teacher's Tip: Make these lines smooth and continuous to help the penguin look sleek and ready to swim.
Step 4: Drawing the Wing
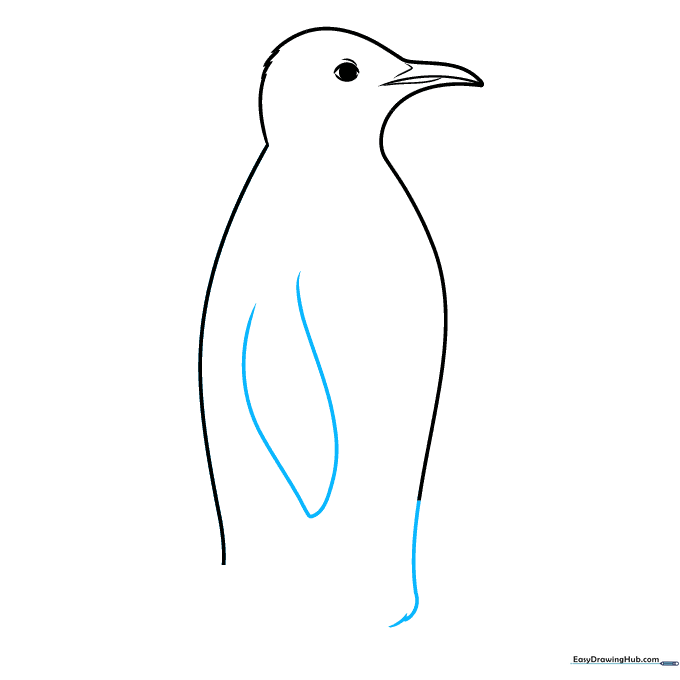
Sketch a curved, teardrop-like shape on the side of the body to form the wing. Teacher's Tip: Imagine the wing is like a flipper; keep it tucked close to the body for a natural look.
Step 5: Forming the Base
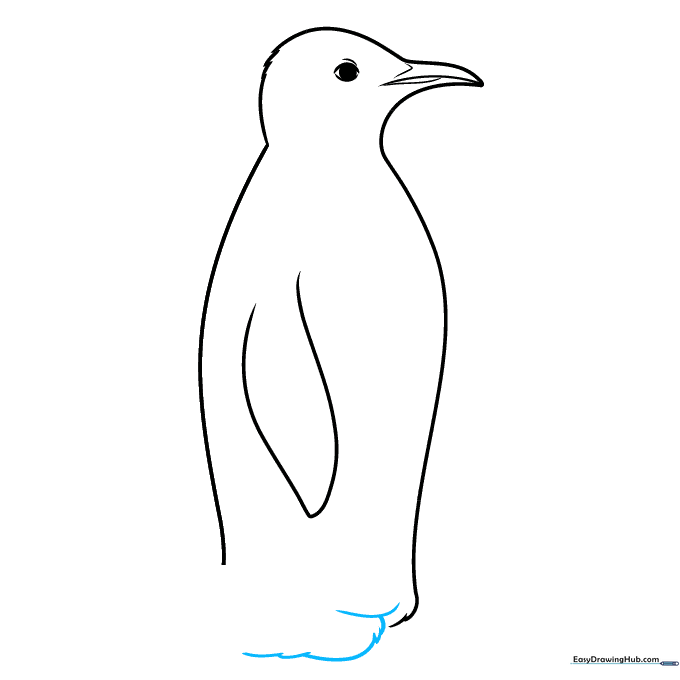
Use overlapping lines at the bottom to create the base of the body. Teacher's Tip: Emperor penguins have thick, feathery legs to keep warm; draw these lines slightly rounded to show that fluffiness.
Step 6: Adding the Tail and First Foot
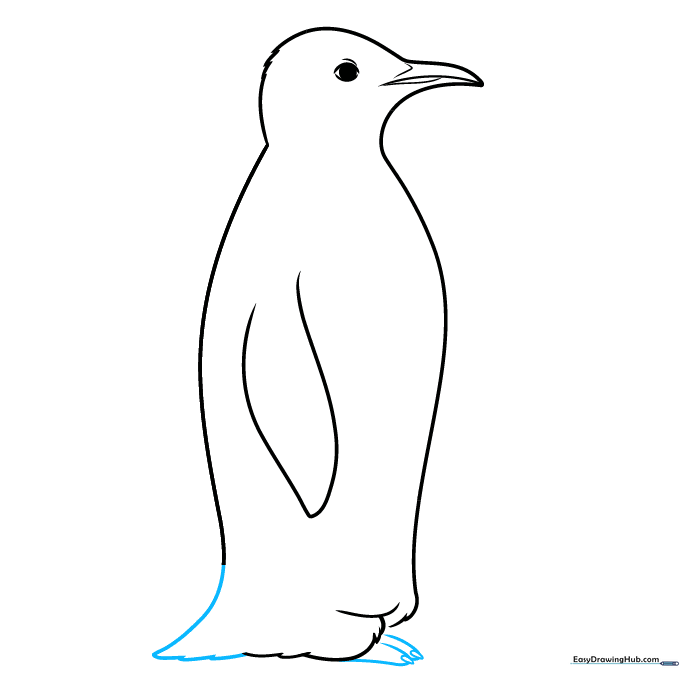
Draw a small, feathery tail at the back. Then, sketch the first foot using overlapping curves for toes and small triangles for claws. Teacher's Tip: Keep the toes rounded so they look like webbed feet.
Step 7: Completing the Feet
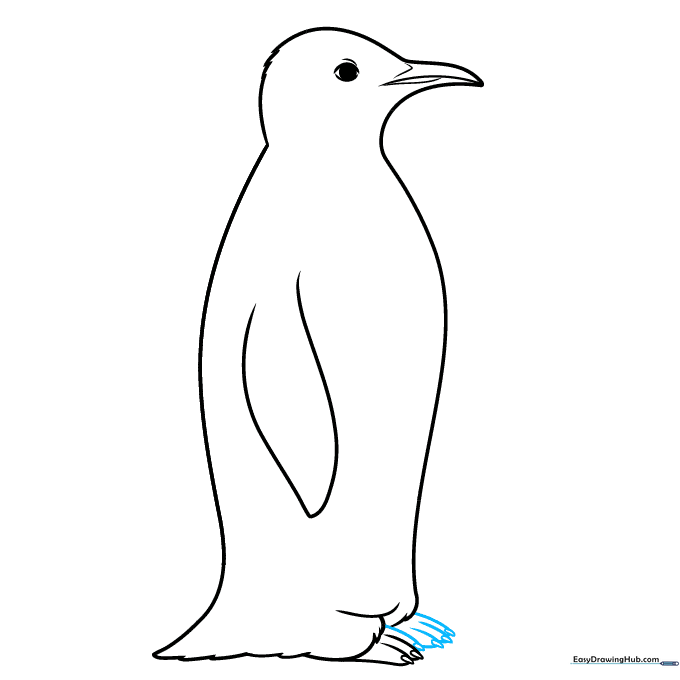
Add the second foot slightly behind the first to create depth. Teacher's Tip: Ensure the feet are positioned wide enough to support the penguin's body weight.
Step 8: Second Wing and Feather Patterns
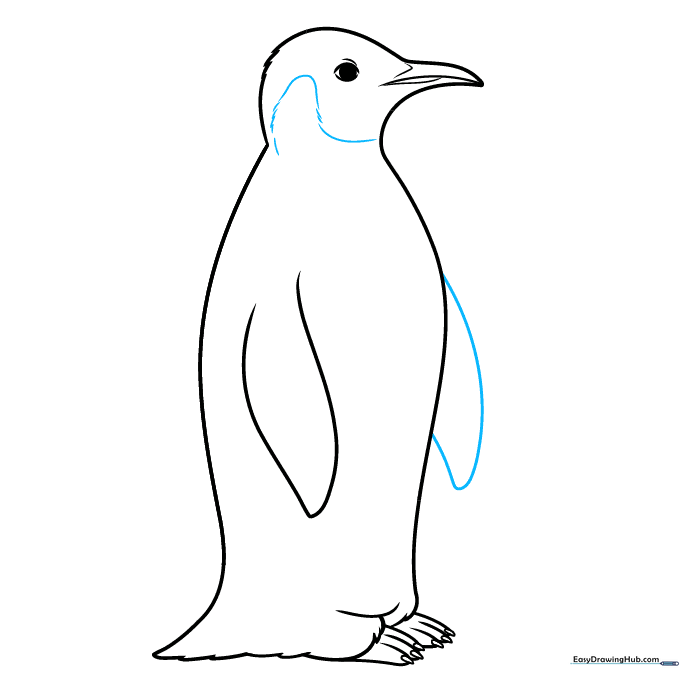
Draw the second wing visible on the other side of the body. Begin adding the distinctive feather patterns around the neck. Teacher's Tip: Use a series of disconnected curved lines to suggest the texture of the penguin's coat.
Step 9: Finalizing Details
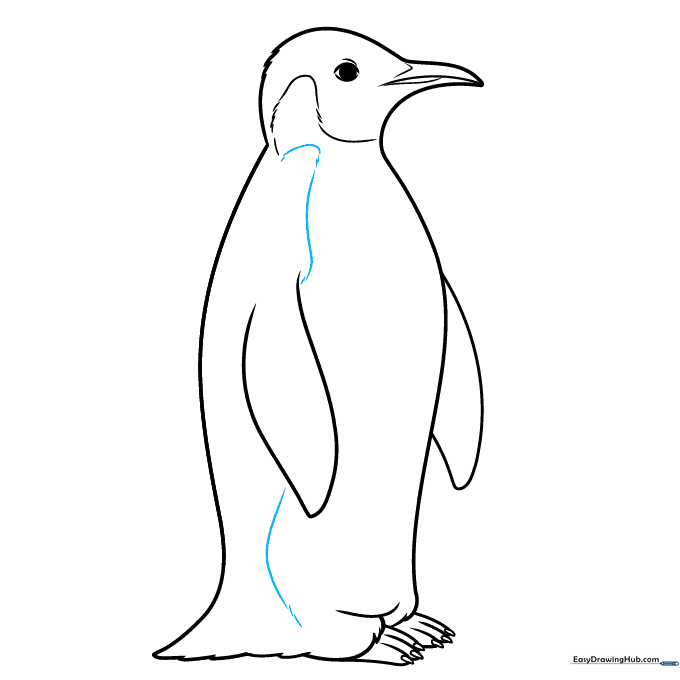
Continue the feather pattern down the wing and toward the leg. Teacher's Tip: Take your time with these lines; they define the color separation for when you start coloring.
Step 10: Bringing Your Penguin to Life with Color
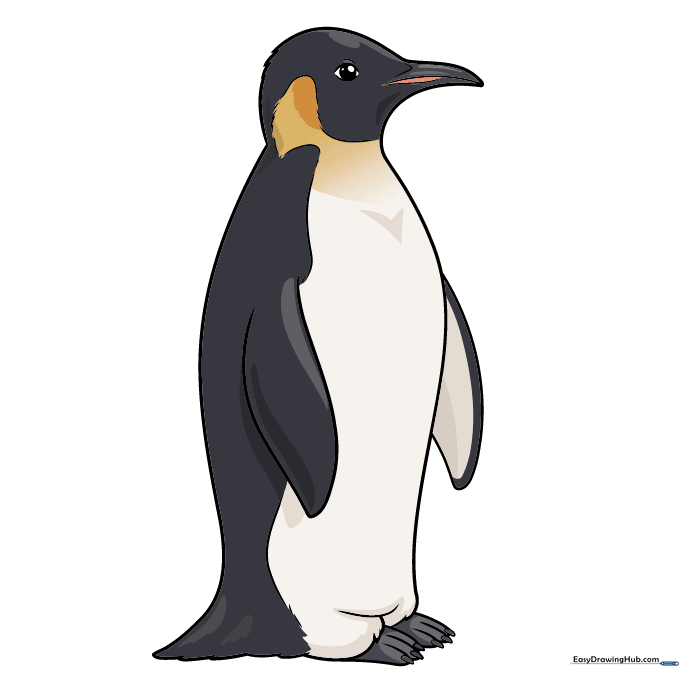
Time to color! Use black for the back and head, white for the belly, and bright orange or yellow for the neck markings. Teacher's Tip: Use light pressure with your orange pencil to create a soft gradient near the neck.
More Tutorials


