How to Draw an Elf: Easy 10-Step Guide for Kids
Bring some holiday magic to your sketchbook with this friendly elf tutorial! Designed for artists ages 5 and up, this project uses basic shapes to build confidence and fine motor skills. Grab a pencil, an eraser, and your favorite coloring markers to get started.
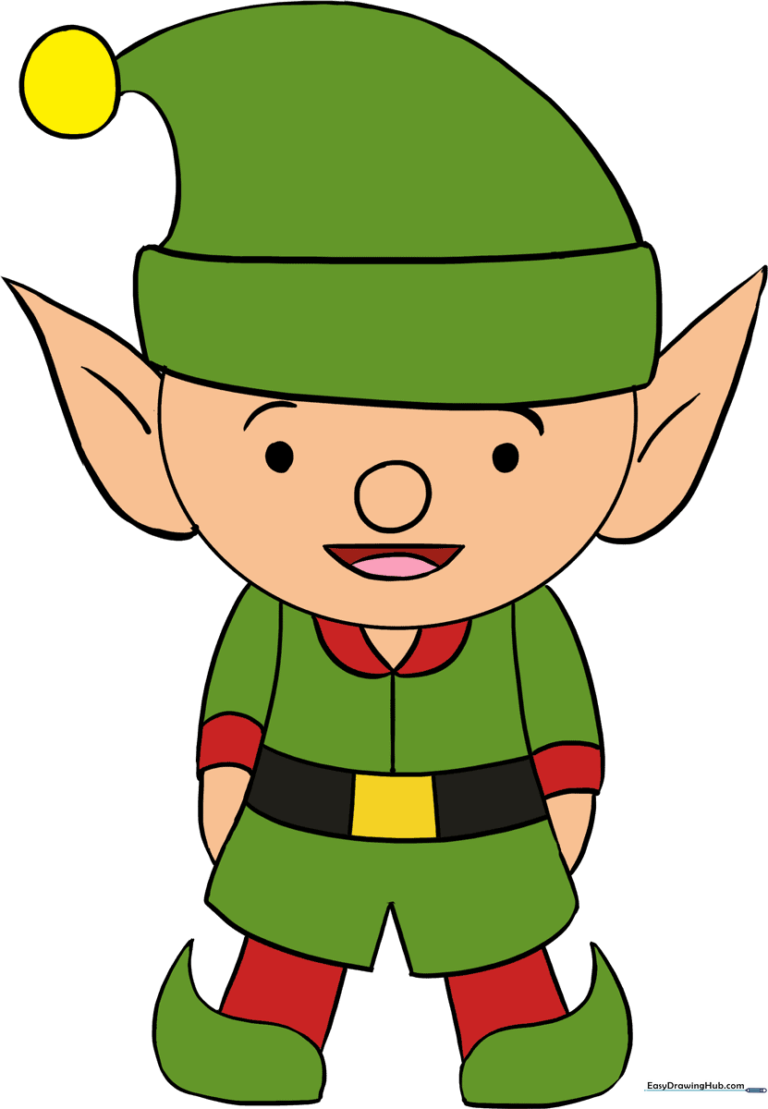
🎯 Final Result
Step-by-Step Instructions
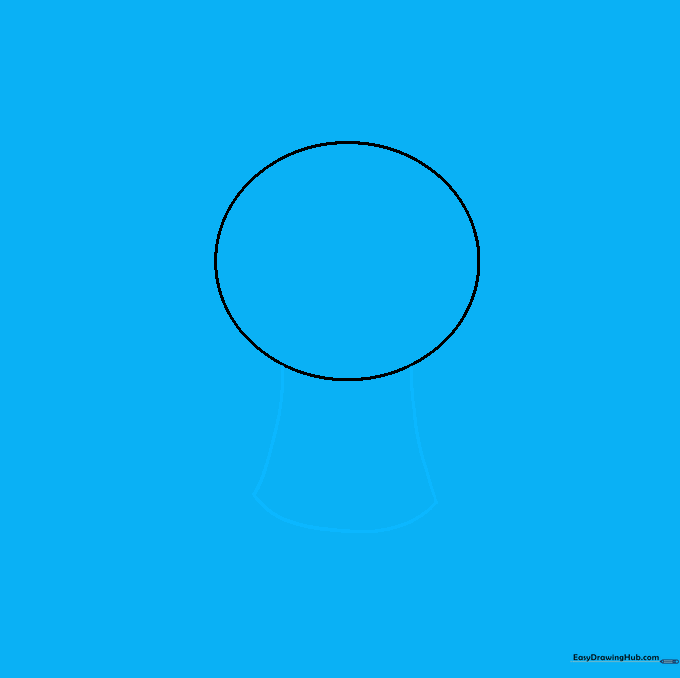
Step 1: Sketching the Head

Draw a light circle to serve as the head. Teacher's Tip: Keep this circle about the size of a coin; drawing it lightly makes it much easier to erase your guide lines later.
Step 2: Forming the Body
Draw two curved lines extending downward from the head, flaring outward at the bottom. Connect them with a curved line to create the torso. Teacher's Tip: Think of this shape like a bell or a pear.
Step 3: Adding the Tunic Base

Draw two curved rectangles beneath the body to form the bottom of the tunic. Teacher's Tip: Make sure these shapes are symmetrical to keep your elf looking balanced.
Step 4: Legs and Belt
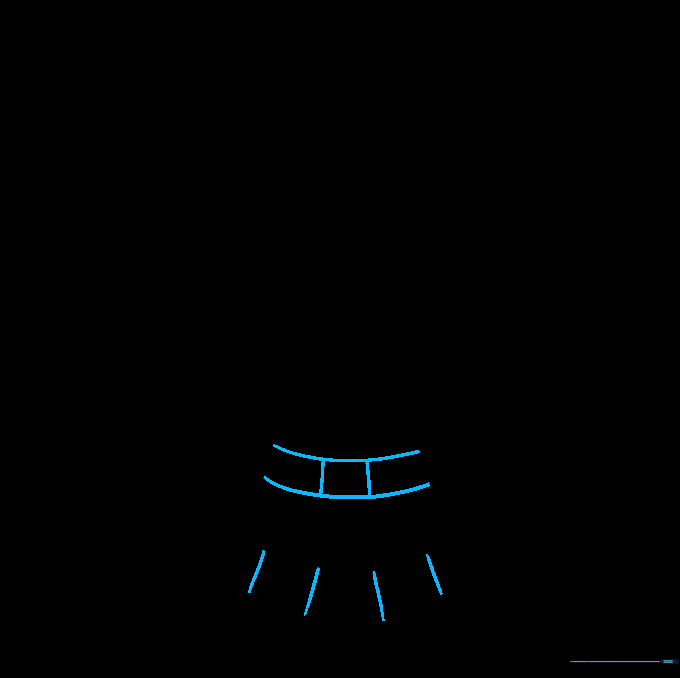
Add two parallel lines for the legs and a belt across the waist with a simple rectangular buckle. Teacher's Tip: Use a ruler if you struggle with straight lines, but freehand is great for practice!
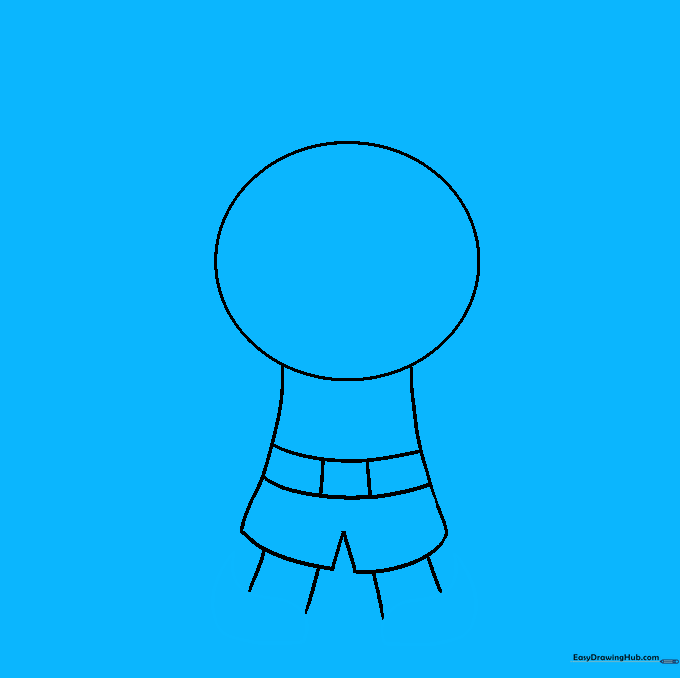
Step 5: Cleaning the Lines

Gently erase the overlapping guide lines inside the tunic area. Teacher's Tip: Use a soft eraser and brush away the crumbs with your hand to keep your paper clean.
Step 6: Pointed Elf Shoes
Draw the iconic pointed shoes at the base of the legs. They should look like twisted raindrops. Teacher's Tip: Make the points curve slightly upward for that classic magical look.
Step 7: Hat and Arms
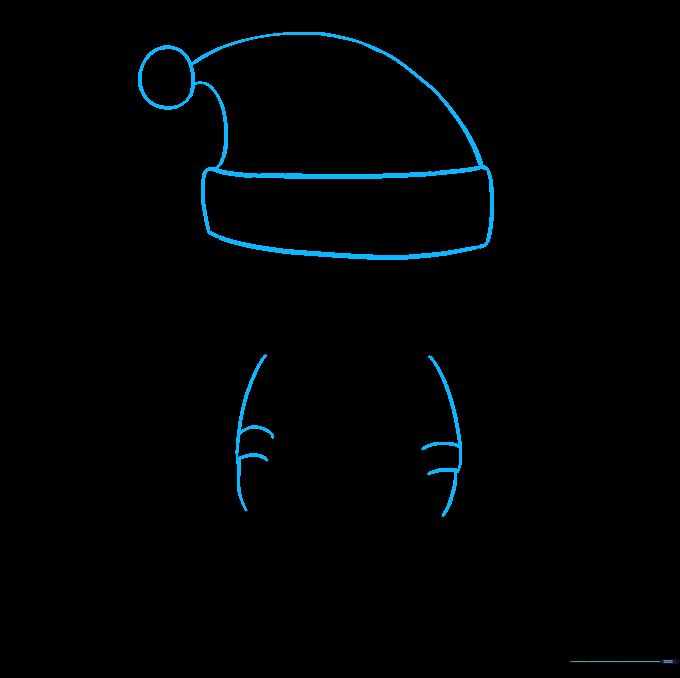
Draw the hat brim, the pom-pom top, and the arms. Add cuffs to the sleeves. Teacher's Tip: Keep the arms close to the body to make the drawing easier to manage.
Step 8: Refining the Hat

Erase any extra lines inside the hat area to finalize the shape. Teacher's Tip: Check your drawing against the reference to ensure your hat looks smooth and connected.
Step 9: Adding Facial Features
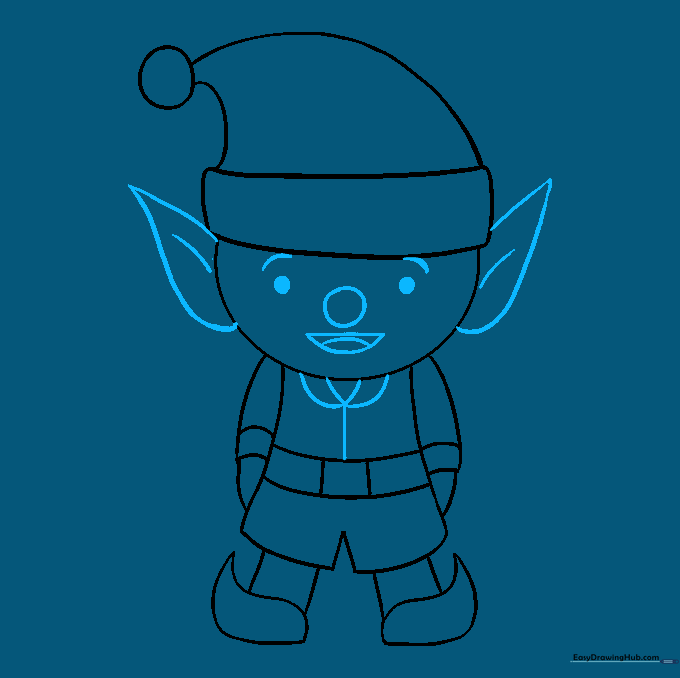
Draw the pointed ears, nose, eyes, mouth, and collar. Teacher's Tip: Use small dots for the eyes to give your elf a cute, simple expression.
Step 10: Bring Your Elf to Life
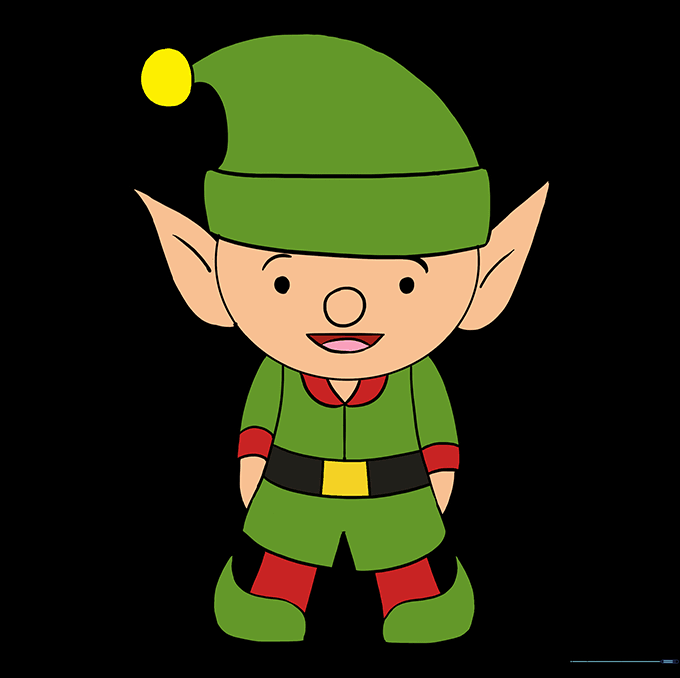
Add color! Use traditional reds and greens or get creative with your own color palette. Teacher's Tip: Use light pressure with your markers to avoid bleeding through the paper.
More Tutorials


