How to Draw an Elephant: Simple 10-Step Guide for Kids
Ready to bring a gentle giant to life? This tutorial is perfect for young artists ages 5 and up. All you need is a pencil, an eraser, and a piece of paper to master this classic safari animal in just a few minutes.
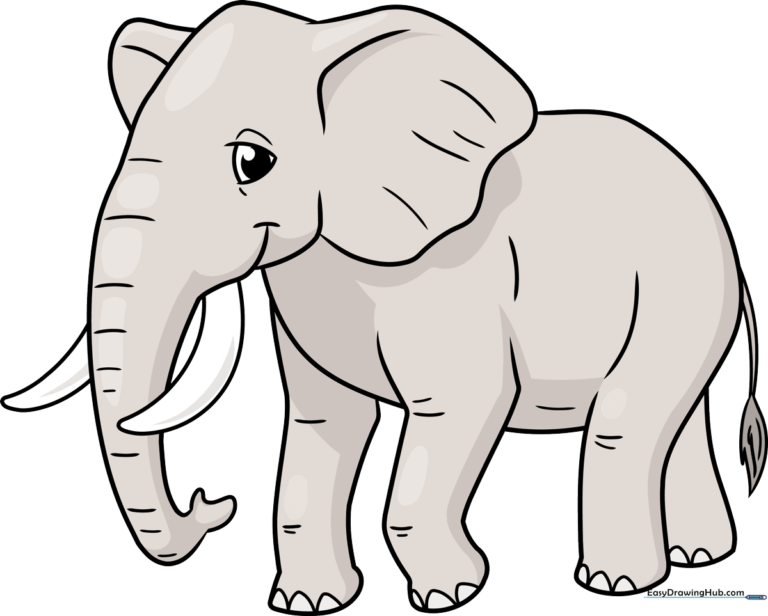
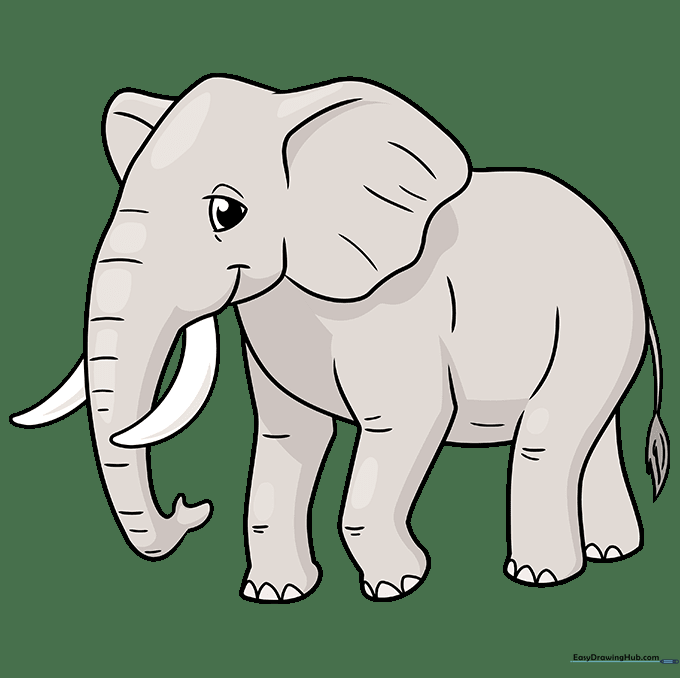
🎯 Final Result
Step-by-Step Instructions
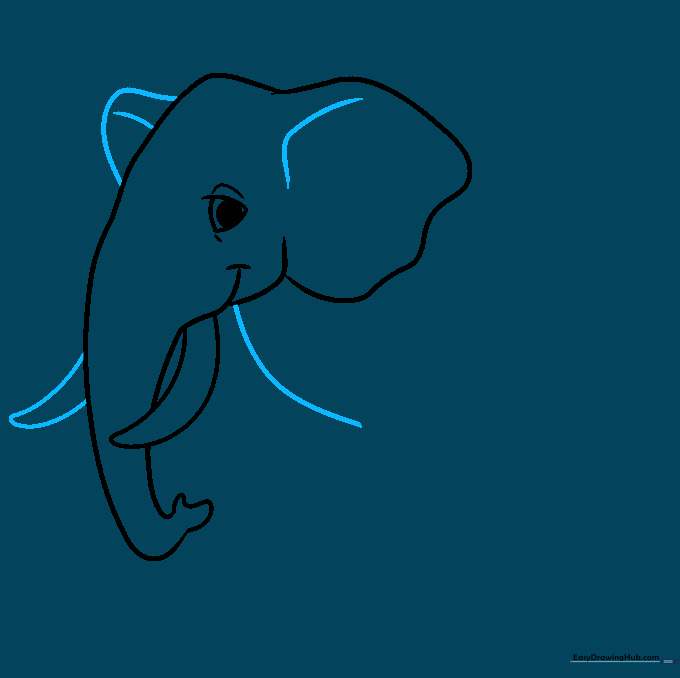
Step 1: Sketching the Head and Trunk
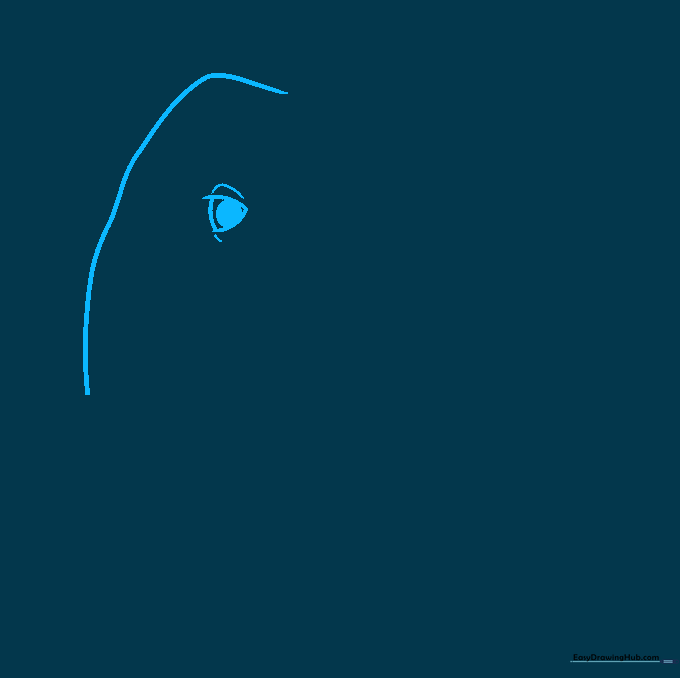
Draw a long, gentle curve to form the top of the head and the bridge of the trunk. Add a small triangle for the eye and a round pupil. Teacher's Tip: Keep your pencil pressure light here so you can easily adjust the trunk's curve later.
Step 2: Defining the Mouth and Tusk
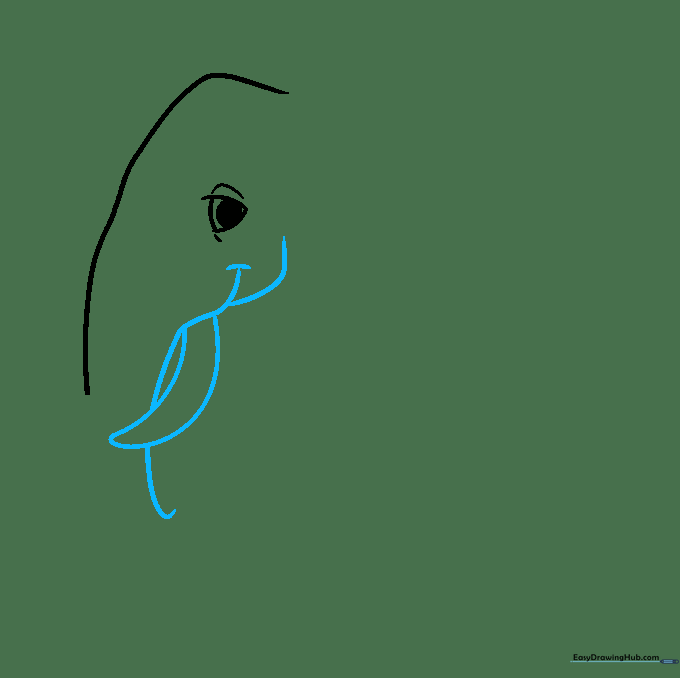
Sketch the lower jaw and the base of the trunk using overlapping curves. Add the tusk by drawing a curved line that loops back on itself. Tip: Think of the tusk as a slightly pointed 'C' shape tucked near the mouth.
Step 3: Completing the Trunk and Ear
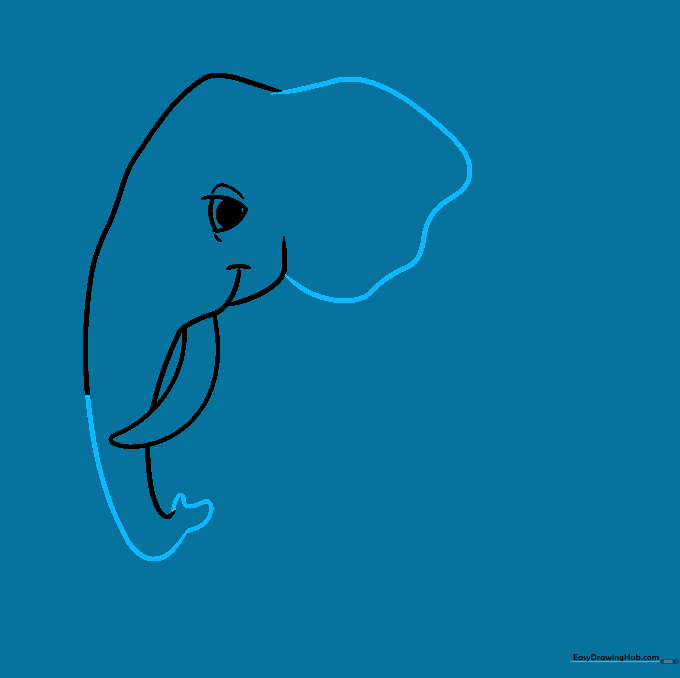
Finish the trunk with a small 'C' shape at the tip to show the elephant's 'finger.' Then, draw a large, sweeping curve for the ear. Tip: Make the ear nice and big—elephants use them to stay cool!
Step 4: Adding the Chest and Second Ear
Draw the second ear peeking out behind the first and start the curve for the elephant's chest. Tip: Use smooth, flowing lines to give the elephant a friendly, rounded appearance.
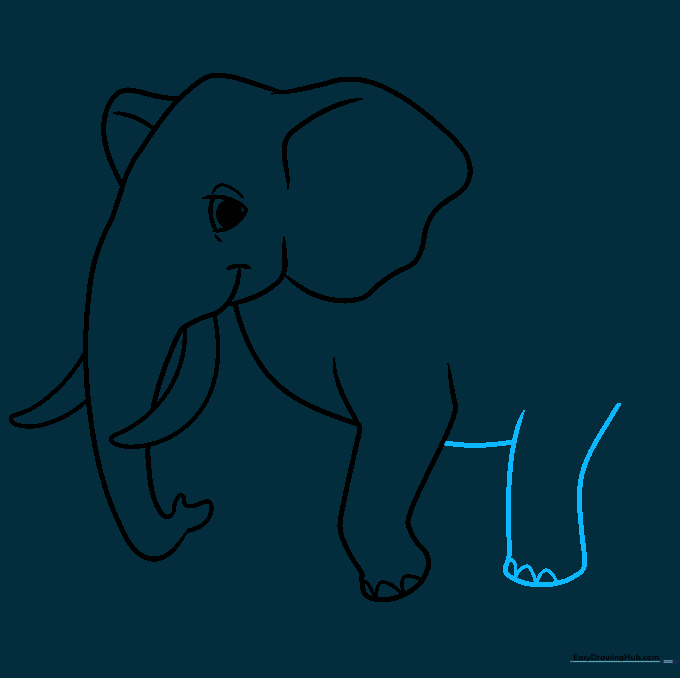
Step 5: Drawing the Front Leg

Draw the front leg using two parallel lines that form a slight zigzag. Connect them at the bottom and add 'U' shapes for the toenails. Tip: Keep the leg sturdy and thick to match the elephant's powerful build.
Step 6: Adding the Rear Leg and Belly
Draw the back leg similarly to the front, then connect the two legs with a curved line to form the belly. Tip: Ensure the belly curve is nice and round to make your elephant look healthy and happy.
Step 7: Adding the Second Front Leg
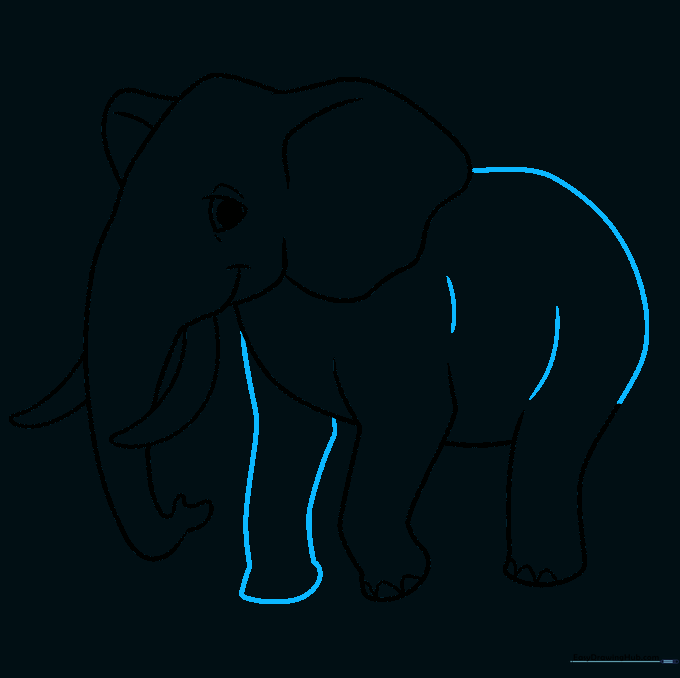
Draw the remaining front leg slightly behind the first to show depth. Connect the back of the ear to the rear leg to complete the elephant's back. Tip: Use a long, smooth curve for the back to keep the proportions balanced.
Step 8: Finalizing Legs and Adding a Tail
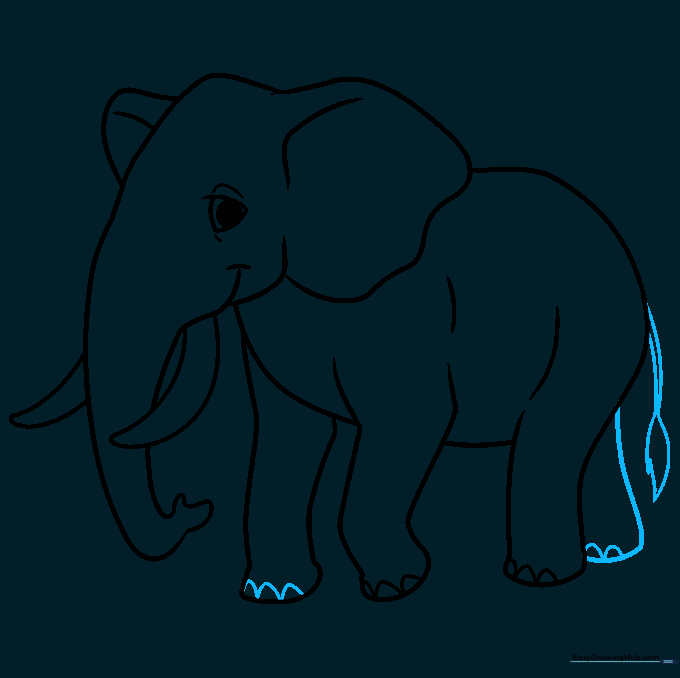
Draw the final rear leg and add a simple tail at the back. Tip: The tail should be thin and end in a small point—don't forget the little tuft of hair!
Step 9: Adding Tail Detail
Add a small, jagged tuft of hair to the end of the tail. Tip: Use quick, short strokes to make the hair look natural and textured.
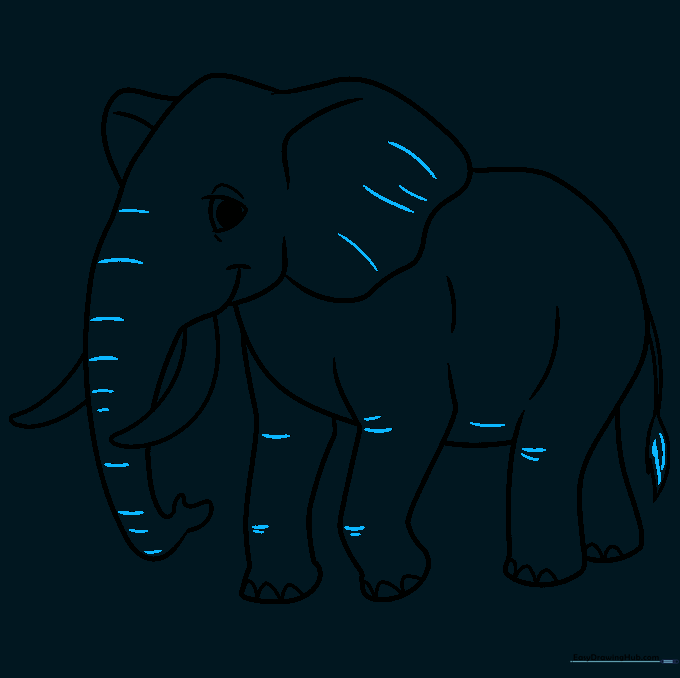
Step 10: Bring Your Elephant to Life with Color
Time to color! Use shades of grey or brown. Tip: Try using a darker grey for the shadows under the belly and legs to give your drawing a 3D look.
More Tutorials


