How to Draw an Eight-Pointed Star: Easy 5-Minute Guide
Looking for a fun, geometric drawing project? This eight-pointed star tutorial is perfect for artists ages 5 and up. All you need is a pencil, paper, and a ruler to create a perfectly symmetrical star that builds confidence and fine motor skills.
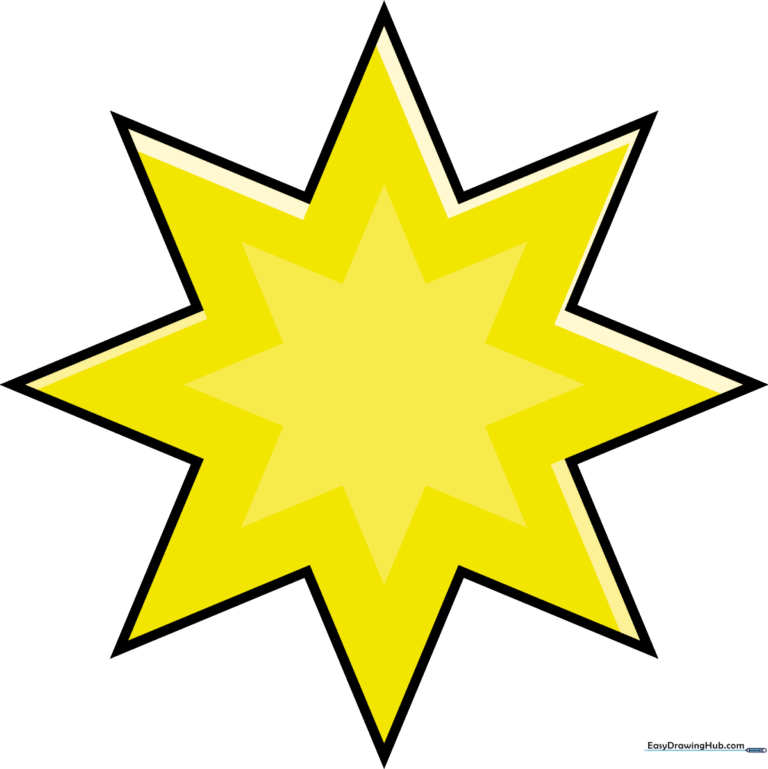
🎯 Final Result
Step-by-Step Instructions
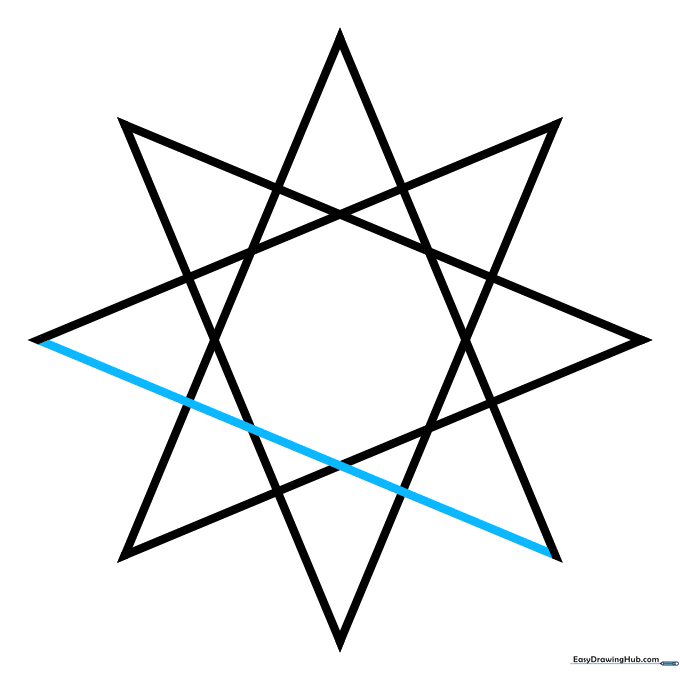
Step 1: The First Diagonal
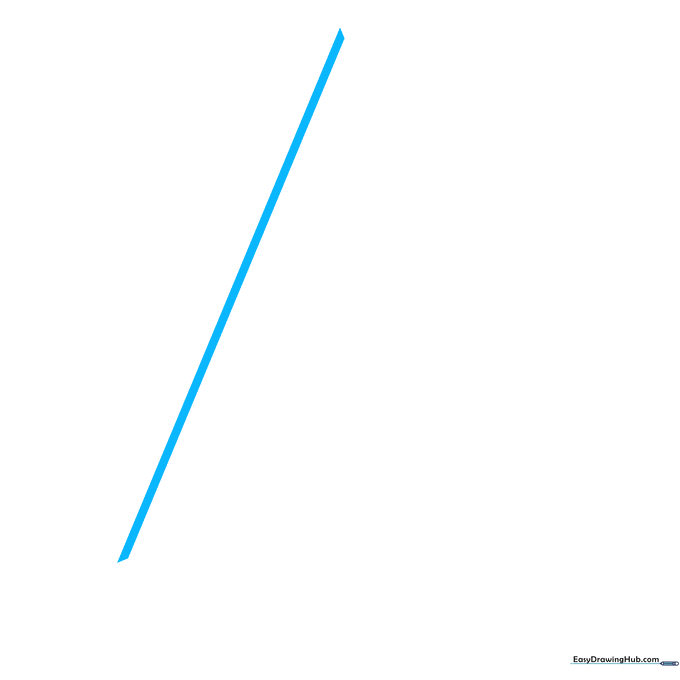
Draw a straight, diagonal line across your paper. Teacher's Tip: Use a ruler to keep this line crisp; it acts as the anchor for your entire star.
Step 2: Forming the Peak
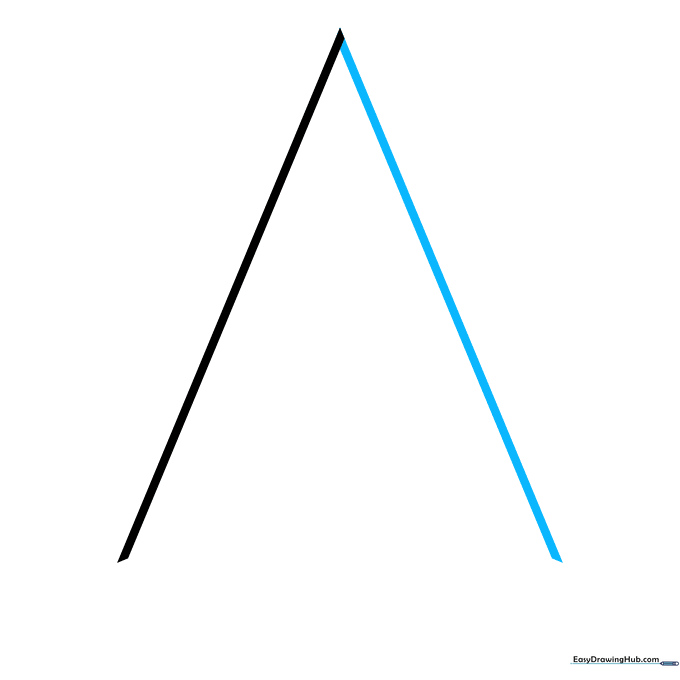
Draw a second diagonal line that meets the first at the top. Teacher's Tip: Try to make the angle at the top sharp—this creates the first 'point' of your star.
Step 3: Creating the X-Base
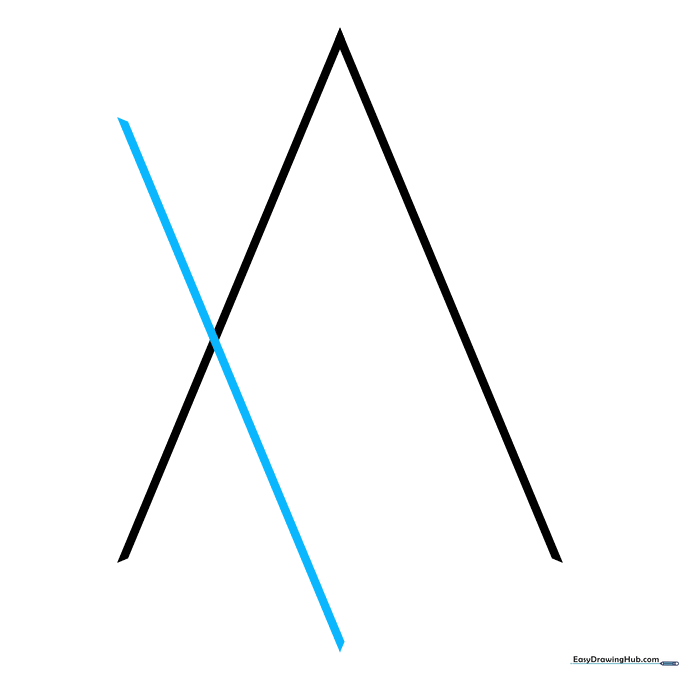
Draw a third diagonal line that crosses the first two, creating an 'X' shape. Teacher's Tip: Ensure the lines intersect near the center to keep your star symmetrical.
Step 4: Closing the Bottom
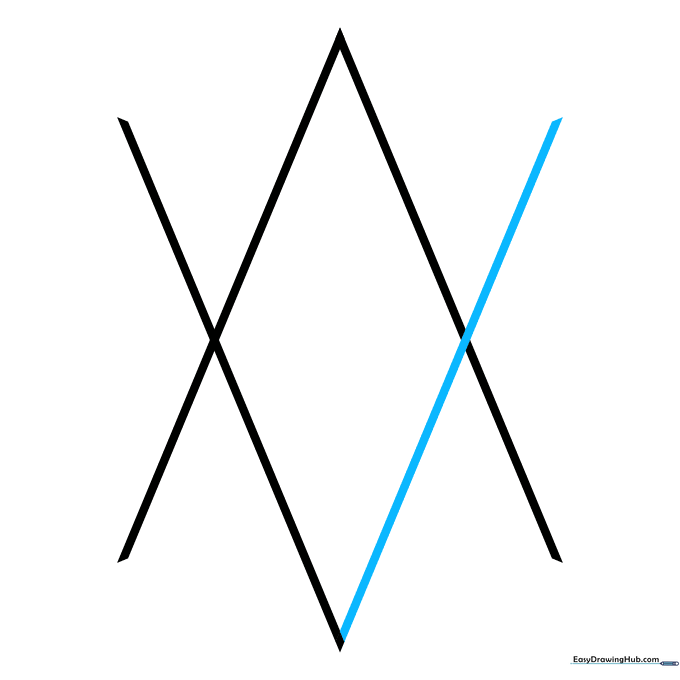
Add a fourth line to connect the bottom points. Teacher's Tip: Focus on keeping the distance between the bottom points equal to the distance between the top points.
Step 5: Adding Complexity
Draw another diagonal line that crosses over the existing structure. Teacher's Tip: Don't worry if the lines look messy; we will clean them up later!
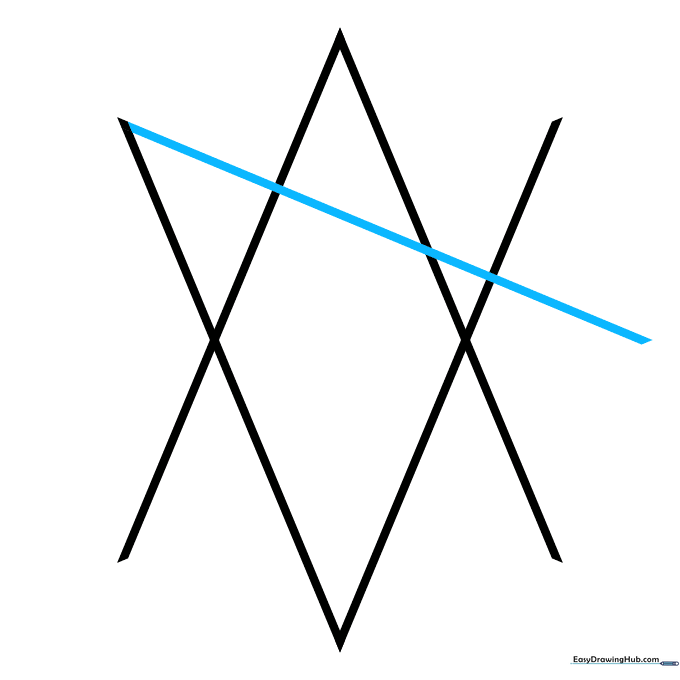
Step 6: Expanding the Points
Continue adding lines to build out the star's frame. Teacher's Tip: Keep your pencil pressure light so the lines don't leave deep indentations on the paper.
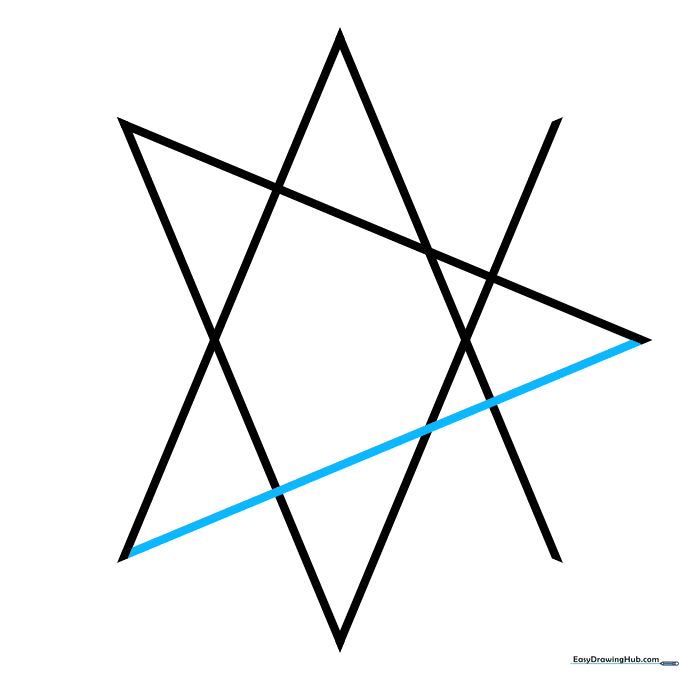
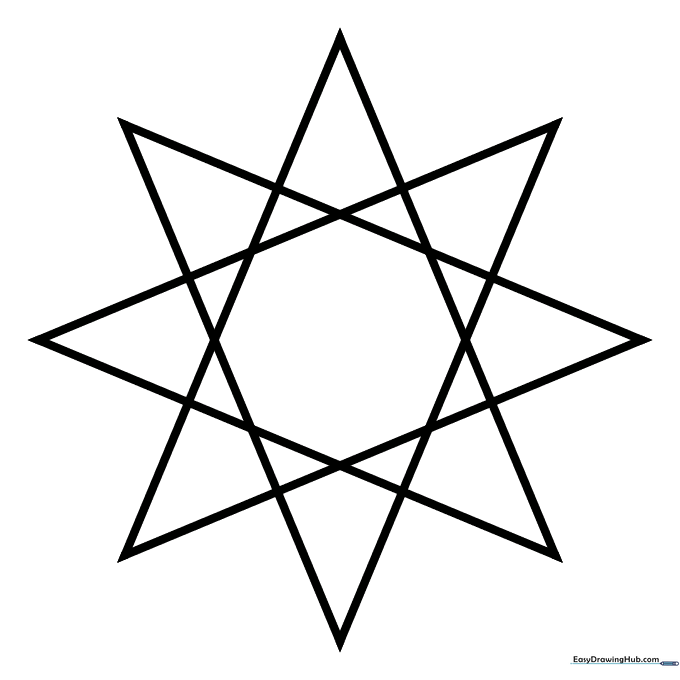
Step 7: Finalizing the Frame
Draw the final lines across the top and sides. Teacher's Tip: Check that your star now has eight distinct points radiating from the center.
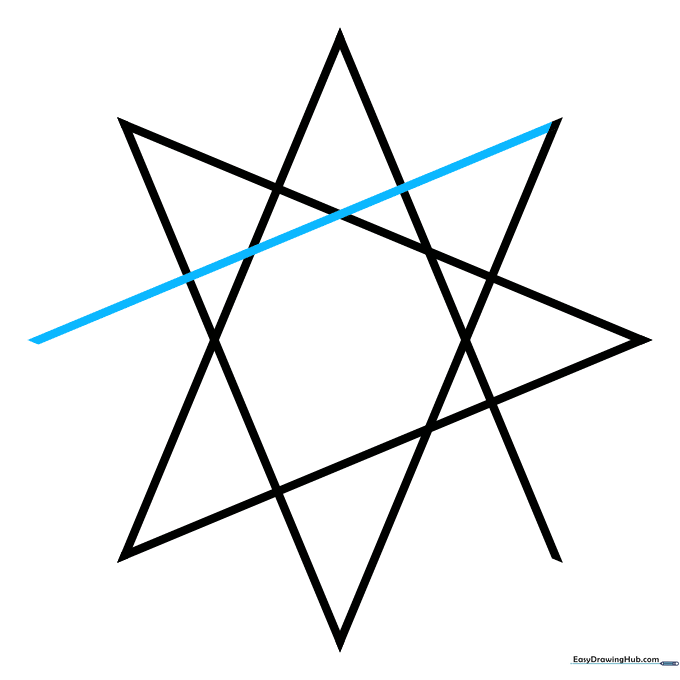
Step 8: Connecting the Petals
Connect the remaining ends to form the outer 'petals' of the star. Teacher's Tip: Imagine you are drawing a flower; this helps visualize the shape of the star points.
Step 9: Clean Up
Carefully erase the interior lines. Teacher's Tip: Use a soft eraser and brush away the crumbs so you don't smudge your graphite.
Step 10: Bring it to Life
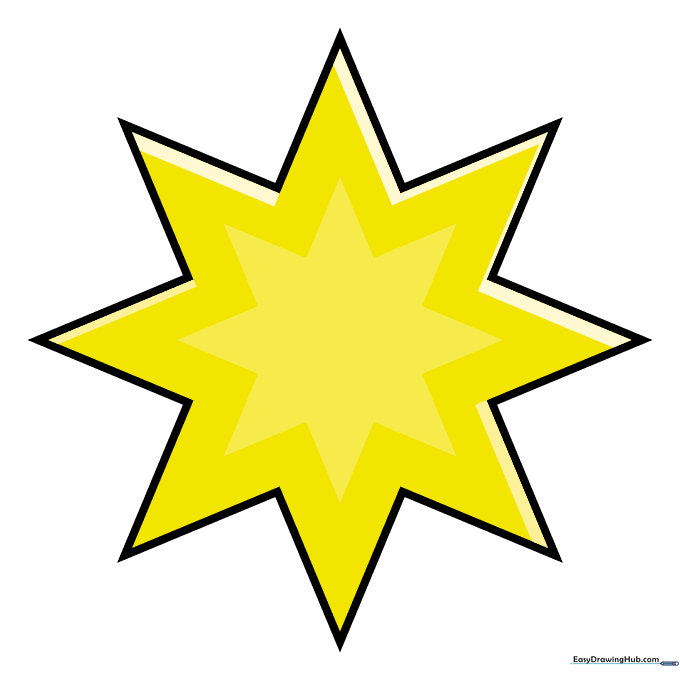
Add color! Teacher's Tip: Use warm colors like yellow or orange for a classic look, or try blending two shades to create a 3D effect.
More Tutorials


