How to Draw an Eggplant: Easy 10-Step Guide for Kids
Ready to bring some garden fun to your sketchbook? This tutorial is perfect for young artists ages 5+ to practice drawing organic shapes and textures. All you need is a pencil, an eraser, and your favorite markers or crayons to bring this vibrant vegetable to life.
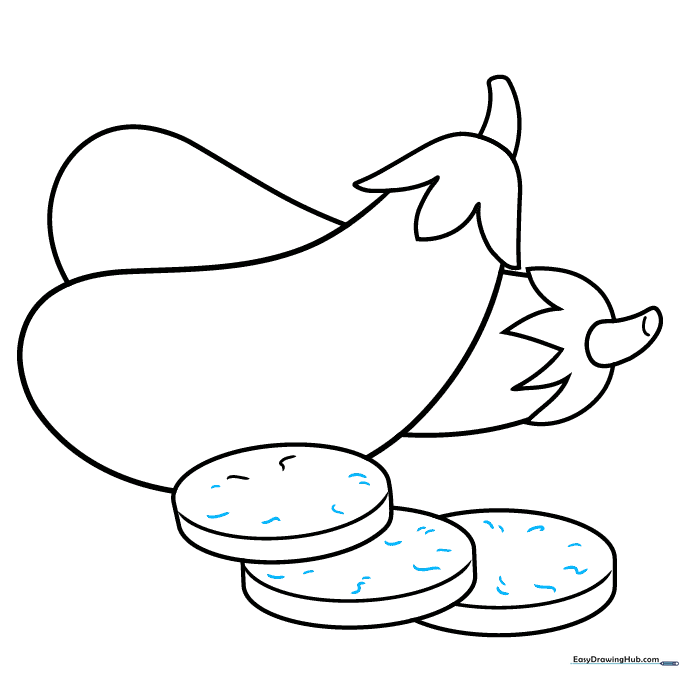
🎯 Final Result

Step-by-Step Instructions
Step 1: Sketching the Main Body
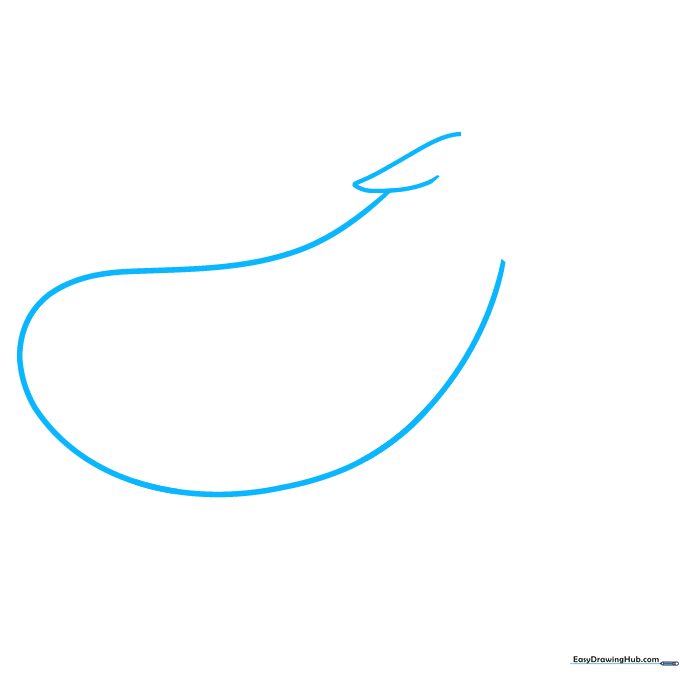
Draw a long, teardrop-like curved line that loops back to meet itself. This forms the main body of your eggplant. Teacher's Tip: Keep your pencil pressure light so you can easily adjust the shape if it looks a bit lopsided!
Step 2: Adding the Calyx
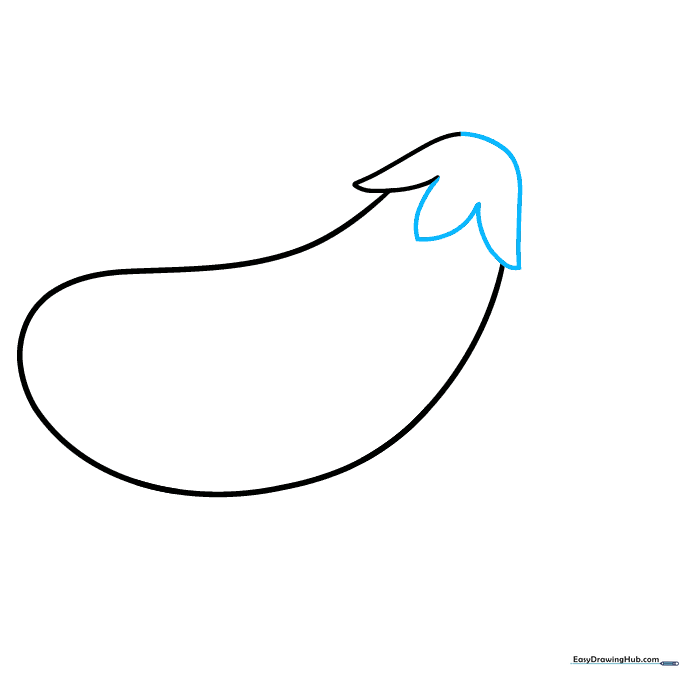
At the top of your eggplant, draw a series of small, curved 'V' shapes to create the calyx (the leafy cap). Tip: Think of these as little crowns sitting on top of the vegetable.
Step 3: Adding the Stem and Second Eggplant
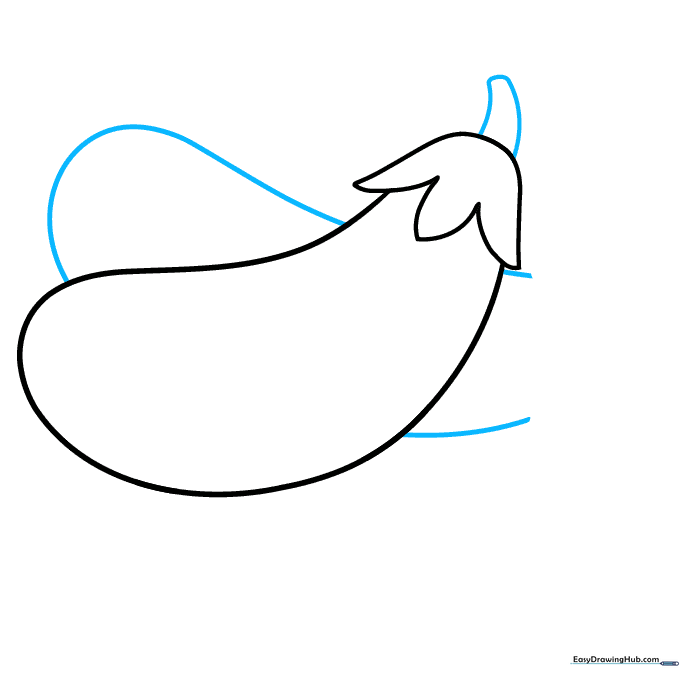
Draw a small, thick stem extending from the calyx. Then, sketch a second, slightly overlapping curved line behind the first eggplant to create depth. Tip: Overlapping objects is a great way to make your drawing look 3D!
Step 4: Detailing the Second Calyx
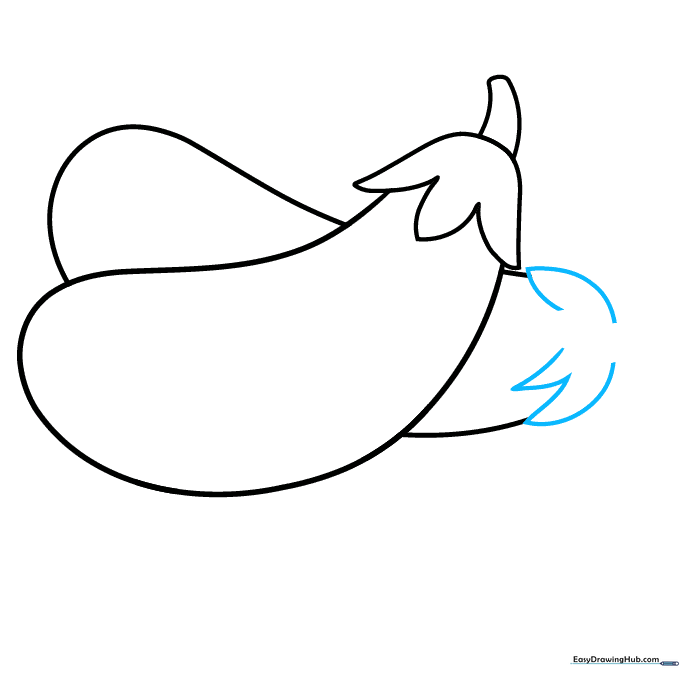
Repeat the 'V' shape process from Step 2 to add a calyx to your second eggplant. Tip: Vary the size of your 'V's slightly to make the leaves look more natural and less like a pattern.
Step 5: Refining the Stems
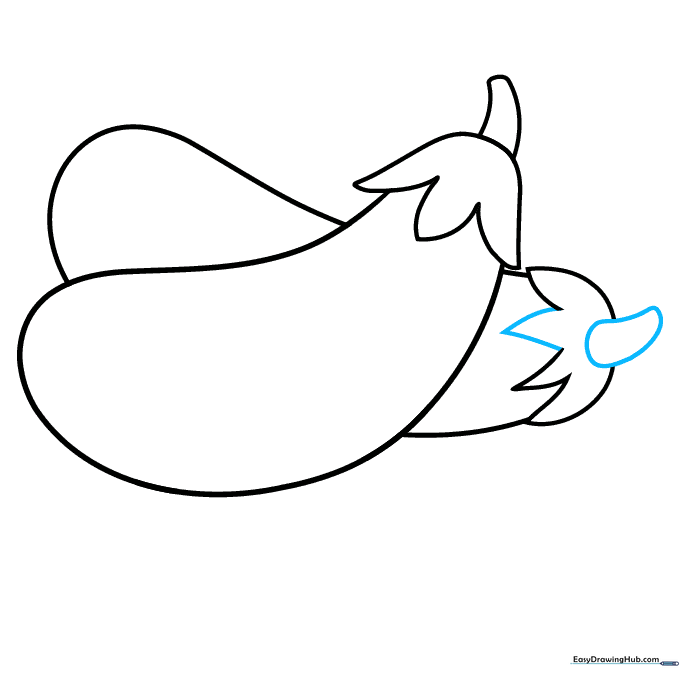
Close off the stem shapes with small, irregular lines. This makes them look sturdy and attached to the fruit. Tip: Don't worry about making them perfectly straight; nature is rarely perfectly straight!
Step 6: Drawing Eggplant Slices
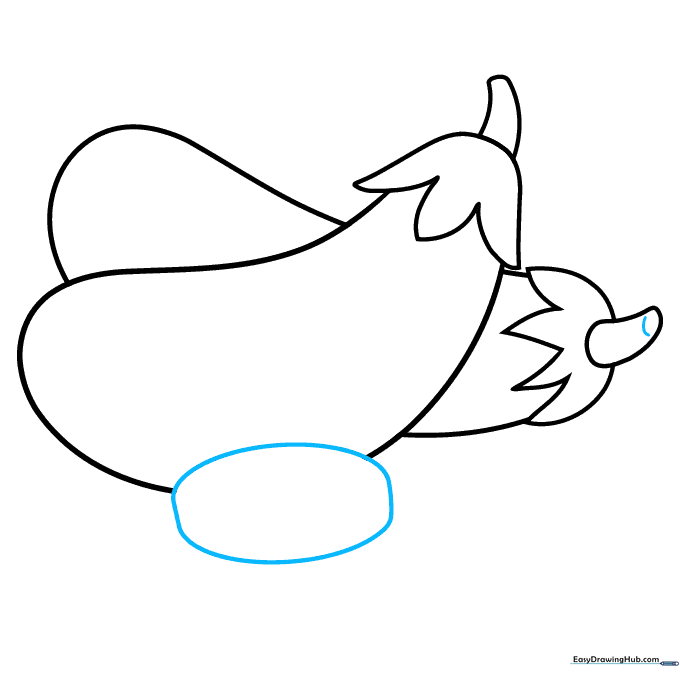
Draw a flattened oval shape that overlaps your first eggplant. This represents a slice. Tip: Use your eraser to remove the lines of the eggplant that are 'behind' the slice to make it look like it's sitting on top.
Step 7: Adding More Slices
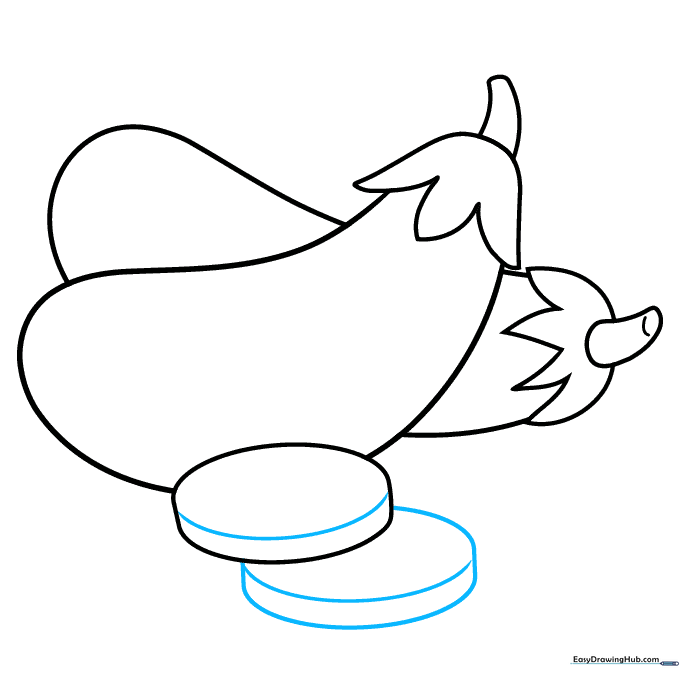
Add another flattened oval partially hidden behind the first slice. Draw a curved line inside each oval to show the 'skin' edge of the slice. Tip: This creates a nice contrast between the smooth skin and the inner flesh.
Step 8: Adding Texture to Slices
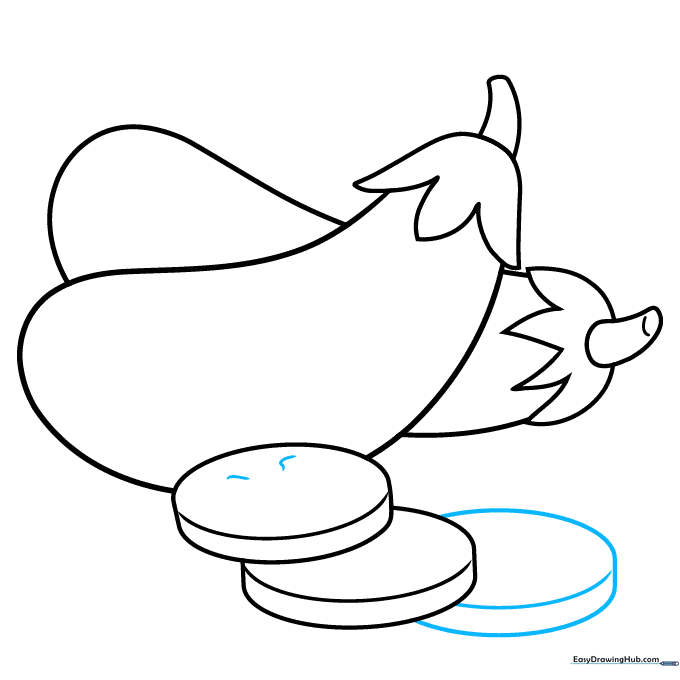
Draw one more partial oval behind the others. Start adding short, curved lines on the flat surface of the slices to represent the seeds and texture. Tip: Keep these lines very short and light—they are just small details!
Step 9: Final Touches
Review your drawing and add a few more small texture marks to the slices if needed. Ensure all your lines are clean and dark. Tip: Now is the time to erase any stray pencil marks from your initial sketch.
Step 10: Bring It to Life with Color

Time to color! Use deep purple for the skin and a creamy white or light yellow for the inside of the slices. Tip: Use a darker purple on one side of the eggplant to create a shadow effect, making it look rounder.
More Tutorials


