How to Draw a Valentine’s Day Rose: Easy 9-Step Guide
Create a heartfelt, handmade gift this Valentine's Day with our simple rose drawing tutorial. Designed for artists of all ages, this activity requires only a pencil, paper, and an eraser. Follow these steps to build confidence in your sketching skills while creating a classic floral design.
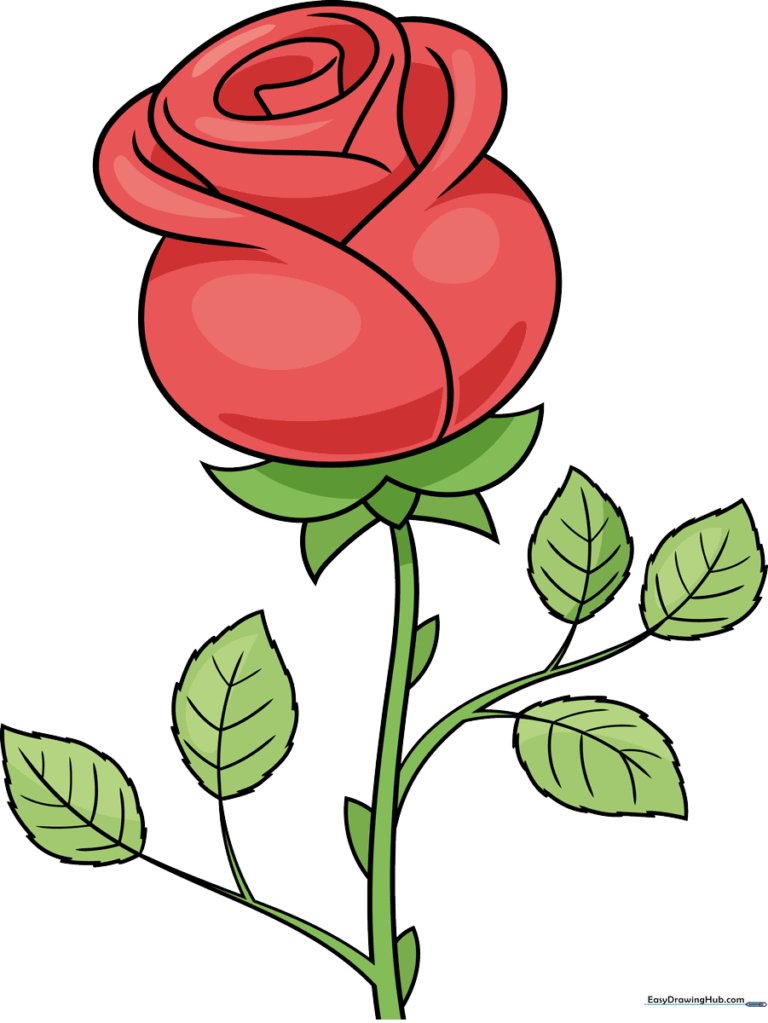
🎯 Final Result
Step-by-Step Instructions
Sketching the Inner Petal
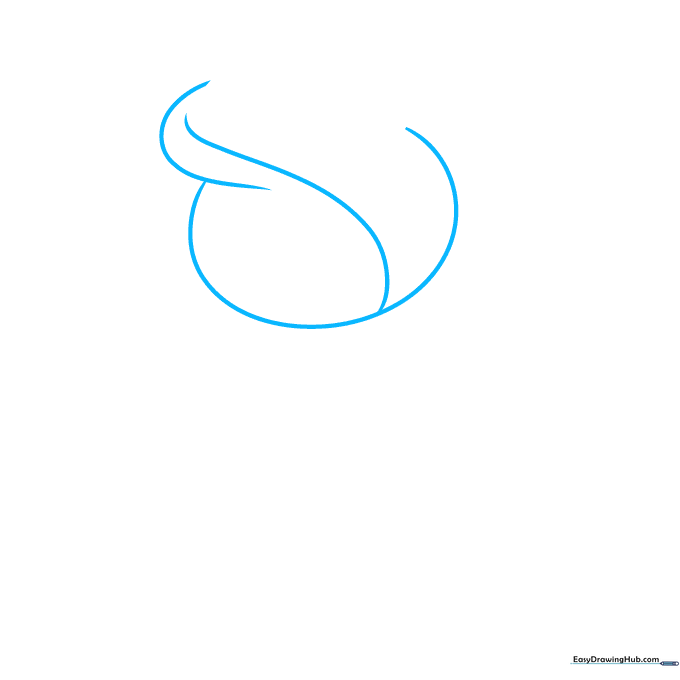
Start by drawing the center of the blossom using two overlapping curved lines that form an incomplete '8' shape. Teacher's Tip: Keep your pencil pressure light here so you can refine the shape later.
Enclosing the Rosebud
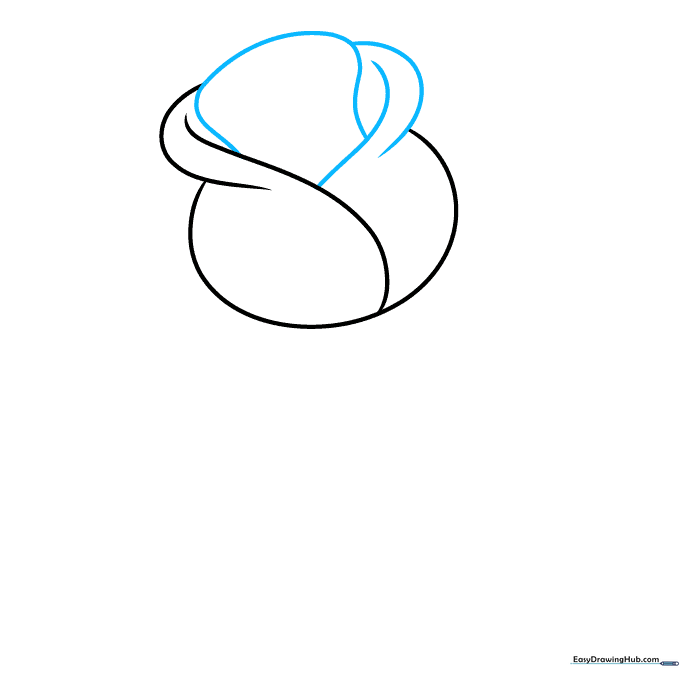
Add three overlapping curved lines around the center to enclose the rosebud. Teacher's Tip: Think of these as soft, rounded 'C' shapes hugging the center.
Adding Petal Detail
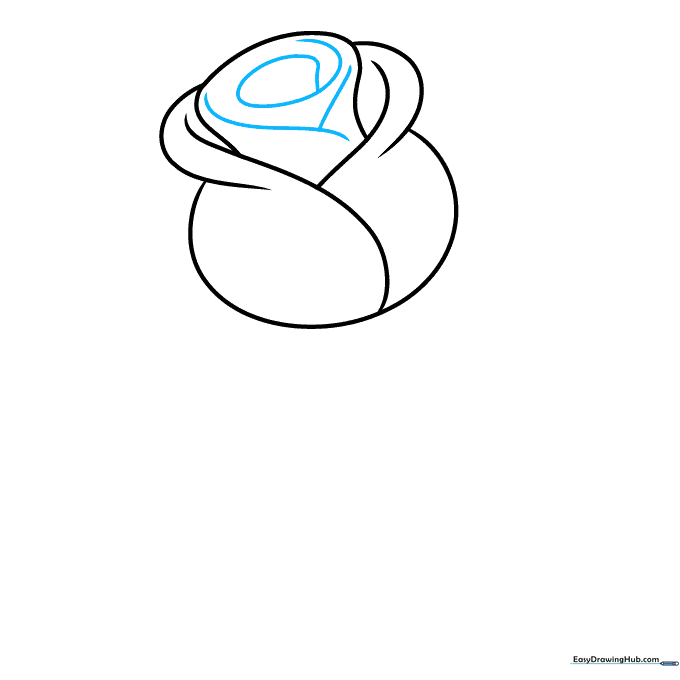
Inside the central petal, draw a small spiral and a 'Y' shaped line. Teacher's Tip: These details create the illusion of depth and folded petals.
Sketching the Sepals
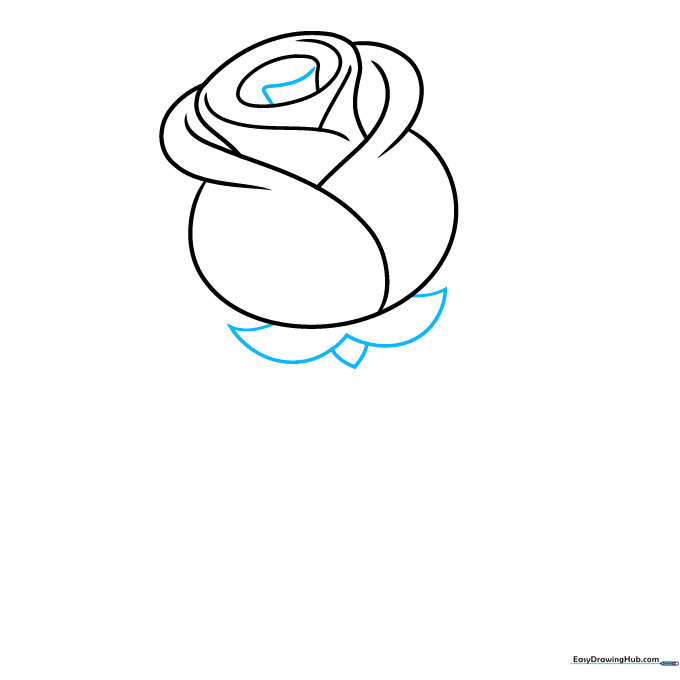
Draw an 'L' shaped line in the center, then sketch two jagged, pointed sepals at the base of the bloom. Teacher's Tip: Sepals are the small leaves that protect the bud; keep them sharp and pointy.
Adding the Stem
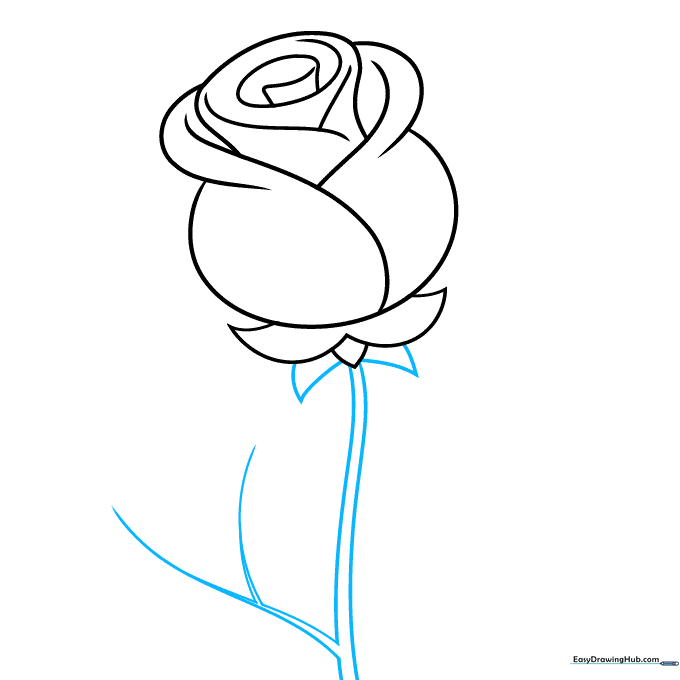
Draw two more sepals and a long, curved stem. Add a 'Y' shaped branch on one side. Teacher's Tip: Use smooth, fluid motions for the stem to make it look natural.
Starting the Leaves
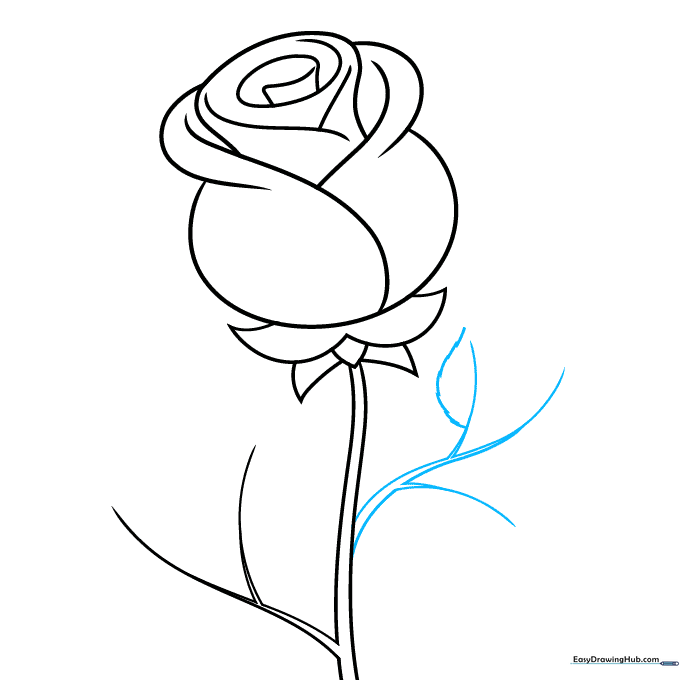
Add a second twig on the opposite side. Use short, jagged lines to outline the serrated edge of a leaf. Teacher's Tip: Serrated means 'saw-toothed'—keep your zig-zags small and consistent.
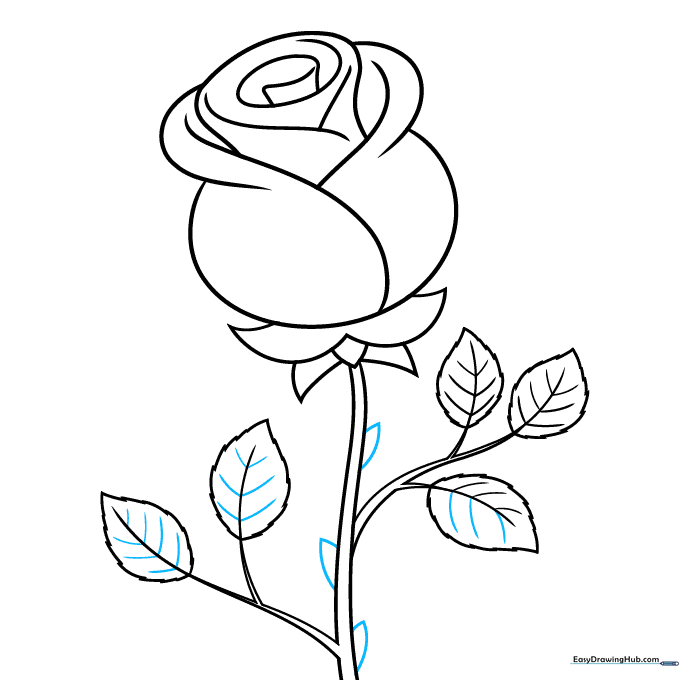
Completing the Foliage
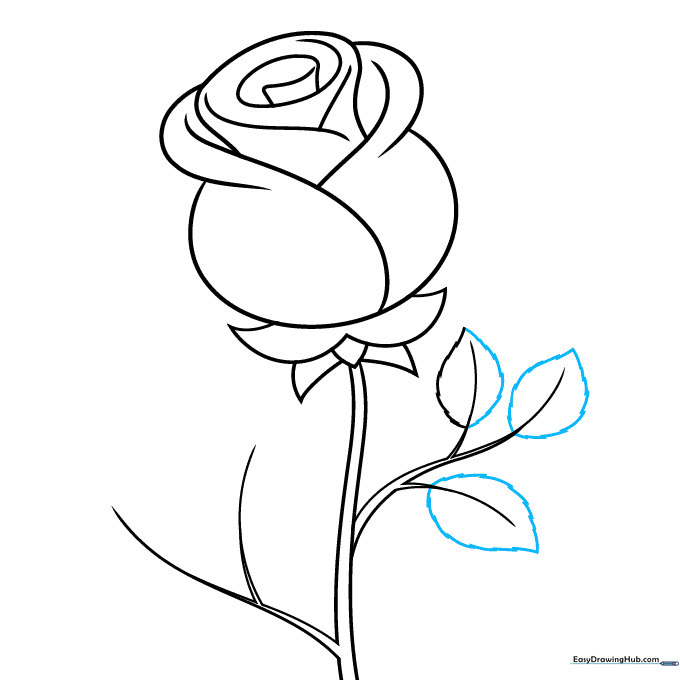
Finish the first leaf and add two more using the same serrated pattern. Teacher's Tip: Vary the size of the leaves slightly to make the drawing look more realistic.
Adding Leaf Veins
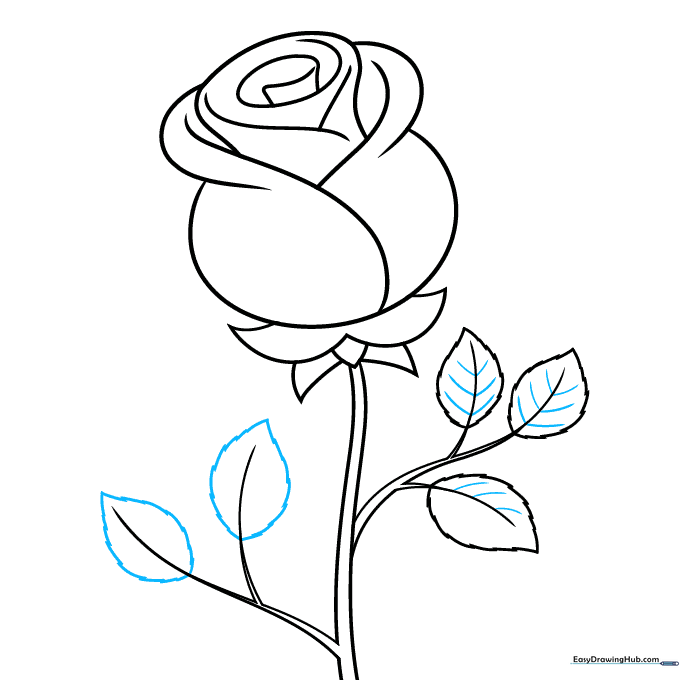
Draw the serrated edges for two more leaves, then add veins by drawing curved lines from the center of each leaf. Teacher's Tip: Keep the veins symmetrical to balance the leaf shape.
Final Details: Thorns
Finish the veins and add small, triangular thorns along the stem. Teacher's Tip: Thorns are sharp, so make sure your triangles have distinct, pointy tips.
Coloring Your Rose
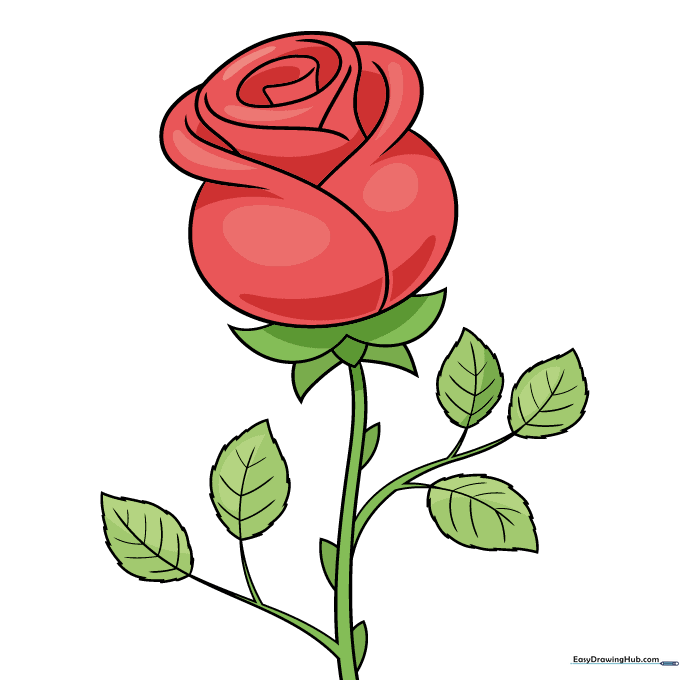
Your outline is complete! Now, bring it to life with color. Red symbolizes love, yellow represents friendship, and purple signifies love at first sight. Choose the color that matches your message!
More Tutorials


