How to Draw a Tree Stump: Easy 5-Minute Art Lesson
Bring your forest scenes to life with this simple tree stump drawing guide. Designed for young artists ages 5 and up, this lesson uses basic shapes to build confidence. All you need is a pencil, an eraser, and a piece of paper to get started.
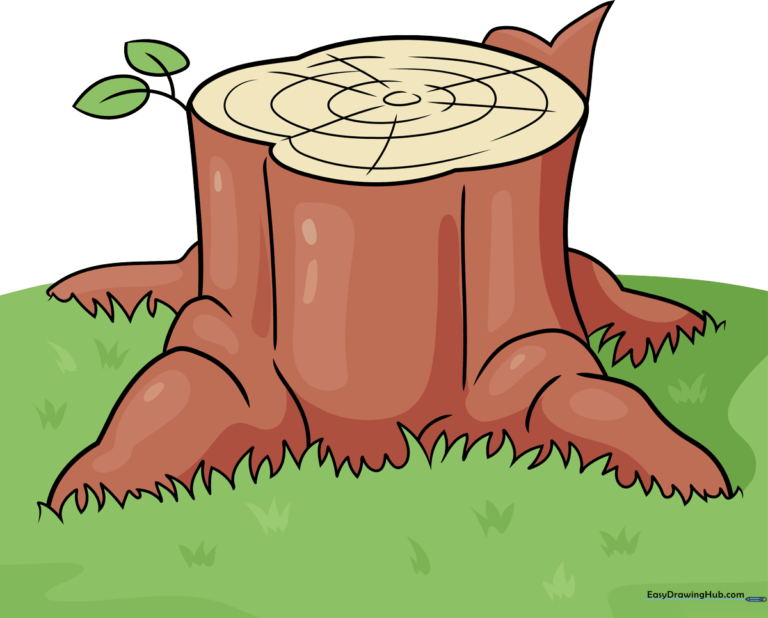
🎯 Final Result
Step-by-Step Instructions
Step 1: Sketching the Top Surface
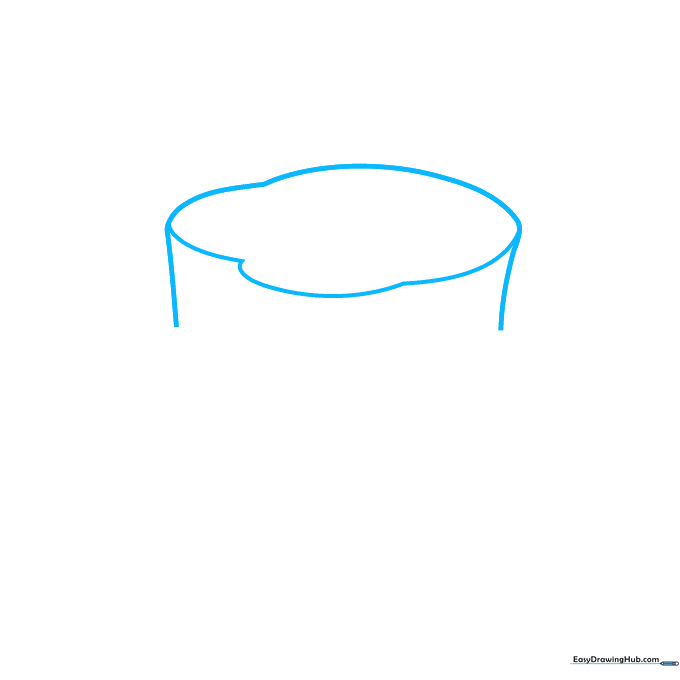
Draw a large, oblong oval near the top of your page to represent the flat top of the stump. Add two small bumps on the left side for natural character, then draw two vertical lines extending downward. Teacher's Tip: Keep your pencil pressure light here so you can easily adjust the shape later.
Step 2: Defining the Trunk Sides
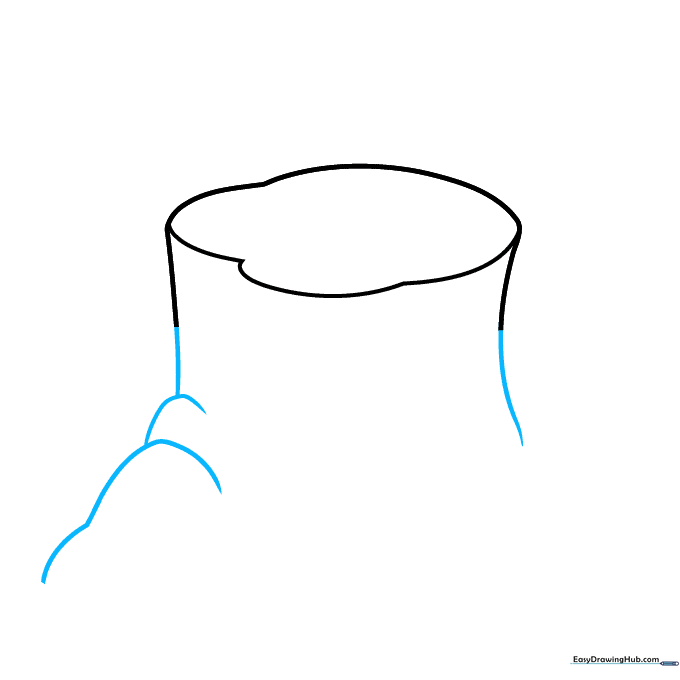
Add two more vertical lines to widen the trunk, letting the right line trail off naturally at the bottom. On the left side, draw two small hills. Tip: Make the top hill smaller than the bottom one to give the stump a more organic, uneven look.
Step 3: Adding Forest Floor Details
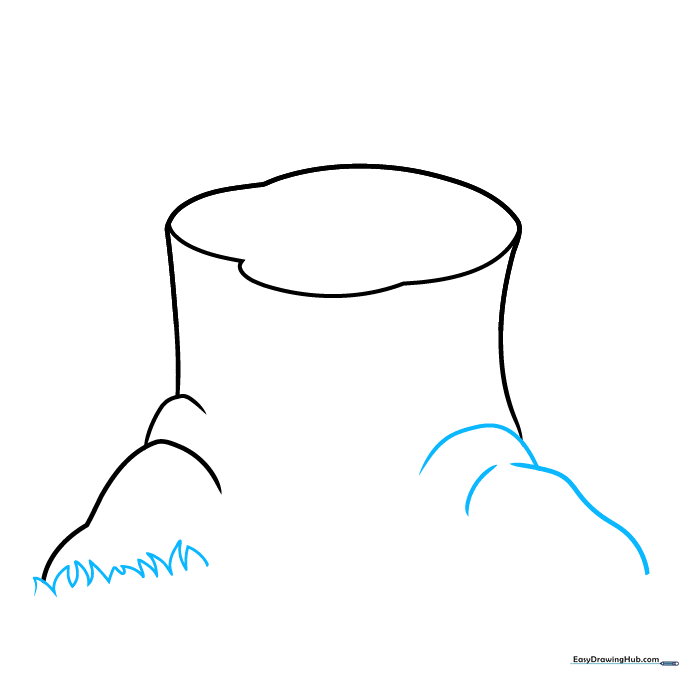
Outline the grass on the left using loose, sketchy triangles. On the right, draw another hill and a wavy line that trails downward. Tip: Don't worry about making the grass perfect; nature is messy and irregular!
Step 4: Creating Texture at the Base
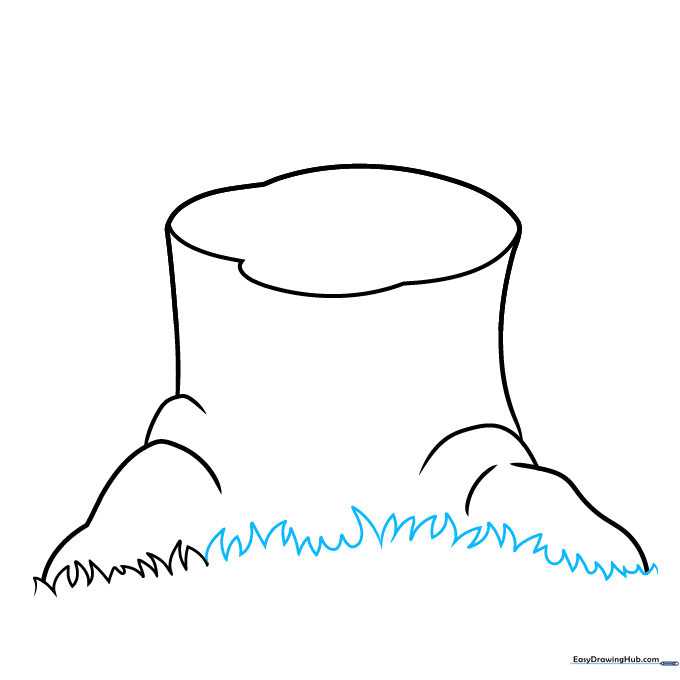
Draw a line of grass across the bottom of the trunk. Make the blades look spiky and uneven to show where the wood meets the earth. Tip: Vary the height of your grass blades to make the drawing look more realistic.
Step 5: Refining the Trunk Shape

Sketch a curved line on either side of the trunk to add depth, then add more grass on the right side. Tip: These curves help the stump look rounded rather than flat.
Step 6: Adding Wood Grain

Add more grass on the left. Sketch a vertical line inside the trunk and draw two curves to suggest the texture of the bark. Tip: Keep these lines slightly wavy to mimic real wood grain.
Step 7: Drawing Forest Foliage
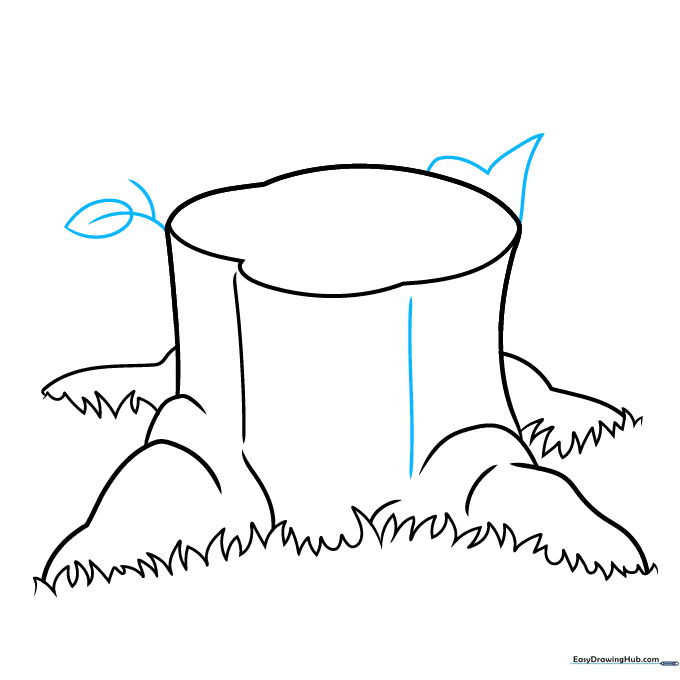
Draw another vertical line inside the trunk. On the left, sketch a football-shaped leaf. On the right, draw a loose heart shape with a pointy top. Tip: Leaves are great for filling empty space and adding life to your drawing.
Step 8: Adding Rings to the Stump
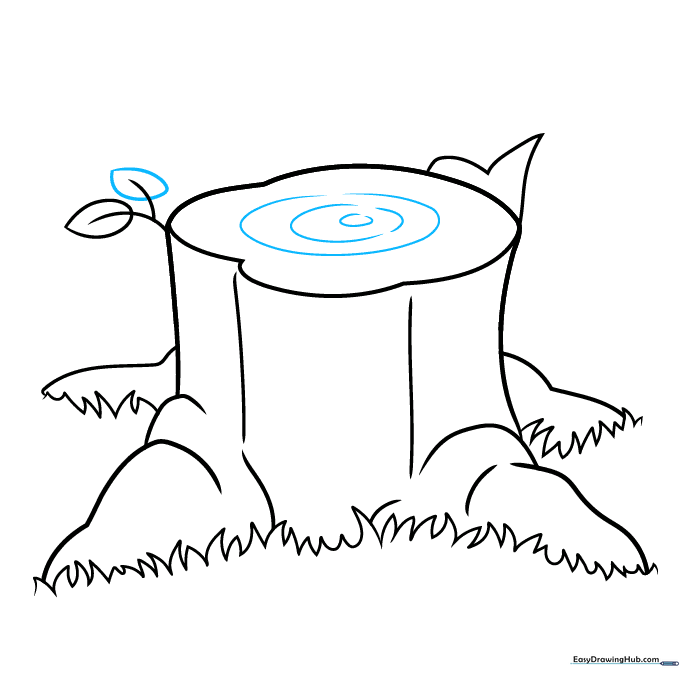
Add a teardrop-shaped leaf. Sketch an oval in the center of the stump top, then surround it with two more ovals. Make them uneven with spaces between the lines like water ripples. Tip: These rings show the age of the tree!
Step 9: Finalizing the Outline
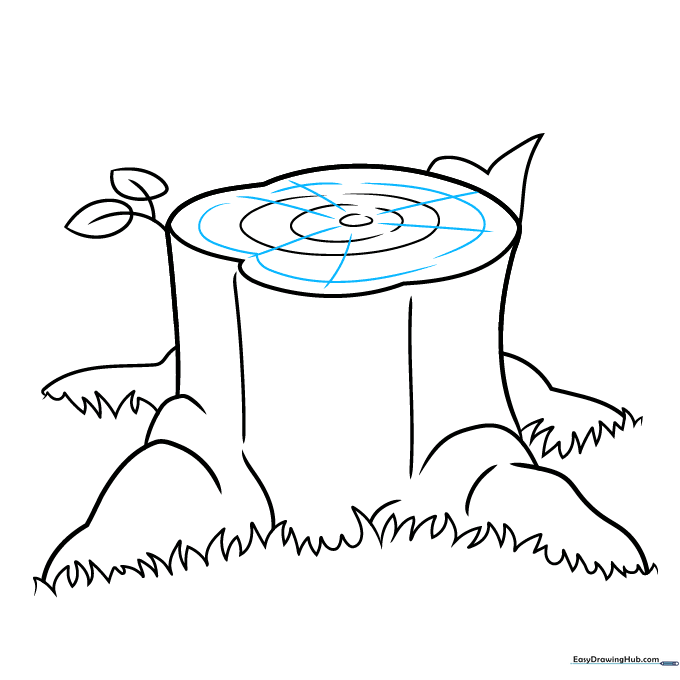
Draw one more loose oval on the surface and six diagonal lines radiating from the center. Now, outline your drawing with a black pen. Use thin lines for the top surface and thicker lines for the outer edges. Erase your pencil marks. Tip: Clean lines make your drawing look professional.
Step 10: Adding Color
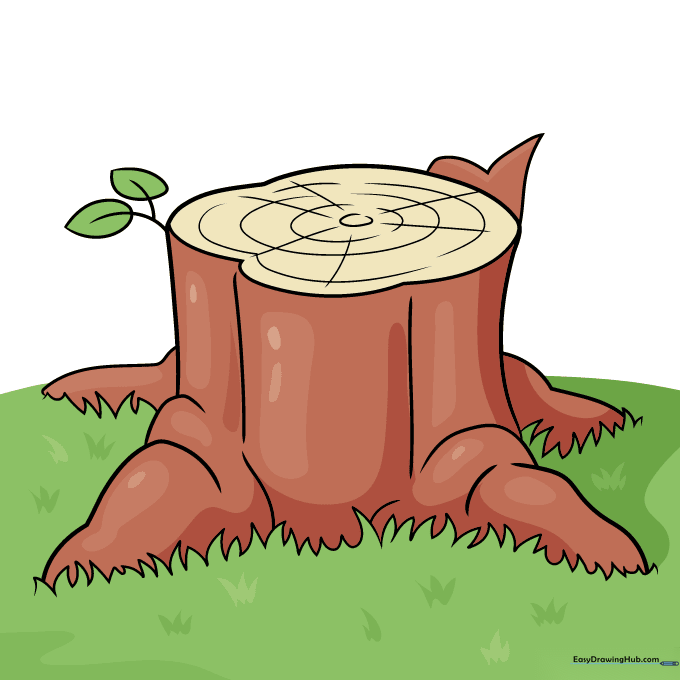
Color the trunk using multiple shades of reddish-brown to create shadows. Use tan for the top surface and various greens for the grass and leaves. Tip: Layering your colors will make the stump look more three-dimensional.
More Tutorials


