How to Draw Train Tracks in One-Point Perspective: Easy Guide
Ready to bring depth to your drawings? This tutorial is perfect for young artists ages 8+ looking to master the basics of one-point perspective. All you need is a pencil, an eraser, and a ruler to create a professional-looking railway that seems to stretch into the distance.
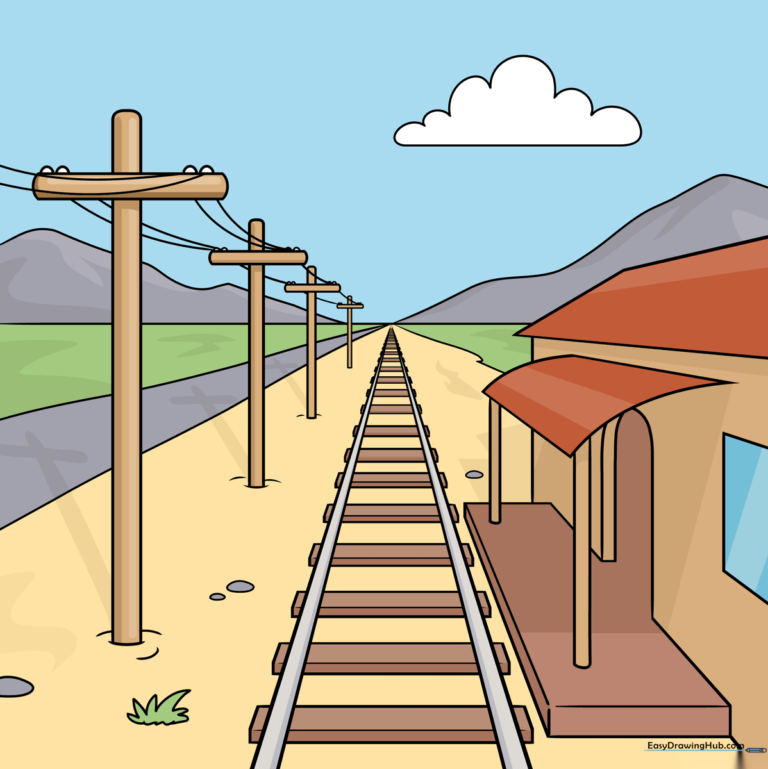
🎯 Final Result
Step-by-Step Instructions
Step 1: Setting the Horizon and Rails
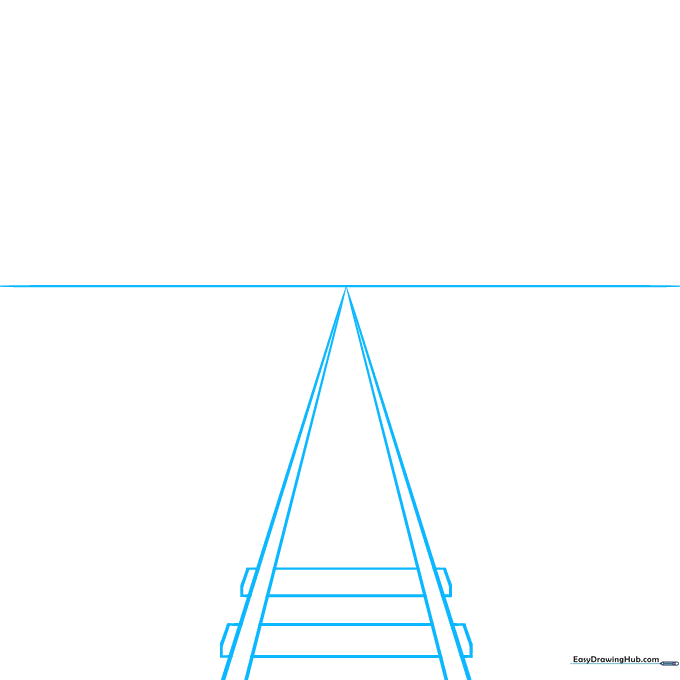
Draw a horizontal line across your page to represent the horizon. Mark a vanishing point in the center, then draw four diagonal lines radiating from it to form your rails. Tip: Keep your pencil pressure light here so you can easily erase the guidelines later.
Step 2: Adding the Crossties
Draw small rectangles across your rails to create the wooden crossties. Tip: Space them slightly further apart as they get closer to the bottom of the page to simulate depth.
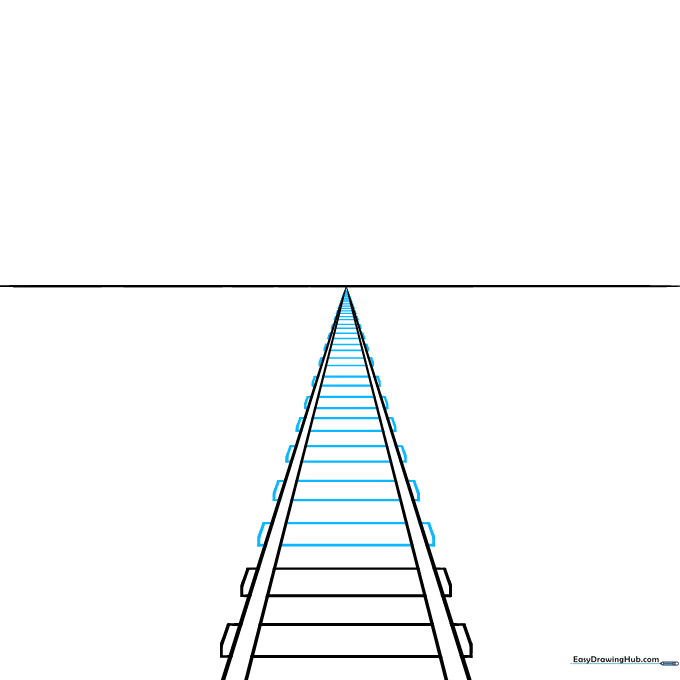
Step 3: Defining the Track Structure
Add horizontal lines to the tops of your crossties to give them a 3D blocky look. Then, add more diagonal lines from the vanishing point to expand your track width. Tip: Use a ruler to ensure your lines are perfectly straight.
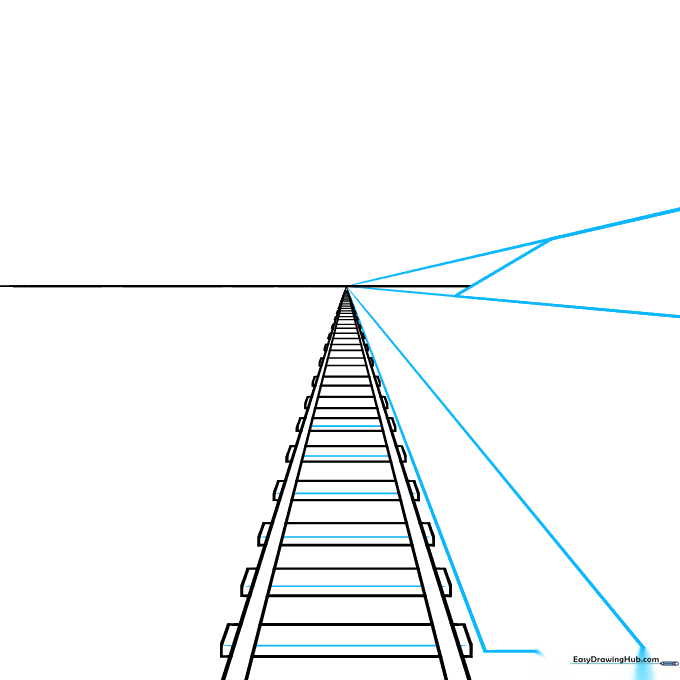
Step 4: Sketching the Station Platform
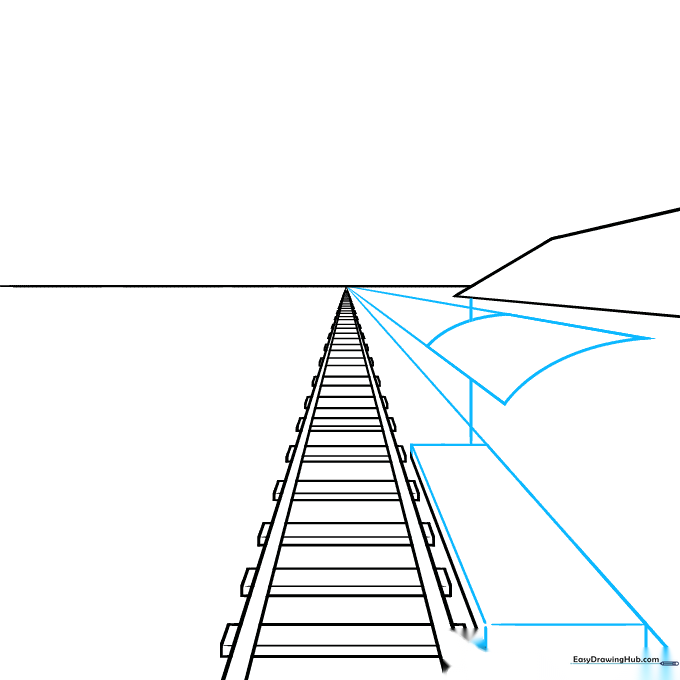
Use your lower diagonal lines as a guide to sketch a rectangular prism for the train station platform. Erase the overlapping lines near the vanishing point. Tip: Imagine the platform is a box sitting right next to the tracks.
Step 5: Adding Architectural Details
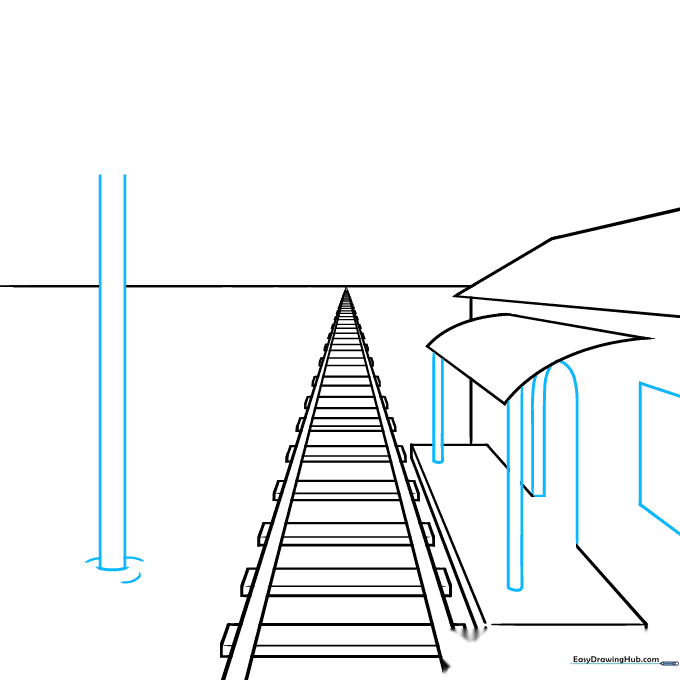
Add columns, a window, and an arched doorway to your station. On the opposite side, draw a vertical line to start your utility pole. Tip: Use curved lines at the base of the pole to make it look like it's firmly planted in the ground.
Step 6: Creating Utility Poles
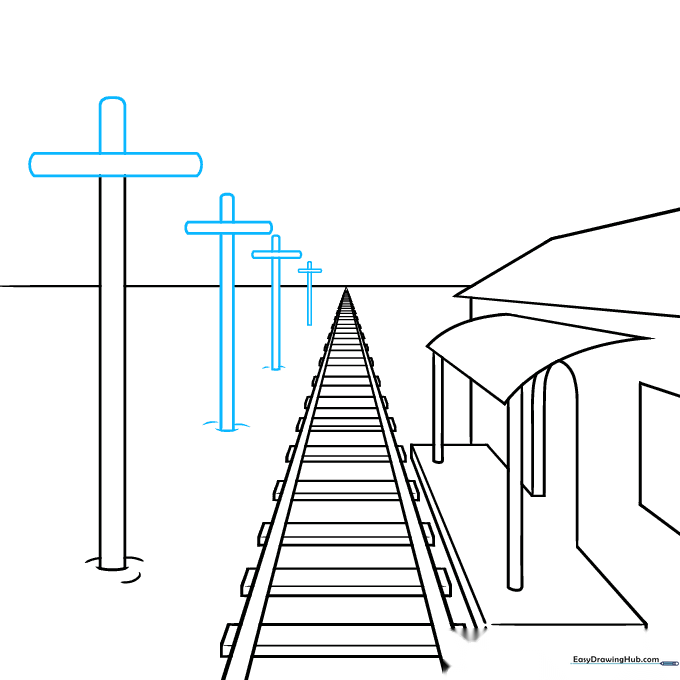
Draw 'T' shaped beams at the top of your pole. Repeat this process with smaller poles as they get closer to the vanishing point. Tip: The further away the object, the smaller it should appear—this is the secret to perspective!
Step 7: Connecting the Wires
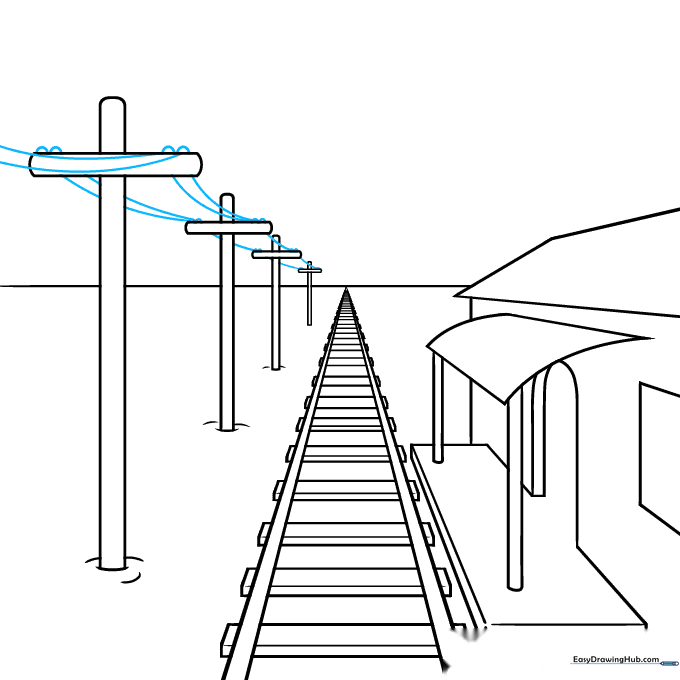
Draw small semicircles on your beams and connect them with gentle, sagging curved lines to represent telephone wires. Tip: Don't make the lines too tight; a slight curve makes them look realistic.
Step 8: Adding Background Scenery
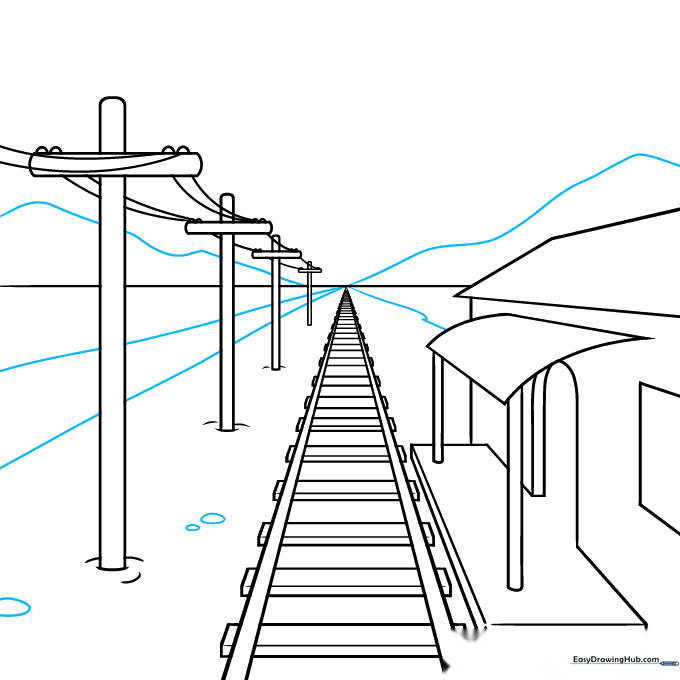
Draw mountains in the distance and a road leading toward the vanishing point. Add small circles to represent rocks along the tracks. Tip: Keep the mountain lines soft and organic to contrast with the straight lines of the tracks.
Step 9: Final Touches
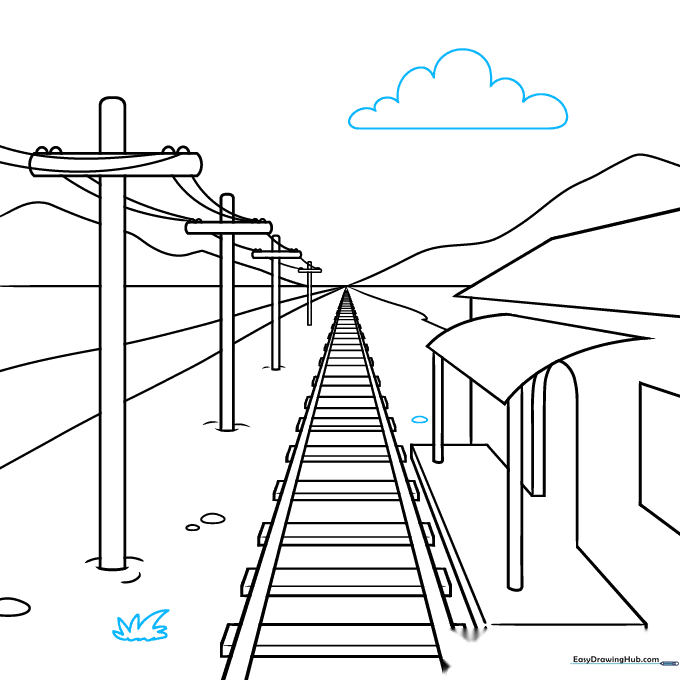
Add a fluffy cloud in the sky and some tufts of grass near the rocks. Tip: Use quick, jagged strokes for the grass to give it a natural, wild texture.
Step 10: Bring It to Life with Color
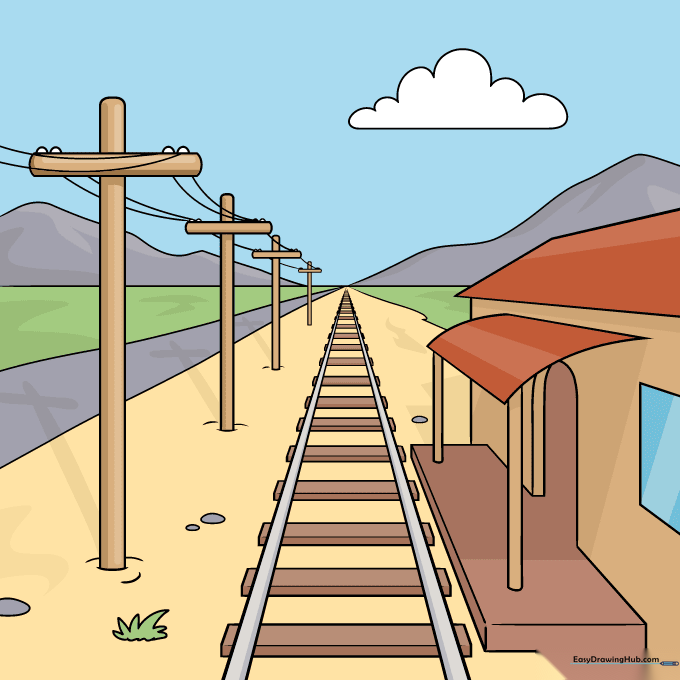
Your perspective drawing is complete! Grab your markers or colored pencils. Tip: Use darker colors for the foreground and lighter, cooler colors for the distant mountains to enhance the sense of depth.
More Tutorials


