How to Draw a 1-Point Perspective Street: Easy Guide
Ready to make your drawings look 3D? This tutorial is perfect for students ages 8+ to learn the fundamentals of one-point perspective. All you need is a pencil, an eraser, and a ruler to transform a flat page into a deep, realistic city street.
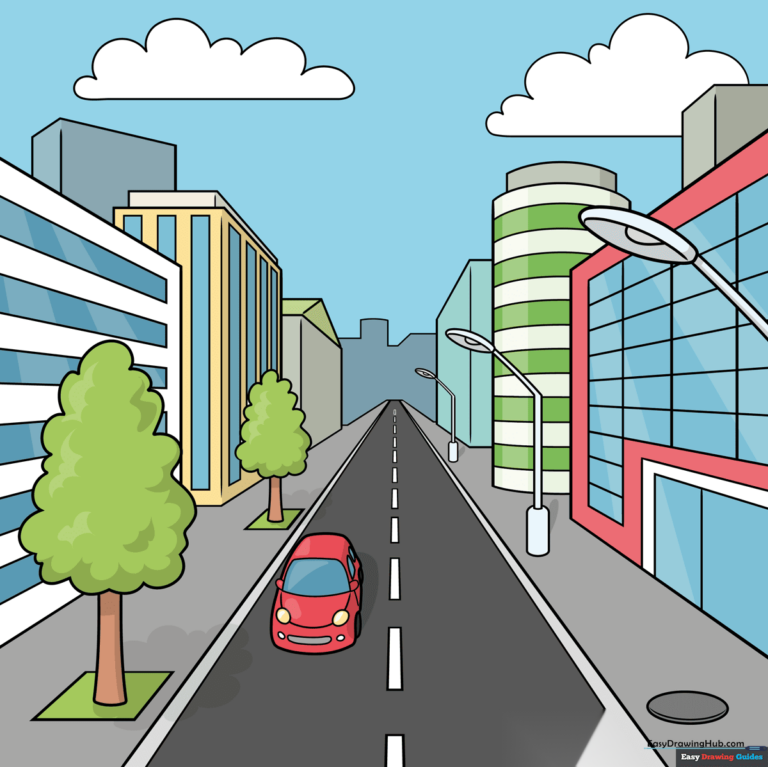
🎯 Final Result
Step-by-Step Instructions
Step 1: Setting the Horizon and Vanishing Point
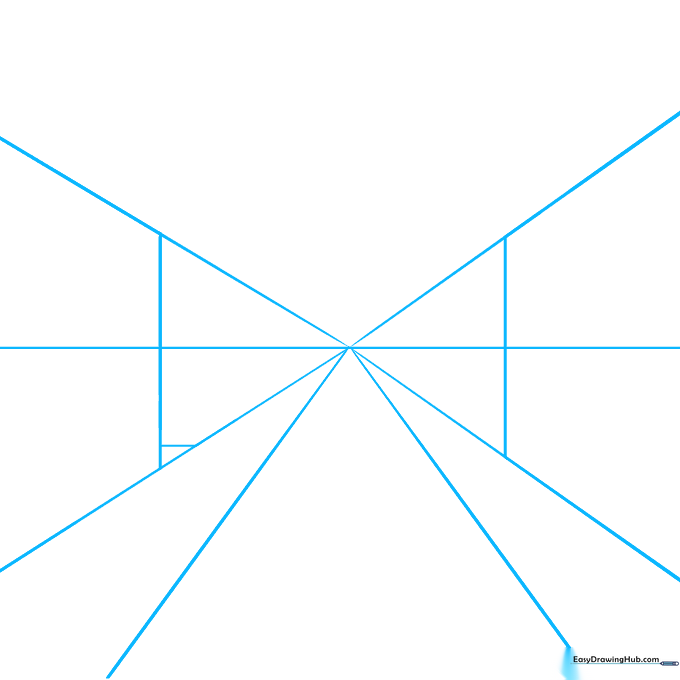
Draw a horizontal line across the middle of your paper to represent the horizon. Place a dot in the center—this is your 'vanishing point.' Draw a large 'X' through the dot, then add two more lines between the bottom arms of the X. Tip: Keep these lines very faint; you'll be erasing them later!
Step 2: Blocking Out Buildings
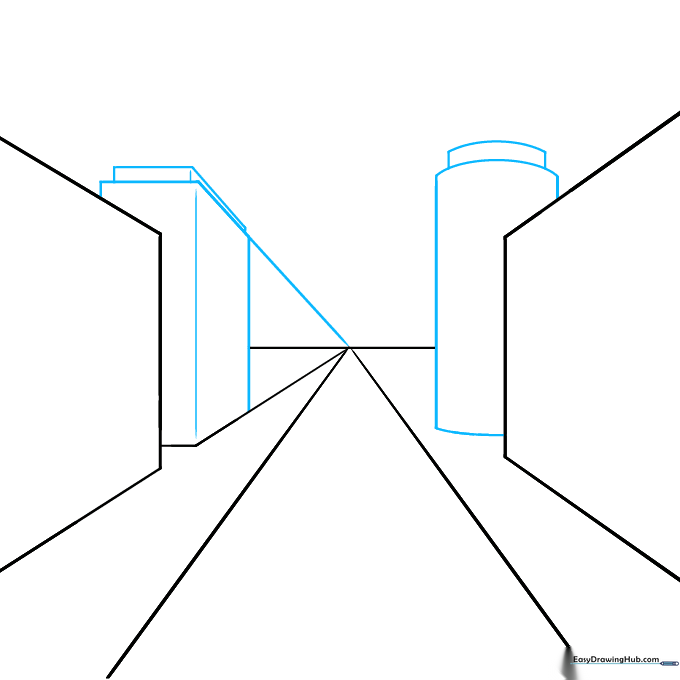
Use your guide lines to draw rectangular and cylindrical building shapes along the sides of your street. Tip: Ensure the tops and bottoms of your buildings align with the diagonal guide lines to maintain the illusion of depth.
Step 3: Adding Street Lights
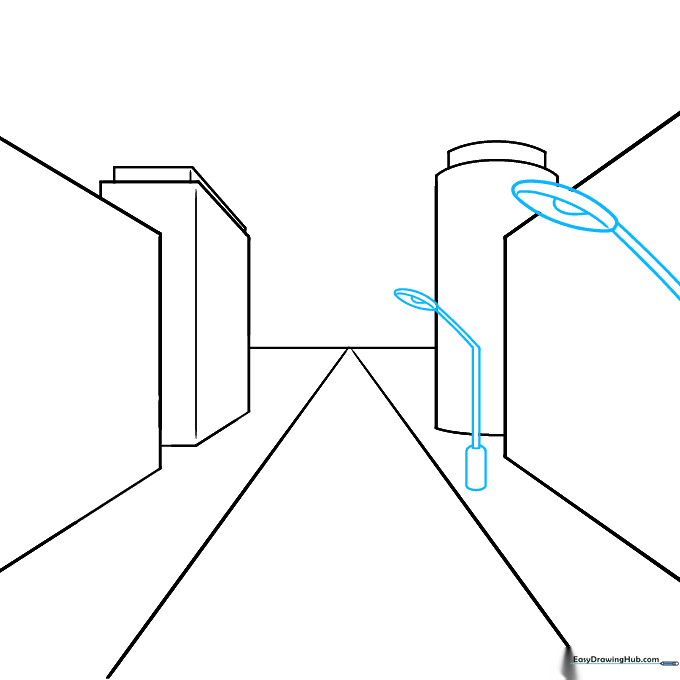
Erase your extra guide lines. Now, draw street lamps using ovals for the lights and vertical lines for the poles. Tip: Remember the rule of scale—objects closer to the bottom of the page should be drawn larger than those near the horizon.
Step 4: Sketching Trees
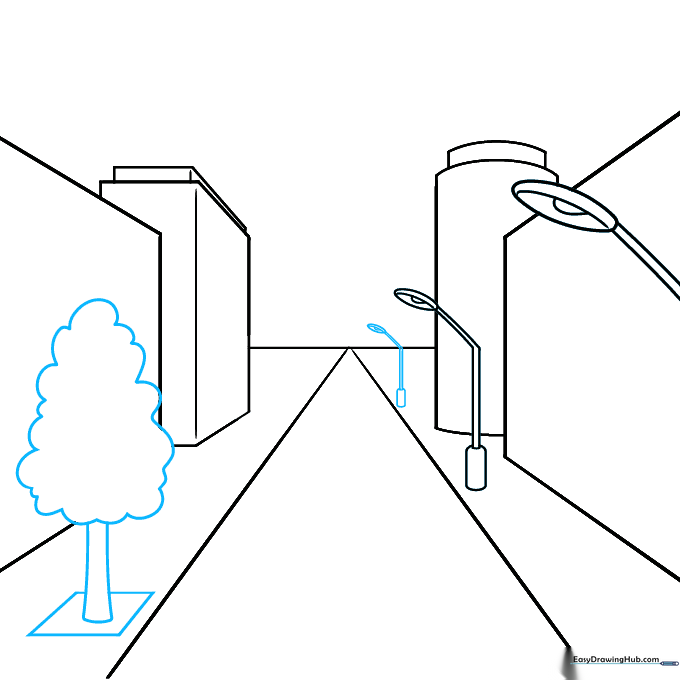
Add trees by drawing a simple rectangle for the base and a cloud-like shape for the crown. Tip: Use overlapping lines to make the tree crown look fluffy and natural.
Step 5: Adding a Car
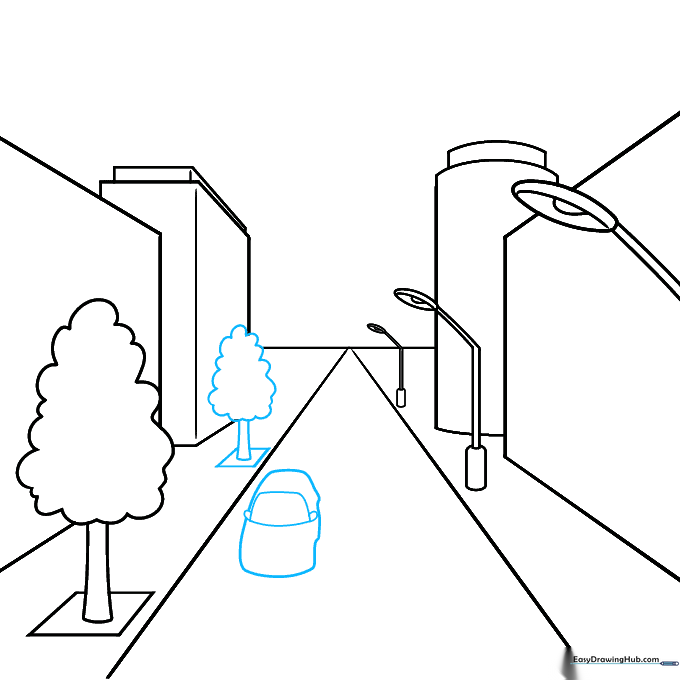
Draw a car in the foreground using simple curved lines for the hood and windshield. Tip: Keep the car shape boxy to match the perspective of the street.
Step 6: Refining the Buildings
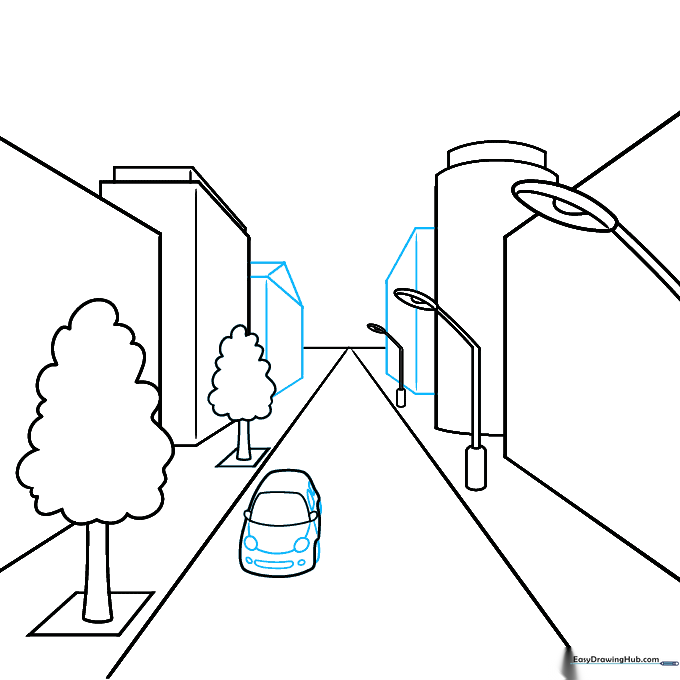
Add more buildings in the distance. Tip: Use your ruler to ensure all roof lines point directly toward your vanishing point.
Step 7: Creating the Skyline
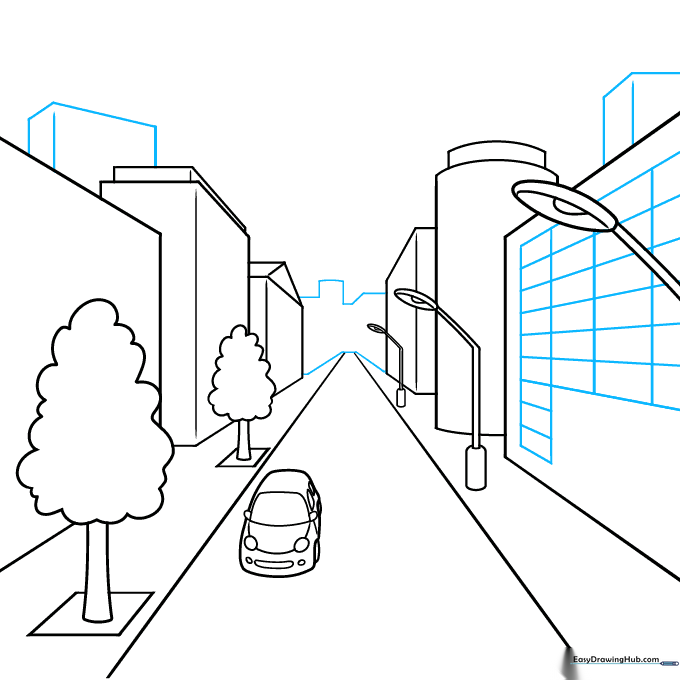
Sketch a varied skyline by drawing taller rectangular buildings behind the ones you already created. Tip: Varying the heights of the buildings makes your city look much more realistic.
Step 8: Adding Architectural Details
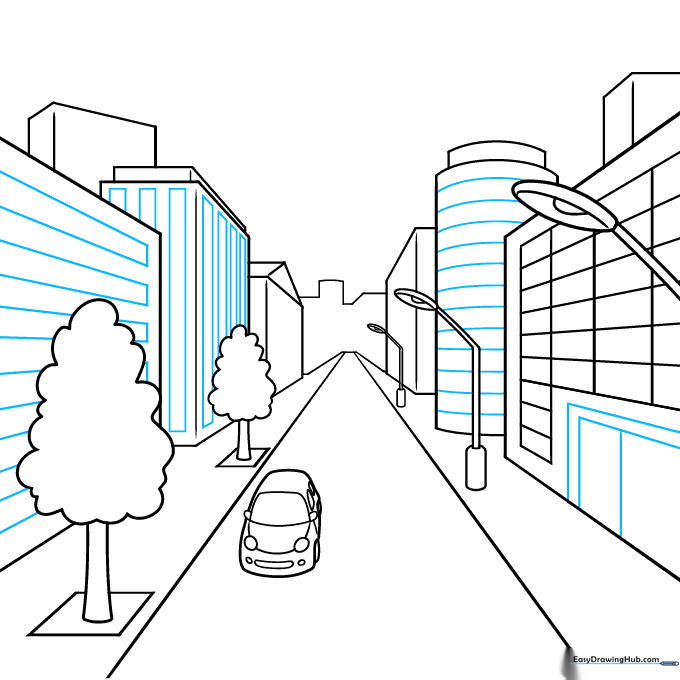
Draw windows and doors on your buildings using small rectangles. Tip: Keep the windows aligned horizontally so they look like they belong on the same floor.
Step 9: Final Touches
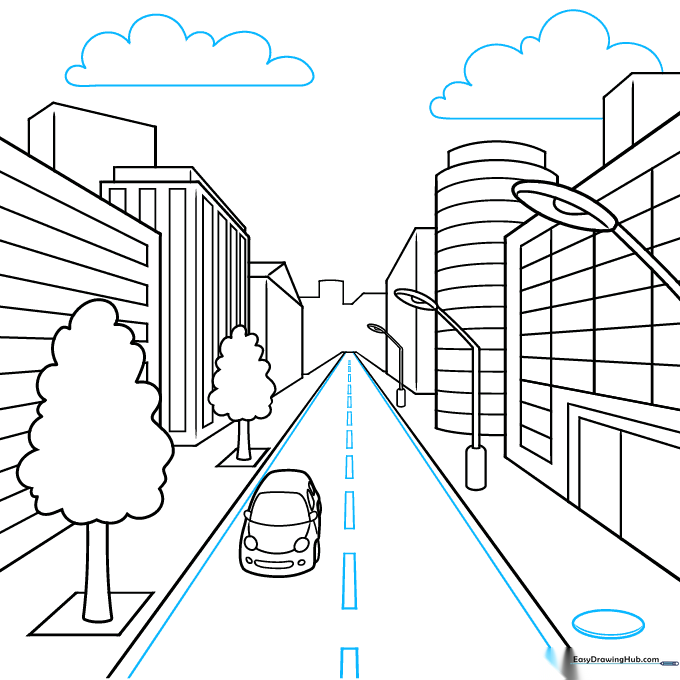
Add a manhole cover on the sidewalk and dashed lines down the center of the road. Draw some clouds in the sky to finish your scene. Tip: Make the road lines get smaller and closer together as they approach the vanishing point.
Step 10: Bring Your Street to Life with Color

Your outline is complete! Use markers, colored pencils, or crayons to fill in your city. Tip: Use darker colors for buildings in the foreground and lighter colors for the background to enhance the sense of distance.
More Tutorials


