How to Draw a Cute Cat: Easy 10-Step Guide for Kids
This cat drawing tutorial is perfect for children ages 5 and up who want to learn how to draw their favorite feline friend. All you need is a pencil, an eraser, and a piece of paper to get started. By the end of this lesson, you will have a charming cartoon cat to color and share!
🎯 Final Result

Step-by-Step Instructions
Step 1: Sketching the Eyes

Draw two lemon-shaped outlines for the eyes. Inside each, add a circle for the iris and a smaller, dark circle for the pupil. Teacher's Tip: Keep the eyes symmetrical to give your cat a friendly, balanced look.
Step 2: Drawing the Nose and Mouth

Between the eyes, sketch a small, rounded triangle for the nose. Add a short vertical line and two curves underneath to form a happy, w-shaped mouth. Teacher's Tip: A smaller nose makes the cat look cuter and more youthful.
Step 3: Adding Whiskers and Details

Draw three long, sweeping lines on each side of the face for whiskers. Add a soft curve above each eye for the eyebrows. Teacher's Tip: Use quick, flicking motions with your pencil to make the whiskers look sharp and natural.
Step 4: Shaping the Head and Ears
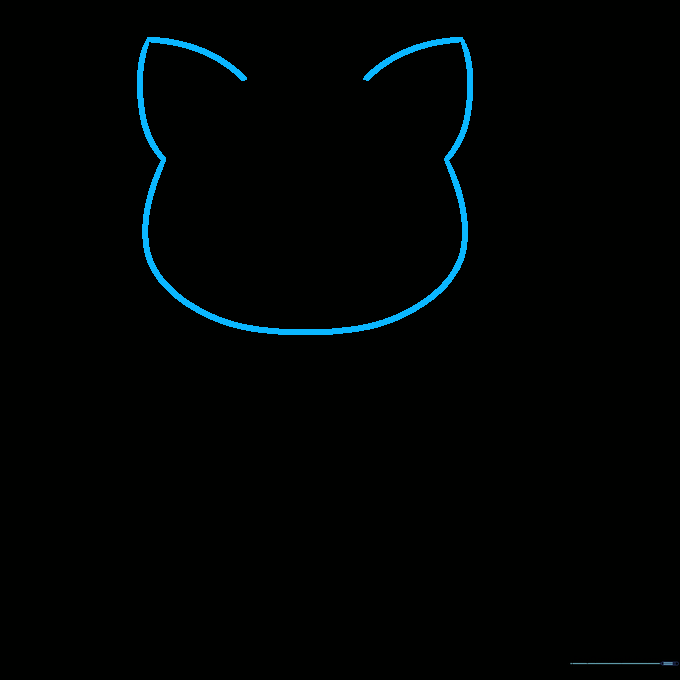
Draw a large oval around the face to create the head. Add two rounded triangles on top for the ears. Teacher's Tip: Don't worry if the oval isn't perfect; cats have fluffy fur, so a slightly uneven line adds character!
Step 5: Defining the Ears and Body

Connect the ears with a soft curve. Draw smaller triangles inside the ears for depth, then start the body with a curved line descending from the head. Teacher's Tip: The inner ear triangle adds a nice 3D effect to your drawing.
Step 6: Drawing the Front Leg
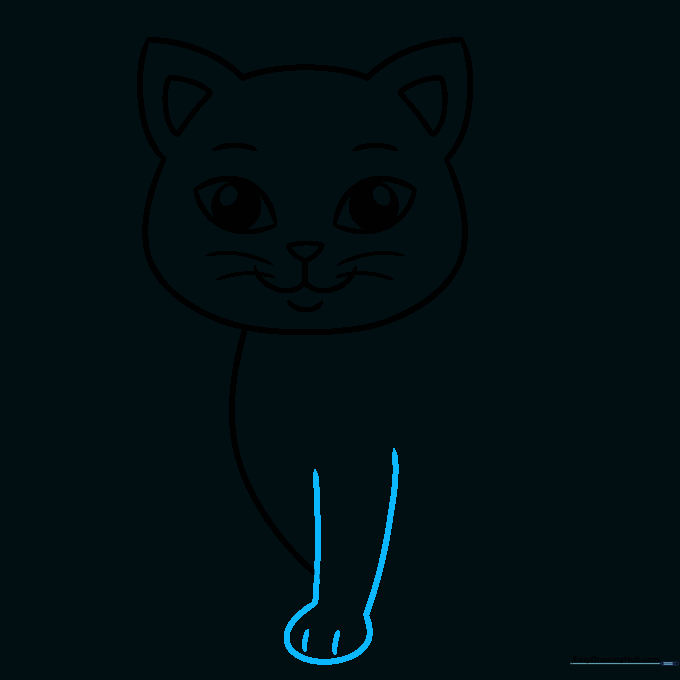
Draw two parallel lines for the front leg, ending in a rounded oval for the paw. Add two small lines at the bottom to show the toes. Teacher's Tip: Keep the leg lines straight to make the cat look like it's standing tall.
Step 7: Sketching the Back Leg

On the right side, draw a curved line that loops back to form the back leg. Teacher's Tip: Think of this shape like a gentle hook—it helps create the natural bend of a cat's hind leg.
Step 8: Adding the Second Front Leg
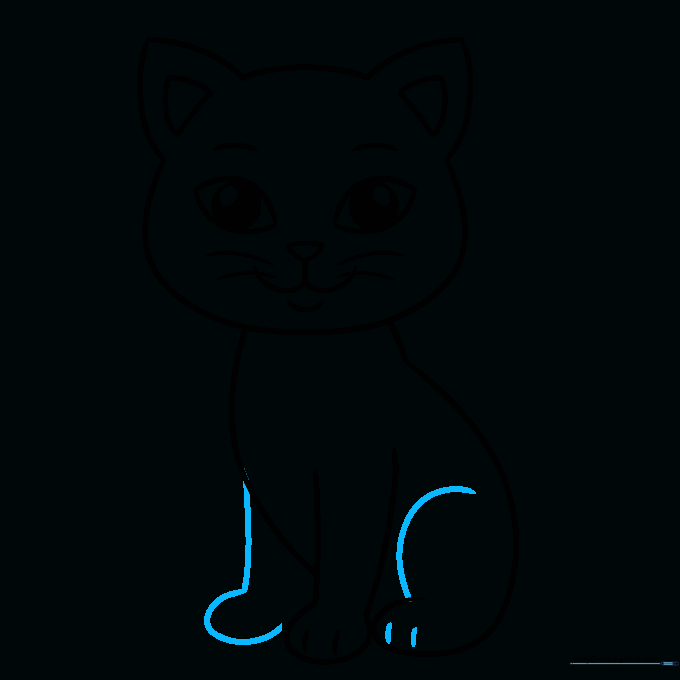
Draw another leg on the left side to match the first one. Add two small lines on the right foot to define the toes. Teacher's Tip: Symmetry is key here, so try to make the two front legs similar in length.
Step 9: Finalizing the Tail
Complete the left leg with short, soft lines. Finally, draw a long, curved oblong shape for the tail. Teacher's Tip: Make the tail nice and bushy to give your cat a playful personality!
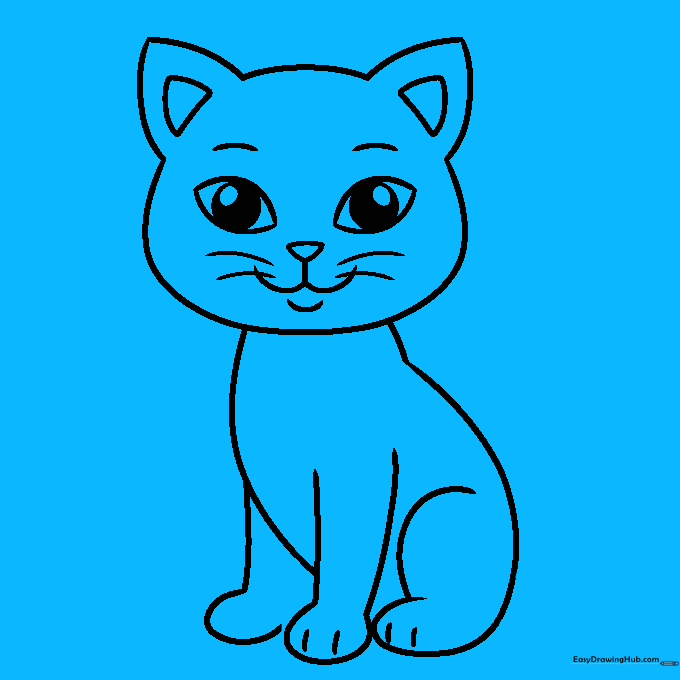
Step 10: Coloring Your Cat

Great job! Now, use a black pen to trace your pencil lines and erase the extra marks. Color your cat using gray for the body, pink for the nose and ears, and leave the eyes bright white. Teacher's Tip: Use light and dark shades of gray to add a little bit of shading and make your cat pop!
More Tutorials


