How to Draw Spider-Man: Easy 10-Step Guide for Kids
Ready to bring your favorite web-slinger to life? This tutorial is perfect for young artists ages 5 and up, requiring only a pencil, paper, and an eraser. Follow these simple steps to master the iconic mask and suit design while building confidence in your drawing skills.
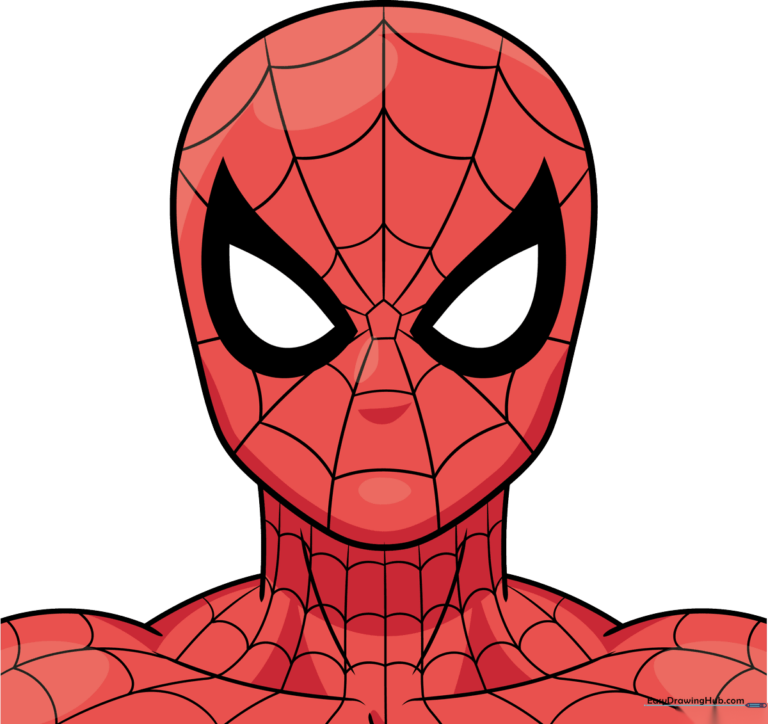
🎯 Final Result
Step-by-Step Instructions
Step 1: Sketching the Head Shape
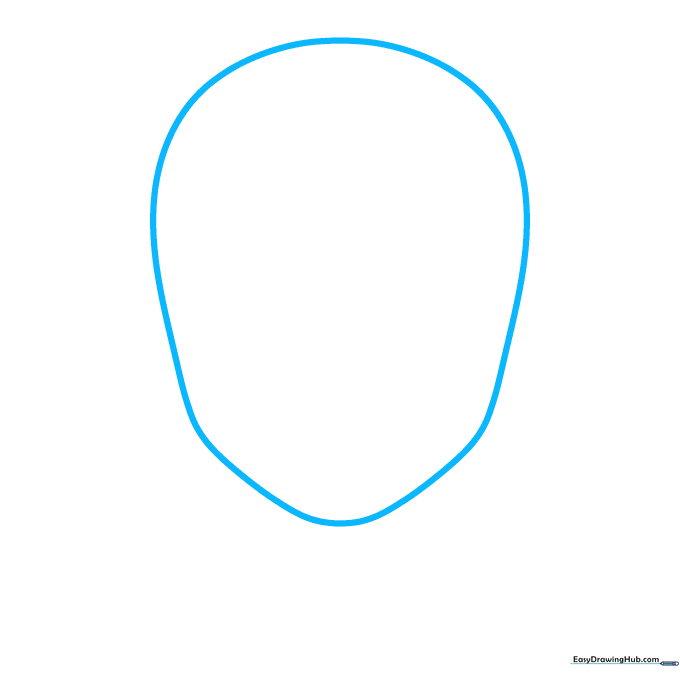
Sketch a light semi-oval for the top of the head, then add rounded diagonal lines that curve inward to form the chin. Teacher's Tip: Keep your pencil pressure very light here so you can easily erase your guidelines later!
Step 2: Drawing the Iconic Eyes
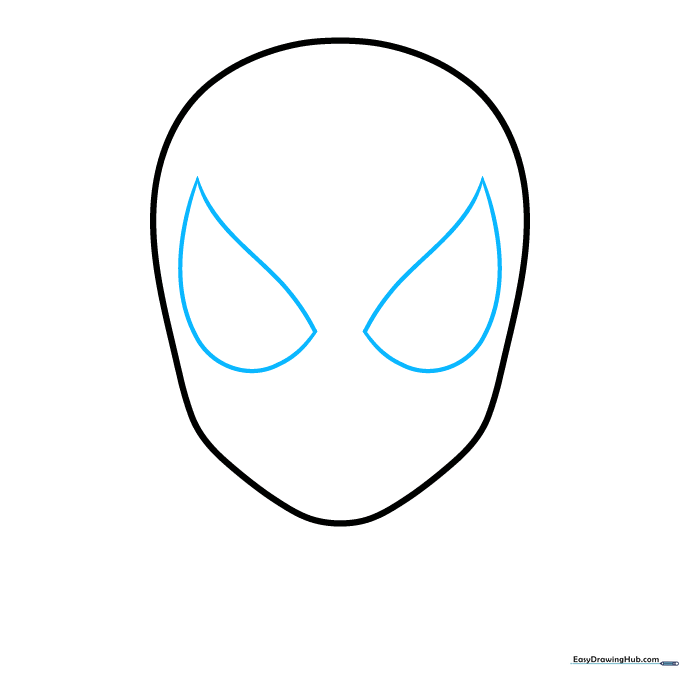
Draw two large, leaf-shaped curves in the center of the face. Aim for symmetry to get that classic superhero look. Teacher's Tip: If one side looks a bit wonky, don't worry—just erase and try again; drawing is all about practice!
Step 3: Refining the Eyes and Neck
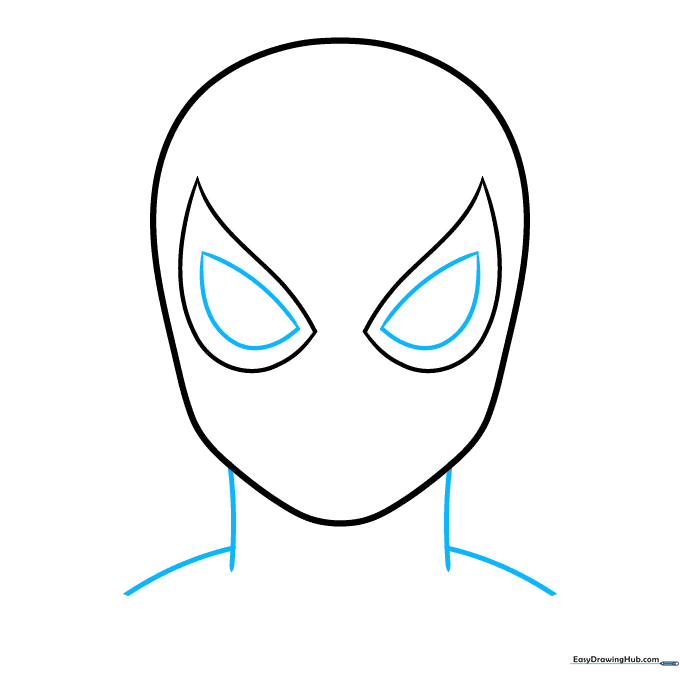
Add depth to the eyes with extra curves, then sketch two vertical lines below the chin to create the neck. Teacher's Tip: Use short, controlled strokes for the neck to keep the lines steady.
Step 4: Adding Shoulders and Collarbone
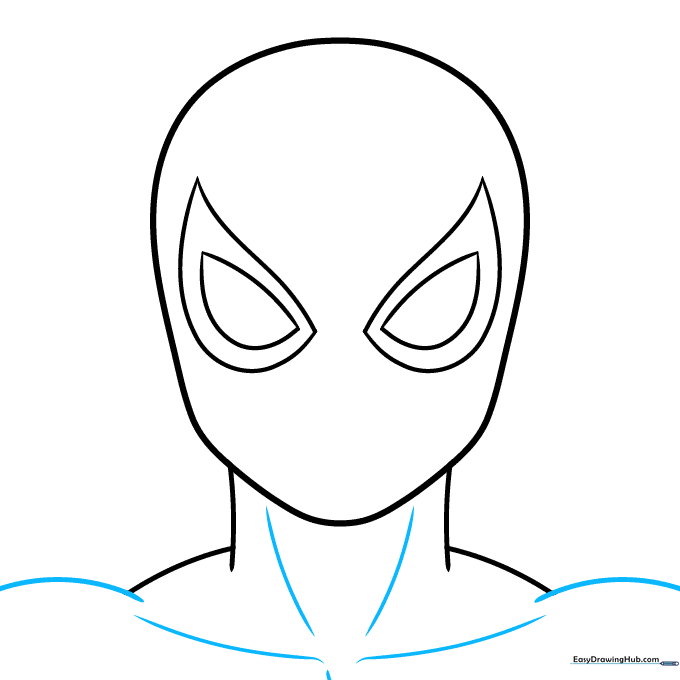
Outline the shoulders with horizontal curves and add detail lines to the neck area. Teacher's Tip: Think of these as the foundation for the suit's structure.
Step 5: Starting the Web Pattern
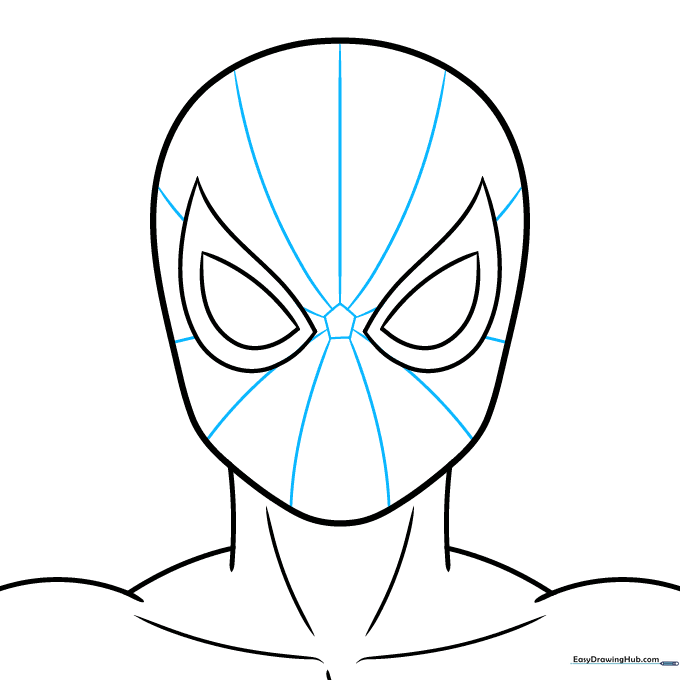
Draw a small pentagon between the eyes and radiate curves outward to create the mask's web structure. Teacher's Tip: Imagine the lines are like sun rays coming from the center of the forehead.
Step 6: Creating the Webbing
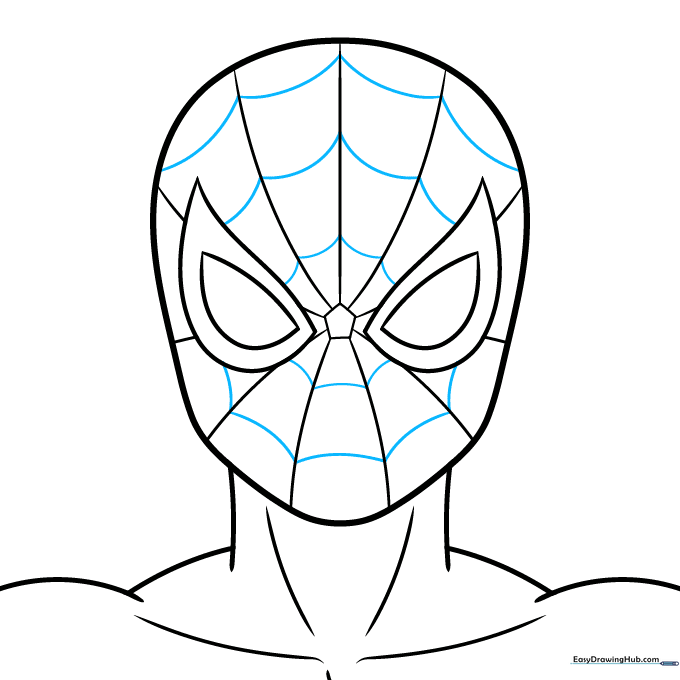
Connect your radiating lines with small, inward-curving arcs to mimic a spider web. Teacher's Tip: Keep the curves consistent to make the mask look round and three-dimensional.
Step 7: Detailing the Suit
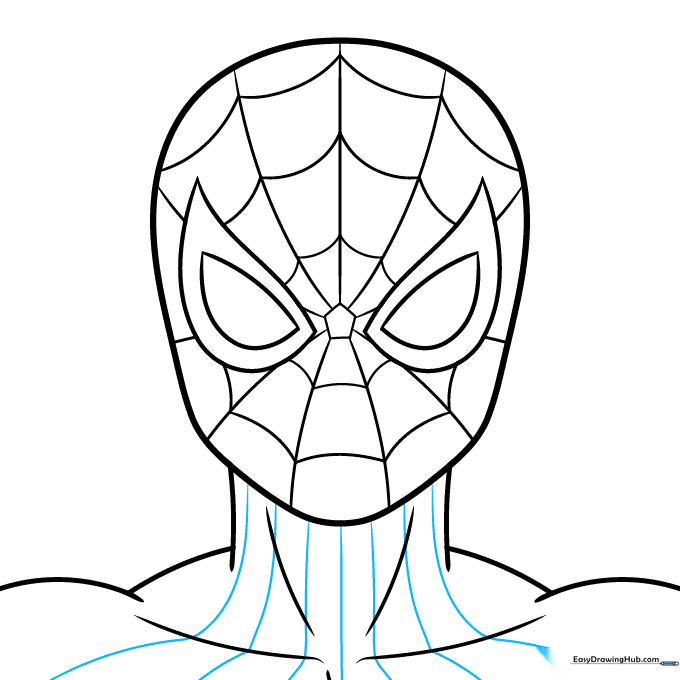
Add vertical and diagonal lines to the neck and collarbone area to define the suit's texture. Teacher's Tip: Focus on keeping these lines parallel for a professional look.
Step 8: Adding Texture to the Neck
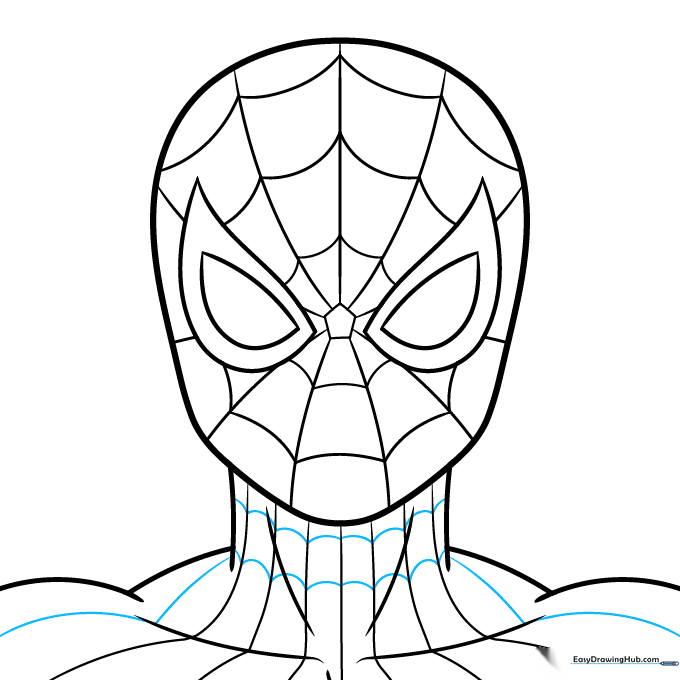
Draw small wave-like loops between the neck lines. Teacher's Tip: These little waves add a great sense of movement and detail to the costume.
Step 9: Finalizing the Outline
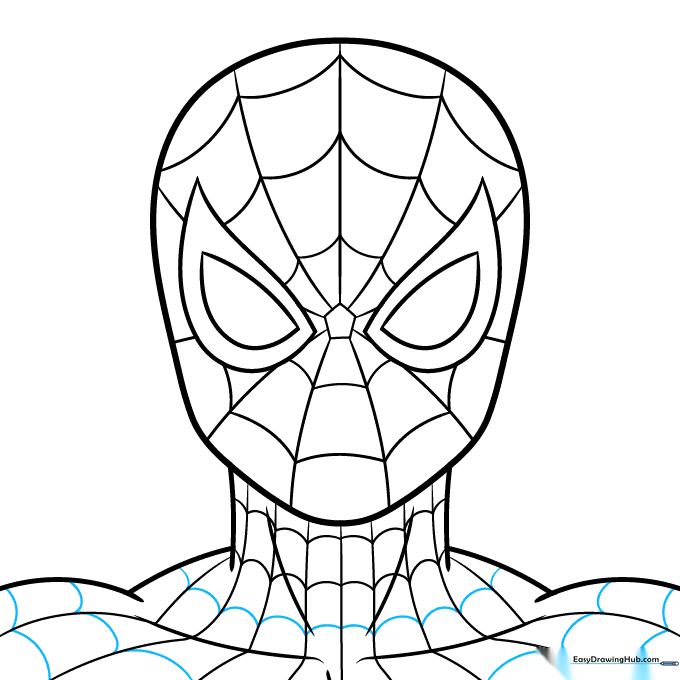
Add broader loops to the shoulders, then go over your final lines with a black marker. Fill in the area around the eyes with black for that sharp, comic-book contrast. Teacher's Tip: Take your time with the marker—slow and steady wins the race!
Step 10: Bringing It to Life with Color
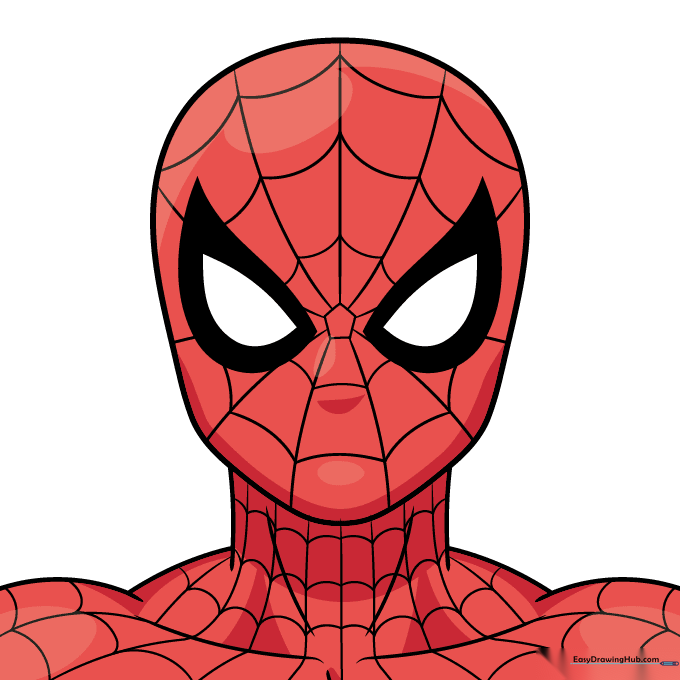
Color the suit red, using darker shades for shadows to give it depth. Keep the eyes white to make your Spider-Man pop. Teacher's Tip: Try using a light touch with your red crayon or marker to create natural highlights.
More Tutorials


