How to Draw a Sleeping Person: Easy Step-by-Step Guide
Looking for a relaxing drawing project? This guide is perfect for artists ages 5 and up to practice character expressions. All you need is a pencil, an eraser, and a piece of paper to bring this sleepy character to life.
🎯 Final Result

Step-by-Step Instructions
Step 1: Sketching the Face

Draw a long, gentle curve for the side of the face. Add small, closed curves for the eyes and eyebrows to show they are resting, and a tiny curve for the nose and smiling mouth. Tip: Keep your pencil pressure light so you can easily adjust the expression later.
Step 2: Adding the Hairline

Use a series of short, jagged lines that meet at points to create a messy, sleepy hairstyle. Tip: Don't worry about making the hair perfect; a little bit of 'bedhead' makes the character look more realistic!
Step 3: Defining the Ear

Draw a curved shape on the side of the head for the ear, adding a small inner curve for detail. Connect the hair lines to complete the head shape. Tip: Use a 'C' shape for the ear to keep it simple for beginners.
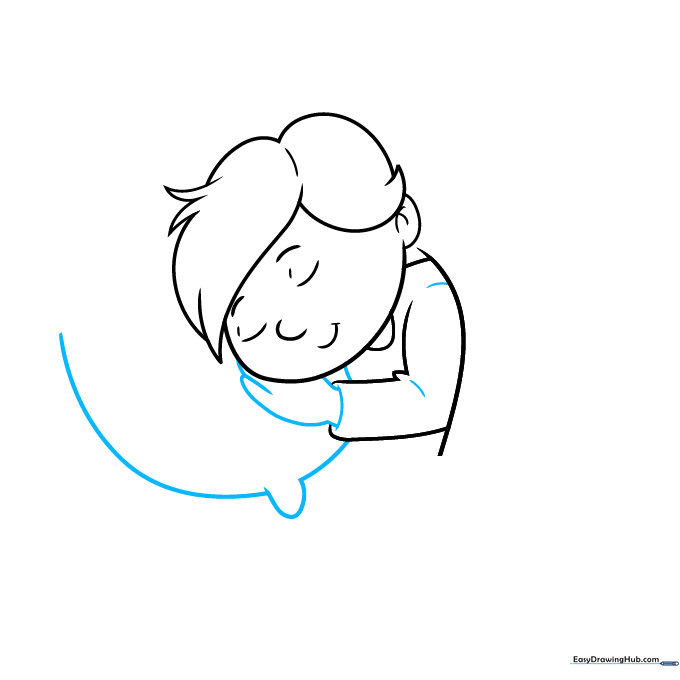
Step 4: Drawing the Blanket Edge

Draw a curved line under the chin for the shirt collar, then add a long, sweeping line across the body to represent the top edge of the blanket. Tip: Imagine the blanket is tucked snugly under the chin.
Step 5: Adding the Hand and Pillow
Draw a small, rounded shape near the blanket for the hand, and use soft, wavy lines to draw the pillow behind the head. Tip: Keep the hand shape simple—a small oval works perfectly.
Step 6: Finishing the Pillowcase

Complete the pillow outline with overlapping curves and add a small detail line at the end to show the pillowcase opening. Tip: Use long, smooth strokes to make the pillow look soft and fluffy.
Step 7: Drawing the Bed
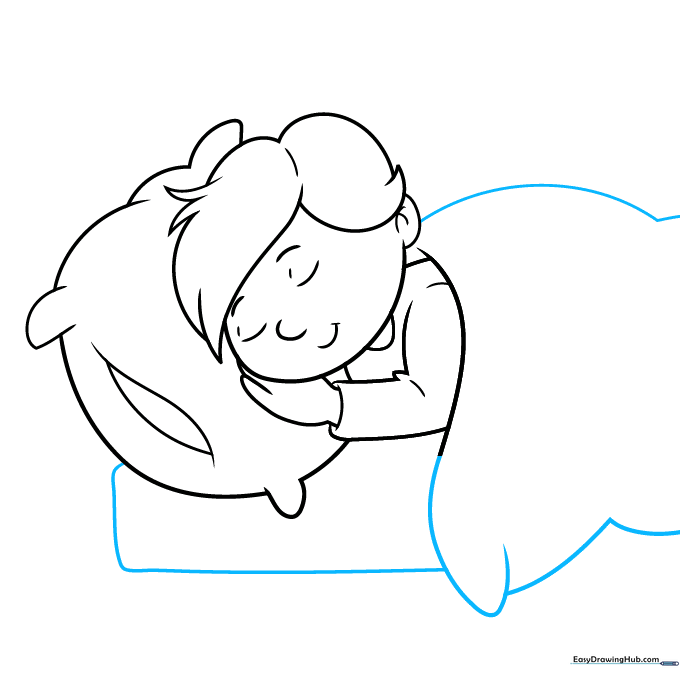
Use straight lines to draw the rectangular frame of the bed beneath the sleeper. Connect the blanket lines to the bed frame. Tip: Use a ruler if you want the bed frame to look extra neat!
Step 8: Adding the Headboard
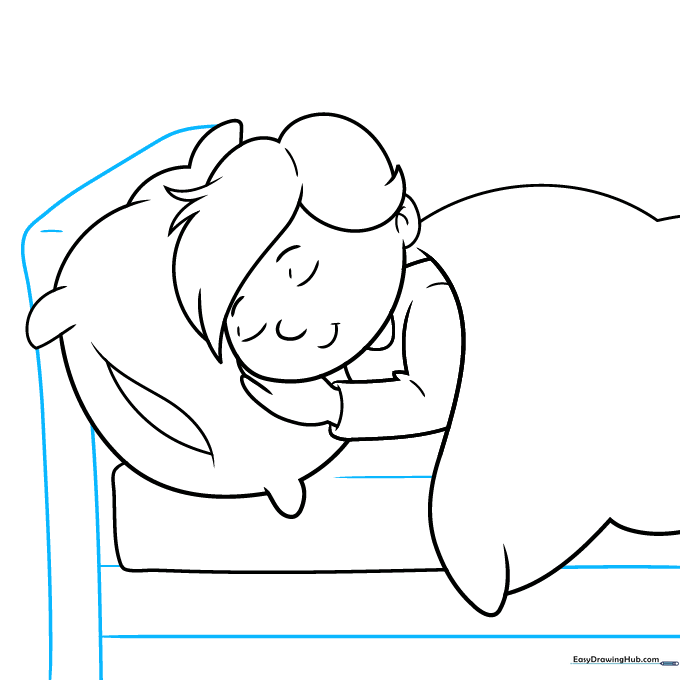
Add a horizontal line for the mattress edge and draw a tall headboard behind the pillow using straight and curved lines. Tip: A curved top on the headboard adds a classic, cozy look to your bedroom scene.
Step 9: Final Touches
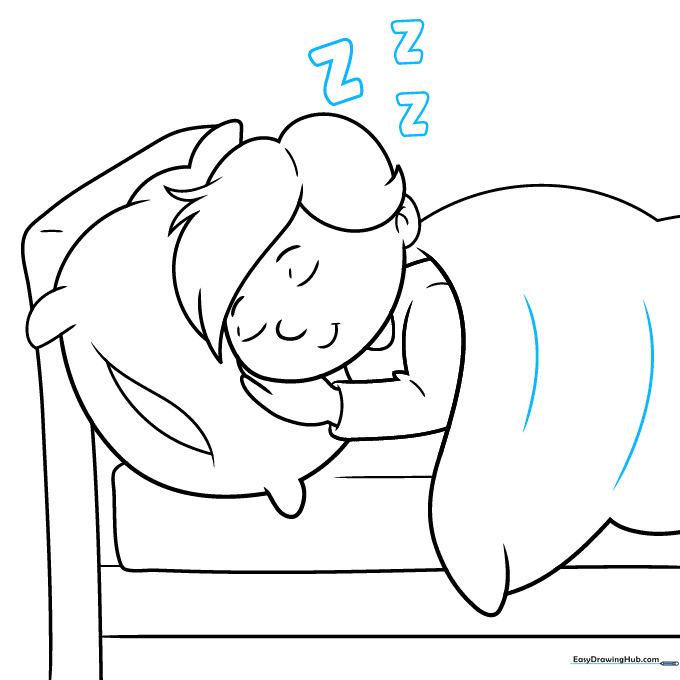
Add a few 'Z' shapes above the head to show the character is snoring. Add some light contour lines to the blanket to show folds. Tip: Make the 'Z's different sizes to make them look like they are floating in the air.
Step 10: Color Time

Your outline is complete! Use soft colors like blues or pastels for the blanket and pillow to create a calm, sleepy atmosphere. Tip: Use a darker shade of your blanket color to shade the folds for a 3D effect.
More Tutorials


