How to Draw a Skeleton: Easy 9-Step Guide for Kids
Looking for a fun, spooky art project? This step-by-step guide is perfect for young artists ages 6+ to practice basic shapes and symmetry. Grab a pencil, an eraser, and a piece of paper to bring this friendly skeleton to life in just a few minutes.
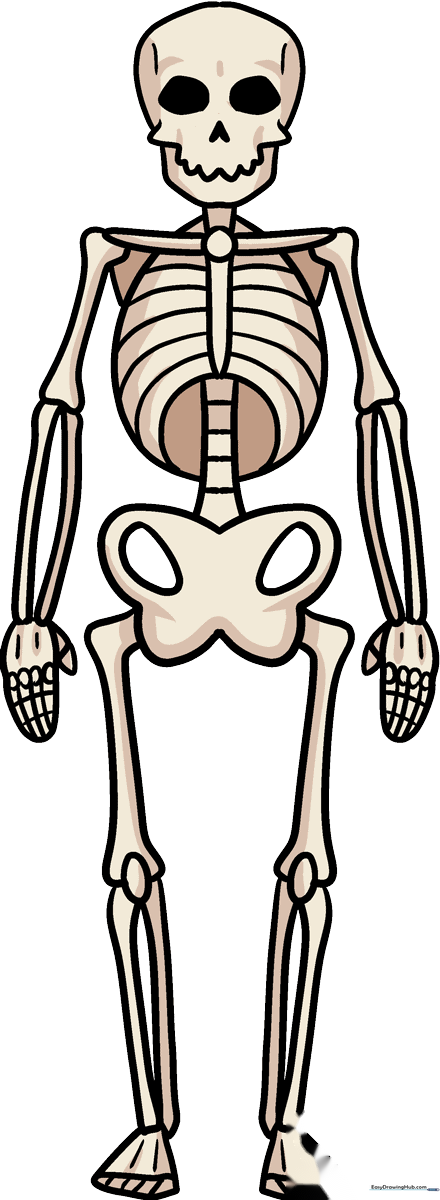
🎯 Final Result
Step-by-Step Instructions
Step 1: Sketching the Skull

Draw two uneven ovals for the eyes and an upside-down heart for the nose. Tip: Keep your pencil lines light so you can easily adjust the jaw shape later.
Step 2: Defining the Neck and Shoulders
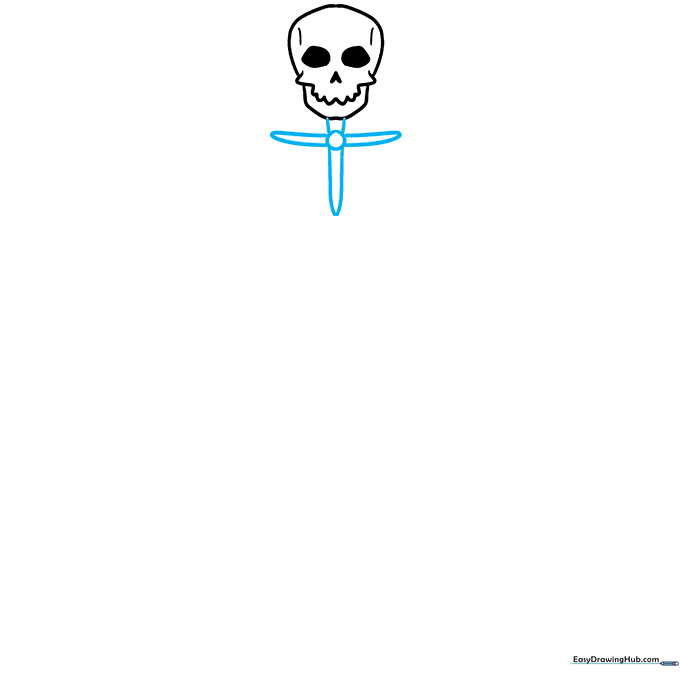
Add a small circle for the neck and two vertical lines for the collarbone. Sketch three long, rounded triangles to act as guides for the upper arm bones. Tip: Think of these as 'noodle' shapes to keep them loose and organic.
Step 3: Creating the Rib Cage
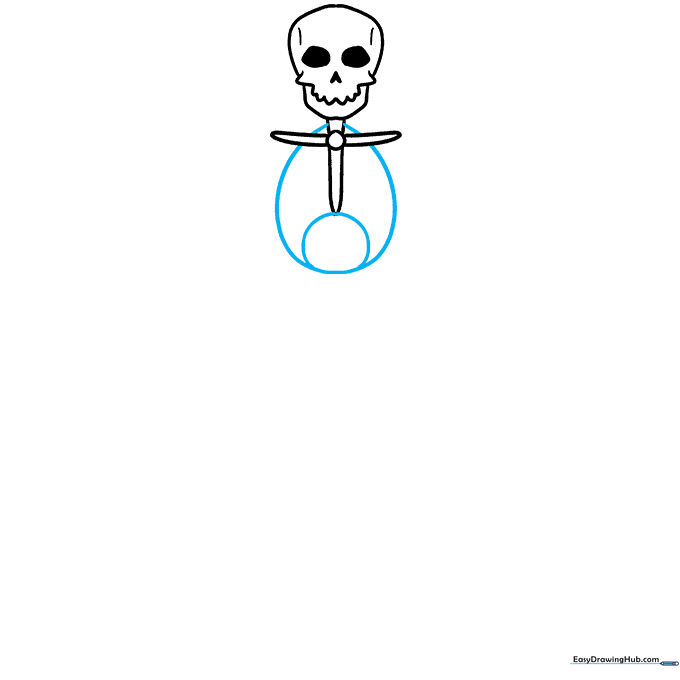
Draw a large, rounded oval for the main chest, then add an egg shape behind it for depth. Tip: Don't worry about perfect symmetry; skeletons look great with a little character!
Step 4: Adding the Pelvis
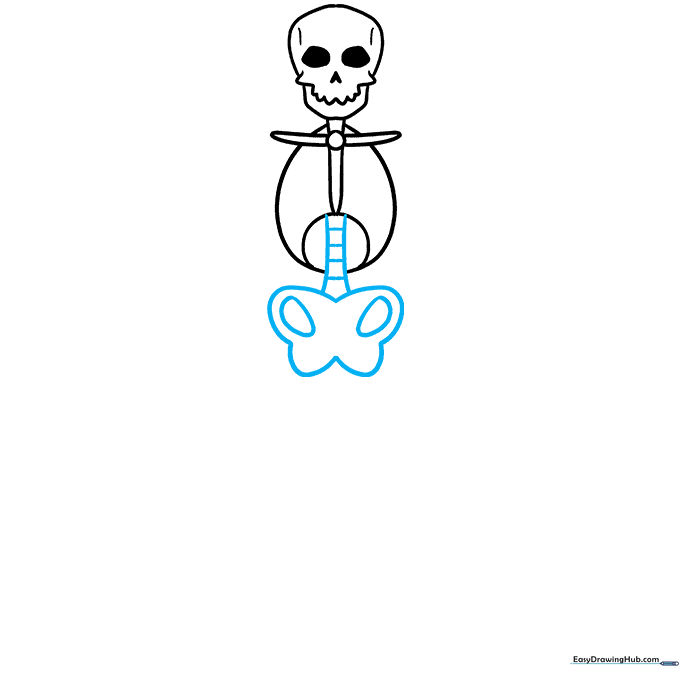
Sketch two narrow egg shapes below the ribs. Add four semi-ovals around them to create the hip structure. Tip: Use light, quick strokes to build the butterfly-like shape of the pelvis.
Step 5: Detailing the Ribs
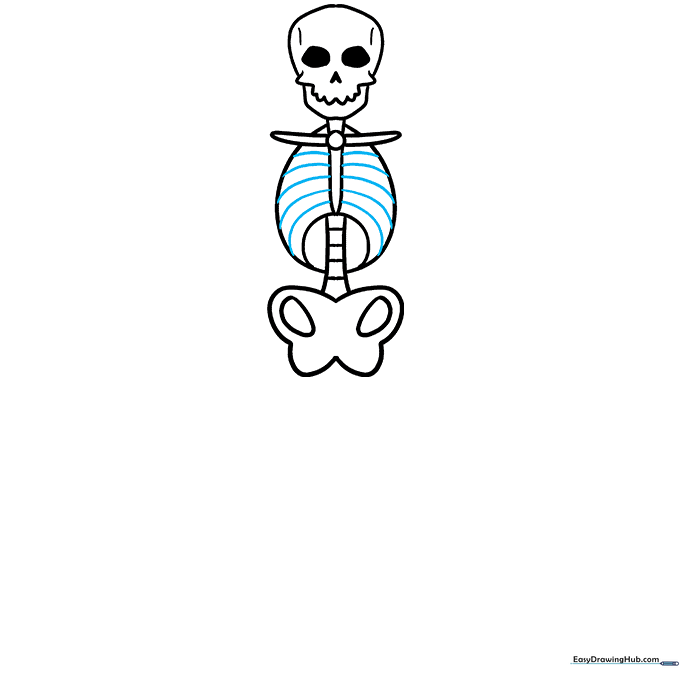
Draw ten small curves inside the rib cage area. Tip: These don't need to be perfectly straight; slight curves make the skeleton look more natural and less stiff.
Step 6: Shaping the Arm Bones
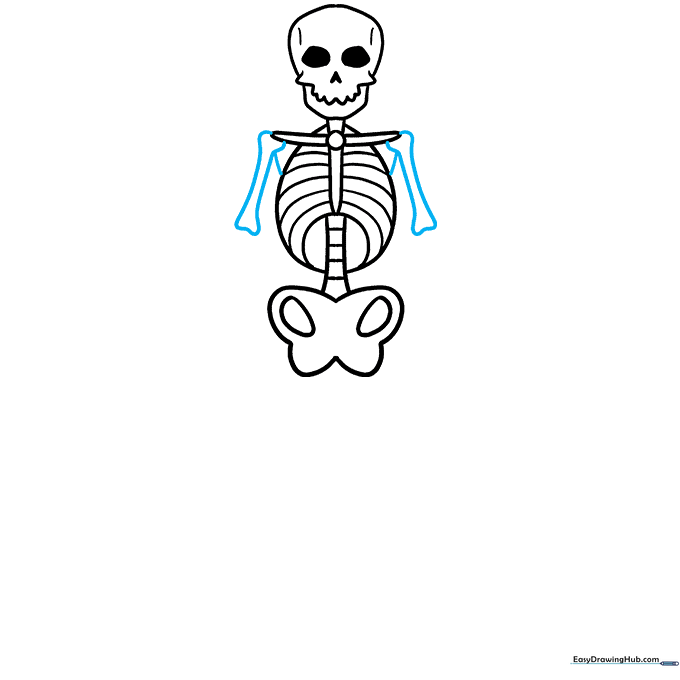
For the arm bones, sketch four bumps and connect them with straight lines. Connect the shoulders to the ribs. Tip: Keep your lines clean to make the skeleton look like a classic cartoon character.
Step 7: Drawing the Hands
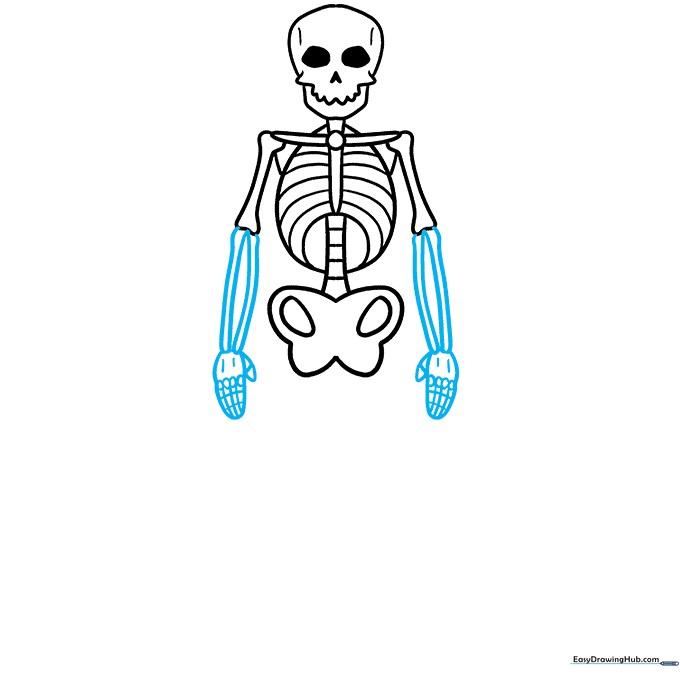
Use a semi-oval for the hand and add circles for the knuckles. Draw the thumb with two small triangles. Tip: Crosshatch the inside of the hand to give it a 'bony' texture.
Step 8: Sketching the Leg Bones
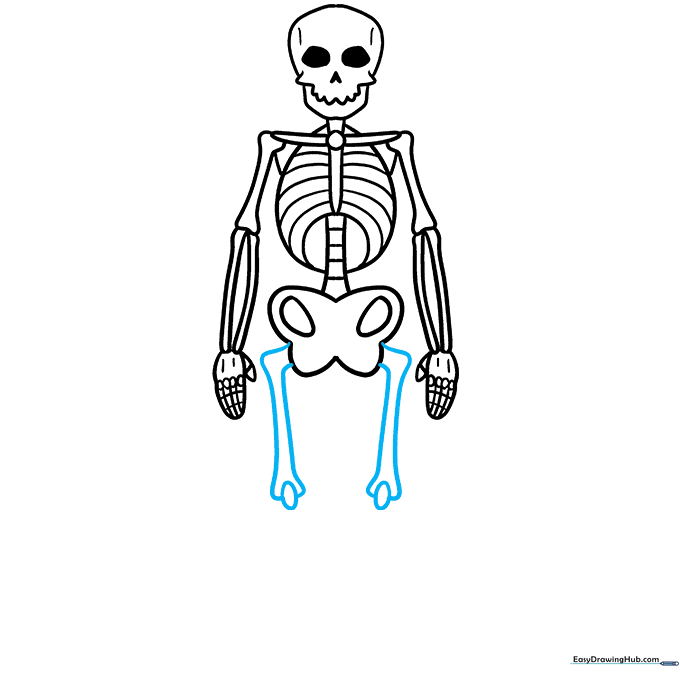
Extend two lines from the hip, add a bump for the knee, and finish with a triangle for the lower leg. Tip: Mirror this on the other side to keep the skeleton balanced.
Step 9: Final Details and Outline
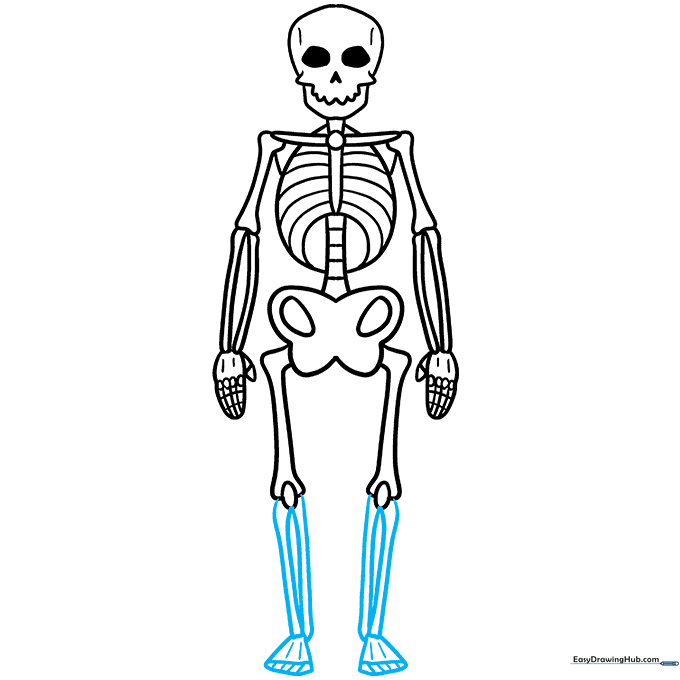
Outline the feet with triangles and add small dashes for toes. Finally, go over your lines with a dark pen and fill in the eye sockets and nose. Tip: Use a bold marker for the final outline to make your drawing pop!
Coloring Your Skeleton
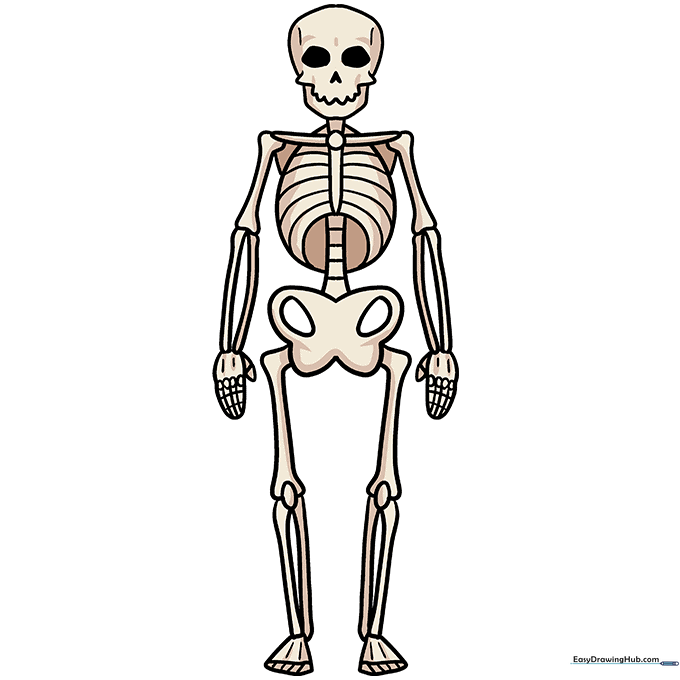
Use off-white or light gray shades to color your skeleton. Tip: Add a tiny bit of shading on one side to give your drawing a 3D look.
More Tutorials


