How to Draw a Ship: Easy 9-Step Guide for Kids
Ready to set sail on an artistic adventure? This tutorial is perfect for young artists ages 5 and up. All you need is a pencil, paper, and an eraser to bring your own cruise ship to life while practicing basic geometric shapes.
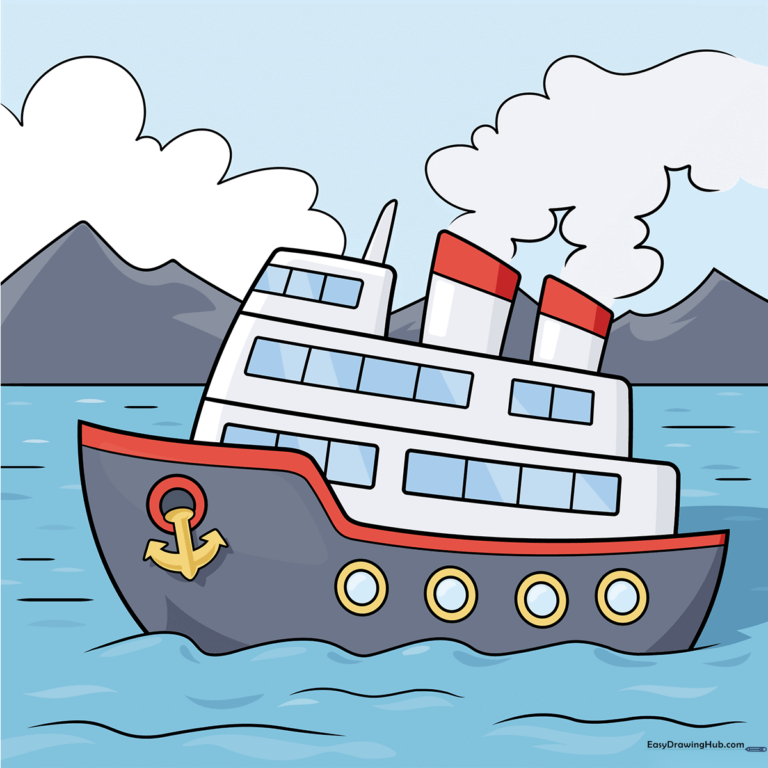
🎯 Final Result
Step-by-Step Instructions
Step 1: Sketching the Water and Hull
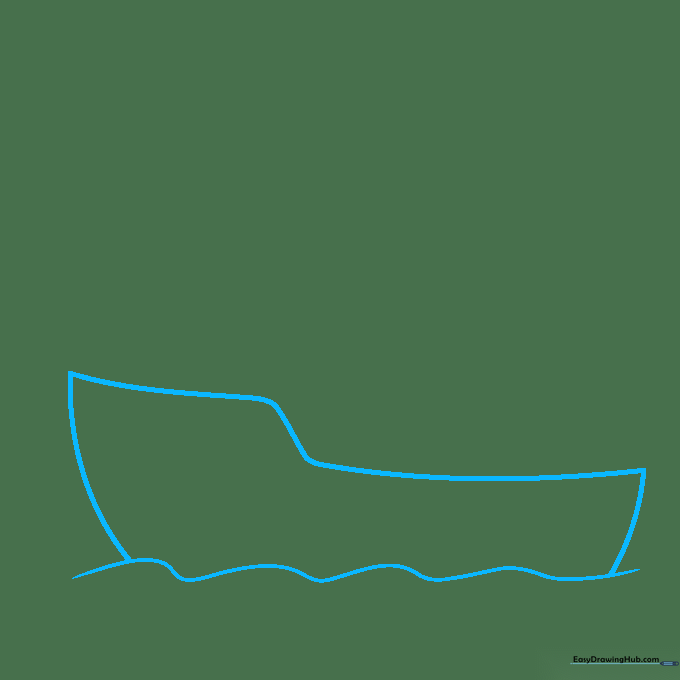
Start by drawing a gentle, wavy line across the bottom of your page for the water. Above it, draw two curved lines to form the base of your ship. Tip: Make the front curve slightly sharper than the back to give your ship a sleek, forward-moving look.
Step 2: Adding the Cabin Decks
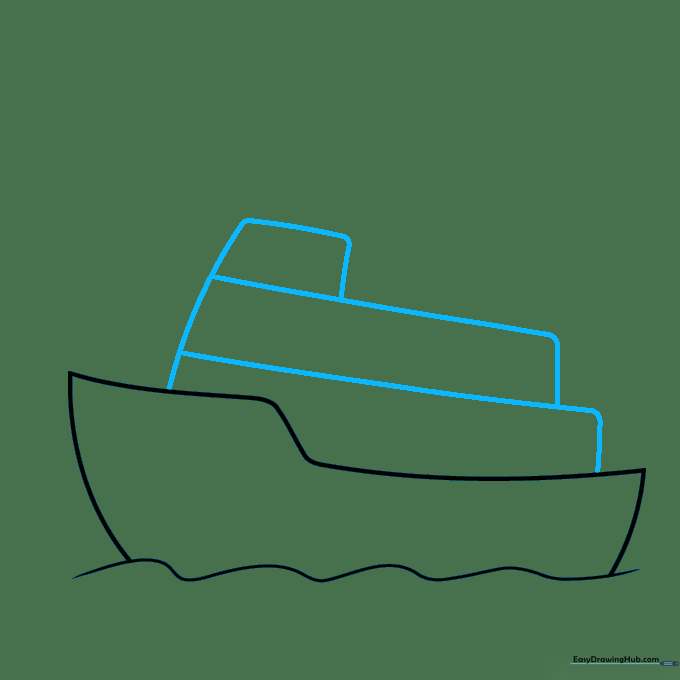
On top of the hull, draw three stacked, rounded rectangles that get slightly smaller as you go up. This creates the ship's cabin structure. Tip: Don't worry about perfect straight edges; a slightly rounded look makes the ship appear more friendly and cartoonish.
Step 3: Building the Funnels
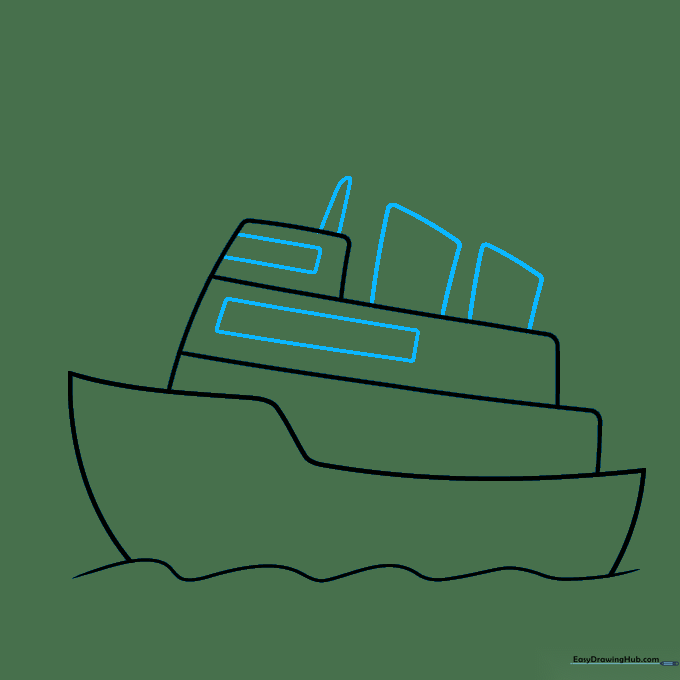
Draw several tall, thin rectangles on the top deck to represent the smokestacks. Add a smaller box at the very top for the 'monkey island' or bridge. Tip: Keep these shapes vertical to help your ship look balanced and sturdy.
Step 4: Refining the Deck Details
Add smaller rectangular details to the sides of each deck and draw a horizontal line across the top of your funnels. This adds depth to your drawing. Tip: Use a ruler if you want perfectly straight lines, or go freehand for a more organic, artistic feel.
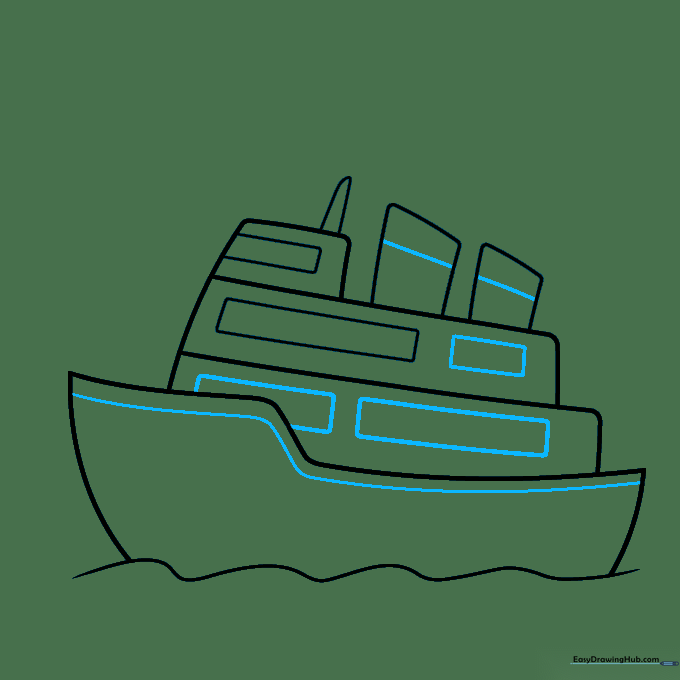
Step 5: Adding Windows and Portholes

Draw vertical lines inside your cabin rectangles to create windows. On the main hull, draw circles within circles to create portholes. Tip: Space your portholes evenly to make the ship look professional and symmetrical.
Step 6: Drawing the Anchor
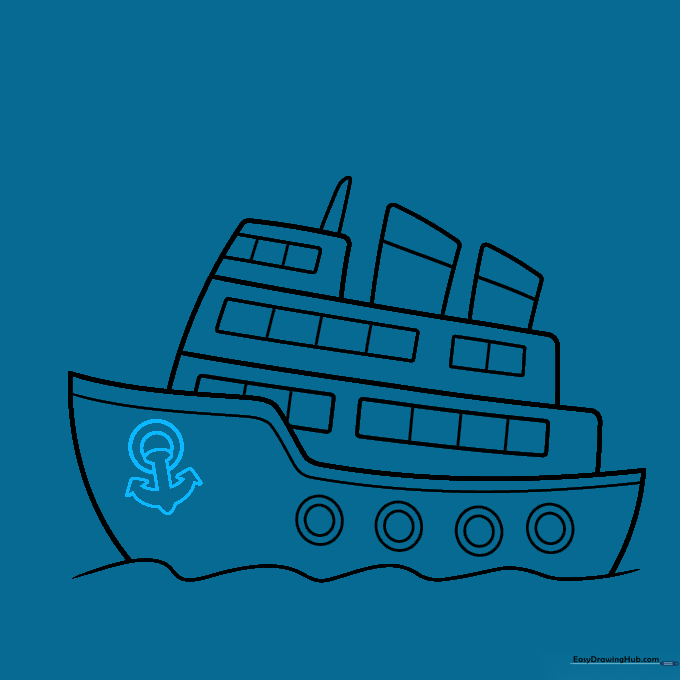
Sketch a circle on the side of the hull, then draw a 'T' shape inside it with arrow-like points to create an anchor. Tip: Keep the anchor small so it doesn't distract from the main ship structure.
Step 7: Creating the Background
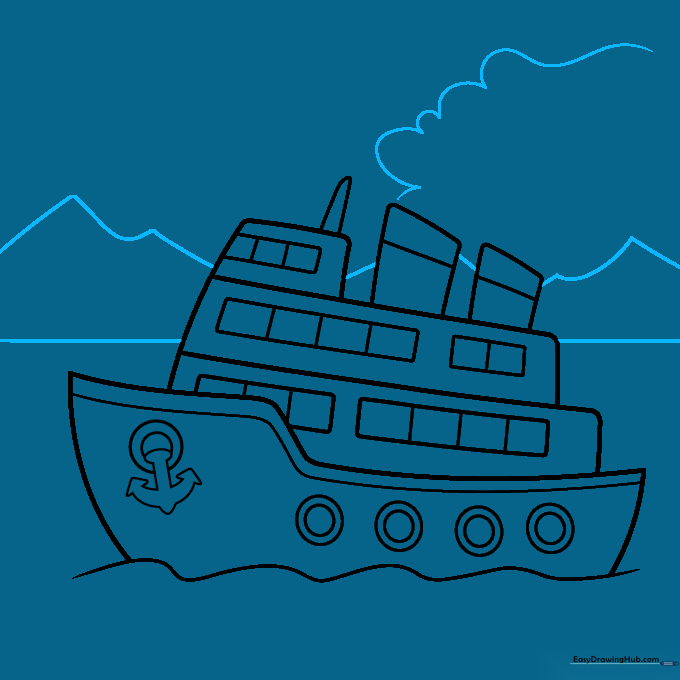
Draw a straight horizon line behind the ship. Add jagged, triangular shapes for distant mountains and soft, fluffy clouds above. Tip: Vary the size of your clouds to make the sky look more natural.
Step 8: Adding Motion and Smoke

Draw soft, swirling lines coming out of the funnels to represent smoke. Add a few more clouds to fill the space. Tip: Use light, circular motions with your pencil to make the smoke look fluffy.
Step 9: Finalizing the Water

Add more wavy lines around the hull to show the ship moving through the water. Tip: Vary the length of your waves to create a sense of movement and depth.
Step 10: Coloring Your Masterpiece
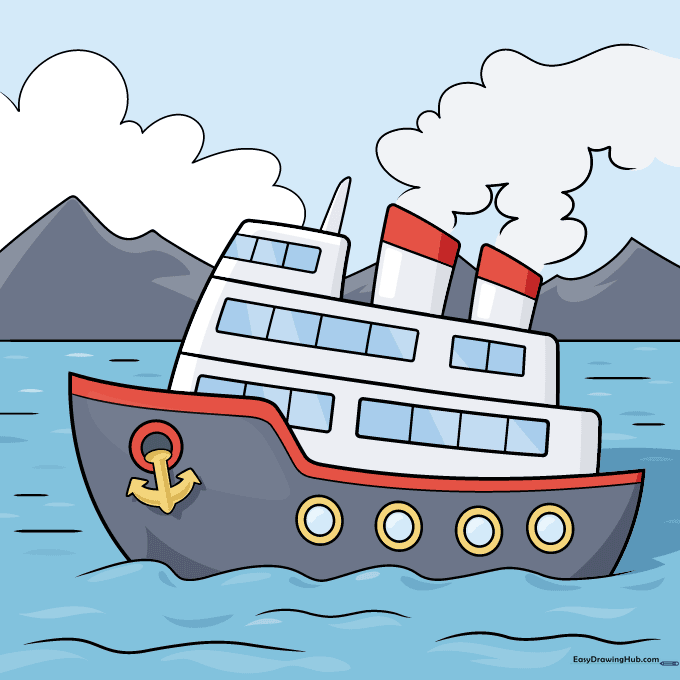
Time to bring your ship to life! Use bright colors for the hull and soft blues for the water and mountains. Tip: If you're drawing an Alaskan cruise, use cool grays and whites; for a tropical trip, use bright teals and sunny yellows.
More Tutorials


