How to Draw a Robot Face: Easy Step-by-Step Guide
Ready to build your own mechanical friend? This tutorial is perfect for young artists ages 5 and up who want to practice geometric shapes. Grab a pencil, an eraser, and a piece of paper, and let's bring this friendly robot to life!
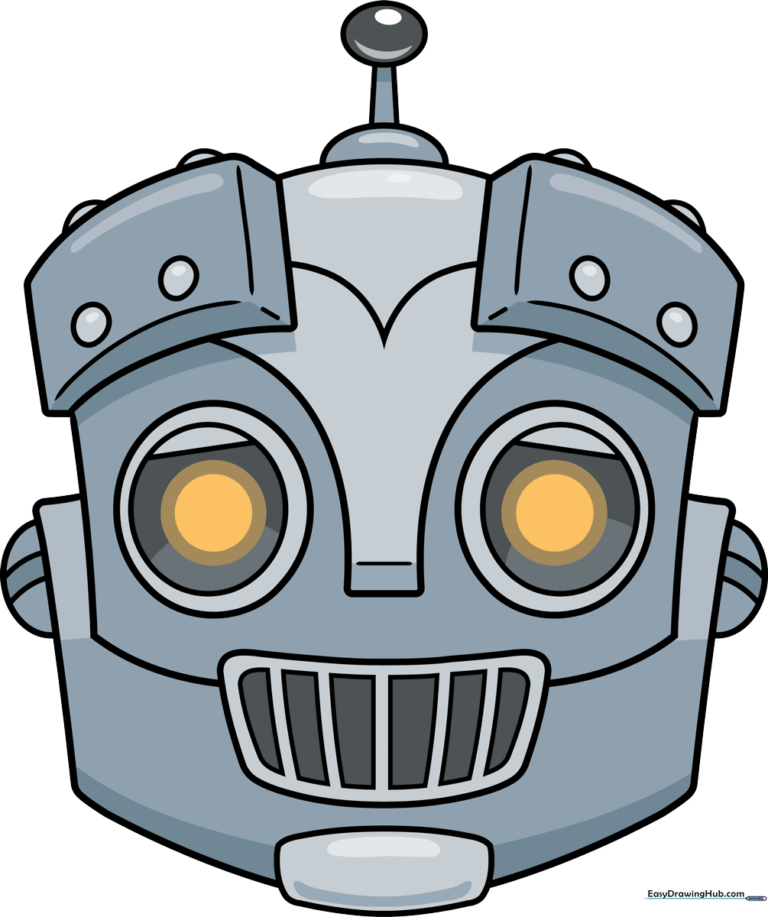
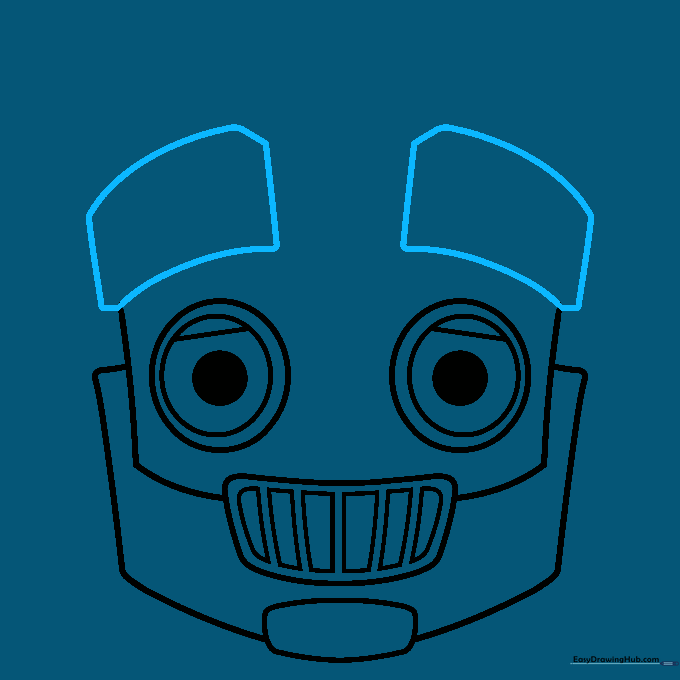
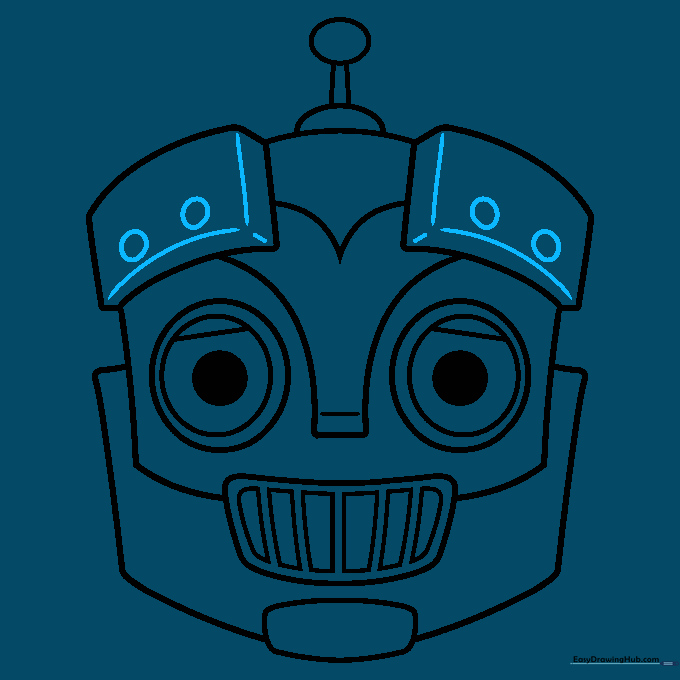
🎯 Final Result
Step-by-Step Instructions
Step 1: Sketching the Eyes
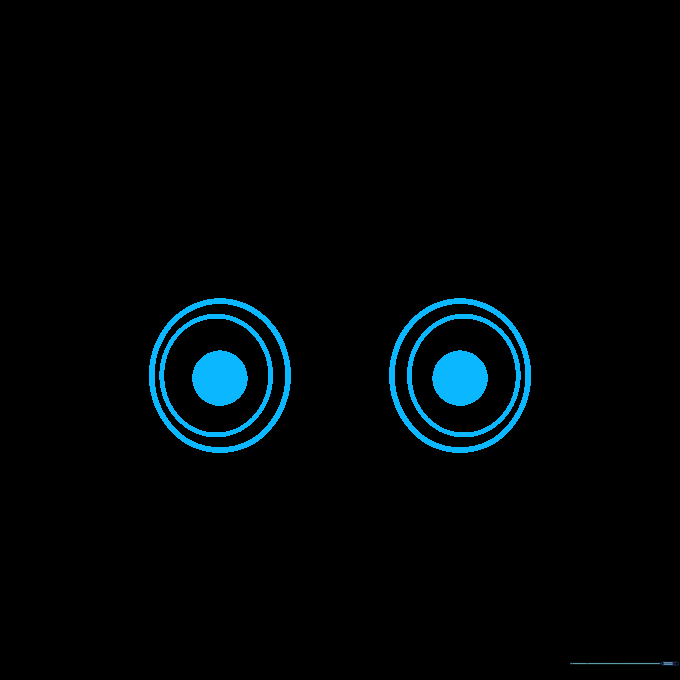
Draw three circles, one inside the other, to create the eye. Shade the smallest center circle to make the pupil. Teacher's Tip: Use a light touch; if the circles aren't perfect, that's okay—robots are often a bit wobbly!
Step 2: Adding Eyelids and Mouth
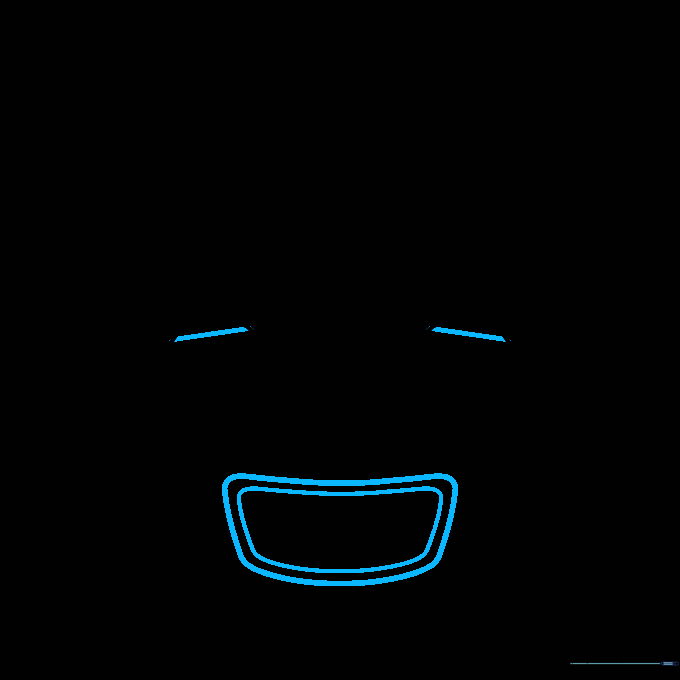
Draw a horizontal line across the middle of the eye to create a metallic eyelid. For the mouth, sketch two nested trapezoids. Tip: Keep the trapezoid lines parallel to give it that structured, machine-like look.
Step 3: Creating the Grill and Chin
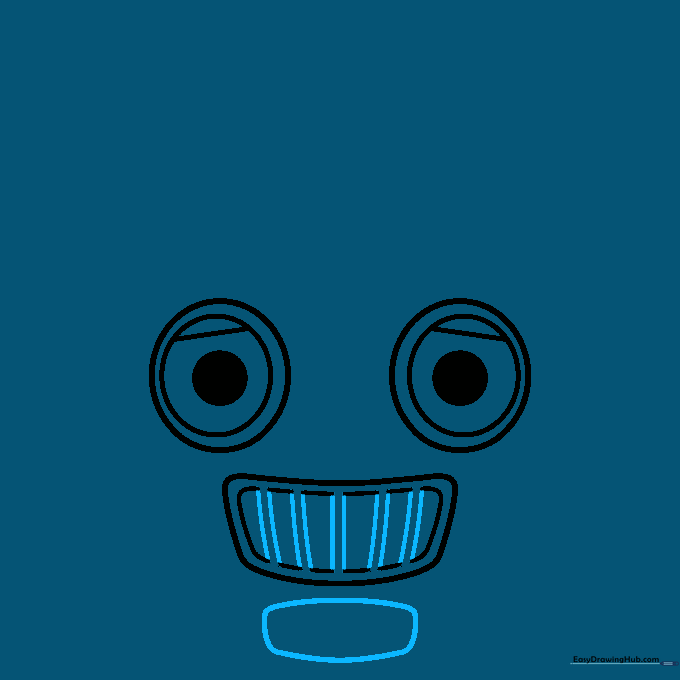
Add vertical lines inside the mouth to create a grill effect, then erase the overlapping lines. Below the mouth, draw a rounded rectangle for the chin. Tip: Use your eraser to clean up the lines inside the mouth so the grill bars stand out clearly.
Step 4: Outlining the Face
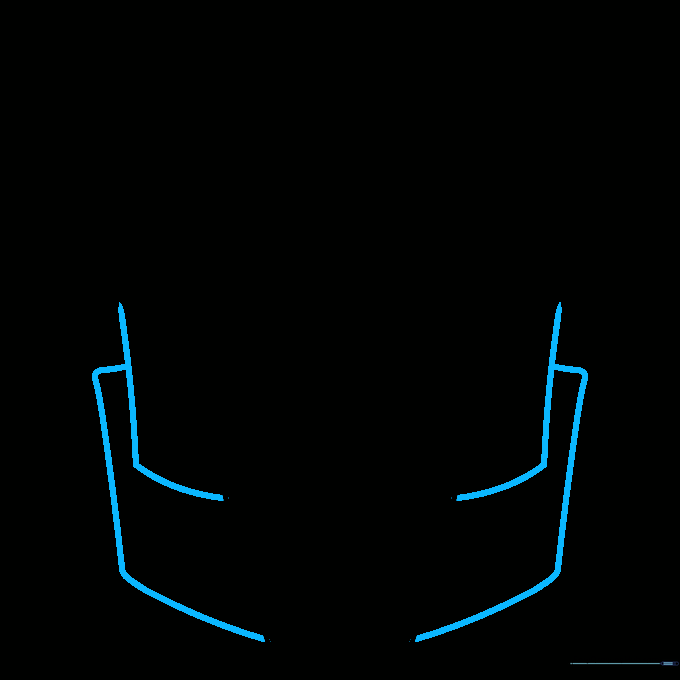
Use curved lines to draw rectangular frames around the eyes and mouth. This creates the 'faceplate' of your robot. Tip: Ensure your corners are slightly rounded to keep the robot looking friendly rather than sharp.
Step 5: Drawing Eyebrows
Sketch two blunt-cornered rectangles above the eyes for eyebrows. Tip: These eyebrows give your robot personality—tilt them inward to make the robot look curious or surprised!
Step 6: Finishing the Head and Nose
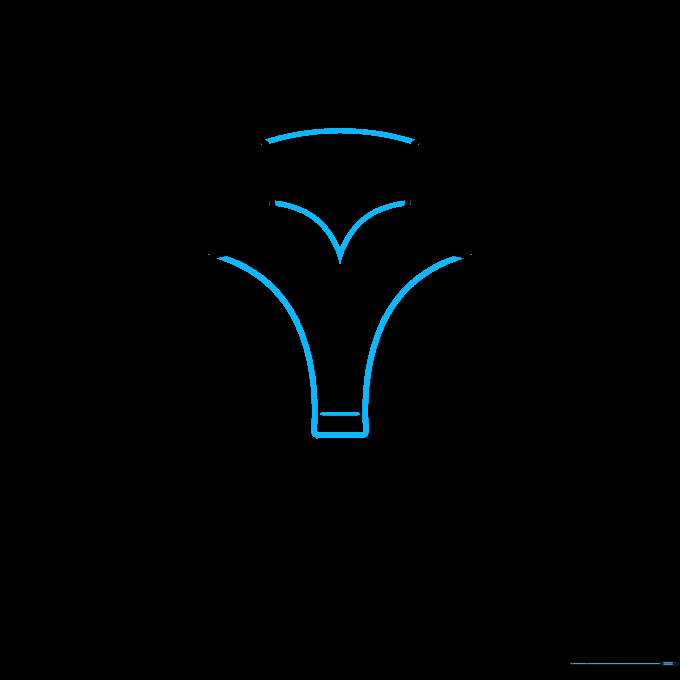
Draw a curved line connecting the eyebrows to close the head shape. Add a small 'Y' shape between the eyes for the nose. Tip: Keep the nose small so it doesn't distract from the robot's expressive eyes.
Step 7: Adding the Antenna
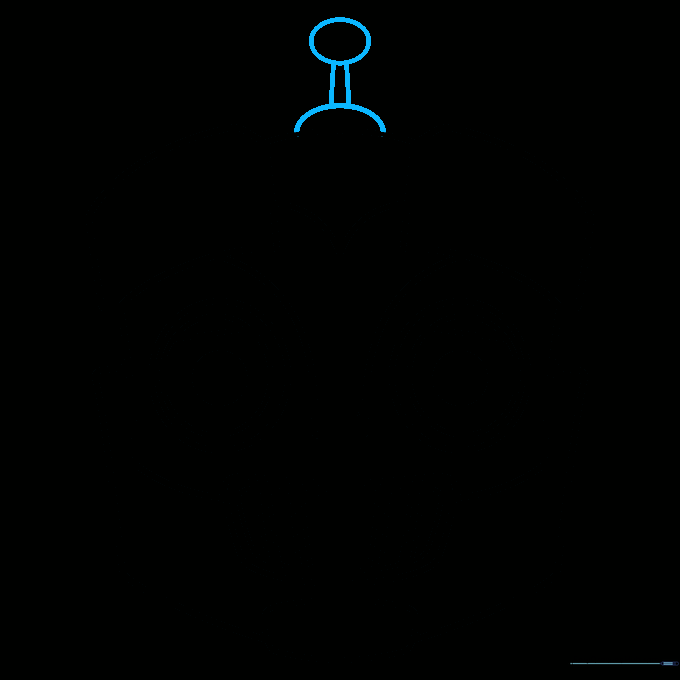
Draw a half-circle on top of the head, extend two vertical lines, and cap them with an oval. This is your robot's antenna! Tip: Think of this as the robot's way of sending and receiving signals.
Step 8: Detailing the Eyebrows
Add depth to the eyebrows by drawing parallel lines and small circles to look like bolts. Tip: These details make the robot look like it was assembled in a workshop.
Step 9: Final Touches
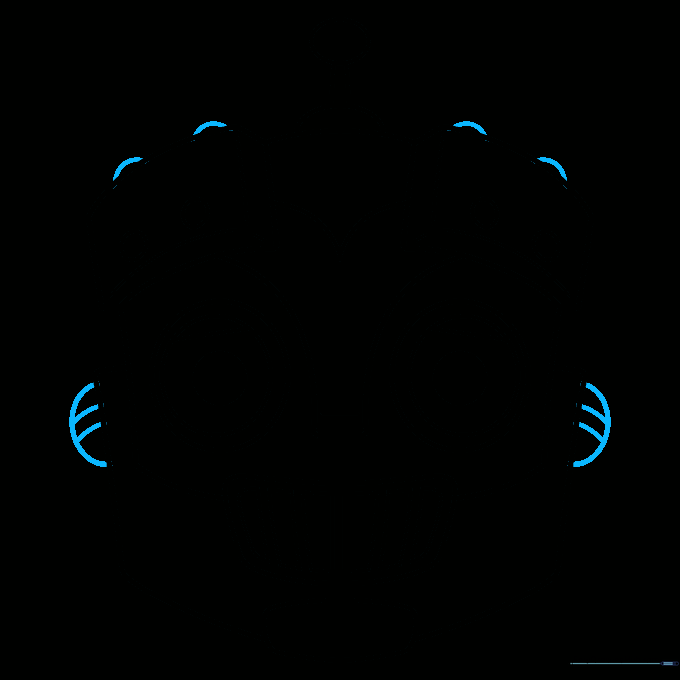
Add half-circles above the eyebrows and on the cheeks, banding them with curved lines for extra mechanical texture. Tip: These small shapes act like rivets or decorative plates.
Step 10: Color Your Robot

Bring your robot to life with color! We used metallic grays, but feel free to use bright neon colors to make your robot look futuristic. Tip: Use a darker shade of gray on the edges to create a metallic shadow effect.
More Tutorials


