How to Draw a Realistic Horse: Simple 10-Step Guide
Ready to bring a majestic horse to life on paper? This tutorial is designed for young artists and beginners, requiring only a pencil, eraser, and paper. Follow these simple steps to master basic animal anatomy and proportions while building your confidence as an artist.
🎯 Final Result

Step-by-Step Instructions
Step 1: Sketching the Head and Eye

Start by sketching the horse's head profile. Draw a gentle curved line for the nose, then add an almond-shaped eye. Teacher's Tip: Keep your pencil pressure light here; drawing the eye slightly off-center gives the horse a more natural, alert look.
Step 2: Defining the Jaw and Ear

Add the lower jaw with a smooth curve and draw a pointed ear at the top. Use short, jagged strokes to begin the mane. Teacher's Tip: Think of the mane as a series of 'V' shapes to make it look like real hair blowing in the breeze.
Step 3: Adding the Second Ear and Mane

Draw the second ear tucked slightly behind the first. Continue the mane down the neck using scalloped lines. Teacher's Tip: Vary the length of your lines to create a sense of movement and volume in the hair.
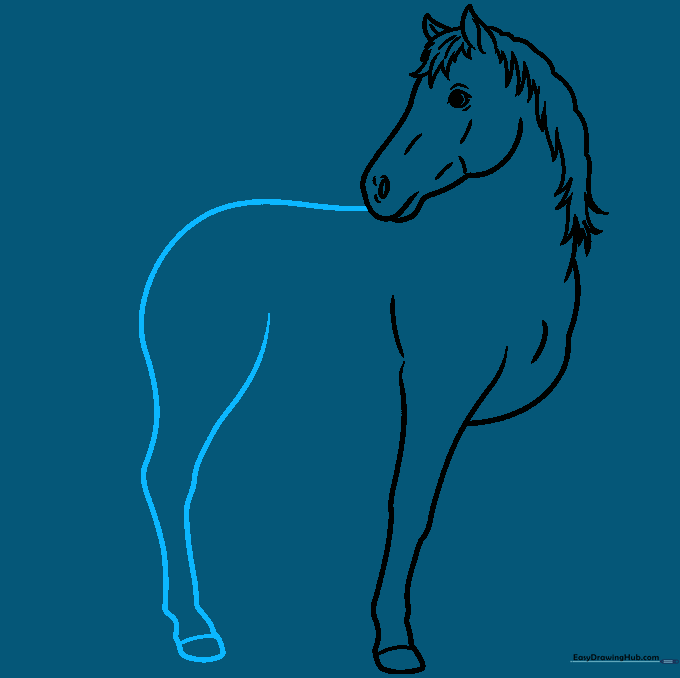
Step 4: Starting the Body Outline

Extend a long, graceful curved line from the neck to begin the horse's back. Teacher's Tip: Imagine the horse is standing tall; keep this line smooth to suggest a strong, healthy animal.
Step 5: Drawing the Front Leg
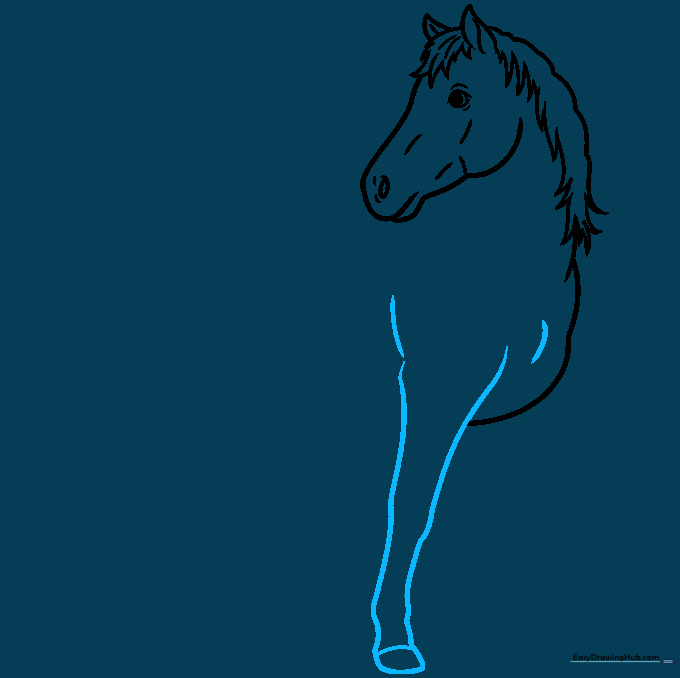
Draw the front leg using two parallel lines that taper toward the hoof. Add small bumps for the knee and fetlock. Teacher's Tip: Horses have very slender lower legs, so keep the lines close together near the bottom.
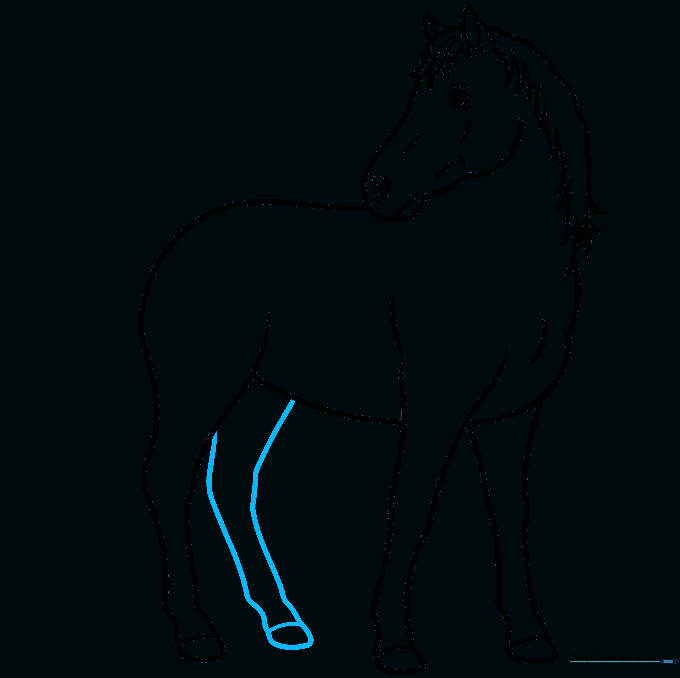
Step 6: Shaping the Rear Leg
Continue the back line down into the rear leg. Add a slight curve to represent the powerful thigh muscle. Teacher's Tip: The rear leg should look slightly thicker than the front leg to show the horse's strength.
Step 7: Completing the Underbelly
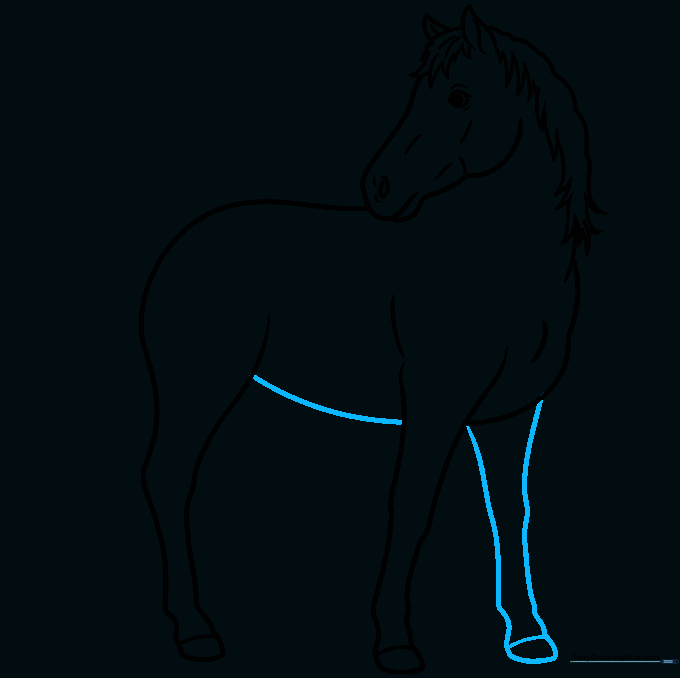
Connect the front and rear legs with a curved line for the belly. Add the second foreleg behind the first. Teacher's Tip: Drawing the second leg slightly higher up makes the horse look like it's standing in perspective.
Step 8: Adding the Final Leg
Draw the final rear leg to complete the stance. Ensure the hoof is aligned with the others. Teacher's Tip: Check that all four hooves are roughly on the same horizontal line so your horse doesn't look like it's falling over!
Step 9: Adding the Tail and Details
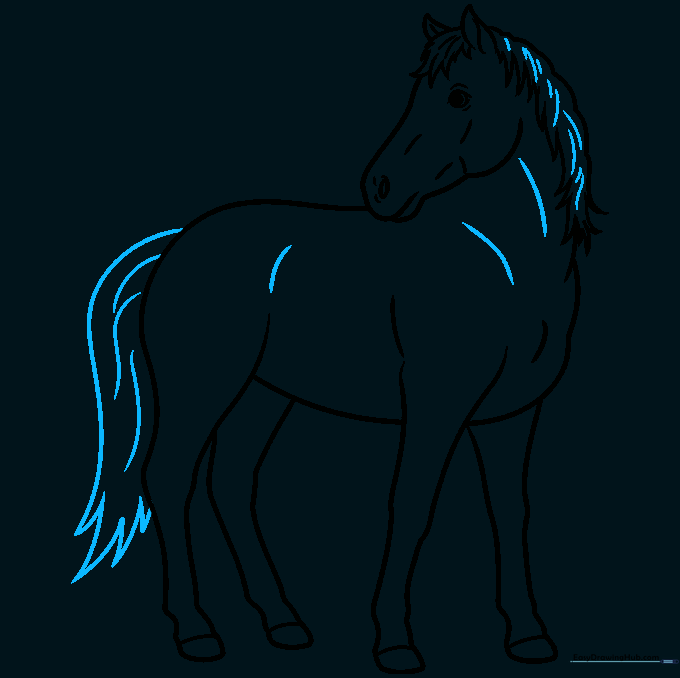
Draw a long, flowing tail and add texture lines to the mane and body. Teacher's Tip: Use long, sweeping strokes for the tail to show it's made of soft hair.
Step 10: Bringing Your Horse to Life with Color

Color your horse! Use browns, blacks, or even greys. Teacher's Tip: Try adding light and dark patches to create a 'dappled' effect, which makes your drawing look much more professional and realistic.
More Tutorials


