How to Draw a Realistic Goldfish: Easy 9-Step Guide
Ready to bring a beautiful goldfish to life? This tutorial is designed for young artists and beginners to practice fluid, organic shapes. You only need a pencil, an eraser, and a piece of paper to master this aquatic friend.
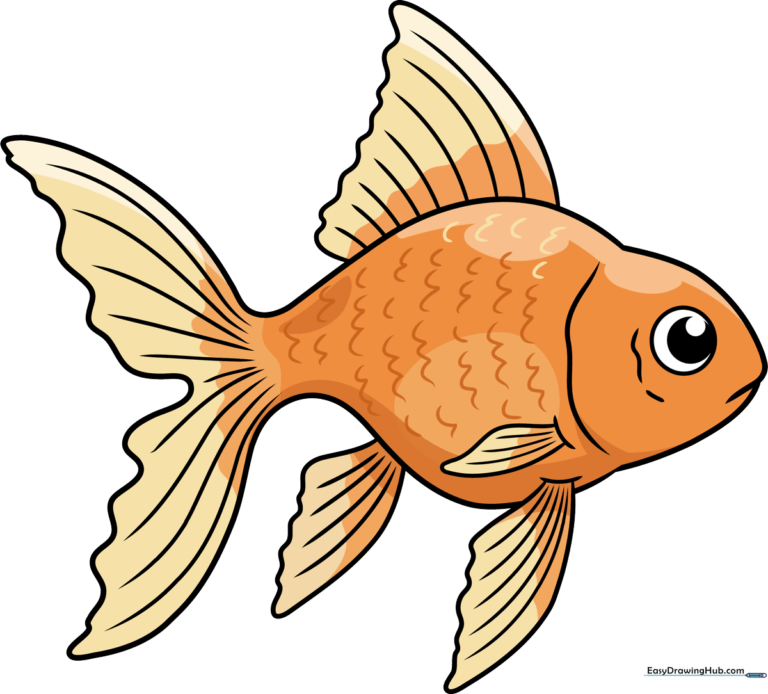
🎯 Final Result
Step-by-Step Instructions
Sketching the Head and Eye
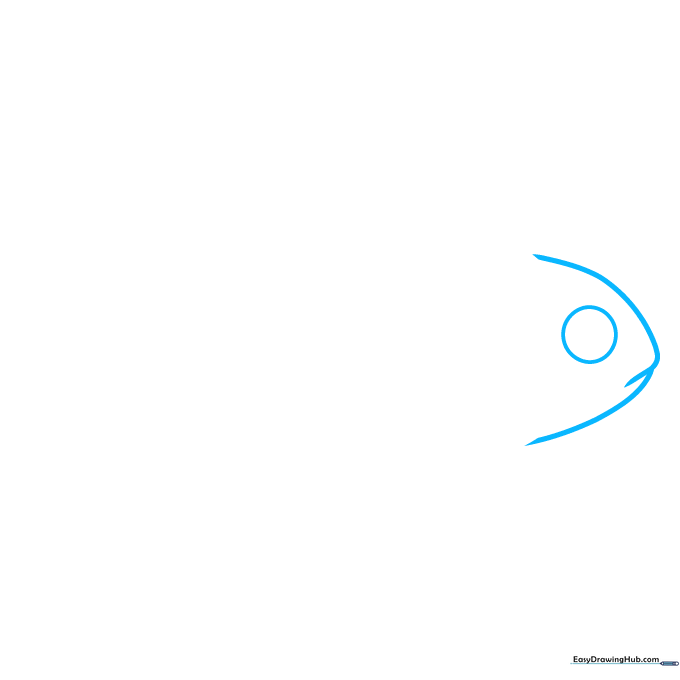
Draw two overlapping curved lines to create the face profile, with the overlap forming the mouth. Add a large circle for the eye. Teacher's Tip: Keep your pencil lines light and feathery so you can easily adjust the shape of the mouth later.
Defining the Back and Tail
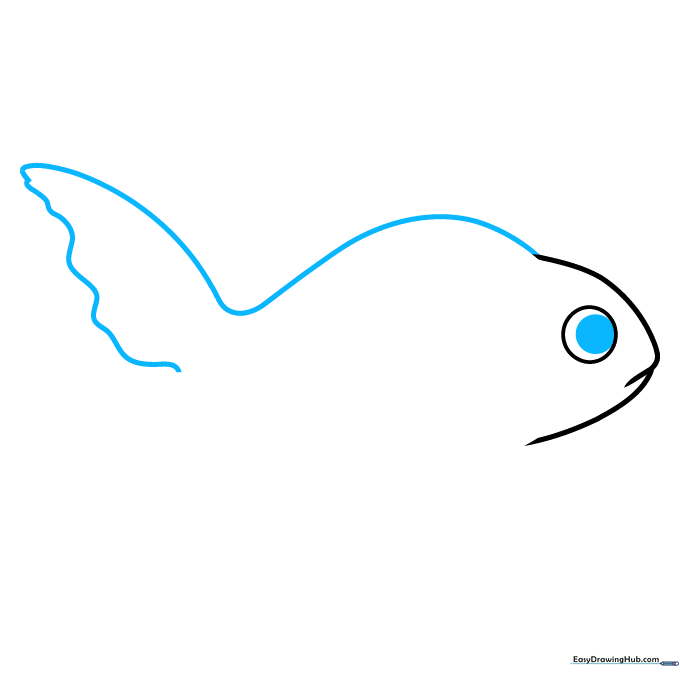
Extend a line from the top of the head to form the hunched back, then loop it back to create the tail fin. Use a wavy motion for the tail edge to make it look flowy. Add a dark pupil inside the eye. Teacher's Tip: Think of the tail like a ribbon moving through water.
Closing the Body Outline

Connect the bottom of the head to the tail with a smooth, curved line to form the belly. Your fish should now have a complete, enclosed body shape. Teacher's Tip: Ensure the belly curve is soft, not too sharp, to give the fish a natural, swimming appearance.
Adding the Dorsal Fin
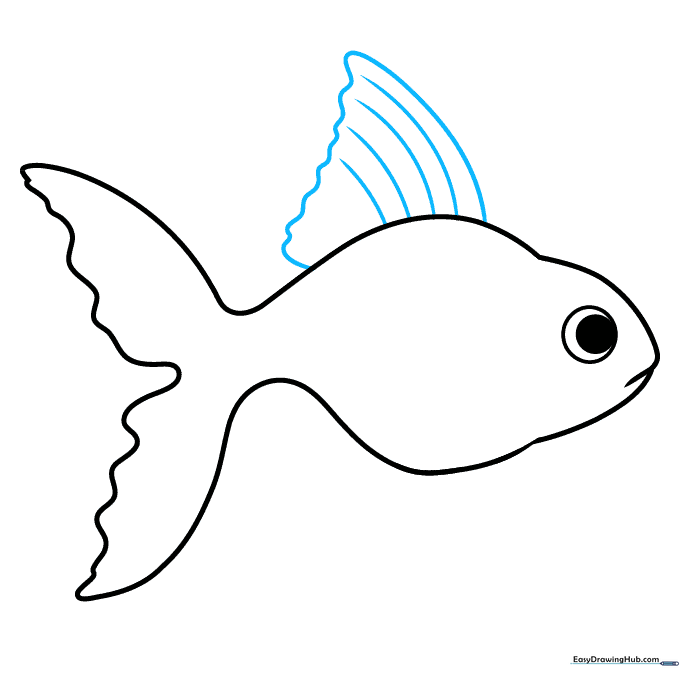
Sketch a wavy, curved fin on the top of the back. Add a few internal lines to show the fin's structure. Teacher's Tip: Vary the length of your lines to make the fin look like it's catching the current.
Drawing the Ventral Fin
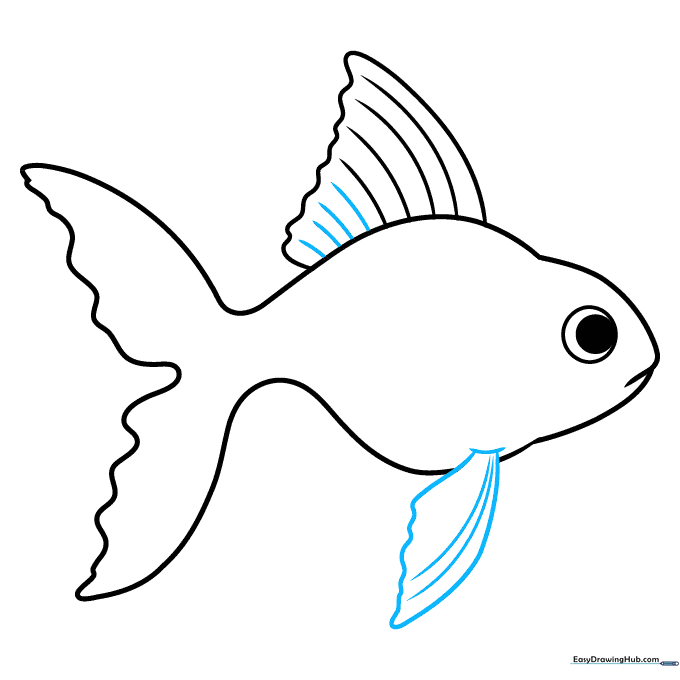
Add a fin on the belly using a wavy line that tapers to a point. Texture it with long, sweeping lines. Teacher's Tip: If you make a mistake, use your eraser to gently lift the graphite before redrawing.
Adding the Anal Fin
Draw a smaller fin near the tail on the belly using wavy lines. Add curved bands to show depth. Teacher's Tip: Keep these lines light; they represent the delicate membrane of the fin.
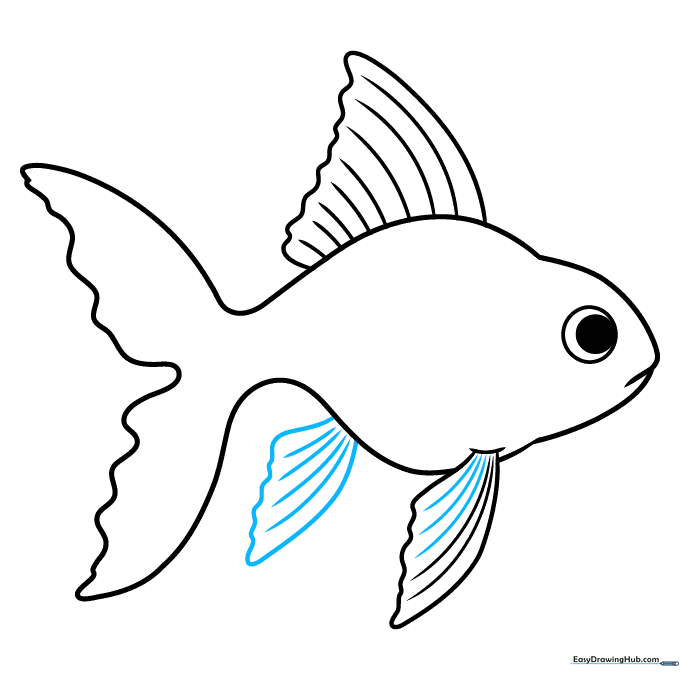
Adding the Pectoral Fin

Draw a small, rounded fin near the head. This gives the fish a sense of balance. Teacher's Tip: Imagine where the fish's shoulder would be; that's where the pectoral fin attaches.
Adding Scales and Texture

Use 'U' shaped lines across the body to represent scales. Some can be connected, while others stand alone. Teacher's Tip: Don't worry about making them perfect—nature is rarely uniform!
Final Details

Finish the scale pattern toward the tail and add final texture lines to the fins. You've created a masterpiece! Teacher's Tip: Now is the time to darken your final outlines with a firmer pencil stroke.
Coloring Your Goldfish
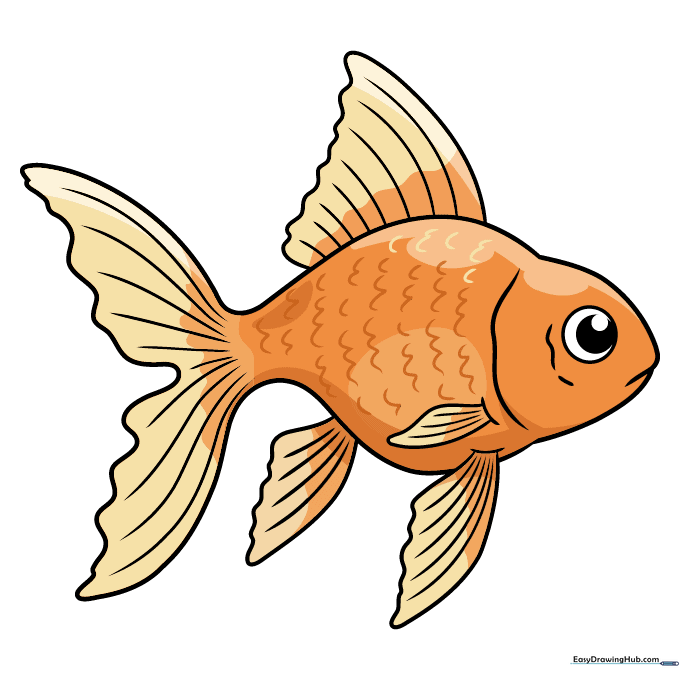
Bring your fish to life with vibrant oranges, yellows, or even splashes of red and black. Teacher's Tip: Use light pressure with your colored pencils to blend colors together for a shimmering effect.
More Tutorials


