How to Draw a Realistic Cat Face: Easy 9-Step Guide
Bring a feline friend to life with this approachable, realistic cat face tutorial. Designed for artists ages 6 and up, this screen-free activity helps children refine their fine motor skills and observation techniques. All you need is a pencil, an eraser, and a piece of paper to get started.
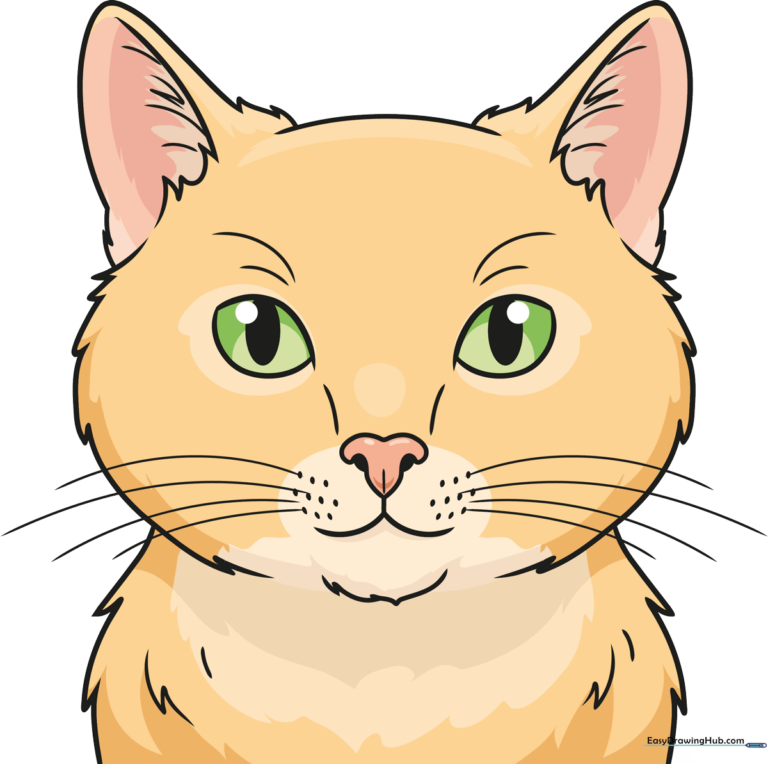
🎯 Final Result
Step-by-Step Instructions
Step 1: Sketching the Eyes

Draw two curved lines for the top of the eyes, then add matching curves underneath to form almond shapes. Fill in the center with dark ovals for pupils. Teacher's Tip: Keep the eyes symmetrical to give your cat a balanced, friendly expression.
Step 2: Defining the Nose
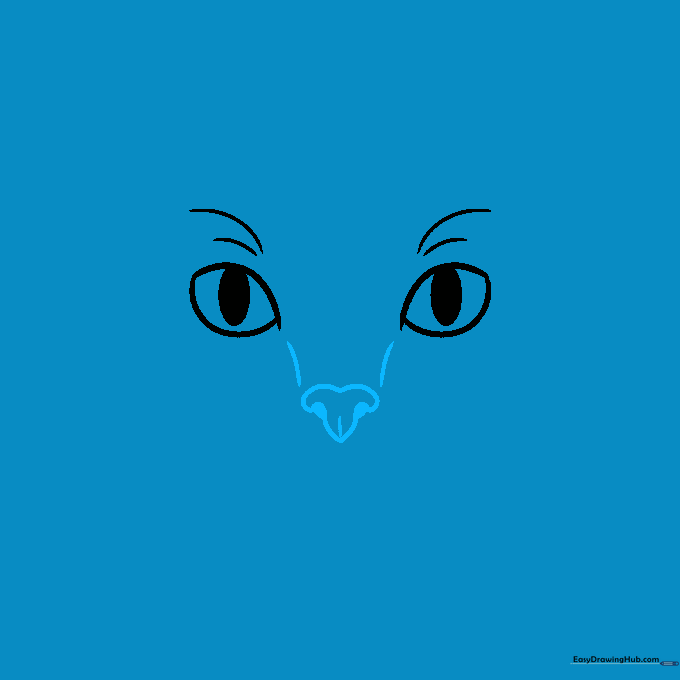
Place two small 'hill' shapes about an inch below the eyes. Sketch a small triangle between them, then connect the lines with two hooks. Add tiny ovals for nostrils. Teacher's Tip: Use light pressure here; the nose is the center point of the face, so accuracy matters!
Step 3: Shaping the Chin and Muzzle

Draw a soft curve for the top of the head. Below the nose, add two curves connected by a short straight line for the mouth, and a loose, sketchy line for the chin. Add small dots on the muzzle for whisker spots. Teacher's Tip: The 'sketchy' lines help mimic the texture of fur.
Step 4: Adding the Ears

Sketch two rounded triangles at the top of the head. Use short, quick strokes near the tips to suggest fur. Teacher's Tip: Don't aim for perfect straight lines; real cat ears have a soft, fuzzy edge.
Step 5: Refining the Ear Details

Add depth to the ears by drawing curved lines inside the triangles. This creates the inner ear structure. Teacher's Tip: Keep these lines light so you can add color later without them looking too harsh.
Step 6: Shaping the Right Cheek

Draw a wide, shaky curve for the right side of the face. Use short, overlapping strokes to create the appearance of soft fur. Teacher's Tip: Imagine you are petting the cat; the fur flows outward from the center.
Step 7: Shaping the Left Cheek
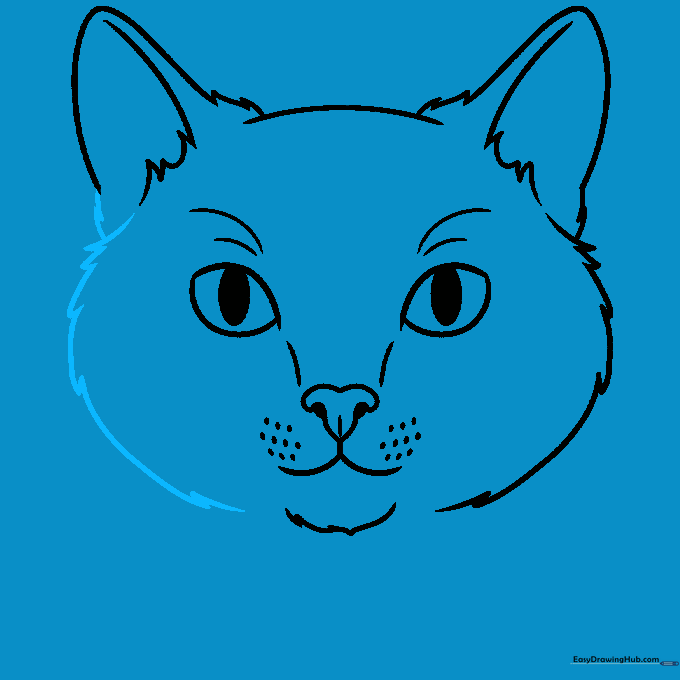
Mirror the previous step on the left side of the face. Keep the fur texture consistent with the right side. Teacher's Tip: If one side looks different, that's okay! Cats have unique fur patterns.
Step 8: Finalizing Features

Add more detail inside the ears and draw long, curved triangles on the sides of the head to represent the base of the whiskers. Teacher's Tip: Use long, sweeping motions for the whiskers to make them look natural.
Step 9: Adding Whiskers

Complete your drawing by adding long, thin lines for whiskers. Add a few more tufts of fur around the cheeks to finish the look. Teacher's Tip: Draw whiskers with a quick flick of the wrist for the best effect.
Step 10: Bringing it to Life with Color

Outline your drawing with a black pen. Color the fur light orange, leaving pale highlights on the chest. Use green for the eyes and soft pink for the inner ears. Teacher's Tip: Layer your colors lightly to create a more realistic, soft fur effect.
More Tutorials


