How to Draw a Realistic Bunny: Simple 9-Step Guide
Bring a fluffy bunny to life with this step-by-step drawing guide, designed specifically for young artists and beginners. You only need a pencil, an eraser, and a piece of paper to get started. By following these simple shapes, you will develop your observation skills and learn how to capture realistic animal textures.
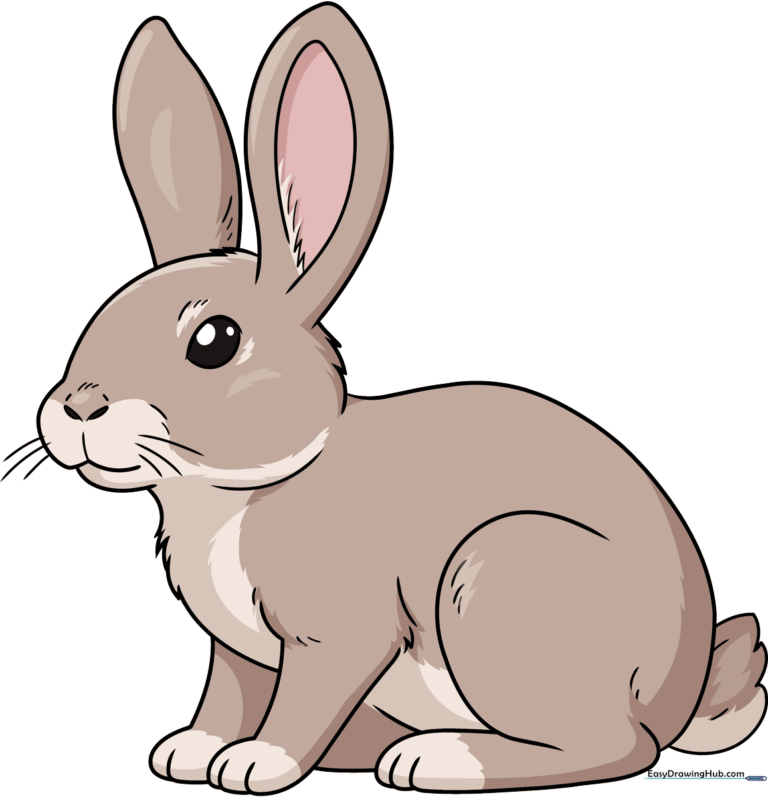
🎯 Final Result
Step-by-Step Instructions
Step 1: Sketching the Eye
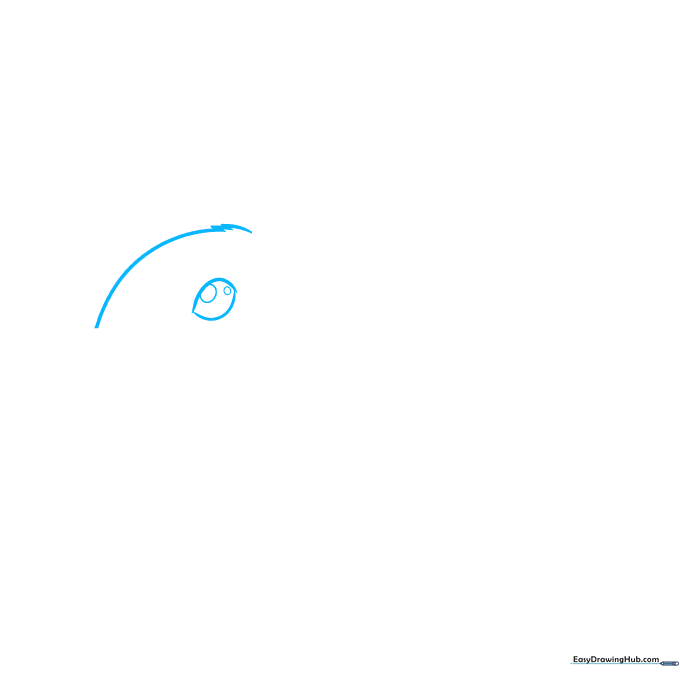
Start by drawing the eye using two curved lines that meet at points on either side. Add two small circles inside for the pupil and iris. Teacher's Tip: Keep your pencil light here; the eye is the focal point, so take your time to get the shape symmetrical.
Step 2: Defining the Nose and Mouth
Use overlapping curved lines to form the mouth area. Above this, add two small, doubled-back curves for the nostrils. Teacher's Tip: Think of the nose as a small 'w' shape to help keep it centered.
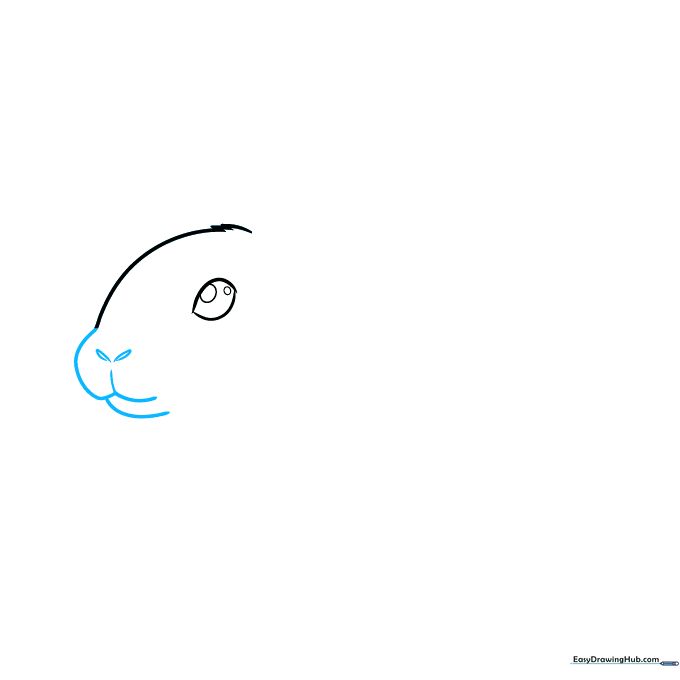
Step 3: Outlining the Face
Use jagged, short lines to outline the jaw and the side of the face. Add a few quick strokes for whiskers. Teacher's Tip: Use 'flicking' motions with your pencil to make the edges look like soft fur rather than a hard outline.
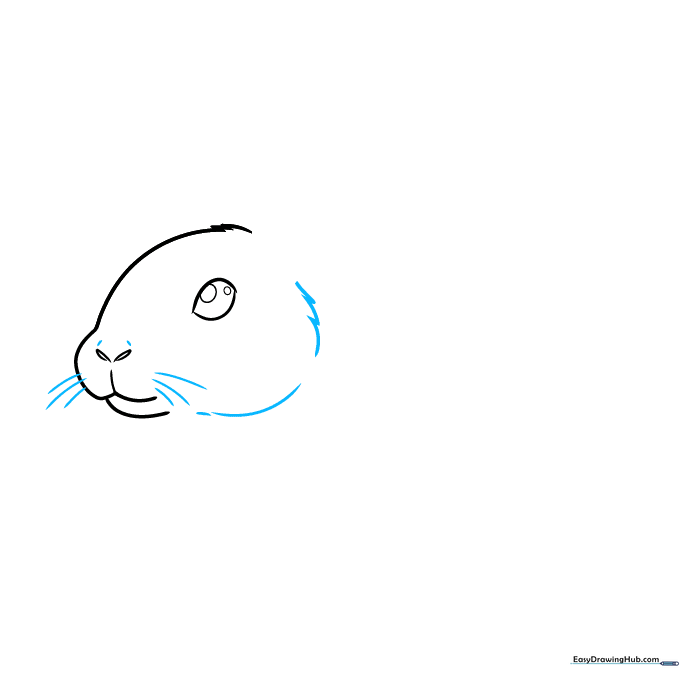
Step 4: Drawing the Ears
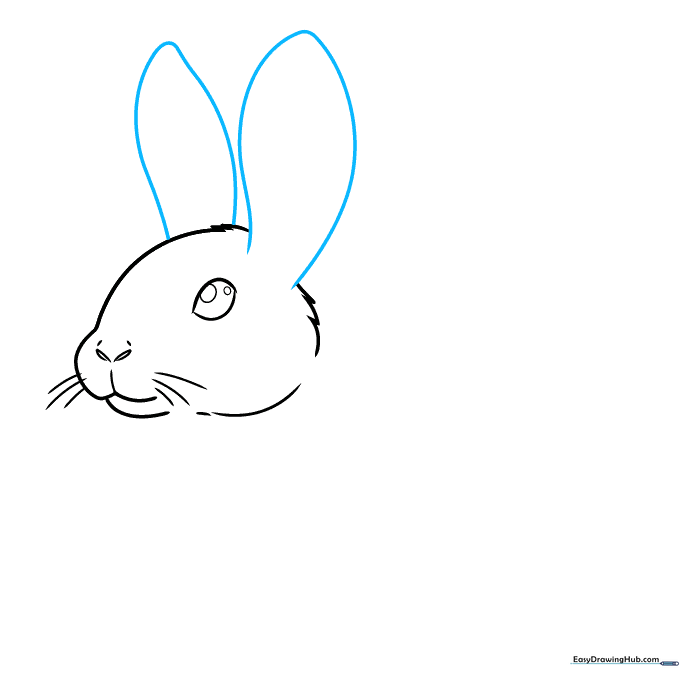
Extend two long, curved lines from the top of the head, doubling them back to create the signature long rabbit ears. Teacher's Tip: Make one ear slightly tilted to give your bunny more personality.
Step 5: Adding the Chest and Leg
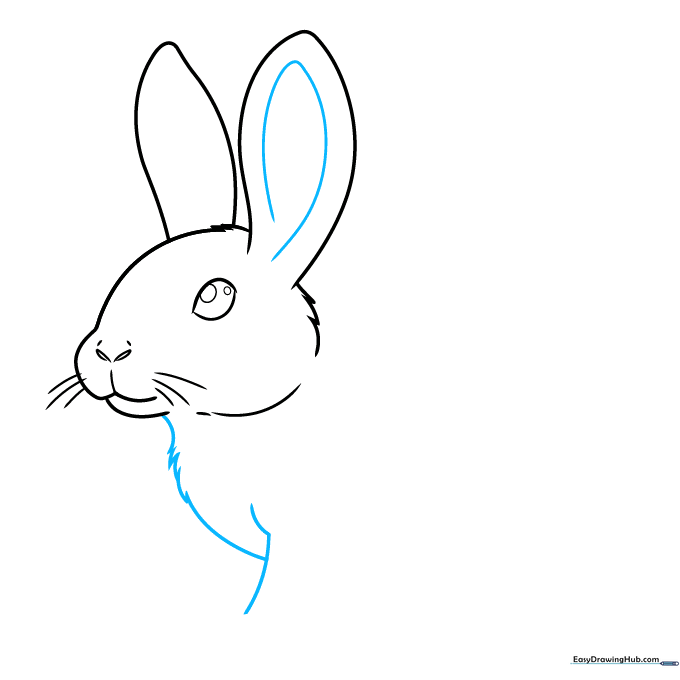
Add detail to the inner ear, then use jagged, overlapping lines to draw the chest and the start of the front leg. Teacher's Tip: The jagged lines represent the fluffiness of the chest fur.
Step 6: Shaping the Paws
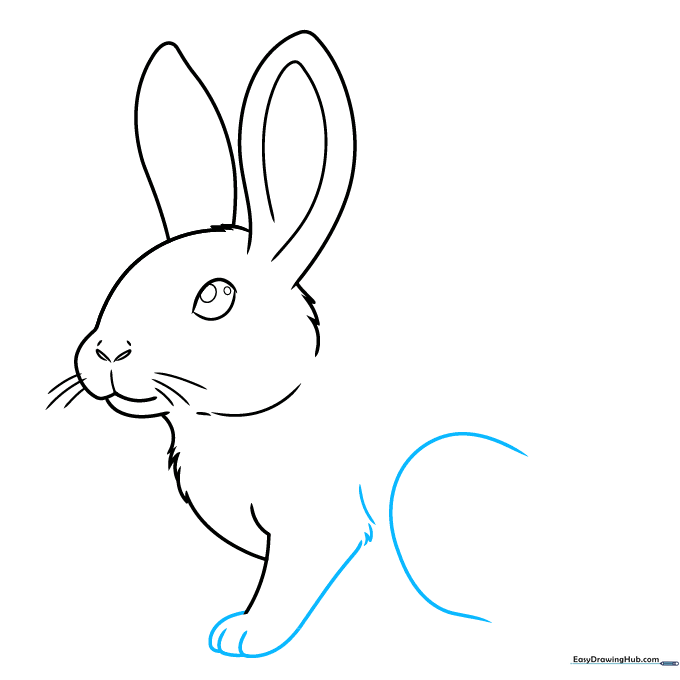
Draw the front paw with small lines for toes, and add a large 'C' shape to begin the rear leg. Teacher's Tip: Notice how the rear leg is larger and more rounded than the front one.
Step 7: Completing the Legs
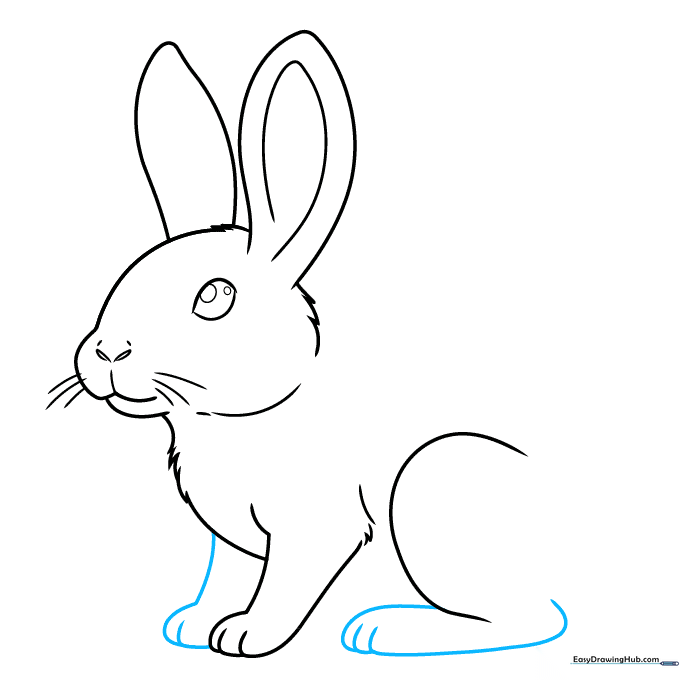
Draw the second front leg and finish the rear foot. Add short lines to define the toes. Teacher's Tip: Keep the lines for the toes very short to maintain the realistic scale.
Step 8: The Back and Tail
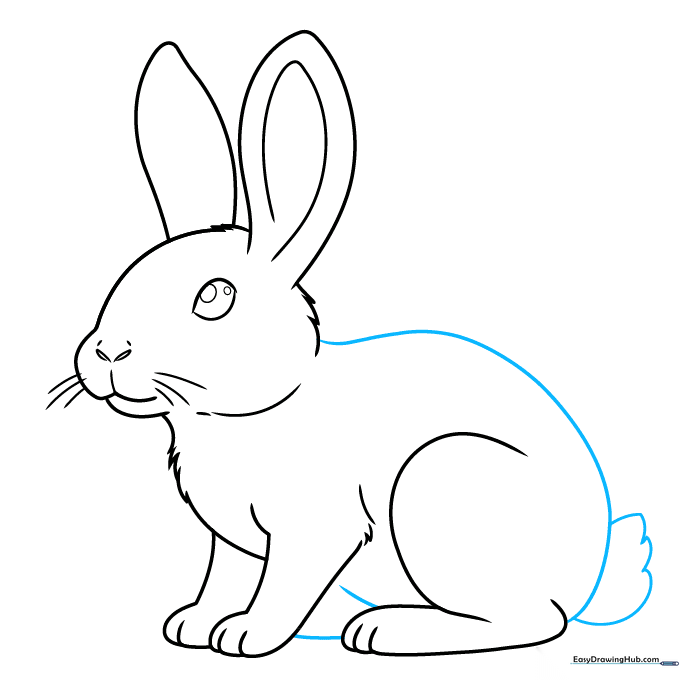
Draw the bunny's back with a long, smooth curve and add a small, fluffy tail using jagged lines. Teacher's Tip: The tail should look like a small cloud attached to the back.
Step 9: Adding Final Fur Texture
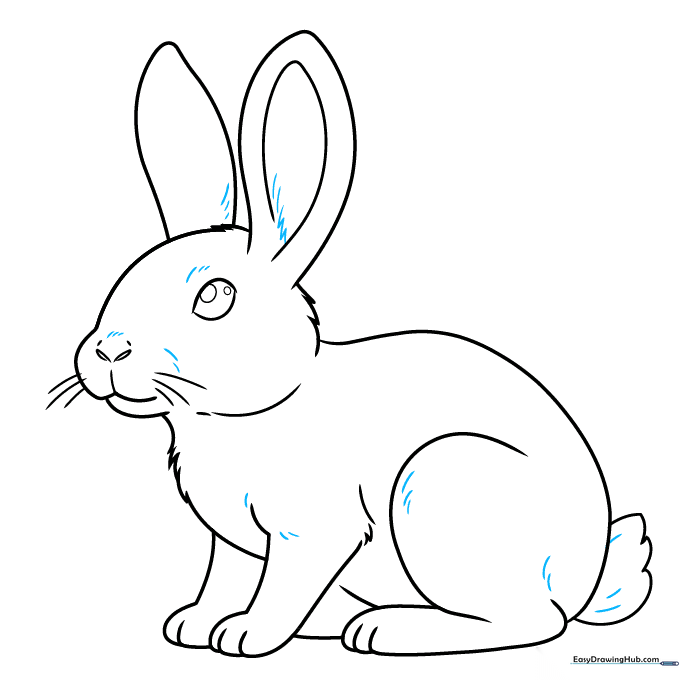
Go over your drawing and add short, light lines throughout the body to create a fur texture. Teacher's Tip: Focus these lines around the edges and joints to make the bunny look soft and three-dimensional.
Step 10: Bringing Your Bunny to Life with Color
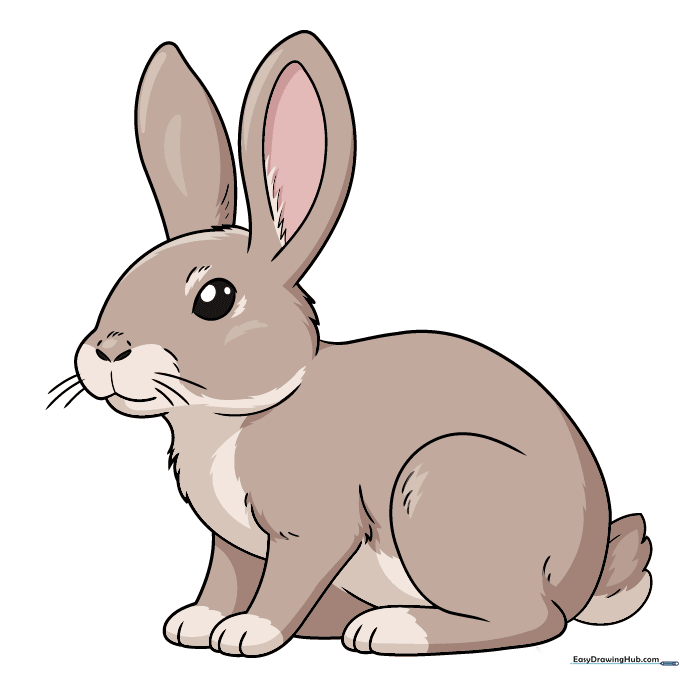
Now it's time to color! Rabbits come in many natural shades like tan, gray, white, or brown. Try using light, layered strokes to mimic the look of real fur.
More Tutorials


