How to Draw a Rainbow Landscape: Easy Step-by-Step Guide
Bring a touch of magic to your sketchbook with this peaceful rainbow landscape. Designed for artists ages 5 and up, this project uses basic shapes to build a complex-looking scene. All you need is a pencil, an eraser, and your favorite coloring supplies to get started.
🎯 Final Result

Step-by-Step Instructions
Step 1: Sketching the Cliff Base
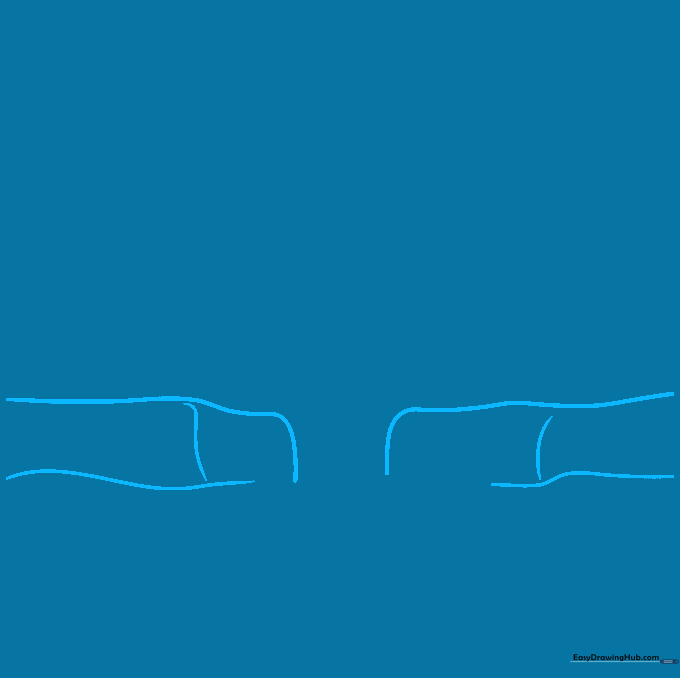
Start by drawing the ground. Use gentle, curved lines to outline the top and bottom of the cliff face. Teacher's Tip: Keep your pencil pressure light so you can easily adjust the shape of the ridge later.
Step 2: Adding the Waterfall and Boulders
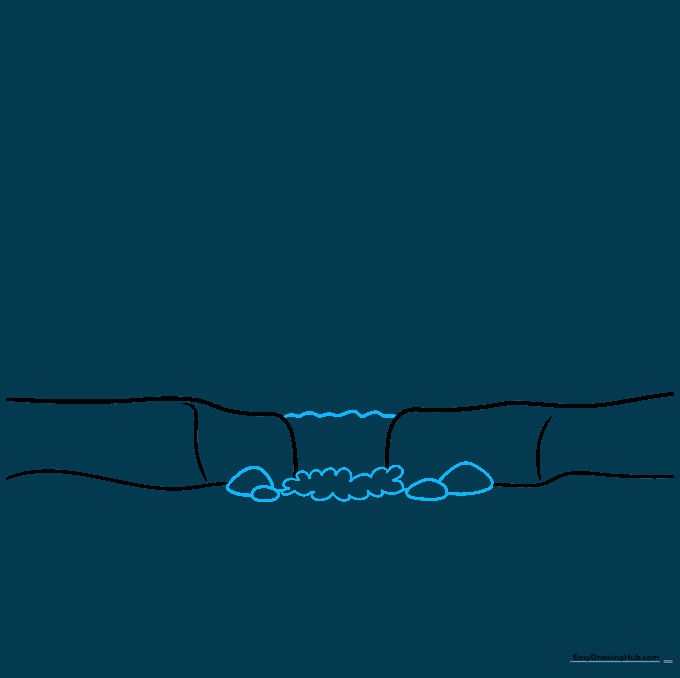
Draw the waterfall using a wavy line for the top. At the base, use 'U' shaped strokes to show splashing water, and add irregular circles for boulders. Tip: Vary the size of your boulders to make the riverbank look natural.
Step 3: Defining the Riverbanks
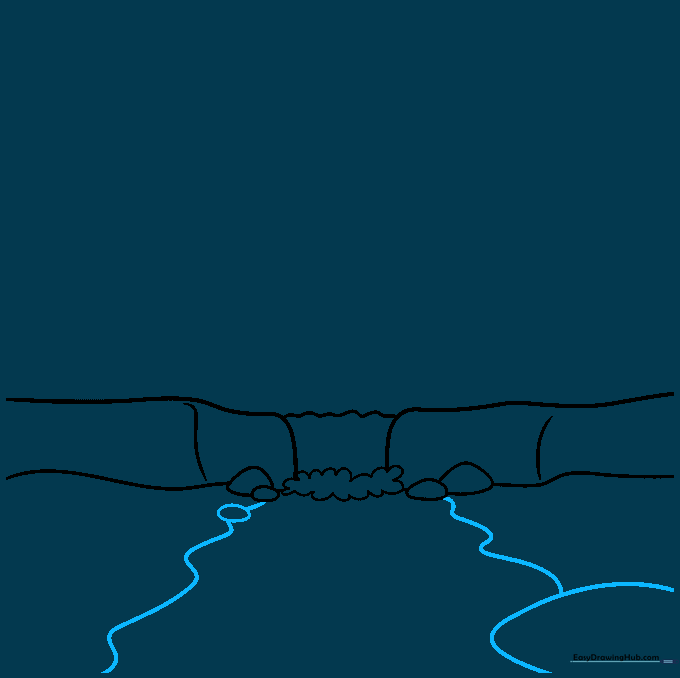
Use long, sweeping curved lines to draw the sides of the river flowing away from the waterfall. Add a few more small, rounded shapes along the banks to represent river stones. Tip: Make the river wider at the bottom of the page to create a sense of depth.
Step 4: Drawing Mountains and the Rainbow Arch

Trace the triangular shapes of distant mountains. Between the peaks, draw two large 'U' shaped arcs to form the rainbow's path. Tip: Keep the rainbow lines parallel to ensure it looks balanced.
Step 5: Adding Rainbow Bands and Foliage
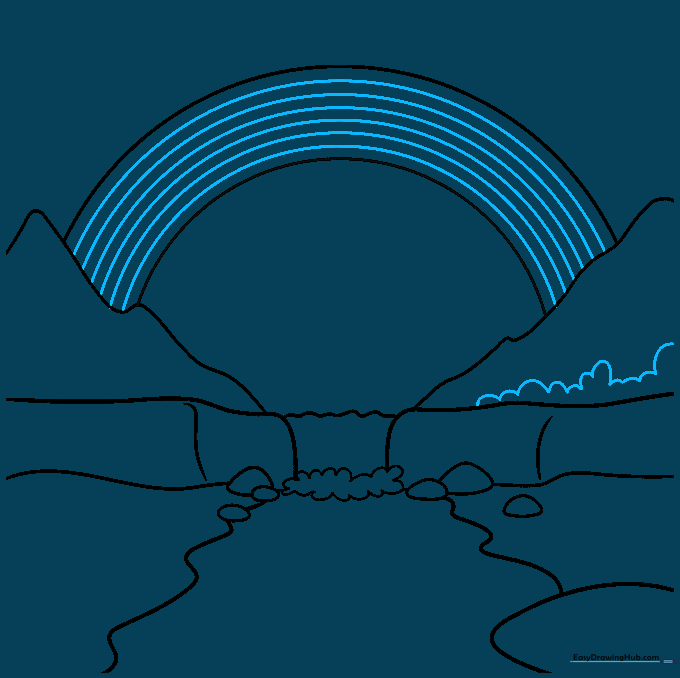
Divide your rainbow into bands using parallel curved lines. Then, use small, connected 'bumpy' lines to draw bushes and trees in front of the mountains. Tip: Six bands are perfect for a classic rainbow look!
Step 6: Adding Trees and Plants
Draw a small tree by the river using a simple trunk and a leafy, cloud-like crown. Add more rounded shapes for bushes. Tip: Don't worry about making the leaves perfect; nature is wonderfully irregular!
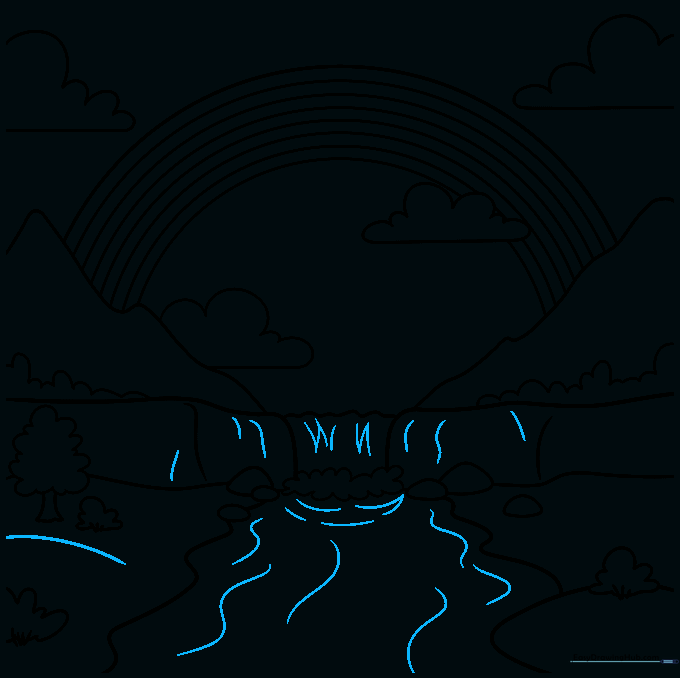
Step 7: Drawing Clouds

Add a cloud beneath the rainbow using a straight line for the base and soft, puffy curves for the top. Tip: Draw the cloud slightly overlapping the rainbow to make it look like it's floating in front.
Step 8: Filling the Sky

Add more clouds drifting through the sky. Use the same technique: a flat bottom and a bumpy top. Tip: Vary the sizes of your clouds to create a more dynamic and realistic sky.
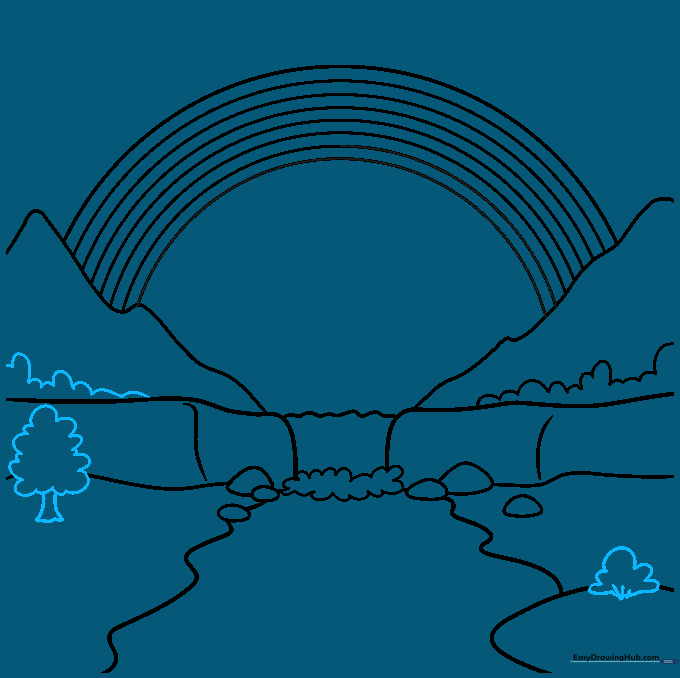
Step 9: Adding Final Textures
Complete your outline by adding small, short lines to the water and cliffs to suggest texture and movement. Tip: Use quick, flicking motions with your pencil to make the water look like it's flowing.
Step 10: Bring Your Scene to Life with Color
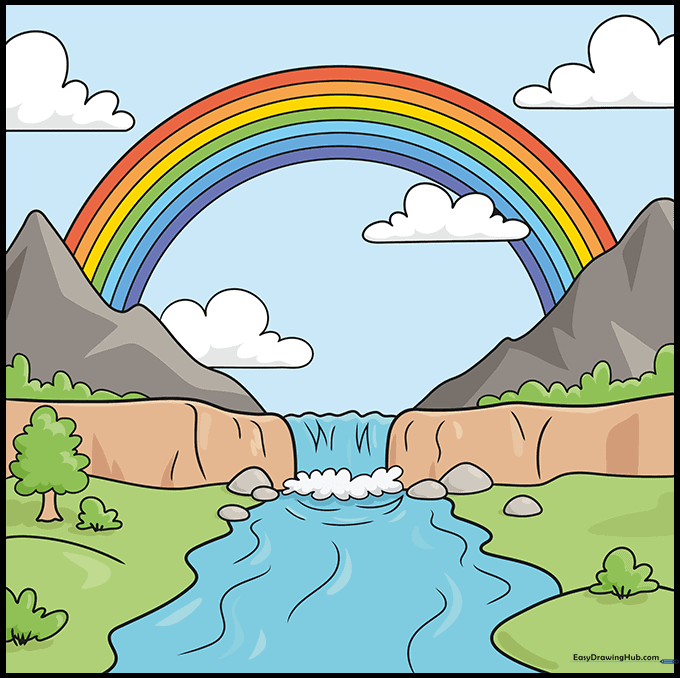
Time to color! Use bright, vibrant colors for your rainbow and soft blues and greens for the landscape. Tip: Try using light pressure for a soft, dreamy look or firm pressure for bold, cartoon-style colors.
More Tutorials


