How to Draw a Person: Simple Step-by-Step Guide
Looking to build your character design skills? This tutorial is perfect for artists ages 5 and up. All you need is a pencil, an eraser, and a sheet of paper to master the basic human form and prepare your canvas for creative clothing and facial features.
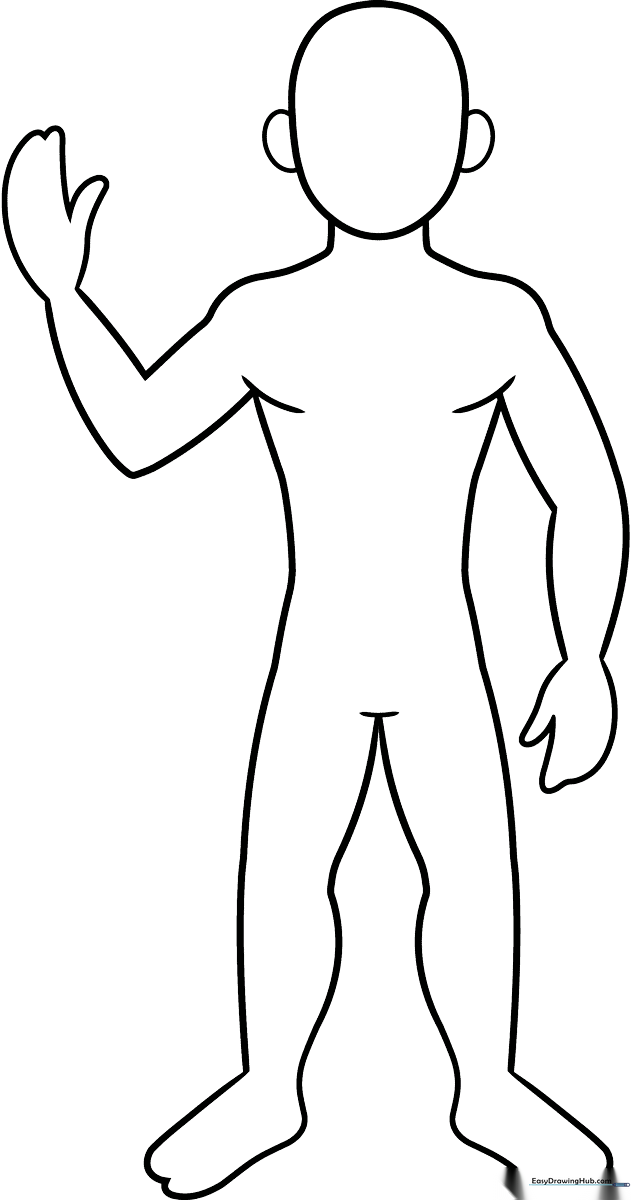
🎯 Final Result
Step-by-Step Instructions
Step 1: Sketching the Head

Draw a smooth oval for the head. Add two small 'C' shapes on the sides for ears. Teacher's Tip: Keep the oval centered on your page to leave plenty of room for the body below.
Step 2: Defining the Shoulders
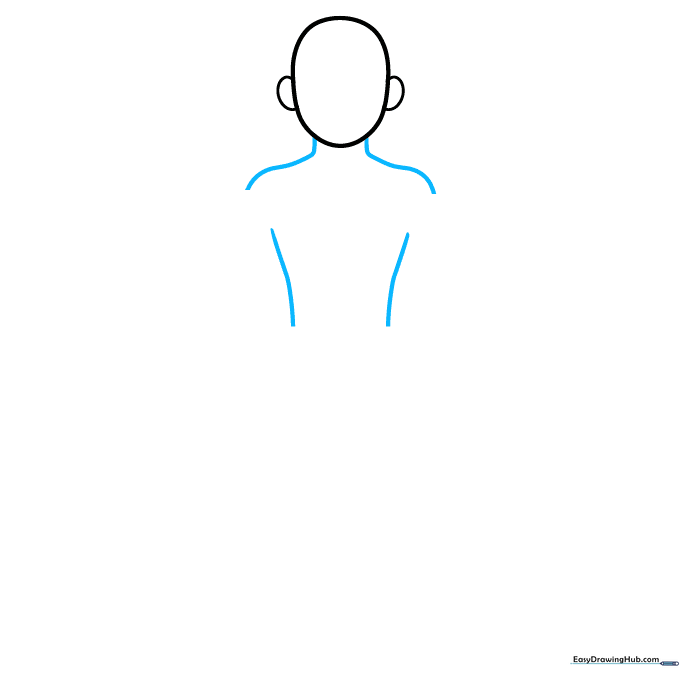
Extend two curved lines downward from the head to create the neck and shoulders. Add two loose, curved lines for the torso. Teacher's Tip: Think of the shoulders as a gentle slope, not a sharp angle.
Step 3: Starting the Arm
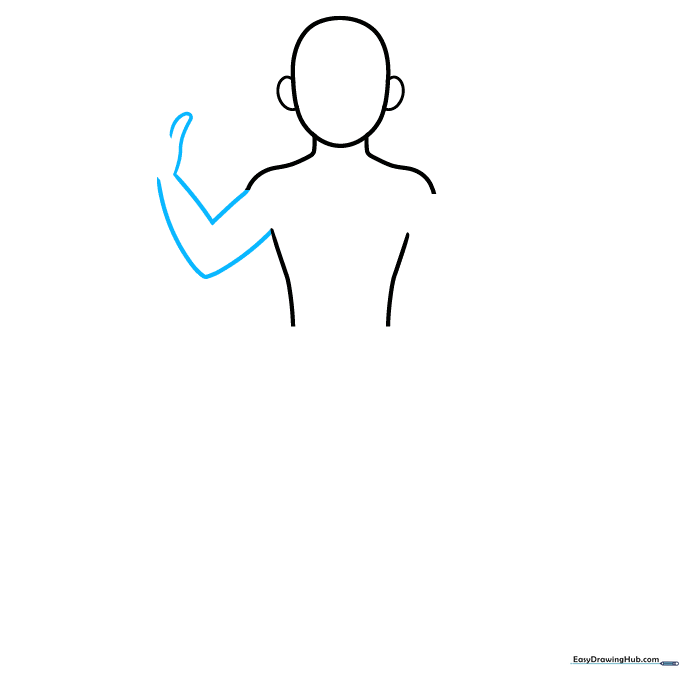
Extend a curved 'V' shape from the shoulder for the arm. Add a small 'thumb' loop by doubling back your line. Teacher's Tip: Keep the thumb small—it helps the hand look more natural later.
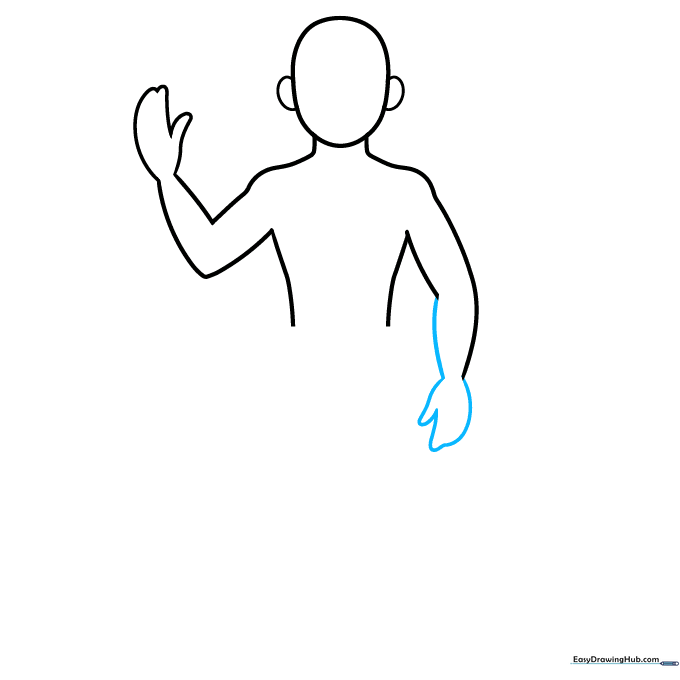
Step 4: Shaping the Hands
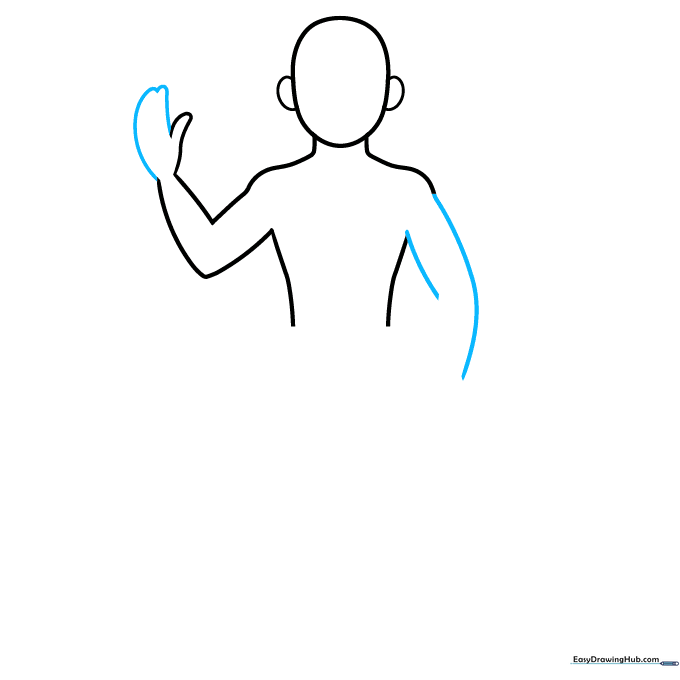
Complete the hand with a curved line, then start the opposite arm. Teacher's Tip: Don't worry about individual fingers yet; a simple mitten shape works best for this outline.
Step 5: Finishing the Arms
Draw the lower arm and hand on the second side, mirroring the first. Teacher's Tip: Ensure the arms are roughly the same length to keep your character balanced.
Step 6: Adding Torso Contours
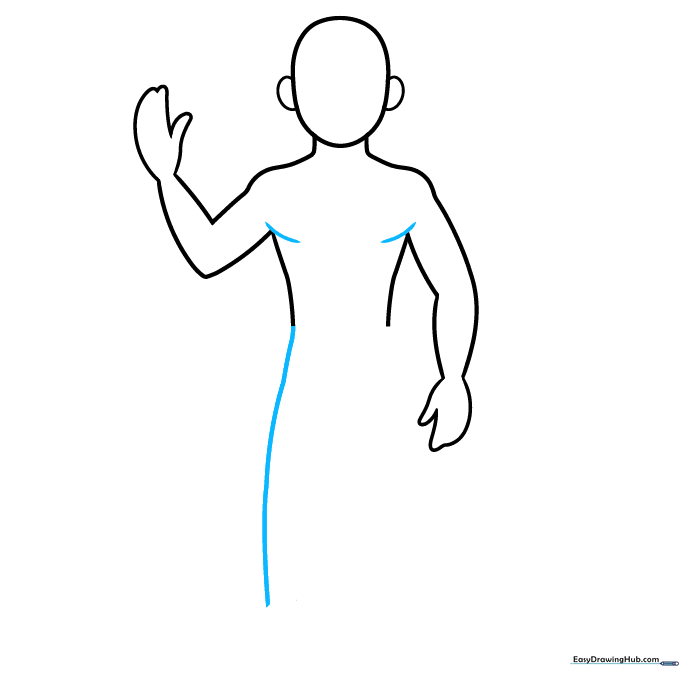
Add a curved line where the arm meets the torso to suggest chest muscles. Extend the torso lines down to start the legs. Teacher's Tip: A small curve here adds a sense of 3D depth to your drawing.
Step 7: Shaping the Legs
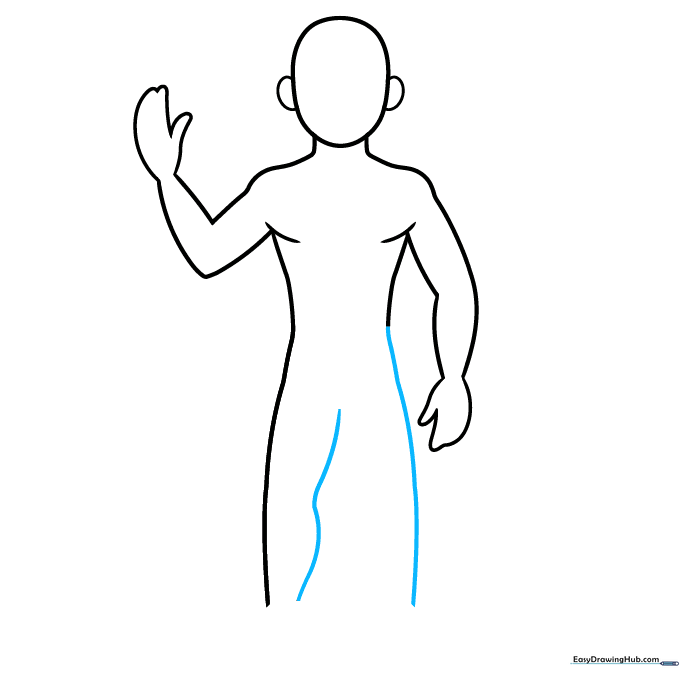
Continue the torso lines down to form the outer edges of the legs. Teacher's Tip: Keep your lines fluid; legs are long, gentle curves, not straight sticks.
Step 8: Defining the Feet
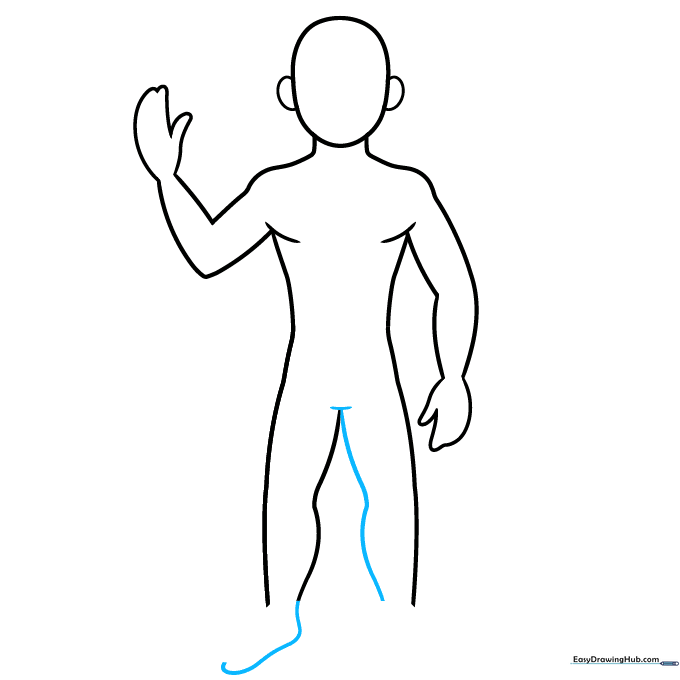
Draw the inner leg lines and a short line where the legs meet. Add a heel curve to the back of one foot. Teacher's Tip: The heel is just a small bump—don't make it too pointy!
Step 9: Finalizing the Feet
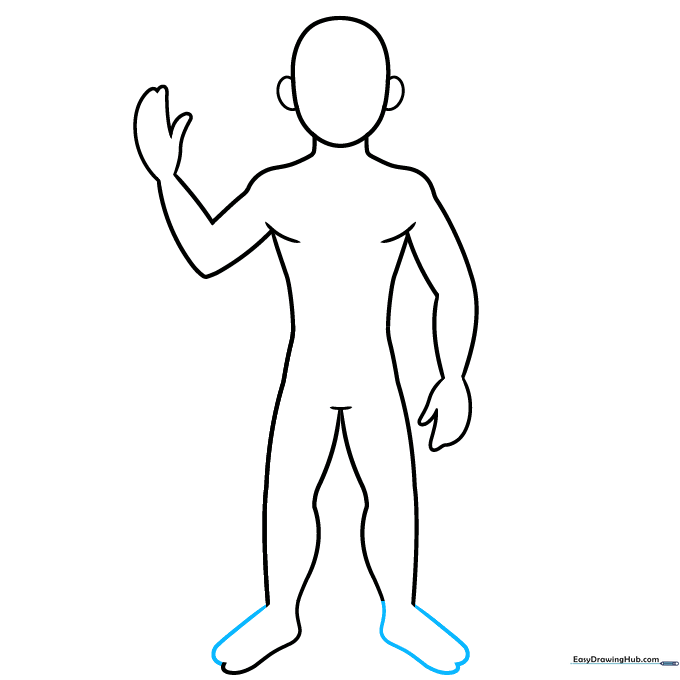
Close the lines for both feet to complete the base outline. Teacher's Tip: Check that your feet are flat on the ground so your character doesn't look like they are floating.
Step 10: Personalize Your Character
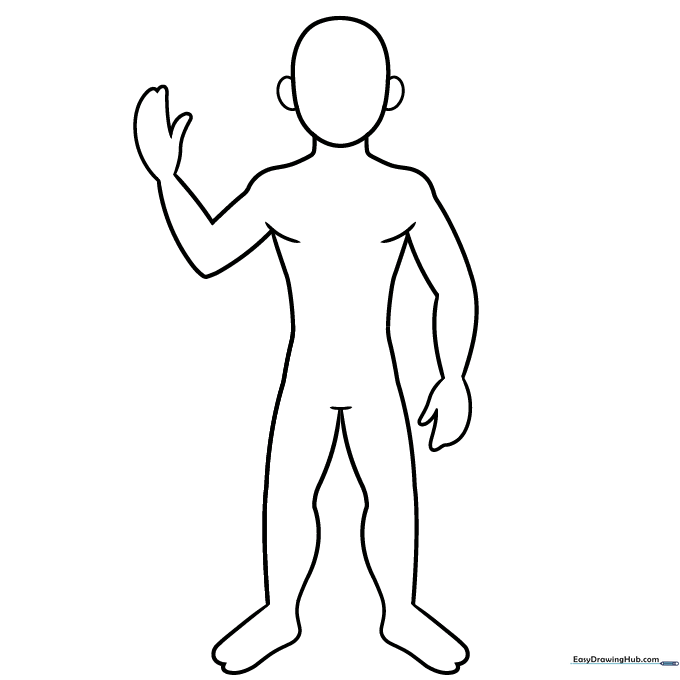
Your outline is ready! Now, add a face, hair, and your favorite outfit. Teacher's Tip: Use a darker pencil or pen to trace your favorite lines and erase the construction marks for a clean finish.
More Tutorials


