How to Draw a Cute Panda: Easy 10-Step Guide for Kids
Bring a friendly panda to life with this beginner-friendly drawing tutorial, perfect for artists ages 5 and up. All you need is a pencil, an eraser, and a piece of paper to get started. By the end, you will have a charming, hand-drawn panda character to color and share.
🎯 Final Result

Step-by-Step Instructions
Step 1: Sketching the Eyes

Draw two small, slightly tilted ovals for the eyes. Inside each, add a smaller circle for the pupil and shade it in. Teacher's Tip: Keep these close together to give your panda a sweet, focused expression.
Step 2: Adding the Nose and Smile
Draw a small, flattened oval between the eyes for the nose. Below it, add a gentle curved line for a happy smile. Teacher's Tip: A slightly wider smile makes your panda look extra friendly!
Step 3: Shaping the Head and Ears
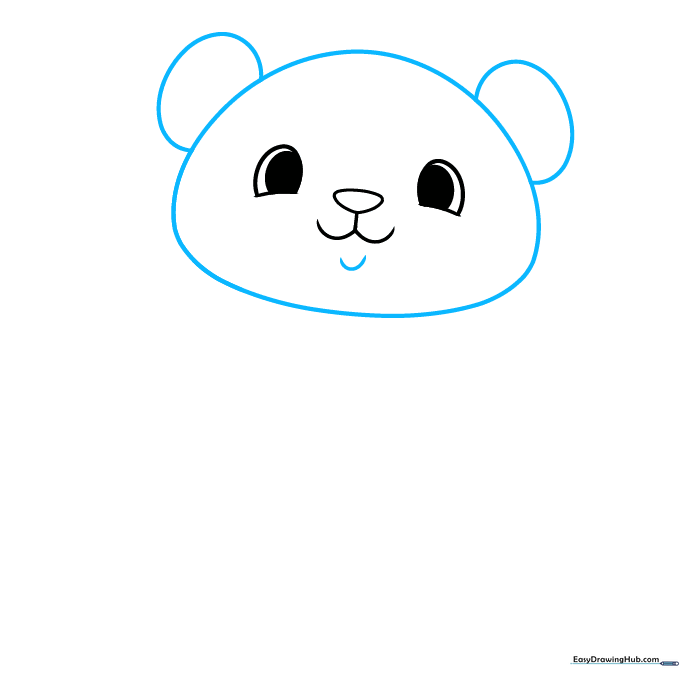
Draw a large, rounded shape around the face for the head. Add two small semi-circles on top for the ears and a small 'U' shape for the chin. Teacher's Tip: Don't worry about making the head perfectly round—pandas are naturally fluffy!
Step 4: Drawing the First Arm
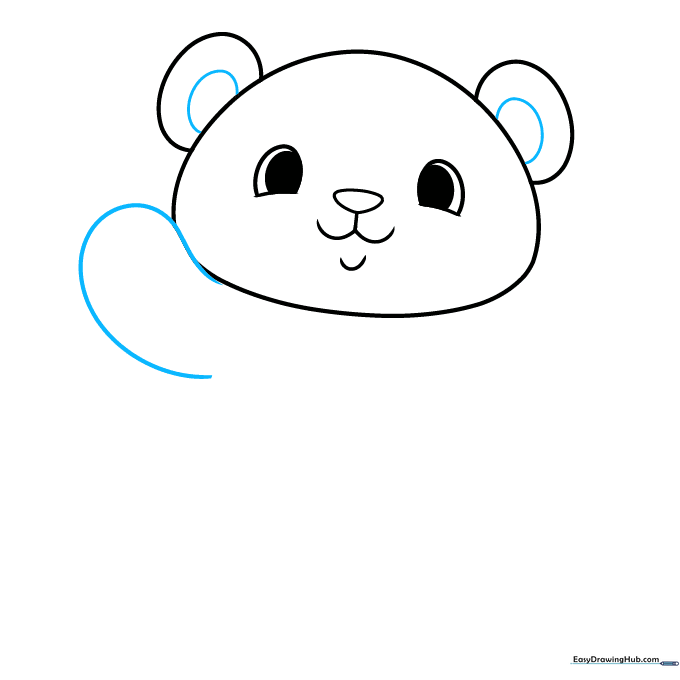
Add a 'C' shape inside each ear for detail. Then, draw a curved line extending from the head to create a raised arm. Teacher's Tip: Imagine the panda is waving hello!
Step 5: Adding the Second Arm
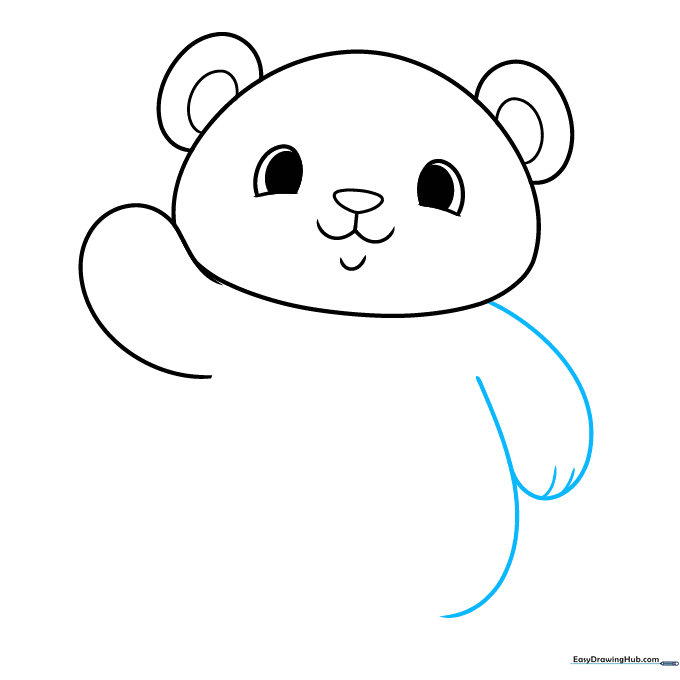
Draw the second arm tucked against the body using a curved line. Add a few small lines at the ends of the arms to represent fingers. Teacher's Tip: Keep these lines short to make the paws look soft.
Step 6: Outlining the Torso
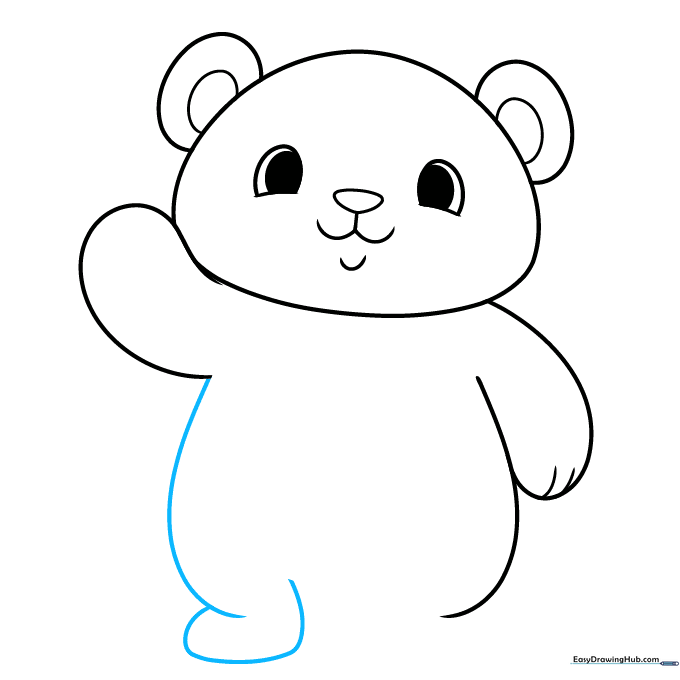
Draw a long, smooth curve for the side of the body and a small curve for the foot at the bottom. Teacher's Tip: Use a continuous motion to keep your lines looking smooth.
Step 7: Completing the Body
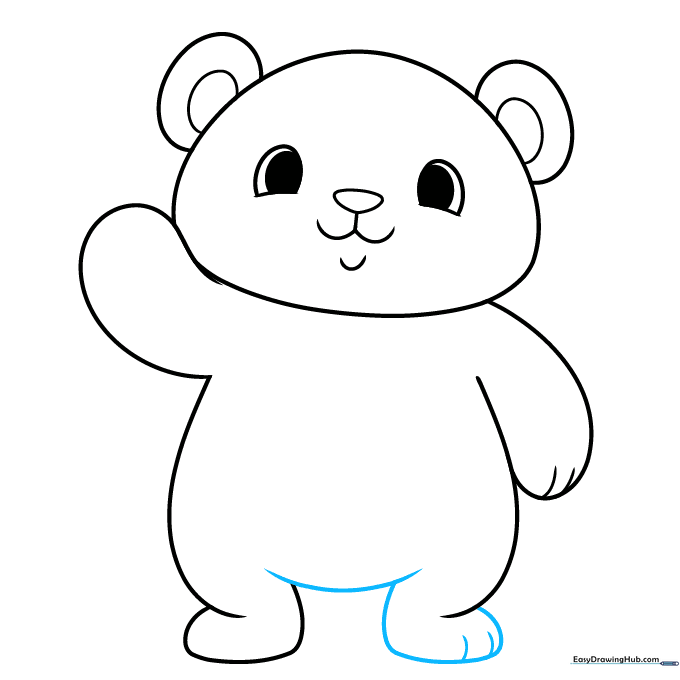
Connect the bottom of the body with a curved line and add the second foot. Add small lines to the feet to show the toes. Teacher's Tip: Make sure the feet look rounded to match the panda's chubby shape.
Step 8: Adding Paw Pads
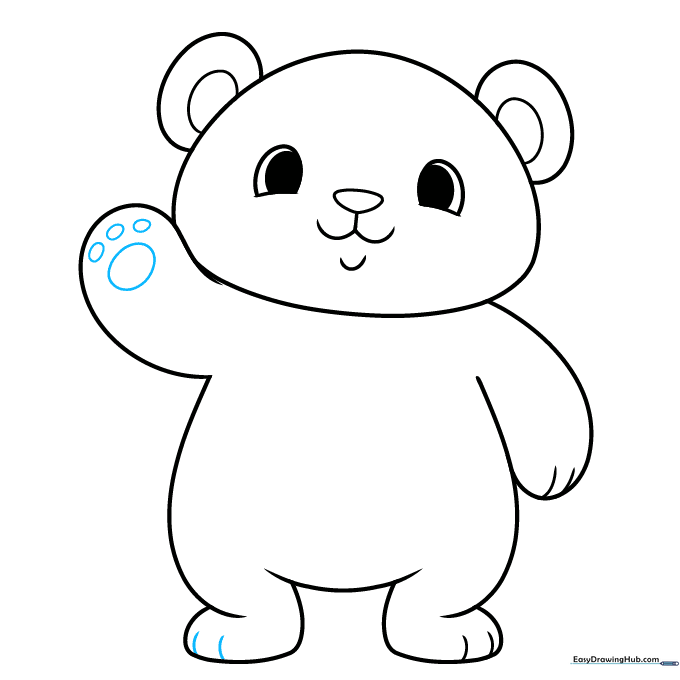
Draw a small circle in the center of the raised paw with tiny ovals around it for 'toe beans.' Add similar detail to the feet. Teacher's Tip: These little details make your panda look extra cute and professional!
Step 9: Adding Fur Markings
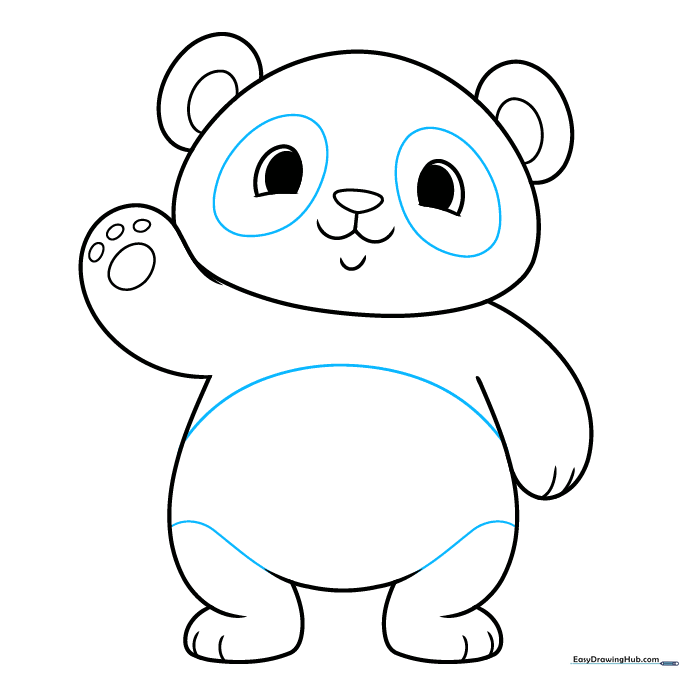
Draw large ovals around the eyes and curved lines across the chest and legs to mark where the black fur goes. Teacher's Tip: Use light pencil marks first so you know exactly where to color later.
Step 10: Coloring Your Panda
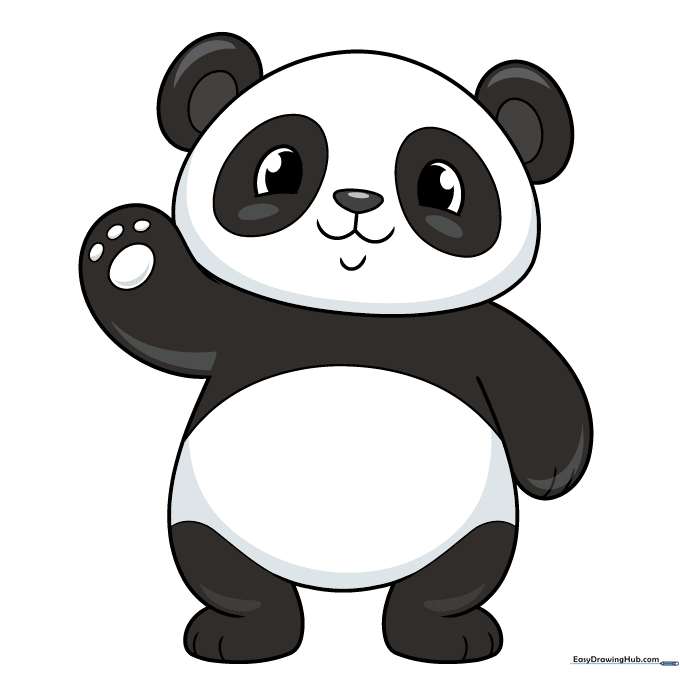
Time to bring your panda to life! Color the eye patches, ears, arms, and legs black, leaving the rest white. Teacher's Tip: Use a soft black crayon or marker for a smooth, classic panda look.
More Tutorials


