How to Draw a Mushroom House: Easy 9-Step Guide
Bring a touch of magic to your sketchbook with this whimsical mushroom house tutorial. Designed for young artists ages 5 and up, this project requires only a pencil, eraser, and paper. Follow along to practice basic geometric shapes while building confidence in your drawing skills.
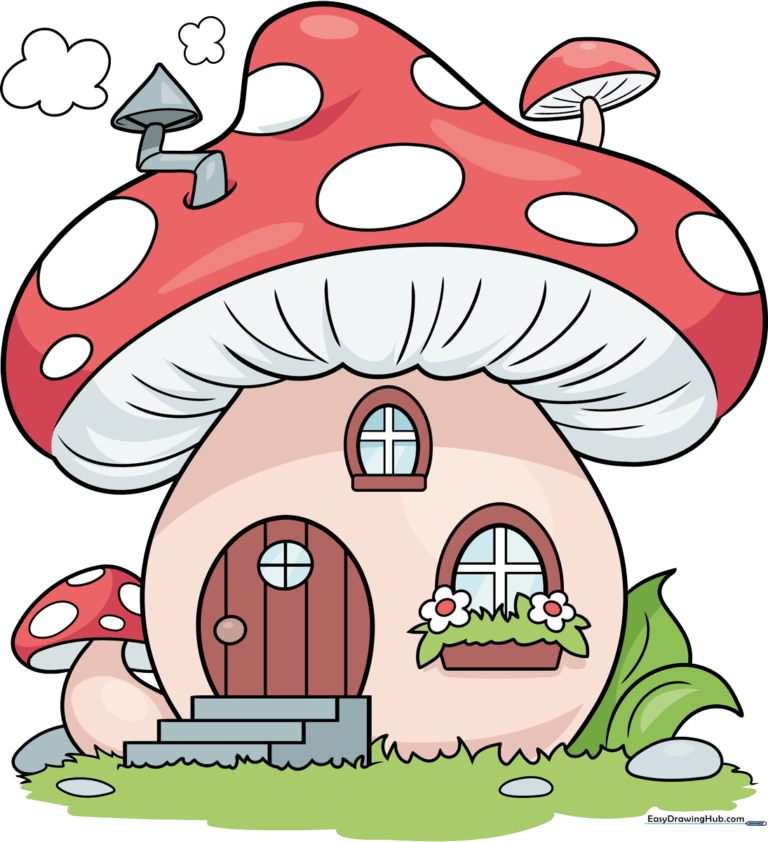
🎯 Final Result
Step-by-Step Instructions
Sketching the Cap and Stem
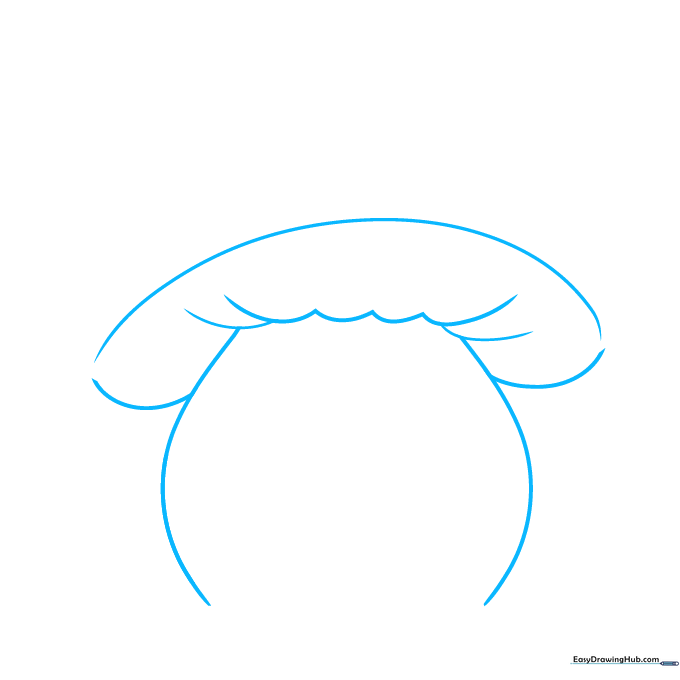
Start by drawing a large, gentle curve for the top of the mushroom cap. Below it, draw two vertical lines to form the stem. Tip: Keep your lines loose and light—this is just the framework for your house!
Defining the Roof and Entrance
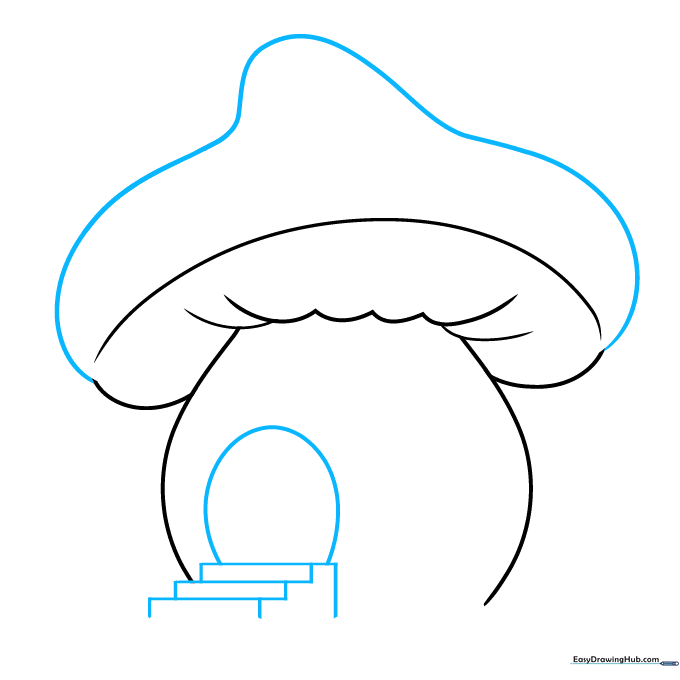
Connect the cap with a long curve to create the roof. At the base of the stem, draw three small, stacked rectangles to form a staircase. Add an oval shape for the door. Tip: Imagine the door is just big enough for a tiny forest gnome to walk through!
Adding Windows and Planters
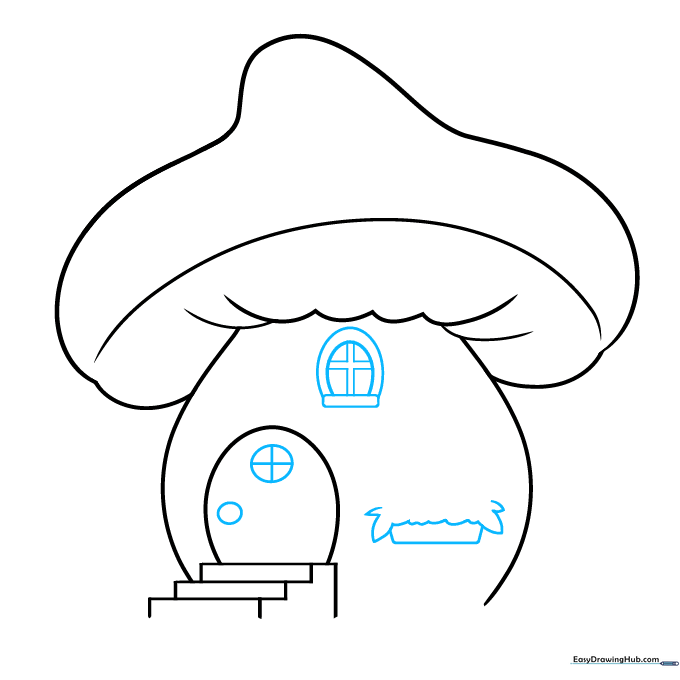
Draw two circles on the door for a window and knob. On the side, sketch a rectangular window with a horseshoe top. Add a small trapezoid box under the window for flowers. Tip: Use a ruler or a steady hand to keep the window cross-bars straight.
Drawing Flowers and Door Texture
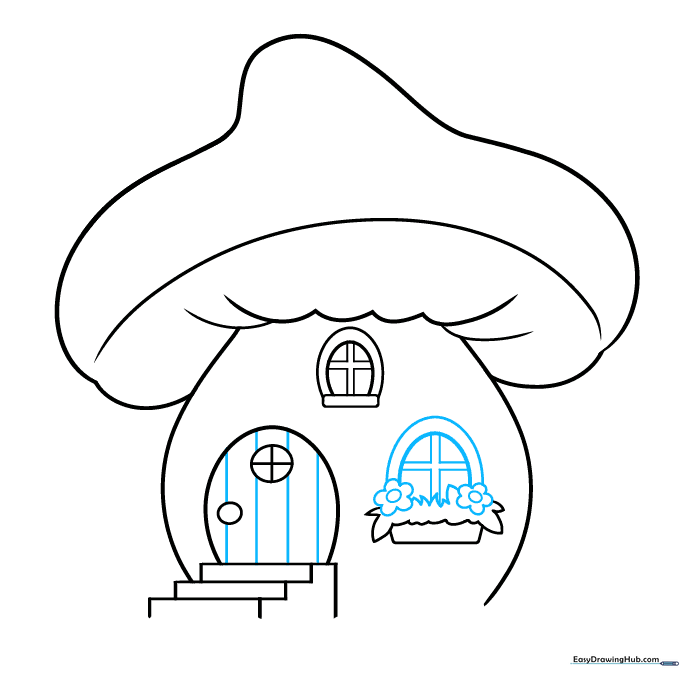
Fill your planter with daisy shapes using small 'U' curves. Add vertical lines to the door to give it a rustic, wooden plank look. Tip: Vary the pressure of your pencil to make the wood grain look more natural.
Constructing the Chimney and Roof Details
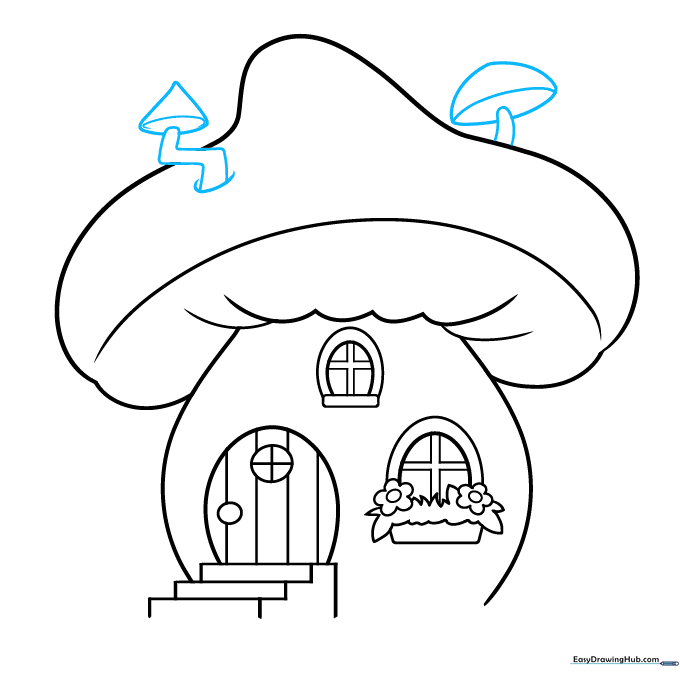
Draw a small chimney on the roof using simple geometric shapes. Add a second, smaller mushroom growing on the roof for extra character. Tip: Overlapping shapes like this creates depth in your drawing.
Adding Spots and Grass
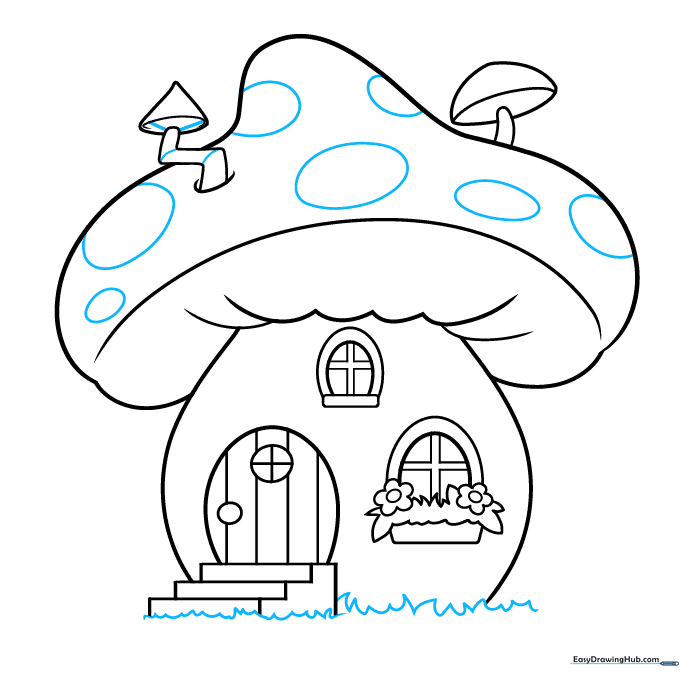
Draw oval spots on the mushroom cap and use short, jagged strokes at the bottom to create grass. Tip: Make the grass blades different heights to make the ground look realistic.
Adding Ground Details
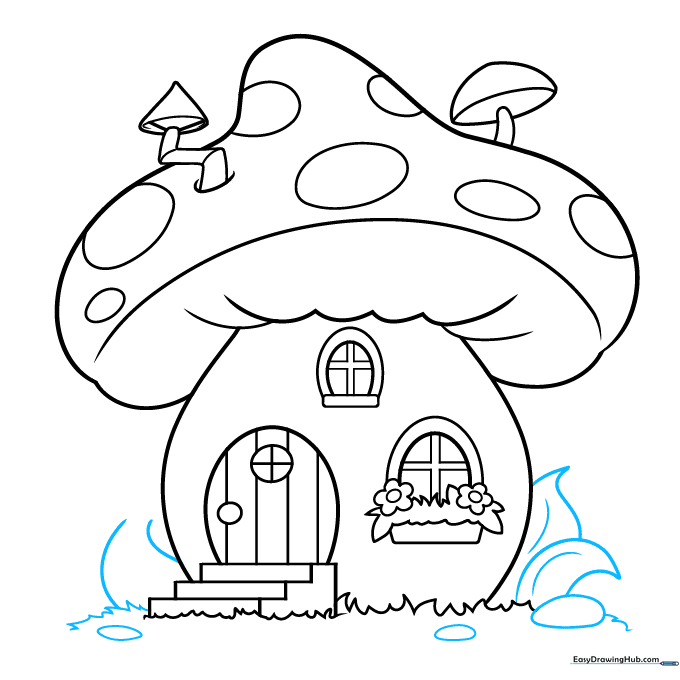
Add a few rocks near the base and draw some small leaves with veins. Tip: Use a light touch for the leaf veins so they don't overpower the drawing.
Refining Textures
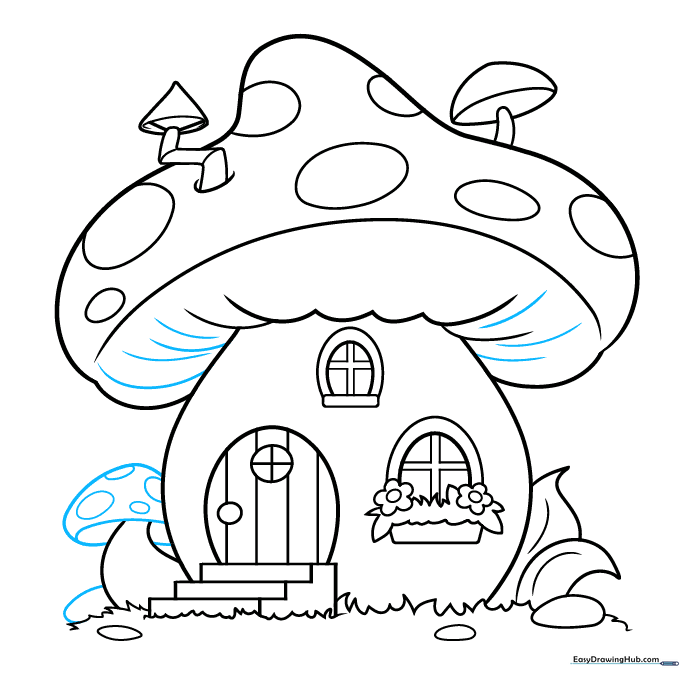
Add texture to the underside of the cap using small curved lines. This gives your house a finished, professional look. Tip: Think of these lines as the gills of a real mushroom.
Final Touches
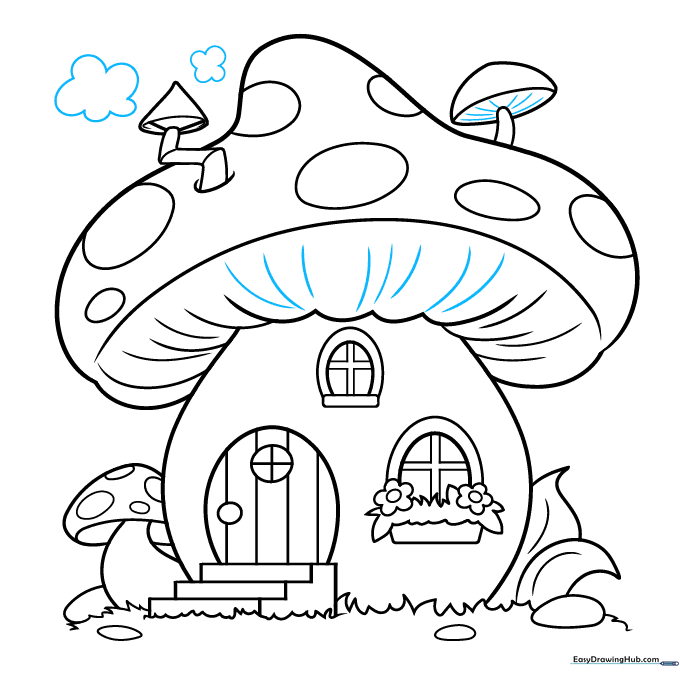
Complete your drawing by adding a few puffs of smoke coming from the chimney. Review your lines and darken the ones you want to stand out. Tip: A soft eraser can help clean up any stray pencil marks before you start coloring.
Coloring Your Masterpiece
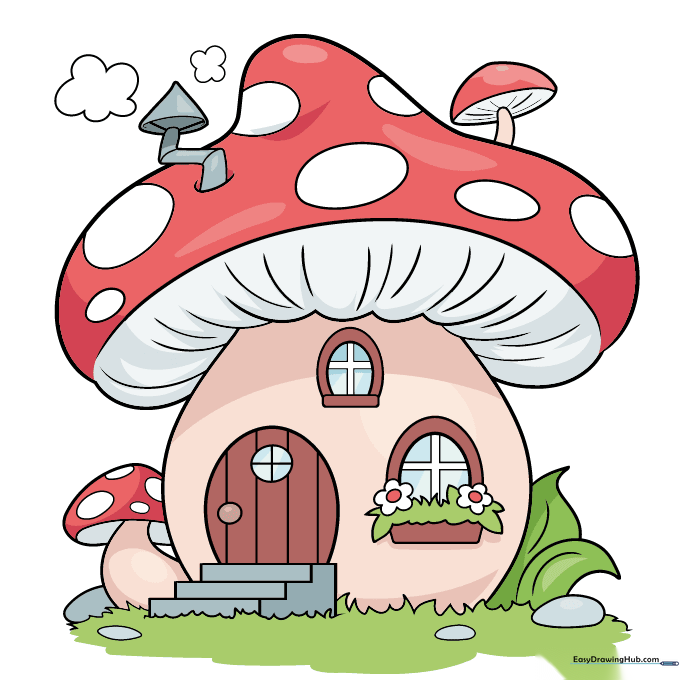
Now for the fun part! Use your favorite colors to bring your mushroom house to life. Try using bright reds for the cap and earthy tones for the stem to make it pop.
More Tutorials


